b) Hard or sharp objects (glass, nails, screws, or
coins).
c) Large quantities of dust (e.g., drywall dust).
d) Smoking or burning objects (hot coals, cigarette
butts, or matches).
e) Flammable or combustible materials (lighter
fluid, gasoline, or kerosene).
f) Toxic materials (chlorine bleach, ammonia, or
drain cleaner).
21. DO NOT use in the following areas:
a) Poorly lit areas.
b) Outdoor areas.
c) Spaces that are enclosed and may contain
explosive or toxic fumes or vapors (lighter
fluid, gasoline, kerosene, paint, paint thinners,
mothproofing substances, or flammable dust).
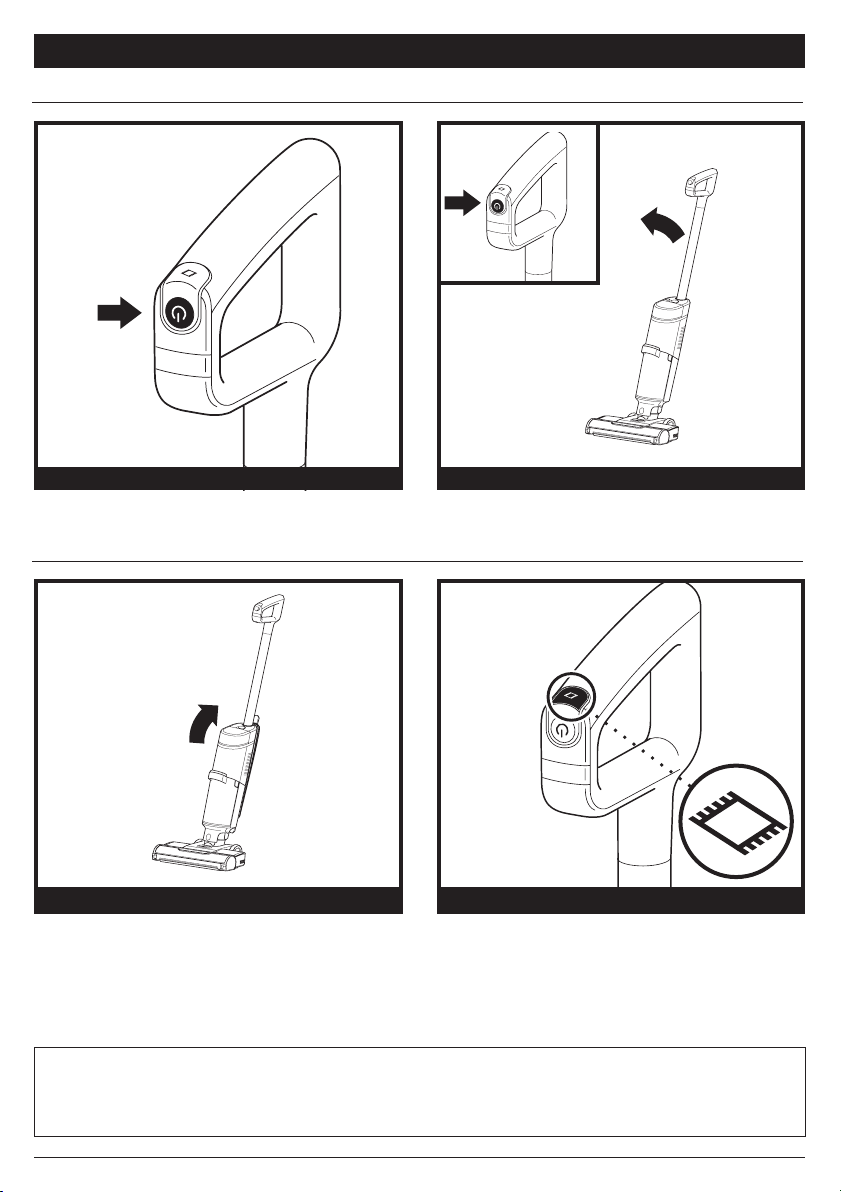
22. Turn o the 3-in-1 Cleaner before any adjustment,
cleaning, maintenance, or troubleshooting.
23. During cleaning or routine maintenance, DO NOT
cut anything other than hair, fibers, or string
wrapped around the brushroll.
24. Allow all filters to air-dry completely before
reinstalling them in the 3-in-1 Cleaner to prevent
liquid from being drawn into electric parts.
25. DO NOT modify or attempt to repair the 3-in-1
Cleaner yourself.
DO NOT use the 3-in-1 Cleaner if it has been
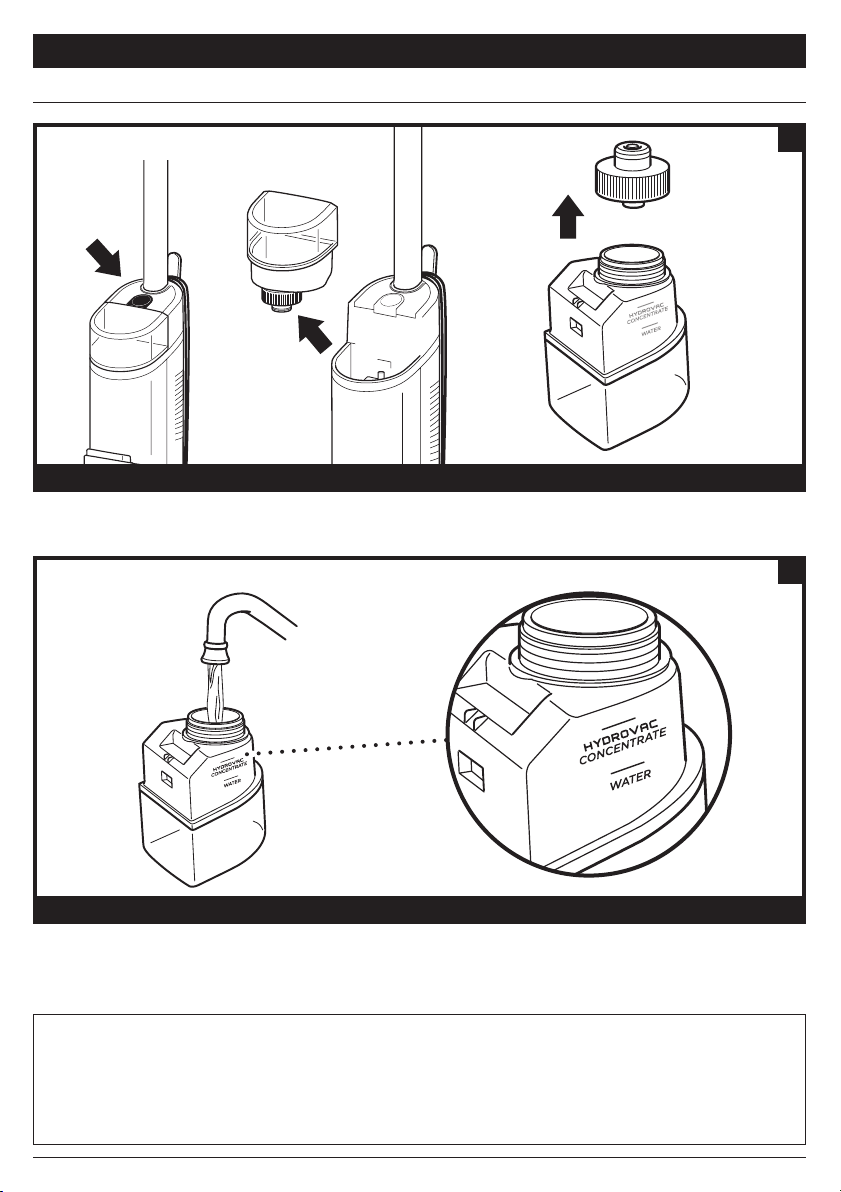
modified or damaged.
26. Turn o all controls before unplugging.
27. Use only Shark brand cleaning fluids intended
for use with this appliance to prevent internal
component damage.
28. Do not pull or carry by cord, use cord as a handle,
close a door on cord, or pull cord around sharp
edges or corners. Do not run appliance over cord.
Keep cord away from heated surfaces.
29. Do not unplug by pulling on cord. To unplug, grasp
the plug, not the cord.
30. Use indoors only.
31. GROUNDING INSTRUCTIONS: This appliance must be
grounded. If it should malfunction or break down,
grounding provides a path of least resistance for
electric current to reduce the risk of electric shock.
This appliance’s cord has an equipment-grounding
conductor and a grounding plug. The plug must be
inserted into an appropriate outlet that is properly
installed and grounded in accordance with all local
codes and ordinances.
32. WARNING: Improper connection of the equipment-
grounding conductor can result in a risk of electric
shock. Check with a qualified electrician or service
person if you are in doubt as to whether the outlet
is properly grounded. Do not modify the plug
provided with the appliance. If the plug will not
fit the outlet, have a proper outlet installed by a
qualified electrician.
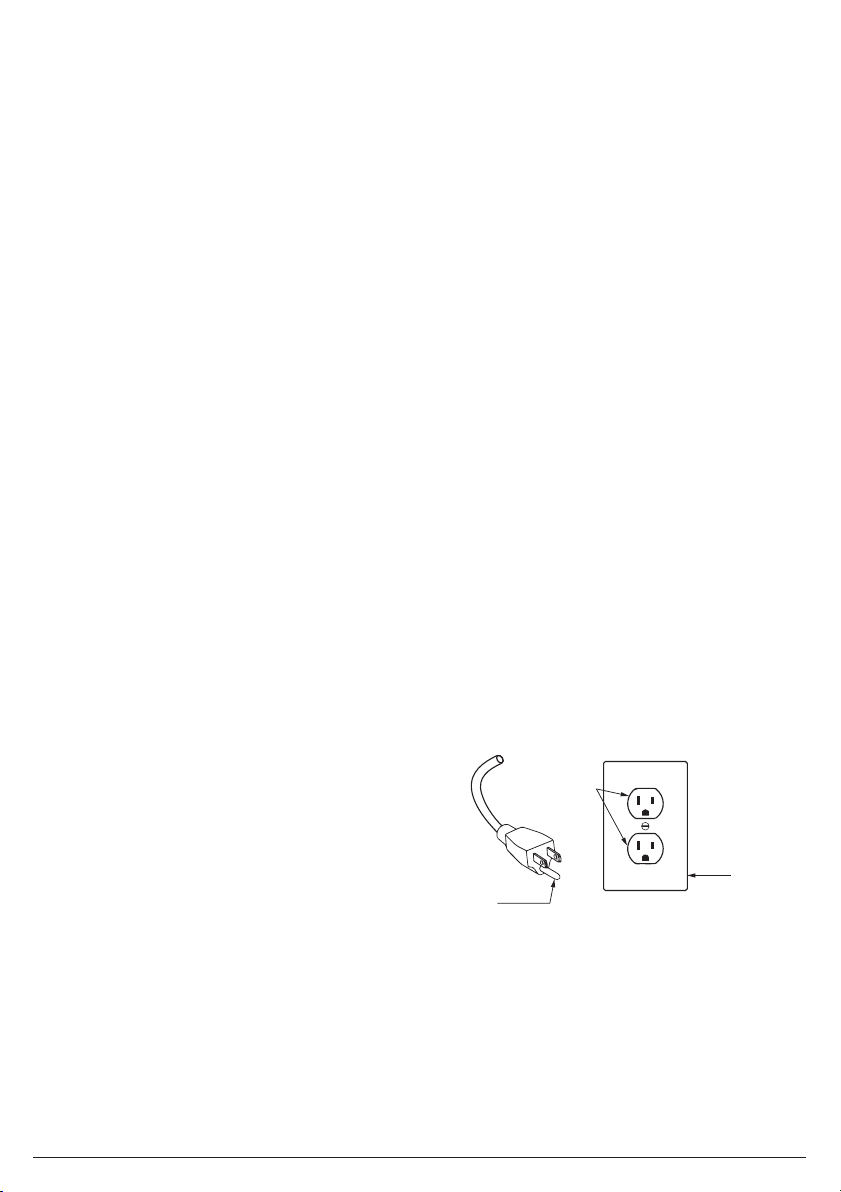
33. This appliance is for use on a nominal 120-V circuit
and has a grounding attachment plug that looks
like the plug illustrated below. Make sure that the
appliance is connected to an outlet having the
same configuration as the plug. No adaptor should
be used with this appliance.
Grounded
Outlet Box
Grounded
Outlet
Grounding
Pin
34. Do not immerse. To reduce risk of electric shock,
use only on carpet moistened by cleaning.
35. Use only Shark cleaning products intended for use
with this machine.
1. If the power cord plug does not fit fully into the
outlet, reverse the plug. If it still does not fit,
contact a qualified electrician. DO NOT force into
outlet or try to modify to fit.
2. To reduce the risk of shock and unintended
operation, unplug before servicing.
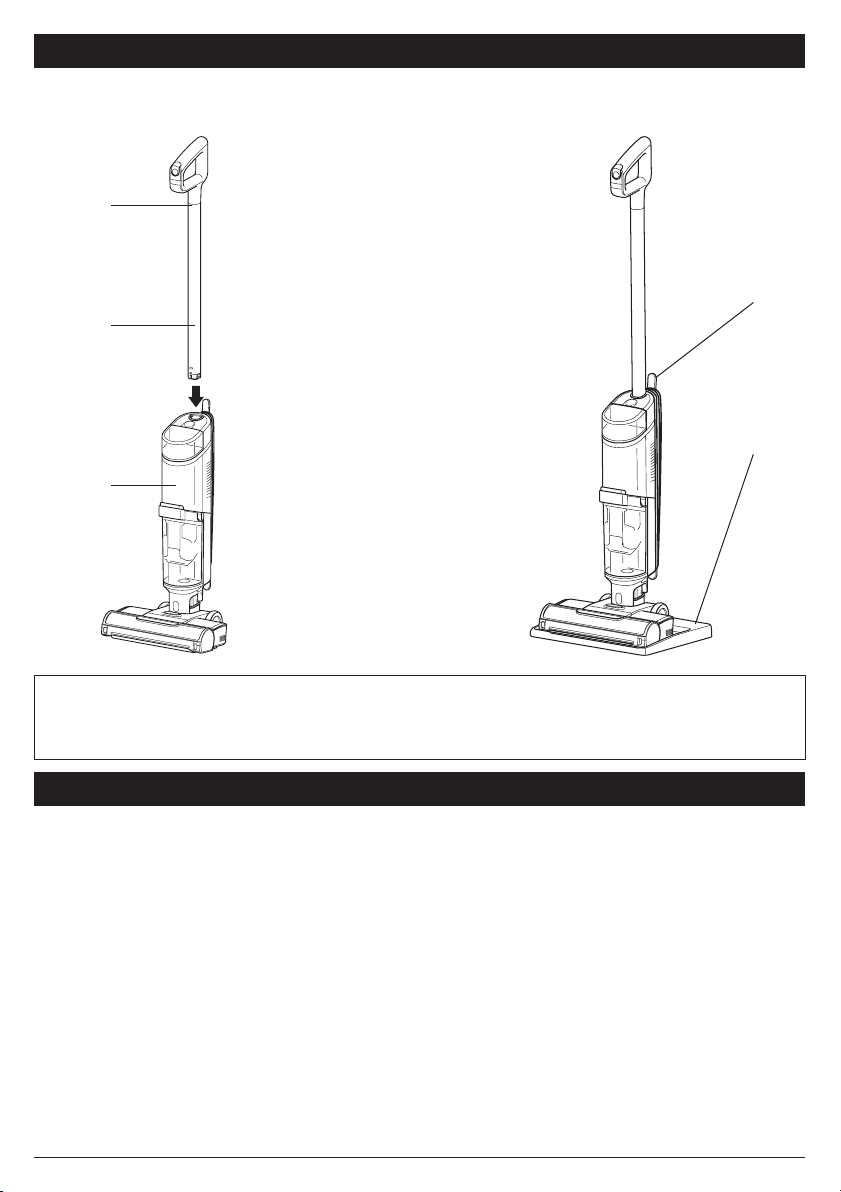
3. This 3-in-1 Cleaner consists of a motorized nozzle,
main body pole, and handle. These components
contain electrical connections, electrical wiring,
and moving parts that potentially present risk to
the user.
4. Before each use, carefully inspect all parts for any
damage. If a part is damaged, discontinue use.
5. Use only identical replacement parts.
6. DO NOT use the 3-in-1 Cleaner for any purpose
other than those described in this Owner’s Guide.
7. DO NOT immerse or spray water on the body of
the 3-in-1 Cleaner. To clean the surface, wipe with
a dry cloth.
8. Keep the 3-in-1 Cleaner’s cord out of reach of
children. DO NOT allow the appliance to be used by
children. DO NOT allow to be used as a toy. Close
supervision is necessary when used near children.
9. This appliance can be used by persons with
reduced physical, sensory or mental capabilities or
lack of experience or knowledge if they have been
given supervision or instruction concerning use of
the appliance in a safe way and understand the
hazards involved. Cleaning and user maintenance
shall not be done by children.
10. DO NOT handle plug or 3-in-1 Cleaner with wet
hands.
11. DO NOT use without the dirty water tank, clean
solution tank, filter, brushroll, and brushroll cover
in place.
12. Use only identical replacement parts. Only use
Shark® branded filters and accessories.
13. DO NOT put any objects into nozzle openings.
DO NOT use with any opening blocked; keep free
of dust, lint, hair, and anything that may reduce
airflow.
14. DO NOT use if nozzle airflow is restricted. If the
air paths or the motorized floor nozzle become
blocked, turn the 3-in-1 Cleaner o. Remove all
obstructions before you turn on the unit again.
Keep nozzle and all 3-in-1 Cleaner openings away
from hair, face, fingers, uncovered feet, or loose
clothing. See Checking for Blockages for more
information.
15. DO NOT use if 3-in-1 Cleaner is not working as
it should, or has been dropped, damaged, left
outdoors, or dropped into water.
16. Use extra care when cleaning on stairs.
17. DO NOT leave the 3-in-1 Cleaner unattended while
plugged in.
18. When using on any surface, always keep the 3-in-1
Cleaner moving to avoid damaging the surface
(e.g., carpet fibers).
19. DO NOT place 3-in-1 Cleaner on unstable surfaces
such as chairs or tables.
20. DO NOT use to pick up:
a) Large objects.
IMPORTANT SAFETY INSTRUCTIONS
FOR HOUSEHOLD USE ONLY.
READ ALL INSTRUCTIONS BEFORE USING THIS 3-IN-1 CLEANER
SAVE THESE INSTRUCTIONS
WARNING
To reduce the risk of fire, electric shock, injury, or property damage:
sharkclean.comsharkclean.com