manuals.online logo
Brands
  1. Home
  2. •
  3. Brands
  4. •
  5. Sharp
  6. •
  7. All In One Printer
  8. •
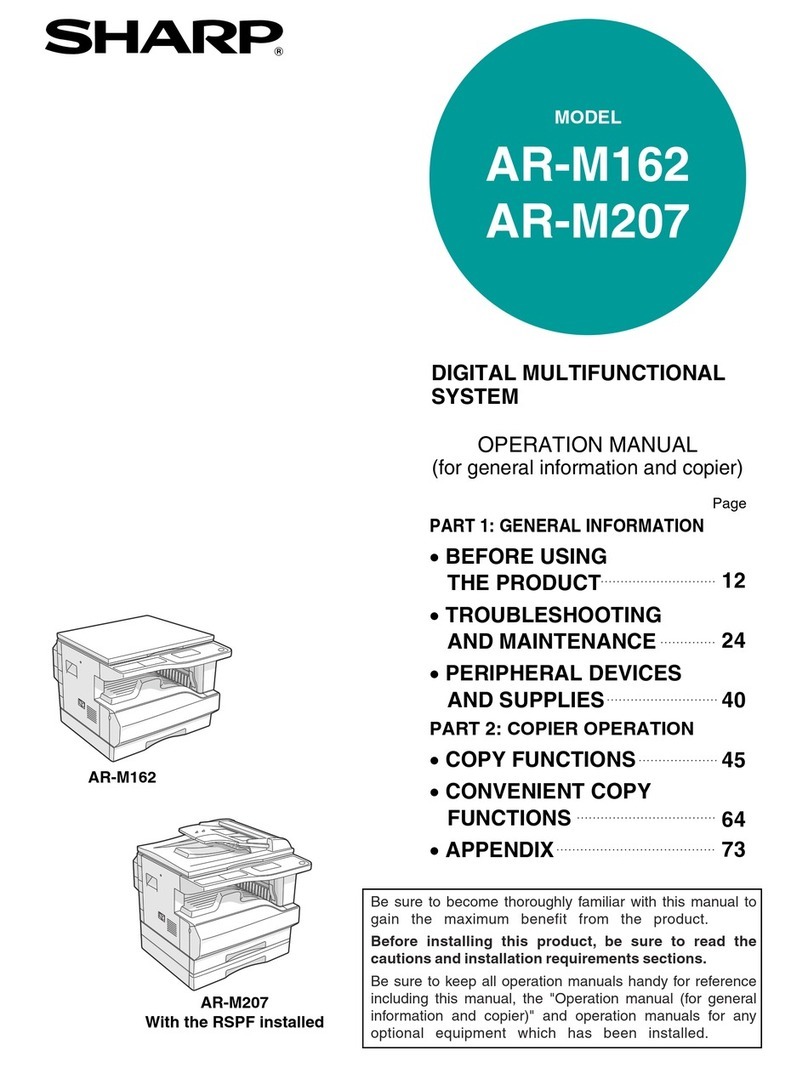
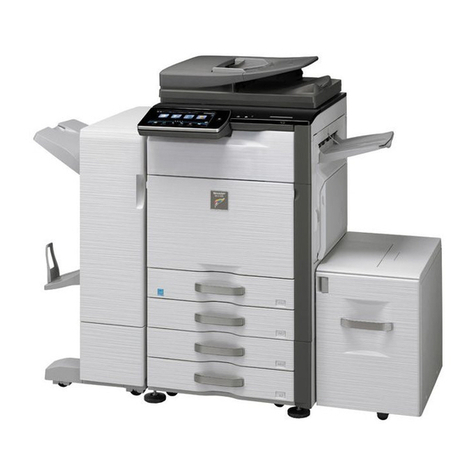
  9. Sharp Advanced MXM365N User manual

Sharp Advanced MXM365N User manual

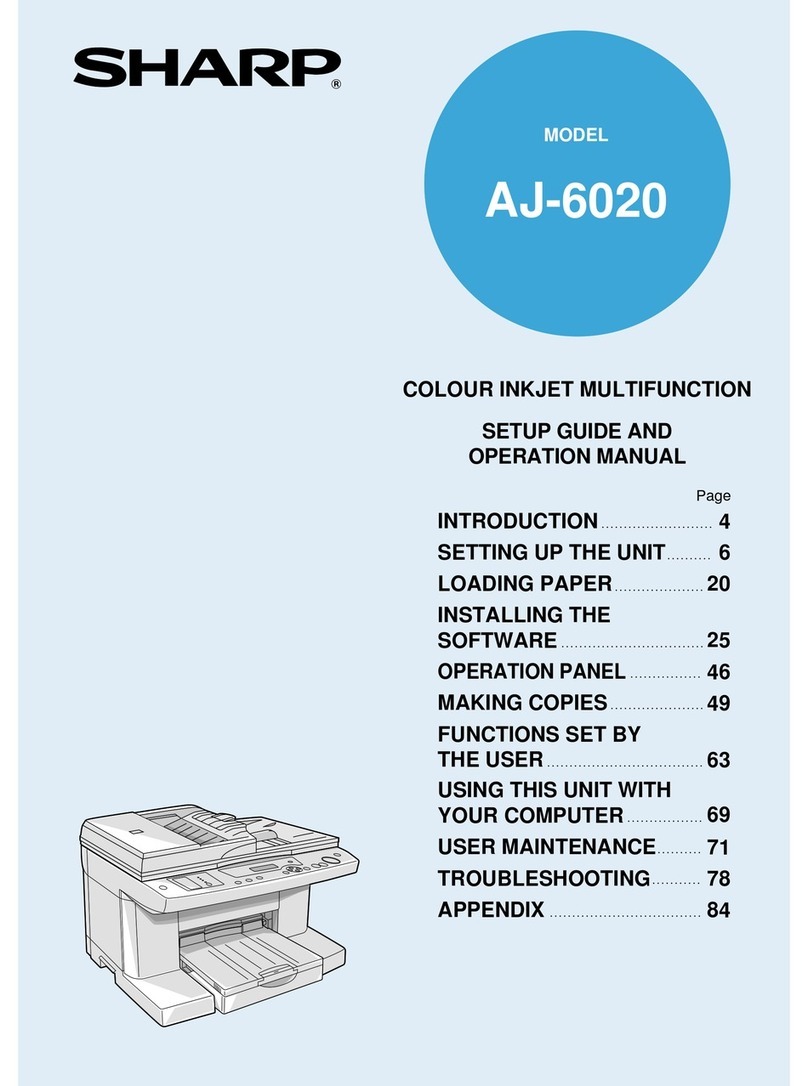
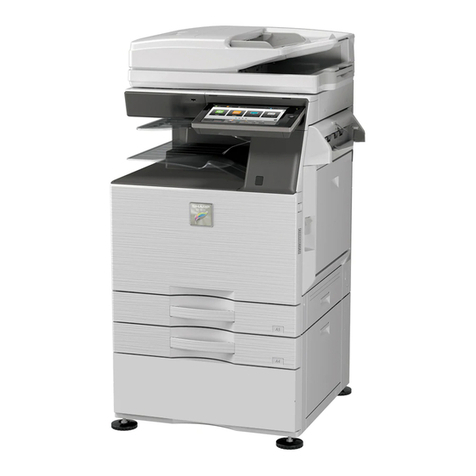
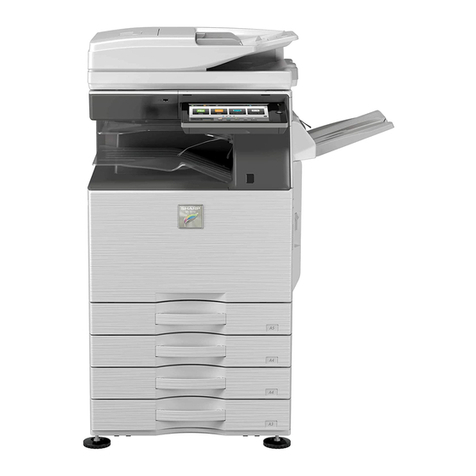
Digital multifunctional system MX-M365N/MX-M465N/MX-M565N
PRINTING ALL CATEGORIES
USER'S MANUAL | MX-M365N/MX-M465N/MX-M565N USER'S ... http://siica.sharpusa.com/portals/0/downloads/Manuals/MX-M365N-M...
1 of 1441 3/17/2016 7:14 AM
EXTERIOR
This section describes the names and functions of the respective parts on the exterior of the
machine.
Tap the name to make its details pop up.
Automatic document feeder
This automatically feeds and scans multiple originals.
Both sides of 2-sided originals can be automatically scanned at one time.
- AUTOMATIC DOCUMENT FEEDER
Front cover
Open this cover to switch the main power switch to "On" or "Off" or to replace a toner cartridge.
- TURNING ON THE POWER
- REPLACING THE TONER CARTRIDGE
Output tray (center tray)*
Printed paper is output into this tray.
Operation panel
This panel hosts the [Power] button, [Power Save] button/indicator, [Home Screen] button, main power button
and touch panel.
Use the touch panel to operate each of these functions.
- OPERATION PANEL
Right tray*
Set so that paper is output into this tray as required.
By setting originals received via fax or Internet fax to be output into this tray, you can separate them from
paper output from copying.
Finisher*
This staples paper.
A punch module can also be installed to punch holes in output paper.
- FINISHER
Saddle finisher (large stacker)*
This staples and folds paper. A punch module can also be installed to punch holes in output paper.
- SADDLE FINISHER (LARGE STACKER)
USER'S MANUAL | MX-M365N/MX-M465N/MX-M565N USER'S ... http://siica.sharpusa.com/portals/0/downloads/Manuals/MX-M365N-M...
2 of 1441 3/17/2016 7:14 AM
Paper pass unit*
This unit sends printed paper to the finisher (large stacker), saddle finisher or saddle finisher (large stacker), or
functions as a relay between the machine and the finisher (large stacker), saddle finisher or saddle finisher
(large stacker).
USB port (A type)
This is used to connect a USB device such as a USB memory device to the machine. For the USB cable, use a
shielded cable.
Supports USB 2.0 (Hi-Speed).
Keyboard
Use this as a substitute for the soft keyboard displayed on the touch panel. When not being used, it can be
stored under the operation panel.
Tray 1
Store paper in this tray.
- LOADING PAPER INTO A TRAY
Tray 2 (when a stand/500/2x500/3x500/500&2000 sheet paper drawer is installed)*
Store paper in this tray.
- LOADING PAPER INTO A TRAY
Tray 3 (when a stand/2x500/3x500 sheet paper drawer is installed)*
Store paper in this tray.
- LOADING PAPER INTO A TRAY
Tray 4 (when a stand/3x500 sheet paper drawer is installed)*
Store paper in this tray.
- LOADING PAPER INTO A TRAY
Tray 5 (when a large capacity paper tray is installed)*
Store paper in this tray.
- LOADING PAPER INTO A LARGE CAPACITY TRAY
Bypass tray
Use this tray to feed paper manually.
When loading paper larger than 8-1/2" x 11"R or A4R, pull out the extension guide.
- LOADING PAPER INTO THE BYPASS TRAY
Tray 3 (when a stand/500&2000 sheet paper drawer is installed)*
USER'S MANUAL | MX-M365N/MX-M465N/MX-M565N USER'S ... http://siica.sharpusa.com/portals/0/downloads/Manuals/MX-M365N-M...
3 of 1441 3/17/2016 7:14 AM
Store paper in this tray.
- TRAY 3 - 4 (STAND/500&2000 SHEET PAPER DRAWER)
Tray 4 (when a stand/500&2000 sheet paper drawer is installed)*
Store paper in this tray.
- TRAY 3 - 4 (STAND/500&2000 SHEET PAPER DRAWER)
Punch module*
This is used to punch holes in output. Requires a saddle finisher, saddle finisher (large stacker), or finisher (large
stacker).
- PUNCH MODULE
Finisher (large stacker)*
This staples paper. A punch module can also be installed to punch holes in output paper.
- FINISHER (LARGE STACKER)
Saddle finisher*
This staples and folds paper. A punch module can also be installed to punch holes in output paper.
- SADDLE FINISHER
USER'S MANUAL | MX-M365N/MX-M465N/MX-M565N USER'S ... http://siica.sharpusa.com/portals/0/downloads/Manuals/MX-M365N-M...
4 of 1441 3/17/2016 7:14 AM
* Optional
USER'S MANUAL | MX-M365N/MX-M465N/MX-M565N USER'S ... http://siica.sharpusa.com/portals/0/downloads/Manuals/MX-M365N-M...
5 of 1441 3/17/2016 7:14 AM
UPPER SIDE
This section describes the names and functions of the respective parts inside the machine.
Toner cartridge
This cartridge contains toner.
When the toner in a cartridge runs out, replace with new one.
- REPLACEMENT OF TONER CARTRIDGE
Fusing unit
Heat is applied here to fuse the transferred image onto the paper.
Transfer roller
Forms a black toner image on the transfer roller and transfers the image to the paper.
Right side cover
Open this cover to remove a misfeed.
Paper reversing section cover
This unit is used for reversing paper when 2-sided printing is performed. Open this cover to remove
a paper misfeed.
Main power switch
Use this switch to turn on the power for the machine.
When using the fax or Internet fax functions, always keep this switch in the “ ” position.
- TURNING ON THE POWER
The fusing unit is hot. Take care not to burn yourself when removing a misfeed.
Do not touch or damage the transfer roller.
This may cause a defective image.
USER'S MANUAL | MX-M365N/MX-M465N/MX-M565N USER'S ... http://siica.sharpusa.com/portals/0/downloads/Manuals/MX-M365N-M...
6 of 1441 3/17/2016 7:14 AM
Toner collection container
This container collects excess toner that remains after printing.
- REPLACING THE TONER COLLECTION CONTAINER
Toner collection container release lever
Press up this lever when you need to release the toner collection container lock to replace the
toner collection container.
- REPLACING THE TONER COLLECTION CONTAINER
Handle
Pull this out and grasp it when moving the machine.
A stand/500/2x500/3x500/500&2000 sheet paper drawer right-side cover
Open this cover to remove a paper misfeed in tray 2, 3 or 4.
Paper tray right side cover
Open this to remove a paper misfeed in tray 1 or 2.
Right side cover release lever
To remove a paper misfeed, pull and hold this lever up to open the right side cover.
Bypass tray
Use this tray to feed paper manually.
When loading paper larger than 8-1/2" x 11"R or A4R, pull out the extension guide.
- LOADING PAPER INTO THE BYPASS TRAY
Tap the name to make its details pop up.
A service technician collects replaced toner collection containers.
USER'S MANUAL | MX-M365N/MX-M465N/MX-M565N USER'S ... http://siica.sharpusa.com/portals/0/downloads/Manuals/MX-M365N-M...
7 of 1441 3/17/2016 7:14 AM
USER'S MANUAL | MX-M365N/MX-M465N/MX-M565N USER'S ... http://siica.sharpusa.com/portals/0/downloads/Manuals/MX-M365N-M...
8 of 1441 3/17/2016 7:14 AM
TOP
This section describes the names and functions of the respective parts on the upper side
of the machine.
Tap the name to make its details pop up.
Document feeding cover
Open this cover to remove an original misfeed or clean the paper feed roller.
Original guides
These guides help ensure that the original is scanned correctly.
Adjust the guides to the width of the original.
- AUTOMATIC DOCUMENT FEEDER
Document feeder tray
Set the original in this tray. 1-sided originals must be placed face up.
- AUTOMATIC DOCUMENT FEEDER
Original exit tray
The original is discharged to this tray after scanning.
USER'S MANUAL | MX-M365N/MX-M465N/MX-M565N USER'S ... http://siica.sharpusa.com/portals/0/downloads/Manuals/MX-M365N-M...
9 of 1441 3/17/2016 7:14 AM
SIDE AND BACK
This section describes the names and functions of the respective parts on the side and
back of the machine.
USB port (A type)
This is used to connect a USB device such as a USB memory device to the machine.
Supports USB 2.0 (Hi-Speed).
USB port (B type)
A computer can be connected to this connector to use the machine as a printer.
For the USB cable, use a shielded cable.
Supports USB 2.0 (Hi-Speed).
LAN connector
Connect the LAN cable to this connector when the machine is used on a network.
Use a shielded LAN cable.
Service-only connector
Tap the name to make its details pop up.
This connector is for use only by service technicians.
Connecting a cable to this connector may cause the machine to malfunction.
Important note for service technicians:
The cable connected to the service connector must be less than 118" (3 m) in length.
USER'S MANUAL | MX-M365N/MX-M465N/MX-M565N USER'S ... http://siica.sharpusa.com/portals/0/downloads/Manuals/MX-M365N-M...
10 of 1441 3/17/2016 7:14 AM
When the fax expansion kit is installed.
Extension phone jack
When the fax function of the machine is used, an extension phone can be connected to this jack.
Telephone line jack
When the fax function of the machine is used, the telephone line is connected to this jack.
USER'S MANUAL | MX-M365N/MX-M465N/MX-M565N USER'S ... http://siica.sharpusa.com/portals/0/downloads/Manuals/MX-M365N-M...
11 of 1441 3/17/2016 7:14 AM
OPERATION PANEL
This section describes the names and functions of the respective parts of the operation
panel.
Touch panel
Messages and keys appear on the touch panel display.
Operate the machine by directly tapping the displayed keys.
- TOUCH TYPES
Main power indicator
This lamp lights up when the machine's main power switch is in the “ ” position.
Blinks green during the time that the [Power] button does not operate immediately after the main
power switch is switched on.
Blinks green while print data is being received.
- TURNING ON THE POWER
[Power] button
Use this button to turn the machine's power on and off.
- TURNING ON THE POWER
[Power Save] button/indicator
Use this button to set the machine to Auto Power Shut-Off Timer for energy saving.
[Power Save] button blinks when the machine is in Auto Power Shut-Off Timer.
- AUTO POWER SHUT-OFF TIMER
[Home Screen] button
Use this button to display the home screen.
- HOME SCREEN
Tap the name to make its details pop up.
USER'S MANUAL | MX-M365N/MX-M465N/MX-M565N USER'S ... http://siica.sharpusa.com/portals/0/downloads/Manuals/MX-M365N-M...
12 of 1441 3/17/2016 7:14 AM
[Home Screen] button
Use your finger to touch the [Home Screen] button.
If you use a pen or other tool to touch the button, it may not operate properly.
Risk of malfunctioning if you use with jewelry or other accessories.
You can change the angle of the touch panel. Adjust the angle for ease of viewing by pushing
the movable part of the touch panel to the left.
USER'S MANUAL | MX-M365N/MX-M465N/MX-M565N USER'S ... http://siica.sharpusa.com/portals/0/downloads/Manuals/MX-M365N-M...
13 of 1441 3/17/2016 7:14 AM
PERIPHERAL DEVICES
Peripheral devices can be installed on the machine to increase its range of functionality.
The peripheral devices are generally optional. However, some models include certain
peripheral devices as standard equipment.
(As of August 2013)
Product name Product nu
mber Description
Stand/500 sheet paper drawer MX-DE12 Additional tray. A maximum of 500 sheets of pap
er can be loaded into the tray.
Stand/2x500 sheet paper drawer MX-DE13 Additional tray. A maximum of 500 sheets of pap
er can be loaded into each tray.
Stand/3x500 sheet paper drawer MX-DE14 Additional tray. A maximum of 500 sheets of pap
er can be loaded into each tray.
Stand/500&2000 sheet paper dra
wer
MX-DE20 Additional paper trays. Tray 2 can hold a maximu
m of 500 sheets of paper, Tray 3 can hold a maxi
mum of 1150 sheets, and Tray 4 can hold a maxi
mum of 850 sheets.
Large capacity tray MX-LC11 Additional tray. A maximum of 3500 sheets of pa
per can be loaded into the tray. To install, a stan
d/500/2x500/3x500/500&2000 sheet paper dra
wer is required.
Long paper feeding tray MX-LT10 When using long paper, the long paper is loaded i
n the bypass tray.
Exit tray unit MX-TR13 N This can be added to the right side of the machin
e.
Exit tray cabinet MX-TU12 This can be added to the center of the machine.
FINISHER MX-FN17 Output device that enables the use of the staple
function and offset function.
USER'S MANUAL | MX-M365N/MX-M465N/MX-M565N USER'S ... http://siica.sharpusa.com/portals/0/downloads/Manuals/MX-M365N-M...
14 of 1441 3/17/2016 7:14 AM
FINISHER (LARGE STACKER) MX-FN11 Output device that enables the use of the staple
function and offset function. To install, a stand/5
00/2x500/3x500/500&2000 sheet paper drawer
is required.
SADDLE FINISHER MX-FN10 Output device that enables use of the staple fun
ction, offset function and pamphlet copy function
. To install, a stand/500/2x500/3x500/500&200
0 sheet paper drawer is required.
SADDLE FINISHER (LARGE STA
CKER)
MX-FN18 Output device that enables use of the staple fun
ction, offset function and pamphlet copy function
. To install, a stand/500/2x500/3x500/500&200
0 sheet paper drawer is required.
Paper pass unit MX-RB22 This unit is required to install a finisher (large sta
cker) or saddle finisher.
PUNCH MODULE MX-PN11B This unit punches holes in copies and other outp
ut. A finisher is required.
MX-PNX5B This unit punches holes in copies and other outp
ut. A saddle finisher is required.
MX-PNX6B This unit punches holes in copies and other outp
ut. A finisher (large stacker) or saddle finisher (la
rge stacker) is required.
Barcode Font Kit MX-PF10 Adds barcode fonts to the machine.
XPS expansion kit MX-PUX1 This kit can be used as an XPS compatible printe
r. Please consult your dealer for details. A memo
ry (1GB) is required.
Facsimile expansion kit MX-FX11 Enables Fax.
Internet fax expansion kit MX-FWX1 Enables Internet Fax.
Data Security Kit MX-FR44U Adds security function to the machine.
Mirroring kit MX-EB12N Stores a copy of data in a separate place.
Application Integration Module MX-AMX1 The application integration module can be combi
ned with the network scanner function to appen
USER'S MANUAL | MX-M365N/MX-M465N/MX-M565N USER'S ... http://siica.sharpusa.com/portals/0/downloads/Manuals/MX-M365N-M...
15 of 1441 3/17/2016 7:14 AM
d a metadata file to a scanned image file.
Scanner function expansion kit MX-EB11 Saves a scanned document in the High Compres
sion PDF format. High Compression PDF results
in a smaller size than regular PDF.
Sharpdesk 1 license kit MX-USX1 This software enables integrated management of
documents and computer files.
Sharpdesk 5 license kit MX-USX5
Sharpdesk 10 license kit MX-US10
Sharpdesk 50 license kit MX-US50
Sharpdesk 100 license kit MX-USA0
Sharp OSA Network Scanner To
ol 1 License Kit
MX-UN01A This software efficiently scans a large number of
documents and materials when used in conjuncti
on with Sharp OSA. The number of licenses can
be set from 1 to 100. Please consult your dealer
for details.
Sharp OSA Network Scanner To
ol 5 License Kit
MX-UN05A
Sharp OSA Network Scanner To
ol 10 License Kit
MX-UN10A
Sharp OSA Network Scanner To
ol 50 License Kit
MX-UN50A
Sharp OSA Network Scanner To
ol 100 License Kit
MX-UN1HA
Web browsing expansion kit MX-AM10 Internet access is enabled for viewing Web page
s.
Stamp unit AR-SU1 This stamps each original page after it is scanne
d in image send mode.
Stamp cartridge AR-SV1 Two stamp cartridges are included in a package.
Card Solution Kit MX-EC50 Required for user authentication by CAC card. E
nables a CAC (Common Access Card) to be read
.
USER'S MANUAL | MX-M365N/MX-M465N/MX-M565N USER'S ... http://siica.sharpusa.com/portals/0/downloads/Manuals/MX-M365N-M...
16 of 1441 3/17/2016 7:14 AM
FINISHER
Overview
This device outputs sorted paper while staggering each set of paper. As needed, it
staples each set.
To punch holes in printed paper, install an optional hole punch module.
Function names
Supplies
Finisher maintenance
Function names
The following describes the parts that appear when the finisher is open.
Output tray
Stapled and offset output is delivered to this tray.
The tray is slidable. Extend the tray for printing on large-size paper (A3W, A3, A4R, B4, B5R, 8K,
16KR, 12" x 18", 11" x 17", 8-1/2" x 14", 8-1/2" x 13", 8-1/2" x 13-1/2", 8-1/2" x 13-2/5",
8-1/2" x 11"R and 7-1/4" x 10-1/2"R sizes).
Lever
Use this lever to move the finisher in order to remove a paper misfeed, replace staples, or remove
a staple jam.
Punch waste box (when a punch module is installed)
This stores punch waste discharged from punching.
Front cover
Open this cover to remove a paper misfeed, replace staples, remove a staple jam, or remove the
punch scrap case.
Staple case
This holds the staple cartridge. Pull the case out to replace the staple cartridge or remove a
staple jam.
Staple case release lever
USER'S MANUAL | MX-M365N/MX-M465N/MX-M565N USER'S ... http://siica.sharpusa.com/portals/0/downloads/Manuals/MX-M365N-M...
17 of 1441 3/17/2016 7:14 AM
Use this lever to remove the staple case.
Tap the name to make its details pop up.
Supplies
The finisher requires the following staple cartridge:
Staple cartridge (approx. 5000 staples per cartridge x three cartridges)
MX-SCX1
Finisher maintenance
When the staple cartridge runs out of staples, a message will appear in the operation
panel. Follow the operation procedure to replace the staple cartridge.
Operation
Replacing the cartridge
A finisher cannot be installed simultaneously with a saddle finisher.
Exercise caution when you turn on the power and when printing is taking place,
as the output tray may move up and down.
USER'S MANUAL | MX-M365N/MX-M465N/MX-M565N USER'S ... http://siica.sharpusa.com/portals/0/downloads/Manuals/MX-M365N-M...
18 of 1441 3/17/2016 7:14 AM
Open the cover.
While pressing the lever over to the left, slide the finisher to the left until it
stops.
Gently slide the finisher until it stops.
Lower the staple case release lever and remove the staple case.
Pull the staple case out to the right.
Remove the empty staple cartridge from the staple case.
USER'S MANUAL | MX-M365N/MX-M465N/MX-M565N USER'S ... http://siica.sharpusa.com/portals/0/downloads/Manuals/MX-M365N-M...
19 of 1441 3/17/2016 7:14 AM
Insert a new staple cartridge into the staple case as shown.
Push the staple cartridge in until it clicks into place.
Replace the staple case.
Push the staple case in until it clicks into place.
Slide the finisher back to the right.
Gently slide the finisher back to the right until it locks into its original position.
USER'S MANUAL | MX-M365N/MX-M465N/MX-M565N USER'S ... http://siica.sharpusa.com/portals/0/downloads/Manuals/MX-M365N-M...
20 of 1441 3/17/2016 7:14 AM

Other manuals for Advanced MXM365N

4

This manual suits for next models

2

Other Sharp All In One Printer manuals
Sharp MX-B356W Instruction manual

Sharp

Sharp MX-B356W Instruction manual

Sharp MX-2301N User manual

Sharp

Sharp MX-2301N User manual

Sharp AR-5623N User manual

Sharp

Sharp AR-5623N User manual

Sharp Gemini II Plus MX-2614N User manual

Sharp

Sharp Gemini II Plus MX-2614N User manual

Sharp MX-5112N User manual

Sharp

Sharp MX-5112N User manual

Sharp AR-5516 User manual

Sharp

Sharp AR-5516 User manual

Sharp MX-M753 User manual

Sharp

Sharp MX-M753 User manual

Sharp BP-30C25 Instruction manual

Sharp

Sharp BP-30C25 Instruction manual

Sharp DX-C200 User manual

Sharp

Sharp DX-C200 User manual

Sharp AR-NB3 Installation and maintenance instructions

Sharp

Sharp AR-NB3 Installation and maintenance instructions

Sharp MX-C381 User manual

Sharp

Sharp MX-C381 User manual

Sharp AR-M208N imager User manual

Sharp

Sharp AR-M208N imager User manual

Sharp AR-M160 User manual

Sharp

Sharp AR-M160 User manual

Sharp AM-300 User manual

Sharp

Sharp AM-300 User manual

Sharp MX-2640N User manual

Sharp

Sharp MX-2640N User manual

Sharp MX-M350 User manual

Sharp

Sharp MX-M350 User manual

Sharp MX-B201D User manual

Sharp

Sharp MX-B201D User manual

Sharp MX-2310U Guide

Sharp

Sharp MX-2310U Guide

Sharp MX 5500N - Color Laser - Copier User manual

Sharp

Sharp MX 5500N - Color Laser - Copier User manual

Sharp AL-1661CS User manual

Sharp

Sharp AL-1661CS User manual

Sharp AR 168S - Digital Imager B/W Laser User manual

Sharp

Sharp AR 168S - Digital Imager B/W Laser User manual

Sharp MX-2300N Guide User manual

Sharp

Sharp MX-2300N Guide User manual
Sharp MX-6500N Guide

Sharp

Sharp MX-6500N Guide

Sharp MX-M283N User manual

Sharp

Sharp MX-M283N User manual

Popular All In One Printer manuals by other brands

Printronix L5020 Operator's guide

Printronix

Printronix L5020 Operator's guide

Canon CFX-B380 IF parts list

Canon

Canon CFX-B380 IF parts list

Brother DCP-375CW Service manual

Brother

Brother DCP-375CW Service manual

Canon MX920 series Online manual

Canon

Canon MX920 series Online manual

Kyocera TASKalfa 7052ci Safety guide

Kyocera

Kyocera TASKalfa 7052ci Safety guide

Canon 3747B003 user manual

Canon

Canon 3747B003 user manual

Konica Minolta bizhub C650 Series user guide

Konica Minolta

Konica Minolta bizhub C650 Series user guide

Epson Office BX310FN Series Basic operation gude

Epson

Epson Office BX310FN Series Basic operation gude

Kyocera KM-2030 Instruction handbook

Kyocera

Kyocera KM-2030 Instruction handbook

Lexmark X502N Replacement manual

Lexmark

Lexmark X502N Replacement manual

Printronix L5535 Maintenance manual

Printronix

Printronix L5535 Maintenance manual

Oce im2330 Specifications

Oce

Oce im2330 Specifications

Konica Minolta BIZHUB C250 user guide

Konica Minolta

Konica Minolta BIZHUB C250 user guide

Xerox WorkCentre 6605DN Specifications

Xerox

Xerox WorkCentre 6605DN Specifications

Ricoh B064 SERIES Service manual

Ricoh

Ricoh B064 SERIES Service manual

Brother DCP-L5500DN Instructions for use

Brother

Brother DCP-L5500DN Instructions for use

Xerox 3635MFP - Phaser B/W Laser Specifications

Xerox

Xerox 3635MFP - Phaser B/W Laser Specifications

Xerox Phaser 6115 MFP instruction sheet

Xerox

Xerox Phaser 6115 MFP instruction sheet

manuals.online logo
manuals.online logoBrands
  • About & Mission
  • Contact us
  • Privacy Policy
  • Terms and Conditions

Copyright 2025 Manuals.Online. All Rights Reserved.