manuals.online logo
Brands
  1. Home
  2. •
  3. Brands
  4. •
  5. Sharp
  6. •
  7. Mini Disc Recorder
  8. •
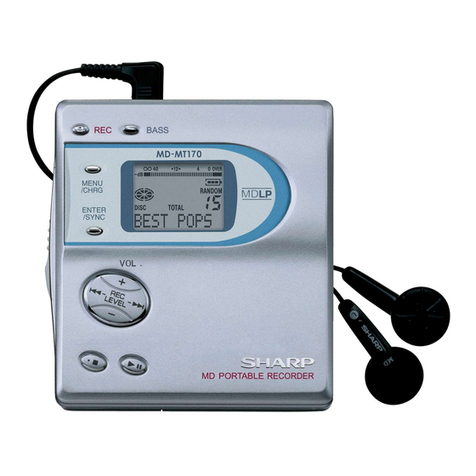
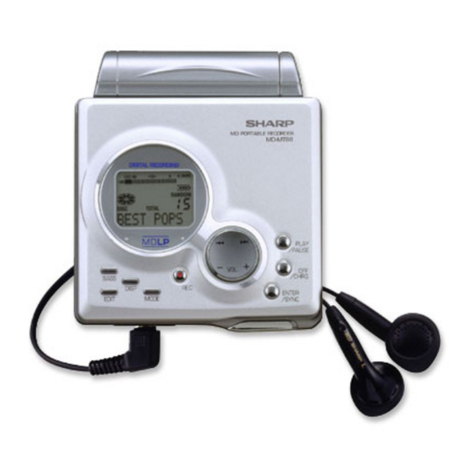
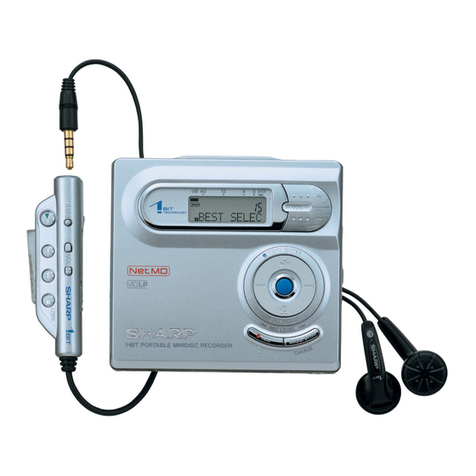
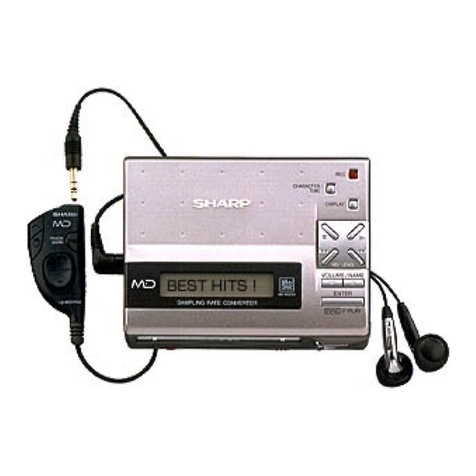
  9. Sharp IM-DR420H User manual

Sharp IM-DR420H User manual

If you require any advice or assistance regarding
your Sharp product, please visit our web-site
www.sharp.co.uk/customersupport.
Customers without Internet access may telephone
08705 274277 during office hours (or (01) 676 0648
if telephoning from Ireland).
Recordable
Close Open
Recording prevented
When you record on a MiniDisc, check
that the erase prevention tab is set to
the "Recordable" position.
TOC display
TINSE0555AWZZ
03G R YT 1
Record on a recordable MiniDisc
To the
wall socket
To the DC IN
3V socket
AC 110 - 240V,
50/60 Hz
RIGHT LEFT
RIGHT LEFT
Red : to right
White : to left
Supplied
connection
cable
To the OPTICAL/
LINE IN socket
Stereo etc. 1
Insert according to
the direction arrow.
4
3
Hold down the HOLD button for 2 seconds or more.
Hold Release
Quick Start Guide
Connect the AC adaptor
1-BIT PORTABLE MINIDISC RECORDER
MODEL
IM-DR420H
Plug the AC adaptor into the
wall socket, and then insert the
plug on the other end into the
DC IN 3V socket.
Caution:
Insert the plugs firmly.
When the unit is not in use for ex-
tended periods, remove the AC
adaptor from the wall socket.
1
2
3
4
Insert a MiniDisc
Connections Slide the OPEN lever to release the
compartment door.
Lift up the compartment door.
Insert a MiniDisc.
Close the compartment door.
To connect to a stereo system with "LINE OUT" or "AUDIO OUT" sockets
(analogue connection)
If the audio system has only one pair of sockets, they are usually for input only
and recording via this connection is not possible.
When recording from a CD or MiniDisc
SP (Stereo recording)
(2 times long recording)
(4 times long recording)
(Monaural recording)
Whilst "TOC" is displayed, the recorded contents are not yet updated.
Press the MENU/ENTER button.
Press the or button repeatedly to select
"REC MODE".
Press the MENU/ENTER button.
Press the or button repeatedly to select
the recording mode.
Press the MENU/ENTER button.
6
Select the recording mode.
5
2
3
4
Begin playback on the stereo system con-
nected to this portable MD.
Adjust the recording level so that the maximum
sound volume from the source makes the reading
swing somewhere between -4 dB and 0 dB.
Press the PAUSE button on the stereo sys-
tem to enter the playback pause mode.
Here you can search for the track to be recorded.
Press the REC LEVEL or button to
adjust the recording level.
1
2
3
4
5
Press the button to start recording.
7Begin playback on the stereo system, the
output will be recorded.
1Press the REC button.
To stop recording
Press the :OFF/HOLD button.
When recording is stopped, TOC is written on the MD. The "TOC" indicator disappears.
0 - 30
The unit does not work if the HOLD button is set to HOLD.
NOTE:
Refer to page 15 (operation manual) for
connecting the unit to a stereo system with
"DIGITAL OUT" or "OPTICAL OUT" socket.
RL
Recording monitor
0dB-4dB-12dB
L+ R+ L- R-
L R GND
4-pole plug for mobile
1-bit digital amplifier
Conventional 3-pole plug
PC hard disk
(BeatJam) USB connection
MD portable
recorder compatible
with Net MD
To the REMOTE
/ PHONES socket
Right
channel
Left
channel
LR
4-pole
plug
NOTES
Digital and analogue recording
OPTICAL OUT DIGITAL OUT
AUDIO/LINE OUT socket Headphone socket
Adjusting the recording level
MiniDisc recorded in a long-recording mode
Use a headphone socket.
This is analogue recording. Adjust the recording level manually.
Recording TV sound
Check the output terminal of your TV and connect to the unit as follows.
< Recording from an audio output socket >
< Recording from a headphone socket >
The above are analogue connections. Adjust the recording level manually.
Recording from an optical digital socket
< With an audio input socket >
Useful tips
To the headphone socket
Radio cassette recorder
Commercially available
connection cable
Supplied output conversion
cable (4-pole to 3-pole plug
conversion)
Stereo system, CD player, etc.
Stereo system
Optional
optical digital cable
White : to the left
Red : to the right
TV
TV
To the AUDIO OUTPUT socket
Supplied connection cable
To the OPTICAL/DIGITAL OUTPUT socket
To the LINE INPUT
socket
White : to the left
Red : to the right
Recording from a radio cassette recorder or stereo system without
audio output sockets (LINE OUT, AUX OUT, REC OUT, etc.)
High quality sound can be ensured.
Use a supplied connection cable or a commercially available optical digital cable.
Optional accessory: AD-M2DC
The differences are described below.
Digital recording
A digital signal from a CD or MiniDisc is recorded as it is
on the original.
Compared with analogue connection recording, a digital
connection will ensure higher quality.
Analogue recording
Sound from a stereo system or radio cassette recorder
(analogue signals) can be recorded.
Adjust the recording level so that the maximum sound
volume from the source makes the reading swing some-
where between -4 dB and 0 dB.
Recording monitor appears when adjusting the recording
level.
<Connecting with a digital cable >
The recording monitor displays D.L. -10dB to D.L.
+10dB.
If recording from a CD, set to "D.L. 0dB". Set to around
"D.L. +8dB" if it is a CS tuner or other equipment.
< Connecting with an analogue cable >
The recording monitor displays LINE 0 to LINE 30.
If you are using a headphone socket of external equip-
ment, set the volume on the equipment (avoid creaking
noise) and then adjust the recording level on the unit.
Play back the MiniDisc on the equipment compatible
with .
Listening to music through another system
Tracks recorded in 2 times long recording and 4 times
long recording modes cannot be played with the unit that
does not support these modes.
"4-pole plug earphone" optimizes
"Mobile 1-bit digital amplifier"
Sharp has adopted "4-pole plug" earphone that
completely separate the right and left channels.
Enjoy the high quality sound of the "Mobile 1-bit digital
amplifier".
Net MDMD Playback
1Install the software on
your PC.
For details, refer to page
47 of the operation manual.
2Connect your PC with
the MD portable recor-
der with the supplied
USB connection cable.
For details, refer to page
48 of the operation manual.
3Perform operations with
BeatJam on the PC.
For details, refer to the
BeatJam manual.
To stop playback, press
the :OFF/HOLD button.
3
4
Press the button.
Audio data saved on the hard disk of a PC can be transferred to a Net MD-com-
patible recorder using the provided software "BeatJam".
Not only the basic operations but also the title editing of audio data on an MD can
be performed via the PC.
Commercially available
connection cable
1Insert the earphone plug
firmly into the earphone
socket on the remote
control.
2
Plug the remote control
into the REMOTE/PHONES
socket on the unit.
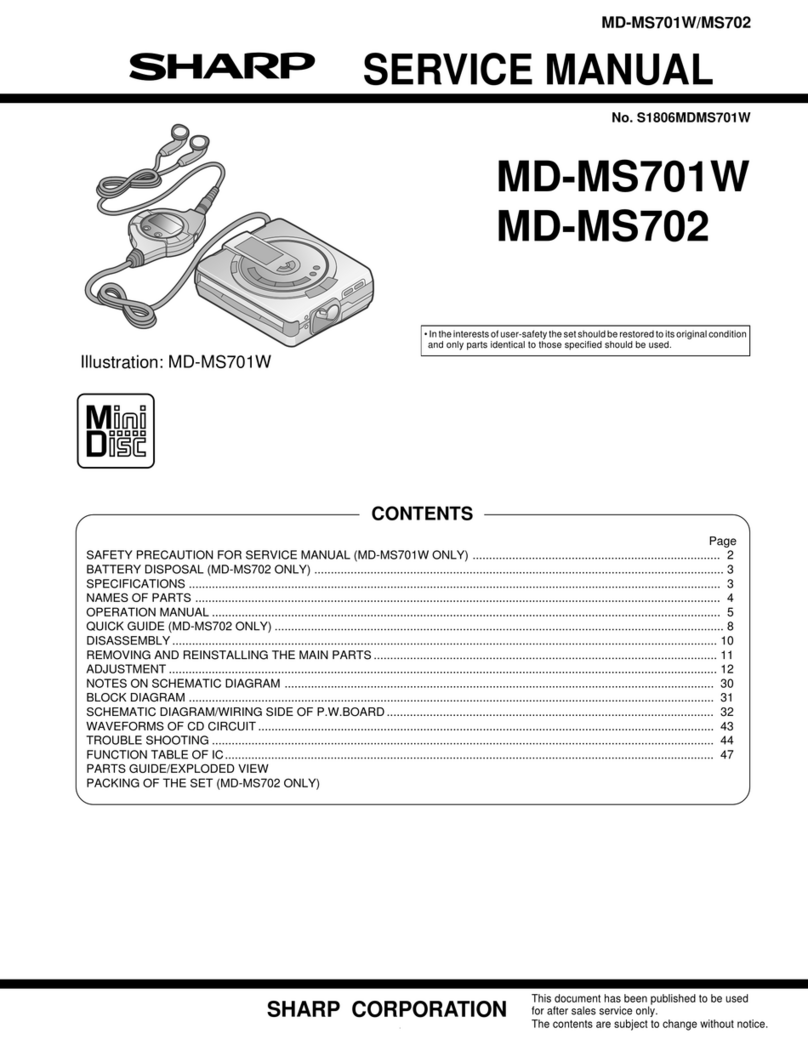
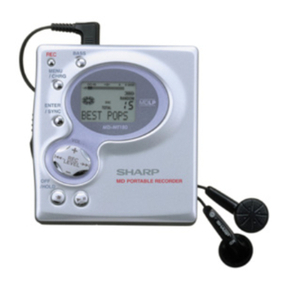
Other manuals for IM-DR420H

3

This manual suits for next models

1

Other Sharp Mini Disc Recorder manuals

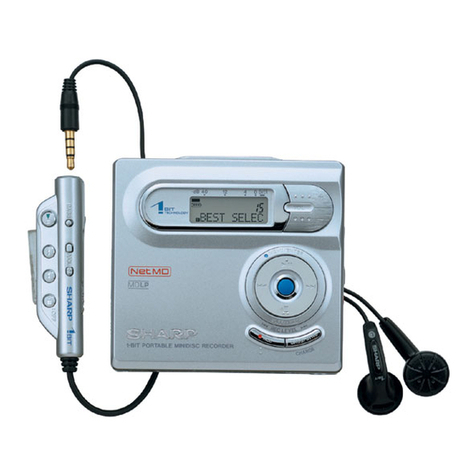
Sharp MD-MT831H User manual

Sharp

Sharp MD-MT831H User manual

Sharp MD-MS721H User manual

Sharp

Sharp MD-MS721H User manual

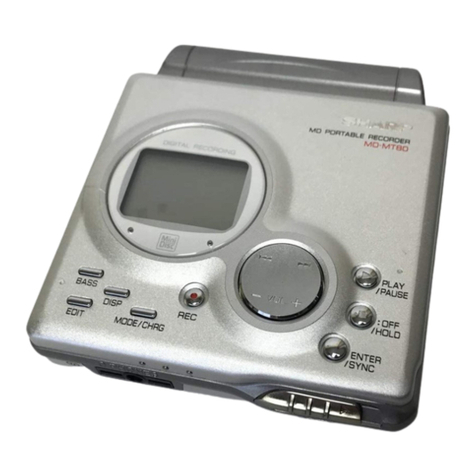
Sharp MD-MT80W User manual

Sharp

Sharp MD-MT80W User manual

Sharp IM-DR410H User manual

Sharp

Sharp IM-DR410H User manual

Sharp MD-MT88H User manual

Sharp

Sharp MD-MT88H User manual

Sharp IM-DR400E User manual

Sharp

Sharp IM-DR400E User manual

Sharp MD-SR50H User manual

Sharp

Sharp MD-SR50H User manual

Sharp MD-MT877S User manual

Sharp

Sharp MD-MT877S User manual

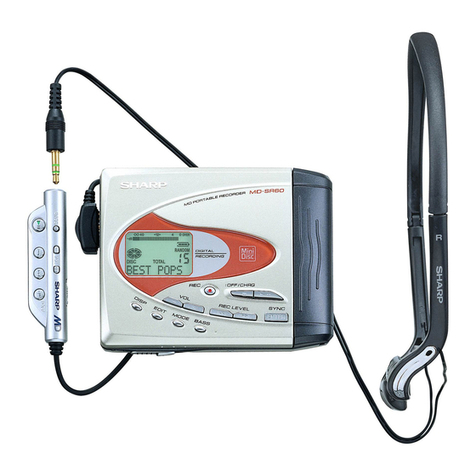
Sharp MD-SR60 User manual

Sharp

Sharp MD-SR60 User manual

Sharp MD-DR370H User manual

Sharp

Sharp MD-DR370H User manual

Sharp MD-MT180H User manual

Sharp

Sharp MD-MT180H User manual

Sharp MD-MT180H User manual

Sharp

Sharp MD-MT180H User manual

Sharp MD-MT200H User manual

Sharp

Sharp MD-MT200H User manual

Sharp IM-DR400E User manual

Sharp

Sharp IM-DR400E User manual

Sharp MD-MS200H User manual

Sharp

Sharp MD-MS200H User manual

Sharp MD-MS701W User manual

Sharp

Sharp MD-MS701W User manual

Sharp IM-DR410E User manual

Sharp

Sharp IM-DR410E User manual

Sharp MD-MS722H User manual

Sharp

Sharp MD-MS722H User manual

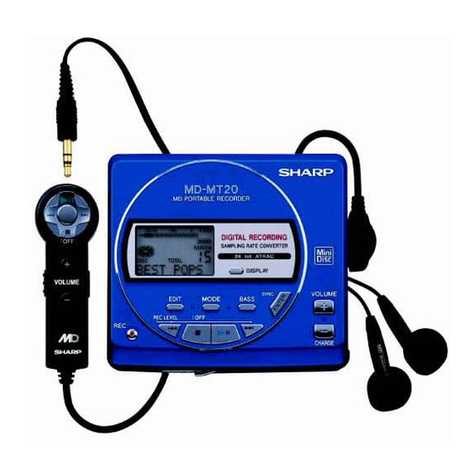
Sharp MD-MT20H User manual

Sharp

Sharp MD-MT20H User manual

Sharp MD-R3 User manual

Sharp

Sharp MD-R3 User manual

Sharp IM-DR420H User manual

Sharp

Sharp IM-DR420H User manual

Sharp MD-MT831H User manual

Sharp

Sharp MD-MT831H User manual

Sharp MD-MT821H Quick start guide

Sharp

Sharp MD-MT821H Quick start guide

Sharp IM-DR420H User manual

Sharp

Sharp IM-DR420H User manual

Popular Mini Disc Recorder manuals by other brands

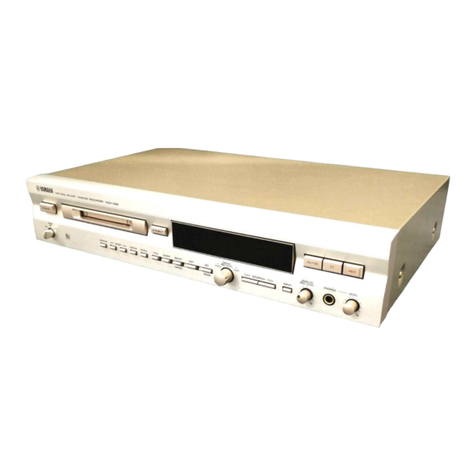
Sony MDS-E12 operating instructions

Sony

Sony MDS-E12 operating instructions

Aiwa AM-F70 - ANNEXE 23 operating instructions

Aiwa

Aiwa AM-F70 - ANNEXE 23 operating instructions

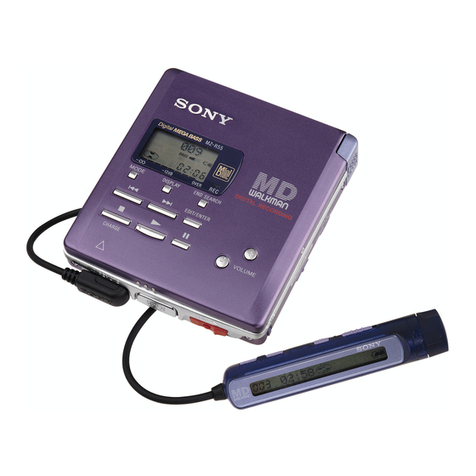
Sony MD Walkman MZ-R55 operating instructions

Sony

Sony MD Walkman MZ-R55 operating instructions

JVC DR-HD100 - Firestore - Data Storage Wallet Specifications

JVC

JVC DR-HD100 - Firestore - Data Storage Wallet Specifications

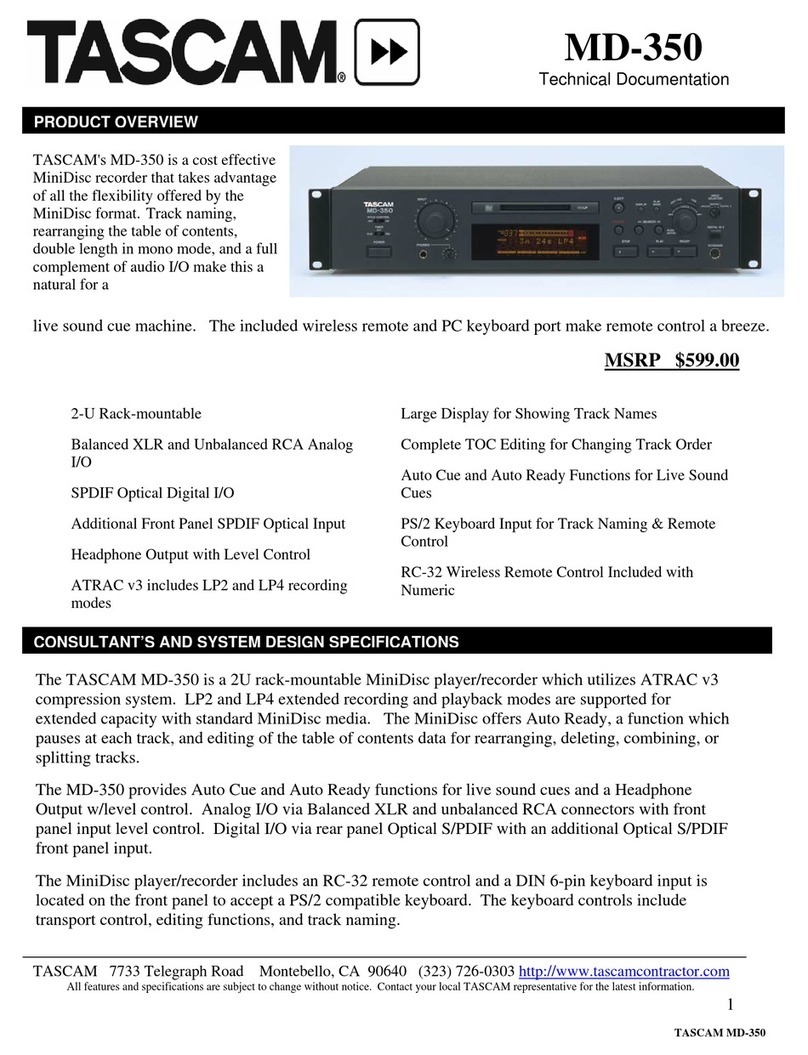
Tascam MD-301 Brochure & specs

Tascam

Tascam MD-301 Brochure & specs

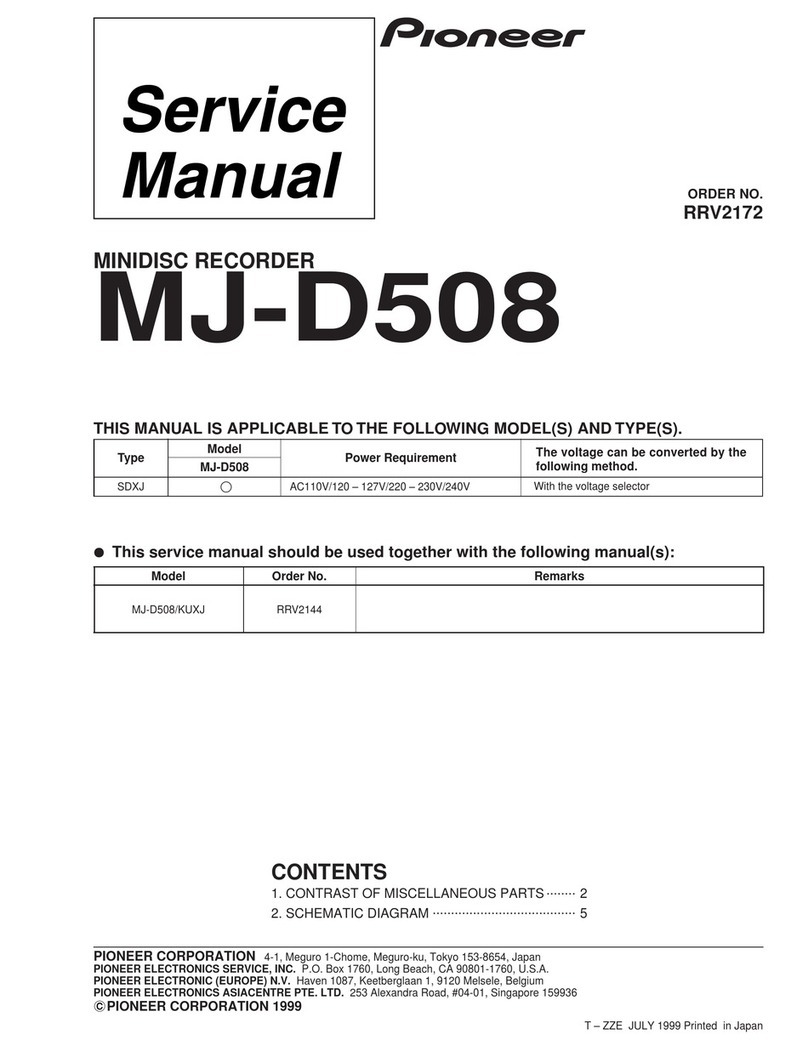
Pioneer MJ-D508 operating instructions

Pioneer

Pioneer MJ-D508 operating instructions

Kenwood 1050MD Service manual

Kenwood

Kenwood 1050MD Service manual

Sony pmn operating instructions

Sony

Sony pmn operating instructions

Panasonic SJ-MR200 operating instructions

Panasonic

Panasonic SJ-MR200 operating instructions

Sony MDS-E10 operating instructions

Sony

Sony MDS-E10 operating instructions

Onkyo MD-2321 instruction manual

Onkyo

Onkyo MD-2321 instruction manual

JVC XM-EX90 instruction manual

JVC

JVC XM-EX90 instruction manual

Kenwood 1050-DM Service manual

Kenwood

Kenwood 1050-DM Service manual

HHB Portadisc MDP500 Quick reference guide

HHB

HHB Portadisc MDP500 Quick reference guide

manuals.online logo
manuals.online logoBrands
  • About & Mission
  • Contact us
  • Privacy Policy
  • Terms and Conditions

Copyright 2025 Manuals.Online. All Rights Reserved.