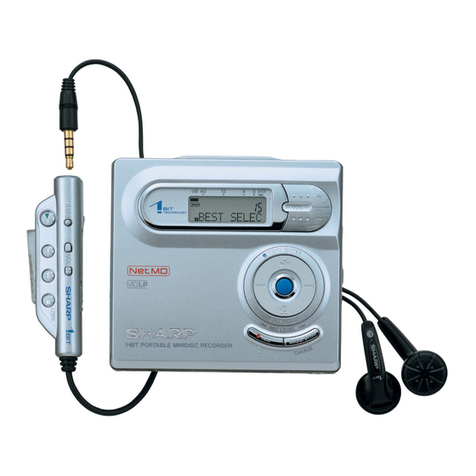
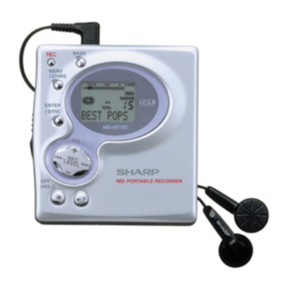
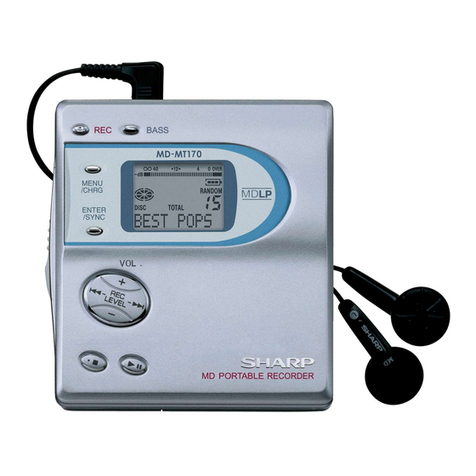
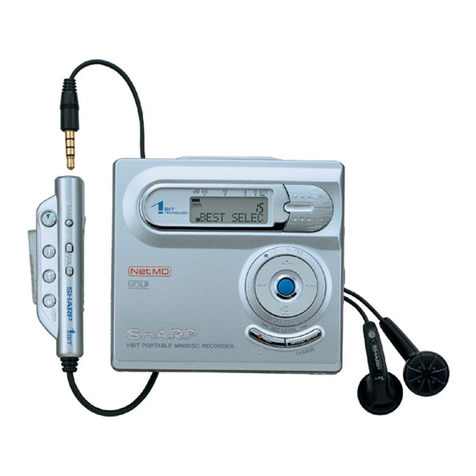
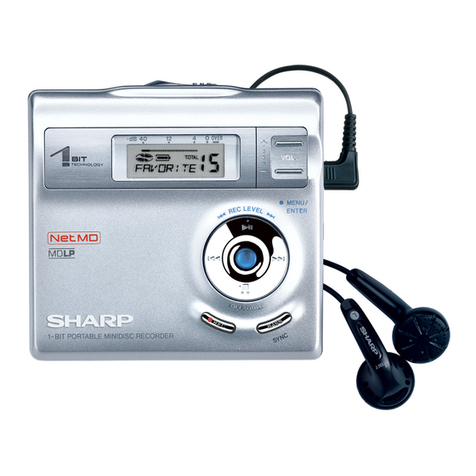
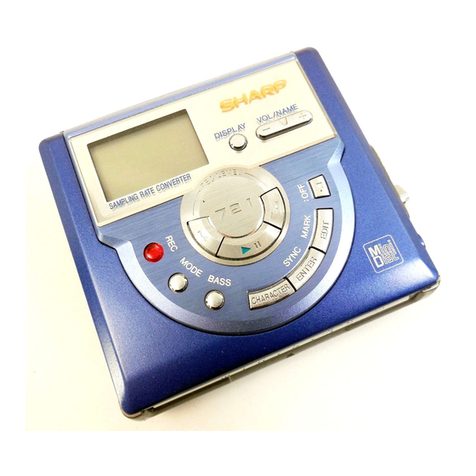
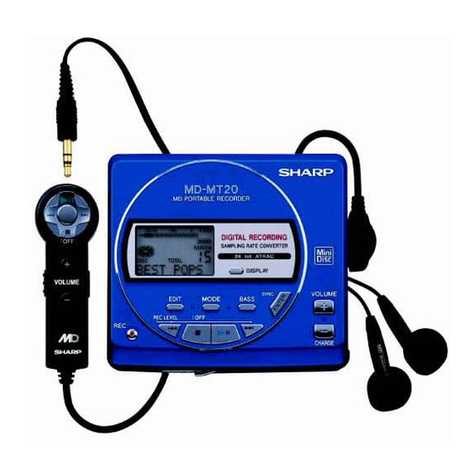
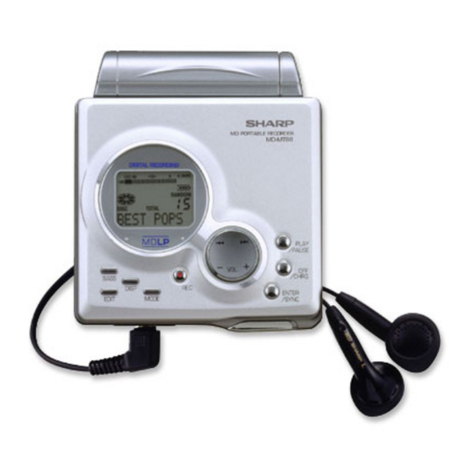
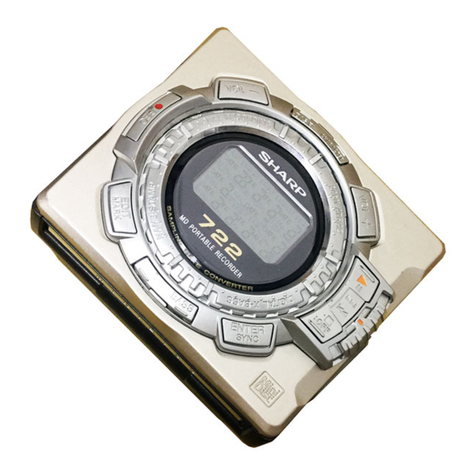
Sharp MD-MT80W User manual

PORTABLE MINIDISC
RECORDER
Thank you for purchasing this SHARP product.
For the best performance, read this manual carefully.
It will guide you in operating your SHARP product.
MODEL
MD-MT80W
OPERATION MANUAL

00/12/26 80SCA_02_08.FM
2
Important Introduction
-Accessories/Optional Accessories-
Accessories
Notes:
Optional Accessories
Headphones x 1
AC Adaptor x 1
Connection Cable (for analogue
recording) x 1
!Parts and equipment mentioned in this operation manual other than those detailed above are not included.
!The AC adaptor may be different from the one in the drawing.
Rechargeable Nick-
el-Metal Hydride
Battery (AD-N70BT)
Car adaptor
(AD-CA20X) Cassette adaptor
(AD-CT14) Connection Cable
(for digital record-
ing) (AD-M1DC)
Connection Cable
(for digital record-
ing) (AD-M2DC)

00/12/26 80SCA_02_08.FM
3
Important Introduction
-Contents-
Contents
„Important Introduction
Special Notes . . . . . . . . . . . . . . . . . . . . . . . . . . . . . . 4-5
Names of Controls and Indicators . . . . . . . . . . . . . 6-7
Precautions . . . . . . . . . . . . . . . . . . . . . . . . . . . . . . . . . 8
„Preparation
Inserting a MiniDisc . . . . . . . . . . . . . . . . . . . . . . . . . . 9
Connections . . . . . . . . . . . . . . . . . . . . . . . . . . . . . 10-11
„Basic Operation
Recording . . . . . . . . . . . . . . . . . . . . . . . . . . . . . . . 12-13
Playback . . . . . . . . . . . . . . . . . . . . . . . . . . . . . . . . 14-15
„Useful Features
Advanced Playback . . . . . . . . . . . . . . . . . . . . . . . 16-17
Advanced Recording . . . . . . . . . . . . . . . . . . . . . . 18-22
Recording from a Microphone. . . . . . . . . . . . . . . 23-25
Checking Displays . . . . . . . . . . . . . . . . . . . . . . . . 26-27
Battery Power . . . . . . . . . . . . . . . . . . . . . . . . . . . . 28-29
Hold Function . . . . . . . . . . . . . . . . . . . . . . . . . . . . . . 30
„Advanced Features
Changing Default Settings . . . . . . . . . . . . . . . . . . . . 31
Titling a MiniDisc . . . . . . . . . . . . . . . . . . . . . . . . . 32-35
Editing a Recorded MiniDisc . . . . . . . . . . . . . . . 36-38
Listening through Another System . . . . . . . . . . . . . 39
„References
Other Features and Caution . . . . . . . . . . . . . . . . . . . 40
MiniDisc System Limitations . . . . . . . . . . . . . . . . . . 41
Error Messages . . . . . . . . . . . . . . . . . . . . . . . . . . 42-43
Troubleshooting . . . . . . . . . . . . . . . . . . . . . . . . . . 44-45
Maintenance. . . . . . . . . . . . . . . . . . . . . . . . . . . . . . . . 45
Specifications. . . . . . . . . . . . . . . . . . . . . . . . . . . . 46-47

00/12/26 80SCA_02_08.FM
4
Important Introduction
-Special Notes-
Special Notes
„Warnings
zThe supplied AC adaptor contains no user serviceable
parts. Never remove covers unless qualified to do so.
It contains dangerous voltages, always remove mains
plug from the main outlet socket before any service
operation or when not in use for a long period.
zThe AC adaptor supplied with the MD-MT80W must
not be used with other equipment.
zTo prevent fire or shock hazard, do not expose this
appliance to dripping or splashing. No objects filled
with liquids, such as vases, shall be placed on the
apparatus.
zNever use an AC adaptor other than the one specified.
Otherwise, problems or serious hazards may be cre-
ated.
„Caution
zSHARP is not liable for damage or loss of your record-
ing arising from malfunction of this unit.
zWhen recording important selections, make a prelimi-
nary test to ensure that the desired material is prop-
erly recorded.
zThis product is classified as a CLASS 1 LASER
PRODUCT.
zUse the Portable MiniDisc Recorder only in accord-
ance with the instructions given in this manual and do
not attempt to interfere with the interlock switch or
make any other adjustment as this may result in expo-
sure to hazardous radiation.

00/12/26 80SCA_02_08.FM
5
Important Introduction
-Special Notes-
„Notes
zThe letters in brackets contained in the model number
indicate the colour of the product only. Operation and
specifications are unaffected.
zUS and foreign patents licensed from Dolby Laborato-
ries.
Note for users in Australia.
Copyright may exist in material you wish to record. Copy-
ing or broadcasting such material without permission of
the relevant licensees or owners of the copyright is pro-
hibited by law. SHARP is not in a position to authorise the
copying or broadcasting of copyright materials and noth-
ing in this OPERATION MANUAL should be implied as
giving that authority.
For other countries
Audio-visual material may consist of copyrighted works
which must not be recorded without the authority of the
owner of the copyright.
Please refer to the relevant laws in your country.

00/12/26 80SCA_02_08.FM
6
Important Introduction
-Names of Controls and Indicators-
Names of Controls and Indicators
„Main unit
1. 5V DC Input Socket (10)
2.Optical/Line Input Socket (10,11)
3.Microphone Input Socket (23)
4.Bass/Delete Button (15,33)
5.Edit/Auto Mark/Time Mark Button (21,25,32)
6.Display/Character Select Button (26,32)
7.Mode/Charge Button (17,28)
8.Record/Track Mark Button (12,21)
9.Volume/Cursor/Fast Forward/Fast Reverse/
Recording Level/Name Select Button
(12,15,16,31,32)
10.Play/Pause Button (12,15)
11.Stop/Power Off/Hold Button (13,15,30)
12.Enter/Fast Play/Synchro Button (17,18,20)
13.Headphones/Line Output Socket (14,39)
14.Open Lever (9)
15.Battery Cover (28)

00/12/26 80SCA_02_08.FM
7
Important Introduction
-Names of Controls and Indicators-
„Display panel
1. Level Meter (12)
2.Record Indicator (12)
3.Remaining Recording Time Indicator (26)
4.Monaural Long-Play Mode Indicator (19)
5.Repeat Indicator (17)
6.TOC Indicator (13)
7.Synchro Recording Indicator (18)
8.Disc Mode Indicator
9.Disc Name Indicator (26)
10.Track Name Indicator (26)
11.Total Track Number Indicator (26)
12.Fast Play Indicator (17)
13.Battery Indicator (27)
14.Random Indicator (17)
15.Track Number Indicator (26)
16.Character/Time Information Indicator

00/12/26 80SCA_02_08.FM
8
Important Introduction
-Precautions-
Precautions
„Important
zDo not wear your headphones when you are crossing
streets or near traffic.
z
Do not play the unit at a high volume. Hearing experts
advise against extended listening at high volume levels.
zIf you experience ringing in your ears, reduce the vol-
ume or discontinue use.
zNo naked flame sources, such as lighted candles,
should be placed on the apparatus.
zAttention should be drawn to the environmental
aspects of battery disposal.
zThis portable MD should only be used within the range
of 0°C - 40°C (32°F - 104°F).
To avoid accidental electric shock or other possible
problems, observe the precautions listed below.
zDo not disassemble or modify the unit.
zDo not drop or subject the unit to shock.
zDo not use the unit near open flames.
zDo not spill liquid on the unit.
zDo not use an external power supply, other than the
5V DC supplied with this unit, as it may damage it.
zSHARP is not responsible for damage due to improper
use. Refer all servicing to a SHARP authorised serv-
ice centre.
„Storing the unit
Avoid using or leaving the unit in the following
places.
zIf the unit is used near radio tuners or TVs, noise and/
or picture interference may result. If you experience
these problems, move the unit away from such
devices.
zIt is not recommendable to put the MiniDisc into a rear
pocket, as this may damage the product when sitting.
zDo not use your headphones whilst
driving a motor vehicle, it may cre-
ate a traffic hazard and may be ille-
gal. Remember to obey all of the
safety rules in your area.
zPlaces exposed to direct sunlight for
many hours (especially in cars with
the doors and windows closed) or
near heaters. (The cabinet may de-
form, change colour or the unit may
malfunction.)
zPlaces exposed to excessive dust.
zPlaces exposed to water.
zPlaces where temperatures are ex-
cessively high or low.
zPlaces (bathrooms) where the humid-
ity is extremely high.
zPlaces with strong magnetic fields
such as TVs or loudspeakers.
zPlaces exposed to vibration.
zPlaces where sand can easily enter
the inside of the unit (beaches etc.).

00/12/26 80SCA_09_11.FM
9
Preparation
-Inserting a MiniDisc-
Inserting a MiniDisc
Notes:
zDo not place the MiniDisc under the holder.
zIf any resistance is felt, do not force the MiniDisc into
the unit, as it may cause damage to the unit. If resist-
ance is felt, remove the MiniDisc and reload it.
zThe lid cannot be opened if "TOC" is displayed refer to
the instruction on page 13.
1Slide the OPEN lever to release the com-
partment door.
2Lift it up.
3Insert a MiniDisc as shown.
4Close the compartment door.

00/12/26 80SCA_09_11.FM
10
Preparation
-Connections-
Connections
You can record your favourite CDs or tapes to MD.

00/12/26 80SCA_09_11.FM
11
Preparation
-Connections-

00/12/26 80SCA_12_15.FM
12
Basic Operation
-Recording-
Recording
1Press the REC button.
2Begin playback on the stereo system con-
nected to this portable MD.
3Press the or button to adjust the re-
cording level.
Analogue recording
Adjust the recording level so that the maximum
sound volume from the source makes the reading
swing somewhere between 4 dB and 0 dB.
Digital recording
You can adjust the level in 1dB increments within
the range of +12 - 12dB.
Once you adjust the digital recording level, the set-
ting remains even after the recording stops. (For
cancellation instructions, see page 31.)
4Press the PAUSE button on the stereo sys-
tem to enter the playback pause mode.
Here you can search for the track to record.

00/12/26 80SCA_12_15.FM
13
Basic Operation
-Recording-
To interrupt recording
Press the PLAY/PAUSE button.
zTo resume recording, press the PLAY/PAUSE button
again.
zThe track number will be increased by one each time
the recording is interrupted.
To stop recording
Press the /:OFF button.
zWhen recording stops, "TOC" appears. Whilst "TOC"
appears the MiniDisc recorded contents have not yet
been updated.
zTo prevent the new recording from being lost it is not
possible to remove the MiniDisc whilst "TOC" is dis-
played.
To update the recorded contents of the
MiniDisc
Press the /:OFF button whilst in the stop mode.
The power turns off after recorded contents have been
updated on the MiniDisc.
About the TOC
After any recording or editing function "TOC" (Table Of
Contents) is displayed. To finalise the recording or editing
function, press the /:OFF button. During this process
"TOC" will flash and "TOC EDIT!" will be displayed. Dur-
ing any recording or editing function the MiniDisc unit lid
is locked, the MiniDisc cannot be removed until the proc-
ess is finalised.
Warning:
If the power is removed (Battery/AC adaptor) whilst
"TOC" is displayed, the MiniDisc unit lid will remain
locked until the battery/main power is restored and the
unit is turned on. Your new recordings or edited changes
will be lost and your MiniDisc may become unusable.
Caution:
Whilst "TOC" or "TOC EDIT!" is displayed, follow the
instructions below.
Otherwise, tracks may not be recorded properly.
Notes:
zChanging the volume level whilst recording does not
affect the recording.
zYou cannot adjust the bass level whilst recording.
5Press the PLAY/PAUSE button to start the
MiniDisc unit recording.
6Begin playback on the stereo system, the
output will be recorded.
- Do not jerk or bump the unit.
- Do not unplug the AC adaptor.
- Do not remove the rechargeable battery or an alka-
line battery.
- Do not subject the unit to shock.

00/12/26 80SCA_12_15.FM
14
Basic Operation
-Playback-
Playback

00/12/26 80SCA_12_15.FM
15
Basic Operation
-Playback-
To interrupt playback
Press the PLAY/PAUSE button.
To resume playback, press the PLAY/PAUSE button
again.
To stop playback
Press the /:OFF button.
If the unit is not operated for at least 2 minutes whilst in
the stop mode, the power will shut off automatically.
To turn off the power
Press the /:OFF button whilst in the stop mode.
„Volume control
Press the VOL+ button to increase the volume and the
VOL- button to decrease the volume.
„Bass control
Each time the BASS button is pressed, the tone will be
switched as follows.
Notes:
zIf power failure occurs whilst playing a disc using the
AC adaptor, disconnect it from the wall socket. Other-
wise, playback may start automatically when electricity
resumes.
zIf you connect the AC adaptor without installing the
rechargeable battery, playback may start automati-
cally. Be sure to turn off the power.
zReduce the volume before starting to play. MiniDiscs,
compared to ordinary cassette tapes, have very little
noise. If the volume is adjusted according to your
usual expectations of noise, high volume may damage
your hearing.
zThe sound escaping from your headphones may
annoy people around you. In particularly crowded
places (such as on trains or buses), reduce the vol-
ume.
1Insert the headphones plug into the
PHONES socket.
2Insert a MiniDisc (page 9).
3Press the PLAY/PAUSE button.
Playback starts automatically with a playback only
MiniDisc or a MiniDisc which is protected against
accidental erasure (Auto-play function). BASS 1 Emphasised slightly
BASS 2 Emphasised more
BASS 3 Emphasised fully
BASS OFF Cancelled

00/12/26 80SCA_16_30.FM
16
Useful Features
-Advanced Playback-
Advanced Playback
„To locate the desired portion
„To locate the beginning of a track
For audible fast forward:
Press and hold down the button during playback.
For audible fast reverse:
Press and hold down the button during playback.
zNormal playback will resume when the or
button is released.
zWhen the end of the last track is reached during fast
forward, the unit will enter the pause mode. When
the beginning of the first track is reached during fast
reverse, the unit will enter the playback mode.
To move to the beginning of the next track:
Press the button during playback.
To restart the track being played:
Press the button during playback.
To locate the next track:
Press the button whilst the unit is stopped.
To locate the previous track:
Press the button whilst the unit is stopped.
zToskip a number of tracks atonetime,press the
or button repeatedly until the desired track
number is shown.
zWhen you press the PLAY/PAUSE button, playback
starts from the beginning of the track.

00/12/26 80SCA_16_30.FM
17
Useful Features
-Advanced Playback-
„To play at double speed
Press the ENTER/SYNC button whilst a MiniDisc
recorded in the monaural long-play mode is being played.
zIf a track recorded in the stereo mode is reached dur-
ing fast playback, the fast playback mode will be can-
celled.
zDepending on the contents recorded on a MiniDisc, it
may be difficult to hear them.
To interrupt fast playback
Press the PLAY/PAUSE button during playback.
When the PLAY/PAUSE button is pressed again, the unit
will resume fast playback.
To return to normal playback
Press the ENTER/SYNC button.
„Random play or repeat play
During playback, press the MODE/CHRG button repeat-
edly to select the playback mode.
Notes:
zIf the playback mode is selected whilst stopped, press
the PLAY/PAUSE button to start playback.
zWhen "TOC" is displayed, random play or repeat play
is impossible.
zIn random play the unit will select and play tracks auto-
matically. (You cannot select the order of the tracks.)
After all of the tracks have been played once each in
random order, the unit will stop automatically.
zDuring random, random repeat, or single track repeat
play, you can forward or reverse the MiniDisc only
within the track being played.
zDuring random play, the unit cannot find the beginning
of any track which has been played.
zRepeat play lasts until you stop the unit.
RANDOM Random play
RANDOM Repeat play of tracks in random order
Repeat play of all of the tracks
1 Repeat play of a single track
No display Normal playback

00/12/26 80SCA_16_30.FM
18
Useful Features
-Advanced Recording-
Advanced Recording
„Playback sound-actuated recording
Recording automatically starts or pauses by detecting
sound from the stereo system (Synchronised recording).
To interrupt recording
zWhen the stereo system is stopped, the unit will enter
the synchro recording pause mode. When playback is
resumed, the recording will be resumed.
zIf a silence lasts for 3 seconds or more, the recording
will be paused (pause function does not work for
approximately 10 seconds after a recording starts).
When the unit receives sound again, recording auto-
matically starts.
zA new track number is created when the recording
resumes.
1Press the REC button.
2Begin playback on the stereo system con-
nected to this portable MD.
3Press the or button to adjust the re-
cording level. (See page 12.)
4Press the PAUSE button on the stereo sys-
tem to enter the playback pause mode.
Select the starting point for your recording and
press the PAUSE button.
5Press the ENTER/SYNC button.
z"SYNC" will be displayed.
zTo cancel the operation, press the /:OFF but-
ton.
6Begin playback on the stereo system. Re-
cording will begin automatically.

00/12/26 80SCA_16_30.FM
19
Useful Features
-Advanced Recording-
„Long-play recording
When recording in monaural long-play mode, the availa-
ble recording time will be doubled. Monaural long-play
recordings can be replayed at double speed, see page
17.
Notes:
zWhen the unit is stopped after a recording has been
made in this mode, the recording mode will return to
the stereo mode automatically.
zIf input is from a stereo source, the sounds from the
left and right channels will be combined.
zAlthough the monitor sound you hear in the head-
phones whilst recording is in stereo, recording will be
monaural.
zMiniDiscs recorded in the monaural long-play mode
may not play on other MiniDisc players.
1Press the MODE/CHRG button whilst the
recording is paused.
Stereo mode Monaural long-play
mode
2Start recording.

00/12/26 80SCA_16_30.FM
20
Useful Features
-Advanced Recording-
Advanced Recording (continued)
„To start recording from the middle of a
track
You can erase a portion of a track and make a new
recording.
All of the tracks that follow the newly recorded track will
be erased.
Note:
To keep a track after the point you want to make a new
recording, move the track and then make recording after
that point. (See "Editing a Recorded MiniDisc", page 38.)
1During playback, press the PLAY/PAUSE
button at the point where you want to be-
gin recording.
2Press the REC button.
To cancel the operation, press the /:OFF button.
3Press the ENTER/SYNC button.
All of the tracks and track names will be erased, fol-
lowing the point where the playback is paused.
4Press the PLAY/PAUSE button.
Recording will start.
Table of contents
Other Sharp Mini Disc Recorder manuals

Sharp
Sharp IM-DR420H User manual

Sharp
Sharp MD-MT877S User manual

Sharp
Sharp IM-DR420H User manual

Sharp
Sharp MD-R3 User manual

Sharp
Sharp MD-MT831H User manual

Sharp
Sharp IM-DR410E User manual

Sharp
Sharp MD-MT88H User manual

Sharp
Sharp MD-SR60 User manual

Sharp
Sharp MD-MT200H User manual

Sharp
Sharp MD-MT821H Quick start guide

Sharp
Sharp MD-MT20H User manual

Sharp
Sharp IM-DR400E User manual

Sharp
Sharp MD-MS200H User manual

Sharp
Sharp MD-DR370H User manual

Sharp
Sharp MD-MT180H User manual

Sharp
Sharp MD-MT866H User manual

Sharp
Sharp MD-MT180H User manual

Sharp
Sharp MD-MS722H User manual

Sharp
Sharp IM-DR420H User manual

Sharp
Sharp IM-DR410H User manual