manuals.online logo
Brands
  1. Home
  2. •
  3. Brands
  4. •
  5. Shimpo Instruments
  6. •
  7. Measuring Instrument
  8. •
  9. Shimpo Instruments PT-110 Installation manual

Shimpo Instruments PT-110 Installation manual

z
The Shimpo Model PT-110 Non-Contact Laser Tachometer is a
simple to use, ergonomic, rugged test instrument that operates
with optical laser technology. This velocity analyzing and mea-
suring device is ideal for rotational machine inspection and pro-
cess speed analysis. The PT-110 possesses a large backlit LCD
screen that provides clear viewing in any environment. Users can
obtain results in either Hertz or RPM, as well as Total counts with
the simple selection switch. During testing, the unit automatically
saves maximum, minimum, last recorded values and up to 96
logged data readings. The compact, lightweight PT-110 Tachom-
eter comes standard with reflective tape, 3 AAA batteries and pro-
tective carrying case.
PT-110 Non-Contact Tachometer
Operation Manual
SHIMPO INSTRUMENTS
To Avoid Injury, do not point the light beam of the in-
strument or have it reflected into the eyes of people
or animals.
Do not leave the device close to water or any other
liquid to avoid damage.
If not using this instrument for extended periods of
time, remove the batteries to prevent potential battery
leakage from causing product damage.
Do not attempt to open housing or do maintenance.
Damage to laser may occur.
SPECIFICATIONS
Range: 2.5~99999 RPM; 0.05 ~ 1666 Hz; 1 ~ 99999 Count
Resolution: 0.1 RPM (2.5 ~ 999.9 RPM); 1 RPM (above 1000
RPM); 0.01 Hz (0.05 ~ 99.99 Hz); 0.1 Hz (above 100 Hz)
Display: 5 digit, 0.7” (18 mm) LCD
Accuracy: +/-0.05% of Reading +/-1 LSD
Sampling Time: 0.8 second (over 60 RPM)
Detection: Laser
Measuring Distance: 2-20” (50-500 mm)
Memory: Automatically stores Maximum (UP), Minimum (dn), last
value (LA) and up to 96 readings for review. Maximum speed for
reading storage is every 0.8 seconds.
Dimensions: 6.1 x 2.8 x 1.4 (155 x 70 x 35 mm)
Power: 3 x 1.5V AAA battery
Enclosure: ABS plastic housing
Product Weight: 0.4 lb (181 g)
Package Weight: 0.9 lb (408 g)
Certifications: CE
Warranty: 1 Year
Included Accessories: 3 AAA batteries, protective carrying case,
reflective tape.
PRODUCT DIAGRAM
1. Reflective Tape (Included)
2. Light Beam
3. Measurement Button - When pressed Class II Laser is
active.
4. Function Select Switch
5. Memory Button
6. LCD Display
7. Battery Cover (On Back)
8. Laser Symbol Indicates Active Laser
8
1.888.610.7664
info@SHIMPO-Direct.com
-Direct.com
OPERATION
a. Loosen screw on battery cover and remove cover to install the
3 new AAA batteries.
b. Place a reflective mark on the object to be measured, using
supplied tape.
Measure RPM or Hz
a. Slide the function switch (4) to RPM or Hz, to select desired unit
of measure.
b. Press and hold the measurement button (3); Class II laser will
activate. Point light beam at the reflective mark to obtain readings.
c. After display data is stable and the desired amount of readings
have been taken, release the measurement button. The maximum
(UP), minimum (dn) and last value (LA) have been recorded over
the test period.
d. Press “MEM” button (5) to cycle the display through the maxi-
mum (UP), minimum (dn), and last (LA) values. The MEM button
must be pressed and released each time to cycle through the
values (Fig. 2).
A fourth press will begin a countdown. After the countdown reach-
es 1, “An” followed by the number of readings automatically re-
corded will be shown. For example, if 64 data points were saved
during measurement, display will show “An 64” (Fig. 3).
Continue to press MEM to cycle through each stored data point
reading. The data point rank followed by the value will be shown
with each subsequent press of the MEM button (Fig. 4).
After displaying all the saved data (maximum 96), the unit will
cycle back to Max, Min, and last value.
Measure TOTAL
a. Slide the function switch (4) to TOTAL
b. Hold measurement button and point light beam at the reflective
mark to begin counting. Every time the object rotates or passes
through the reflective mark, one value to the total count is added.
Release measurement button and the total count is stored.
c. Press “MEM” button (5) to show the TOTAL count.
Clear Stored Data
Press the measurement button (3) to delete all stored data. If
you then press MEM, all statistical values will be zero. Or simply
just start a new test with the measurement button (3) to eliminate
the old data and begin storing new data. (Note: When measured
values vary significantly, the maximum number of data values will
be less than 96.)
NOTES
1. Usage of reflective mark: the length of reflective mark should
not be too short. Recommend reflective mark lengths of 0.5” (12
mm). Place reflective mark on rotation axis. If rotation axis reflects
light, paint it black or cover with black tape, then stick on the re-
flective mark. The rotation axis should be smooth and clean.
2. When measuring low speed rotation, additional reflective marks
are recommended for more precise results. The displayed value
must be divided by the number of reflective marks to calculate the
true value.
3. If the tachometer is not going to be in use for extended periods
of time, please remove the batteries to prevent possible battery
leakage which could damage the instrument.
BATTERY REPLACEMENT
1. When the battery voltage is low, the left side of the LCD displays
the symbol which indicates that battery replacement is needed.
2. Loosen screw and open battery cover to remove the batteries
and replace with new batteries.
MAINTENANCE
Other than cleaning exterior with cloth, no maintenance can be
performed on product. Do not attempt to take unit apart with the
exception to battery cover. Damage to unit or laser may result.
Fig. 2
Fig. 3
Fig. 4
1.888.610.7664
info@SHIMPO-Direct.com
-Direct.com

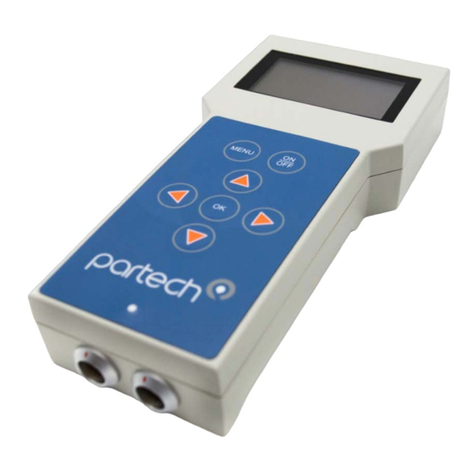
Other Shimpo Instruments Measuring Instrument manuals

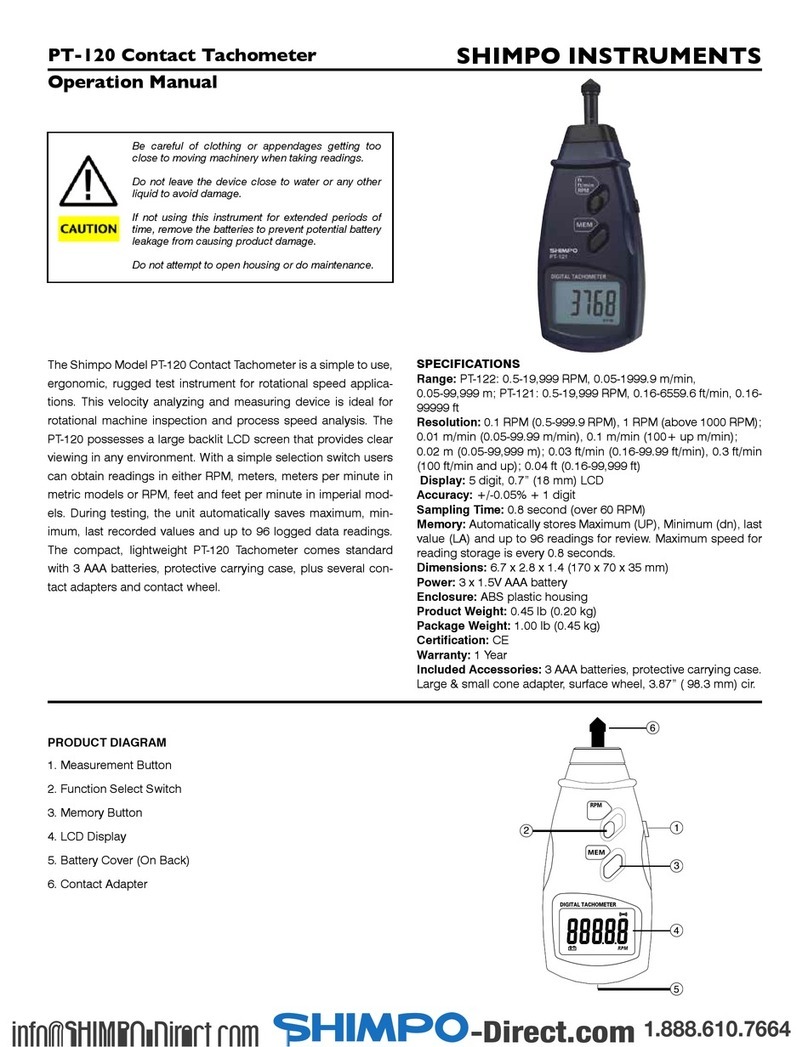
Shimpo Instruments PT-120 Installation manual

Shimpo Instruments

Shimpo Instruments PT-120 Installation manual

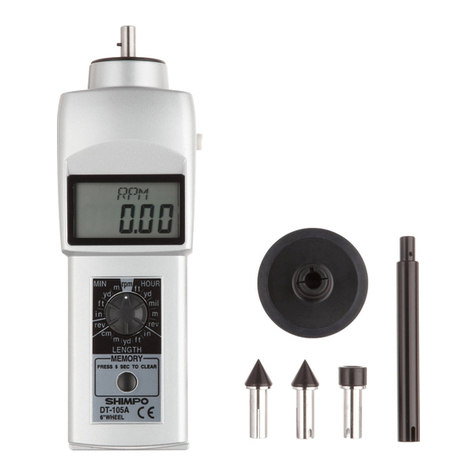
Shimpo Instruments DT-105A User manual

Shimpo Instruments

Shimpo Instruments DT-105A User manual

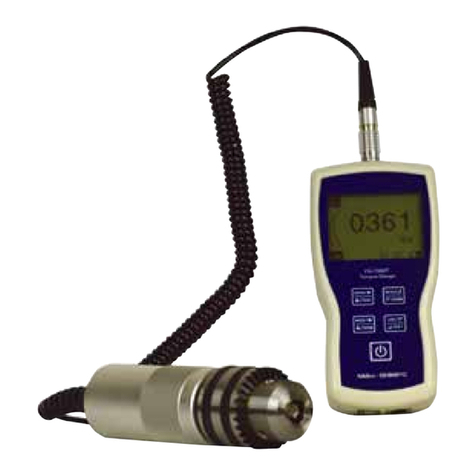
Shimpo Instruments FG-7000T User manual

Shimpo Instruments

Shimpo Instruments FG-7000T User manual

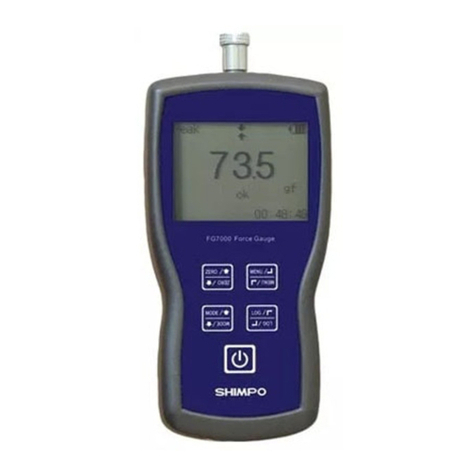
Shimpo Instruments FG-7000 User manual

Shimpo Instruments

Shimpo Instruments FG-7000 User manual

Popular Measuring Instrument manuals by other brands

Magnetic BR Instruction for the installation

Magnetic

Magnetic BR Instruction for the installation

Siemens FIDAMAT 6 operating instructions

Siemens

Siemens FIDAMAT 6 operating instructions

AEMC CA7027 user manual

AEMC

AEMC CA7027 user manual

Deltran Battery Tender 026-0020 User instructions

Deltran

Deltran Battery Tender 026-0020 User instructions

Innovative instruments DMM B18 manual

Innovative instruments

Innovative instruments DMM B18 manual

Burkert 8030 operating instructions

Burkert

Burkert 8030 operating instructions

MONTREL TECNOLOGIA ADR Multi 4000 Operation manual

MONTREL TECNOLOGIA

MONTREL TECNOLOGIA ADR Multi 4000 Operation manual

BMR Activator for Lift instruction manual

BMR

BMR Activator for Lift instruction manual

Chauvin Arnoux C.A 846 user manual

Chauvin Arnoux

Chauvin Arnoux C.A 846 user manual

Niigata seiki CDI-50 instruction manual

Niigata seiki

Niigata seiki CDI-50 instruction manual

Fluke 9040 user manual

Fluke

Fluke 9040 user manual

VDO Ocean Link Installation and operating instructions

VDO

VDO Ocean Link Installation and operating instructions

TAMS WRM-1 manual

TAMS

TAMS WRM-1 manual

Hultafors HDL 80 operating instructions

Hultafors

Hultafors HDL 80 operating instructions

Triplett 9200-A instruction manual

Triplett

Triplett 9200-A instruction manual

Kessler-Ellis Products 528 Series manual

Kessler-Ellis Products

Kessler-Ellis Products 528 Series manual

KPS KPS-MA10 instruction manual

KPS

KPS KPS-MA10 instruction manual

VEVOR CPS-5HP quick start guide

VEVOR

VEVOR CPS-5HP quick start guide

manuals.online logo
manuals.online logoBrands
  • About & Mission
  • Contact us
  • Privacy Policy
  • Terms and Conditions

Copyright 2025 Manuals.Online. All Rights Reserved.