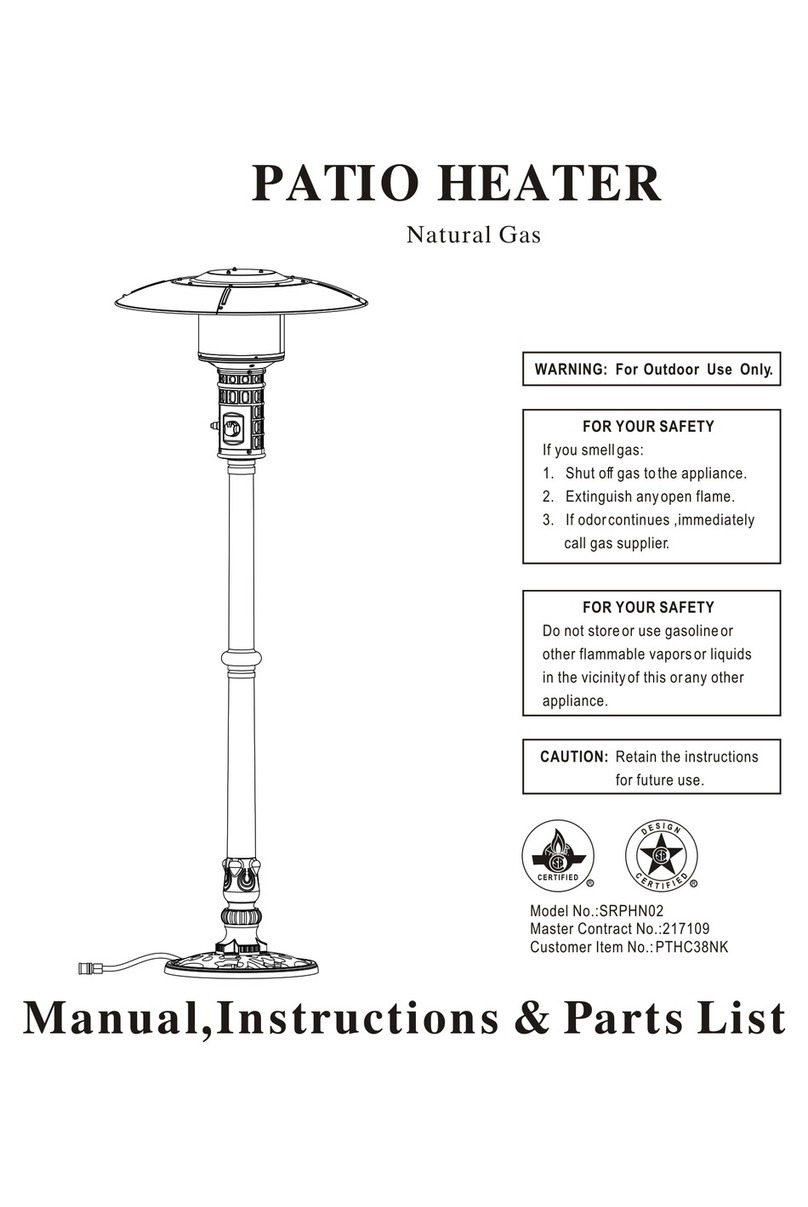
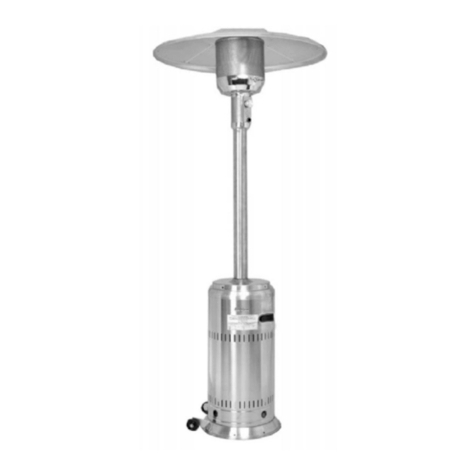
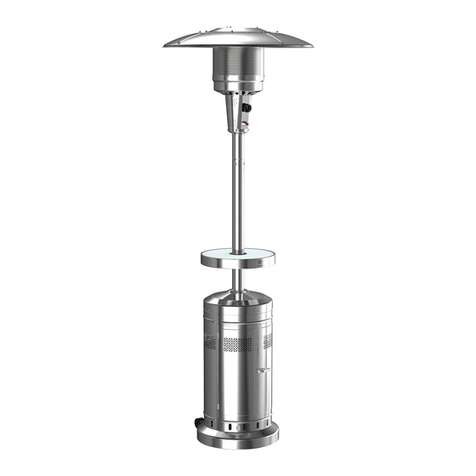
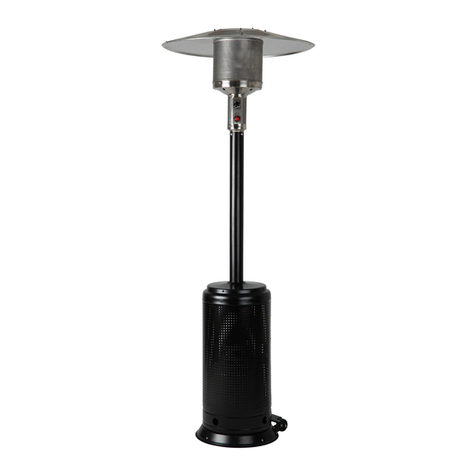
Shinerich SRPH32 User manual

Item NO.:SRPH32
Model NO.:08395002/11875000/
11875003/11875019
Patio Heater
Operator's manual, p.1
Radiateur de terrasse
Guide de l'utilisateur, p.13
Customer Service / Service à la clientèle : 1-866-814-0585
Our Customer service staff is available to help you. For any problem with your purchase, or to receive further
Keep this manual and the original sales invoice in a safe, dry place for future reference.
Notre personnel du service à la clientèle est disponible pour vous aider. En cas de problème avec votre achat, ou pour
obtenir plus d’informations à propos de ce produit, veuillez composer notre numéro sans frais.
Conservez ce guide avec la facture d’origine dans un endroit sûr et sec pour référence future.
information about this product, please call our toll-free number.
SAVE THIS MANUAL
CONSERVEZ CE GUIDE
1

Contents
General Safety Information....................................... 1
snoitcurtsnIylbmessA
Components & Hardware.......................................
.............................................
.
4
3
Additional Requirements ........................................ 4
s................................................. 5secorPnoitallatsnI
Leak Check............................................................. 7
Safety Check.......................................................... 8
Operation................................................................
................................................
7
Lighting Instructions................................................ 9
10tsilkcehCnoitarepO
Troubleshooting...................................................... 11
Maintenance........................................................... 11
Storage...................................................................
.
12
Service.................................................................... 12
Limited Warranty .................................................... 12
General Safety Information
This manual contains important information about the
assembly, operation and maintenance of this patio heater.
General safety information is presented in these first few
pages and is also located throughout the manual.
Keep this manual for future reference and to educate
new users of this product. This manual should be read in
conjunction with the labeling on the product.
Safety precautions are essential when any mechanical
or propane fueled equipment is involved. These
precautions are necessary when using, storing, and
servicing this appliance. Using this equipment with the
respect and caution demanded will reduce the possibilities
of personal injury or property damage.
The following symbols shown below are used extensively
throughout this manual. Always follow these precautions,
as they are essential when using any mechanical or
fueled equipment.
1
DANGER
DANGER indicates an imminently hazardous situation
which, if not avoided, will result in death or serious injury.
WARNING
WARNING indicates an imminently hazardous situation
which, if not avoided, could result in death or serious injury.
DANGER
WARNING
CAUTION
CAUTION indicates an imminently hazardous situation which,
if not avoided, may result in minor or moderate personal injury,
or property damage.
WARNING: For Outdoor Use Only
WARNING
DANGER
Failure to comply with the precautions and instructions
provided with this heater can result in death, serious bodily injury
and property loss or damage from hazards of fire,explosion,
burn, asphyxiation, and /or carbon monoxide poisoning.
Only persons who can understand and follow the instructions
should use or service this heater.
Improper installation, adjustment, alteration, service or maintenance
can cause property damage, injury or death. Read the installation,
operation and maintenance instructions thoroughly before installing
or servicing this equipment.
DANGER CARBON MONOXIDE HAZARD
This appliance can produce carbon
monoxide which has no odour.
Using it in an enclosed space can kill you.
Never use this appliance in an enclosed
space such as a camper, tent or home.
FOR YOUR SAFETY
If you smell gas:
1. Shut off gas to the appliance.
3. If odour continues, keep away from the appliance and
immediately call your gas supplier or fire department.
Do not store or use gasoline or other flammable
vapours and liquids in the vicinity of this or any
other appliance.
An LP-cylinder not connected for use shall not be
stored in the vicinity of this or any other appliance.

2
DANGER
paper or cardboard,
at a safe distance away from the heater
as recommended by the instructions.
the combustion chamber.
volatile or airborne combustibles, or products such as
gasoline, solvents, paint thinner, dust particles or unknown
chemicals.
ignition. Keep heater area clear and free from combustible
materials, gasoline, paint thinner, cleaning solvents and
other flammable vapours and liquids. Do not use heater in
areas with high dust content. Minimum heater clearances
from combustible materials: 24” (61 cm) from the sides &
36” (91 cm) from the top.
FOR YOUR SAFETY
If you smell gas:
1. Shut off gas to the appliance.
2. Extinguish any open flame.
3. If odour continues, immediately call your gas
supplier.
WARNING
We cannot foresee every use that could be made of our
heaters.
Check with your local fire safety authority if you have
questions about heater use.
Other standards govern the use of fuel gases and heat
producing products for specific uses. Your local authorities
can advise you about these.
In Canada, installation must conform to local codes.
If no local codes exist, follow the current National
standards of CANADA CAN/CGA-B 149.2.
DANGER
appliances produce carbon monoxide (CO) during the
combustion process. This product is designed to produce
extremely minute, non-hazardous amounts of CO if used
and maintained in accordance with all warnings and
instructions. Do not block air flow into or out of the heater.
symptoms, watery eyes, headaches, dizziness, fatigue and
possibly death. You can't see it and you can't smell it. It's
an invisible killer. If these symptoms are present during
operation of this product get fresh air immediately!
nly.
areas.
unventilated or enclosed areas to avoid endangering
your life.
CAUTION
propane cylinder valve outlet is clean.
abrasion or wear.
using soapy water. Never use an open flame during leak testing.
use with any device.
WARNING

3
WARNING
invisible, odourless, and flammable. An odorant is normally
added to help detect leaks and can be described as a
“rotten egg” smell. The odorant can fade over time so
leaking gas is not always detectable by smell alone.
sink to the lowest level possible. It can ignite by ignition
sources including matches, lighters, sparks or open flames
of any kind many feet away from the original leak. Use only
propane gas set up for vapour withdrawal.
local ordinances and codes or with ANS /NFPA 58. Turn off
propane when not in use.
DANGER
lights, direct sunlight, other ignition sources or where
temperatures exceed 120ºF (49°C).
in low places. If you smell gas, leave the area immediately.
lighted, near flame, pilot lights, other ignition sources or
while heater is hot to touch.
flammables too close to the burner. Keep flammables at
least 24” (61 cm) from sides & 36” (91 cm) from top.
Keep gasoline and other flammable liquids and vapours well
away from heater.
well ventilated space. Never store propane cylinder in an
enclosed area (house, garage, etc.). If heater is to be
stored indoors, disconnect the propane cylinder for outdoor
storage.
Assembly Instructions
Components
.Remove all components from package.
A
B
C
D
E
F
G
H
I
AA
BB
CC
DD
EE
FF
GG
J
Part Description
AA
M6 Nut
BB 6mm Washer
CC
M6 x 10 Screw
M6 x 20 Bolt
DD
EE
M6 x 14 Bolt
M5 x 12 Flat Bolt
FF
GG
6mm Spring Washer
2
PictureQuantity
15
17
12
6
4
6

4
Additional Requirements
The above items are not included, but are necessary for
the proper assembly of your heater. Do NOT attempt to
assemble without proper tools.
Note: You must follow all steps in order to properly assemble
heater.
WARNING
California Proposition 65
Combustion by-products generated when using
this product contain chemicals known to the state
of California to cause many serious diseases
such as cancer.
TOOLS AND PARTS
Description
Quantity
1
4
1
1
1
1
1
1
1
1
I
Part
A
B
C
D
E
F
G
H
J
Center Reflector Cap
Reflector Shields
Burn Head
Upper Pole
Lower Pole
Gas Hose and Regulator
(preassembled)
Decorative Cap
Base
Cylinder Locking Bar
Wheel
TOOLS REQUIRED (Not included):
Adjustable open
end wrench
Phillips Screwdriver
1
2
Part DescriptionPicture Quantity
Step 1
FF
BB
GG
6MM Washer
M6x20 Bolt
2
2
2
6MM Spring
Washer
G
I
GG
BB FF

5
Step 3
Step 5
Step 6
Part DescriptionPicture Quantity
FF 4
M6x20 Bolt
Part DescriptionPicture Quantity
DD 4
M6 x 14 Bolt
Part DescriptionPicture Quantity
EE 6
M5x12 Flat Bolt
Part DescriptionPicture Quantity
AA
CC
BB
M6x10 Screw
6MM Washer
M6 Nut
12
12
12
Part DescriptionPicture Quantity
AA
BB
3
3
M6x10 Screw
6MM washer
Step 2
Step 4
E
D
EE
C
D
DD
J
E
F
FF A
B
CC
BB
AA
AA
BB

The pressure regulator and hose assembly supplied with the
appliance must be used.
The installation must conform with local codes, or in the absence
of local codes,with National Fuel Gas Code, ANS Z223.1/NFPA54,
Natural Gas and Propane Installation Code, CSA B149.1, or Propane
Storage and Handling Code, B149.2.
A dented, rusted or damaged propane cylinder may be hazardous
and should be checked by your cylinder supplier. Never use a
propane cylinder with a damaged valve connection.
The propane cylinder must be constructed and marked in
accordance with the specifications for LP gas cylinders of the
U.S. Department of Transportation (DOT).
or the Standard for Cylinders, Spheres and Tubes for
Transportation of Dangerous Goods and Commission,
CAN/CSA-B339.
Never connect an unregulated propane cylinder to the heater.
Open the door of cylinder housing.
Attach regulator to cylinder.
Complete attachment.
Install cylinder.
A minimum permissible gas supply pressure of 11" W.C.
is required for adjustment purposes.
A minimum supply pressure of
5 PSI
is required for
propane input adjustment.
Storage of an appliance indoors is permissible only
if the cylinder is disconnected and removed from the
appliance. A cylinder must be stored outdoors in a
well-ventilated area out of the reach of children. A
disconnected cylinder must have dust caps tightly
installed and must not be stored in a building, garage
or any other enclosed area.
You must provide propane gas and propane cylinder.
Use a standard 20 lb. propane
cylinder in good condition only.
Use this heater only with a
propane vapour withdrawal
supply system.See
Chapter 5 of the Standard
for Storage and Handling
of Liquefied Petroleum
Gas, ANSI/NFPA 58.Your
local library or fire
department should have
this book.
Standard 20 lb. tank
The propane cylinder must have a connection device compatible with
the connection for the appliance.
The propane cylinder must have a listed overfilling prevention device.
The cylinder used must include a collar to protect the cylinder valve.
(a) Do not store a spare LP-gas cylinder under or near this appliance;
(b) Never fill the cylinder beyond 80 percent full;
(c) Place the dust cap on the cylinder valve outlet whenever the
cylinder is not in use. Only install the type of dust cap on the
cylinder valve that provided with the cylinder valve. Other type of
caps or plugs may result in leakage of propane.
Tighten
6
Step 7
Step 8
Step 9
Tighten
Fill at least 23 lb
sand into the hole.
H
H
G
H
gas hose and regulator

7
Leak Check
WARNING
tested and do not leak.
Make 2-3 oz. of leak check solution (one part liquid
dishwashing detergent and three parts water).
Apply several drops of solution where hose attaches
to regulator.
Apply several drops of solution where regulator
connects to cylinder.
Make sure all patio heater & light valves are OFF.
Turn cylinder valve ON.
If bubbles appear at any connection, there is a leak.
Turn cylinder valve OFF.
If leak is at hose/ regulator connection: tighten
connection and perform another leak test. If bubbles
continue appearing, please call Customer service.
If leak is at regulator/ cylinder valve connection:
disconnect, reconnect, and perform another leak
check. If you continue to see bubbles after several
attempts, cylinder valve is defective; please call
If NO bubbles appear at any connection, the
connections are secure.
.Turn Cylinder Valve OFF.
NOTE: Whenever gas connections are loosened or
removed, you must perform a complete leak test.
.Complete installation.
Operation
DANGER
unventilated or enclosed areas. This heater consumes air
(oxygen). Do not use in unventilated or enclosed areas to
avoid endangering your life.
Caution: Do not attempt to operate until you have read
& understand all General Safety Information in this
manual and all assembly is complete & leak checks
have been performed.
Hose
connection
Access Hose
Regulator
Connection
Cylinder
Connection
Customer service.

8
SAFETY CHECK
Annual check operation:
WARNING: ONLY AN AUTHORIZED GAS TECHNICIAN SHOULD INSTALL THIS PRODUCT.
PROPER ASSEMBLY IS THE RESPONSIBILITY OF THE INSTALLER.
a. Remove the observation window panel by unscrewing
two bolts.
b. Turn on LP gas cylinder valve.
c. Apply several drops (or use spray bottle) of the soapy
water solution onto gas hose connection and automatic
valve connection and the injector connection.
d. Inspect the connections and look for bubbles.
e. If no bubbles appear, the connection is safe.
f. If bubbles appear, there is a leak. Shut off the LP gas
cylinder valve, loosen and then re-tighten this connection.
g. Check for leaks again.
h. If bubbles still appear, close the LP gas valve and call our
tool-free customer service line at 1-866-814-0585. Do not
attempt to use the heater.
i. Hose checking steps:
(1) Unscrew the M6 x 14 bolts from the pole.
(2) Pull out the head assembly, hose & regulator from pole.
(3) Check if there are cracks or worn sections on the hose.
If any are found, replace the hose & regulator immediately.
(4) Check for leaks according to the above step by step
after replacing the hose & regulator.
Bolts
Observation
window panel
Gas hose connection
Injector connection
Automatic valve
connection

.Your heater was designed and approved for outdoor
use only. Do NOT use it inside a building, garage, or
any other enclosed area.
.Make sure surrounding areas are free of combustible
materials, gasoline, and other flammable vapours or
liquids.
.Ensure that there is no obstruction to air ventilation.
.Be sure all gas connections are tight and there are no
leaks.
.Be sure the cylinder cover is clear of debris.
.Be sure any component removed during assembly or
servicing is replaced and fastened prior to starting.
Before Lighting:
.Heater should be thoroughly inspected before each
use, and checked by a qualified service person at least
annually.
.If relighting a hot heater, always wait at least 5
minutes.
.Inspect the hose assembly for evidence of excessive
abrasion, cuts, or wear. Suspected areas should be
leak tested. If the hose leaks, it must be replaced prior
to operation. Only use the replacement hose
assembly specified by manufacturer.
Lighting:
Before Turning Gas Supply ON:
1. Turn the control knob to the “OFF” position.
2. Turn LP Cylinder gas valve to fully open position.
3. Push in the control knob and turn counter-clockwise
to "LOW" position. If needed, keep depressing and
turning control knob counter-clockwise until the burner
lights. (You will hear a clicking noise).
4. Once the burner is lit, keep the control knob
depressed for 30 seconds before releasing.
5. If the burner does not stay lit, repeat steps 3 and 4.
6. If the burner still does not stay lit:
a. Push in gas control knob and turn counter-clockwise
to the “LOW” position.
b. While depressing the control knob,insert a long stem
lighter into the ignition hole on the emitter screen,and
light the burner.
c. Repeat step 4.
7. To adjust the temperature, turn the control knob counter-
clockwise to the desired position.
8. To turn off the burner, push in the control knob and turn
clockwise to “OFF” position.
Flame Characteristics:
The flame pattern on the emitter screen should be visually
checked whenever the heater is operated. Normally the
burner flame is blue, but the tip of the flame may be yellow.
If flames extend beyond the surface of the emitter grid,
lift away from the burner, or carbon build-up appears as
a black spot on the emitter grid or reflector, the heater
should be turned off immediately. The heater should not
be operated again until the unit is serviced and/or repaired
by a qualified service technician.
9

If you experience any ignition problem please
consult “Troubleshooting” on page 11.
Caution: Avoid inhaling fumes emitted from the heater’s
first use. Smoke and odour from the burning of oils used in
manufacturing will appear. Both smoke and odour will
dissipate after approximately 30 minutes. The heater
should NOT produce thick black smoke.
Note: The burner may be noisy when initially turned on. To
eliminate excessive noise from the burner, turn the Control
Knob to the “LOW” position.Then,turn the knob to the level
of heat desired.
WARNING
FOR YOUR SAFETY
Be careful when attempting to manually ignite this heater.
Holding in the control knob for more than 10 seconds
before igniting the gas will cause a ball of flame upon
ignition.
When heater is ON:
Emitter screen will become bright red due to intense heat.
The color is more visible at night.
Burner will display flickers of blue and yellow flame. These
flames should not be completely yellow or produce thick black
smoke, which would indicate an obstruction of airflow through
the burners.
The flame should be blue with straight yellow tops.
If excessive yellow flame is detected, turn off heater and
consult “Troubleshooting” on page 11.
Re-lighting:
Note: For your safety, control knob cannot be turned OFF
without first depressing control knob in PILOT position and
then rotating it to OFF.
.Turn control knob to OFF.
.Wait at least 5 minutes to let gas dissipate, before
attempting to relight pilot.
.Repeat the “Lighting” steps on
previous
page.
WARNING
FOR YOUR SAFETY
Heater will be hot after use.
Let heater cool completely before moving.
Shut Down:
Note: After use, some discoloration of the emitter screen is
normal.
Operation Checklist
For a safe and pleasurable heating experience, perform
this check before each use.
Before Operating:
I am familiar with entire owner’s manual and understand all
precautions noted.
All components are properly assembled, intact and operable.
No alterations have been made.
All gas connections are secure and do not leak.
Wind velocity is below 16 km/h.
Unit will operate at reduced efficiency below 5ºC (40ºF).
Heater is outdoors (outside any enclosure).
There is adequate fresh air ventilation.
Heater is away from gasoline or other flammable
liquids or vapours.
Heater is away from windows, air intake openings,
sprinklers and other water sources.
Heater is at least 36" (91 cm) on top and at least 36" (91 cm)
on sides from combustible materials.
Heater is on a hard and level surface.
There are no signs of spider or insect nests.
All burner passages are clear.
All air circulation passages are clear.
Children and adults should be alerted to the hazards
of high surface temperatures and should stay away to
avoid burns or clothing ignition.
Young children should be carefully supervised when
they are in the vicinity of the heater.
Clothing or other protective material should not be hung
from the heater, or placed on or near the heater.
Any guard or other protective device removed for servicing
the heater must be replaced prior to operating the heater
Installation and repair should be done by a qualified service
person. The heater should be inspected before use and ate
least annually by a qualified service person.
More frequent cleaning may be required as necessary. It is
imperative that control compartment, burner and circulating
air passageways of the heater be kept clean.
After Operation
Gas control is in OFF position.
Gas tank valve is OFF.
Disconnect gas line.
Heater is upright in a secure location.
Push in and turn the control knob clockwise to the “OFF”
position.
Turn the LP cylinder gas valve clockwise to the “OFF”
position when the heater is not in use.
10

Troubleshooting
Maintenance
WARNING
FOR YOUR SAFETY:
after use.
To enjoy years of outstanding performance from your
heater, make sure you perform the following maintenance
activities on a regular basis:
Air flow must be unobstructed. Keep controls, burner,
and circulating air passageways clean. Signs of possible
blockage include:
a. Keep the appliance area clear and free from combustible
materials, gasoline and other flammable vapours and liquids.
b. Do not obstruct the flow of combustion and ventilation air.
Keep exterior surfaces clean.
Use warm soapy water for cleaning. Never use
flammable or corrosive cleaning agents.
While cleaning your unit, be sure to keep the area around the
burner and pilot assembly dry at all times. Do not submerge the
control valve assembly. If the gas control is submerged in water,
do NOT use it. It must be replaced.
c. Keep the ventilation opening(s) of the cylinder enclosure
free and clear from debris.
11
PROBLEM POSSIBLE CAUSE SOLUTION
Burner will not light
Control valve on OFF Turn the control valve to ON
.Gas odour, with extreme yellow tipping of flame.
.Heater does NOT reach the desired temperature.
.Heater glow is excessively uneven.
.Heater makes popping noises.
.Spiders and insects can nest in burner or orifices.
This dangerous condition can damage heater and
render it unsafe for use. Clean burner holes by using
a heavy-duty pipe cleaner. Compressed air may help
clear away smaller particles.
.Carbon deposits may create a fire hazard. Clean
dome and burner screen with warm soapy water if
any carbon deposits develop.
Note: In a salt-air environment (such as near an ocean),
corrosion occurs more quickly than normal. Frequently
check for corroded areas and repair them promptly.
.Store heater upright in an area sheltered from direct
contact with inclement weather (such as rain, sleet,
hail, snow, dust and debris).
.If desired, cover heater to protect exterior surfaces
and to help prevent build up in air passages.
.Never leave LP cylinder exposed to direct sunlight or
excessive heat.
Note: Wait until heater is cool before covering.
Service
Repair of gas lines and associated components
should be done only by a qualified service person.
Caution: Always allow heater to cool before
attempting service.

TIP:
Use high-quality automobile wax to help maintain the
appearance of your heater. Apply to exterior surfaces from
the pole down. Do not apply to emitter screen or domes.
Storage
Between uses:
.Turn control knob OFF.
.Disconnect LP cylinder.
.Store heater upright in an area sheltered from direct
contact with inclement weather (such as rain, sleet,
hail, snow, dust and debris).
.If desired, cover heater to protect exterior surfaces
and to help prevent build up in air passages.
Note: Wait until heater is completely cooled before covering.
During periods of extended inactivity or when
transporting:
.Turn control knob OFF.
.Disconnect LP cylinder and move to a secure,
well-ventilated location outdoors.
Thank you for purchasing this SHINERICH product. These
products have been made to meet, high-quality standards
and are guaranteed for domestic use against manufacturing faults
for a period of 12 months from the date of purchase. This warranty
does not affect your statutory rights.
In case of any malfunction of your SHINERICH product
(failure,missing part, etc.), please contact our toll-free service line
at 1-866-814-0585 from 8 AM to 8 PM, Monday to Friday, Eastern
time. SHINERICH reserves the right to repair or replace the
defective product, at its discretion.
The product is guaranteed for 1 year if used for normal purposes,
and is valid for the original buyer only. Any warranty is deemed
invalid if the product has been overloaded or used improperly,
or subject to neglect or attempted repairs other than by an
authorized agent. Industrial daily professional or rental usage
are not guaranteed. SHINERICH is not responsible for any costs
related to labour, injuries or any other loss incurred during the
product installation, repair or replacement, including any indirect or
consequential damages. Due to continuous product improvement,
we reserve the right to change the product specifications without
prior notice.
12
Limited Warranty

Table des matières
Consignes générales de sécurité.............................
.............................................................
.........................................
13
Pièces et quincaillerie..............................................
.
16
15
Autres exigences...................................................... 16
17
Détection des fuites................................................. 19
Fonctionnement....................................................... 19
Vérification de sûreté.............................................. 20
Instructions d’allumage........................................... 21
22
Dépannage................................................................. 23
Entretien.................................................................. 23
Rangement.............................................................. 24
Service..................................................................... 24
Garantie limitée........................................................ 24
Consignes générales de sécurité
Le présent Guide contient des renseignements importants
au sujet du montage, de l’utilisation et de l’entretien du
radiateur de terrasse. Les consignes générales de sécurité
figurent dans les premières pages ainsi qu’à plusieurs
autres endroits du Guide. Conservez le Guide à titre de
référence. Il doit servir également à informer tout nouvel
utilisateur de cet appareil. Il faut lire ce Guide en parcourant
les étiquettes apposées sur l’appareil. Des précautions
s’imposent lors de l’utilisation de tout appareil mécanique
ou alimenté au propane. Il faut se conformer aux consignes
de sécurité lors de l’utilisation, du rangement et de l’entretien.
Le fait d’utiliser cet appareil dans le respect des consignes
de sécurité et avec prudence réduira les risques de blessures
corporelles et de dommages matériels. Les symboles
illustrés ci-dessous sont employés abondamment dans le
présent Guide. Respectez scrupuleusement les consignes
de sécurité qui les accompagnent. Elles sont cruciales
lorsqu’une personne utilise des appareils mécaniques ou
au gaz.
Consignes de montage
Liste de vérification.................................................
Installation
DANGER
DANGER Le terme DANGER signifie une situation dangereuse
imminente qui, faute d’être évitée, provoquerait la mort ou de
graves blessures corporelles.
MISE EN GARDE
MISE EN GARDE Le terme MISE EN GARDE signifie une situation
dangereuse imminente qui, faute d’être évitée, serait susceptible
d’entraîner des blessures corporelles légères ou modérées, ou des
dommages matériels.
DANGER
MISE EN GARDE
AVERTISSEMENT
AVERTISSEMENT Le terme AVERTISSEMENT signifie une
situation dangereuse imminente qui, faute d’être évitée, serait
susceptible d’entraîner la mort ou des blessures corporelles graves.
MISE EN GARDE : Pour usage extérieur seulement
MISE EN GARDE
DANGER
Omettre de suivre les précautions et les instructions fournies avec
cet appareil peut entraîner la mort, des blessures corporelles
graves et des dommages matériels par suite des risques
d’incendie, d’explosion, de brûlure, d’asphyxie ou
d’empoisonnement par monoxyde de carbone. Seules les
personnes aptes à comprendre et à suivre ces instructions
peuvent utiliser ou effectuer l’entretien de ce radiateur.
Une installation, un réglage, une modification ou un entretien
inadéquats du radiateur de patio peuvent causer des dommages
matériels, des blessures ou des pertes de vie. Lisez les instructions
d’installation, de fonctionnement et d’entretien attentivement avant
d’installer cet appareil ou d’effectuer un entretien.
DANGER DANGER : MONOXYDE DE CARBONE
Cet appareil peut produire du monoxyde de
carbone qui est inodore. L’utilisation de cet
appareil dans un endroit fermé peut causer
la mort. Ne jamais utiliser cet appareil dans
un endroit fermé tel qu'un véhicule récréatif,
une tente ou une maison.
POUR VOTRE SÉCURITÉ
Si vous détectez une odeur de gaz :
1. Fermez l’alimentation en gaz à l’appareil.
2. Éteignez toute flamme nue.
3. Si l’odeur persiste, éloignez-vous de l’appareil et contactez
immédiatement votre fournisseur de gaz ou le service des incendies.
N'entreposez pas et n'utilisez pas d'essence ou autres liquides et
vapeurs inflammables à proximité de cet appareil ou tout autre
appareil.Une bonbonne de propane non branchée ne doit pas être
rangée à proximité de cet appareil ou tout autre appareil.
13

DANGER
O U D ’ I N C E N D I E
POUR VOTRE SÉCURITÉ
AVERTISSEMENT
DANGER
MISE EN GARDE
AVERTISSEMENT
tibles comme les matériaux de construction, le papier et
le carton, tel que le stipulent les présentes consignes.
bouches de ventilation de la chambre de combustion.
risque de contenir des combustibles volatils ou
atmosphériques ou encore des produits comme de
l’essence, des solvants, des diluants, de la poussière en
suspension ou des produits chimiques inconnus.
d'allumage. Gardez l’espace entourant l’appareil
dégagé et exempt de matières combustibles comme
l’essence, les diluants, les solvants ainsi que les vapeurs
et les liquides inflammables. N’utilisez pas cet appareil
dans les endroits très poussiéreux. Les dégagements
minimaux à respecter autour du radiateur sont les
suivants : 24 po (61 cm) sur les côtés et 36 po (91 cm)
au-dessus de l’appareil.
Si une odeur de gaz est perceptible :
1. couper l’alimentation en gaz de l’appareil;
2. éteindre toute flamme vive;
3. si l’odeur persiste, appeler immédiatement le fournis-
seur de gaz.
Nous
ne sommes
pas
en mesure de prévoir tous les usages
qui seront faits de nos radiateurs. Vérifiez auprès du
service de sécurité contre les incendies si vous avez des
questions au sujet de l’utilisation de cet appareil. D’autres
normes régissent l’utilisation des gaz combustibles et des
appareils producteurs de chaleur destinés à des usages
particuliers. Les autorités locales peuvent vous informer à
ce sujet. Au Canada, l’installation doit être conforme au
CARBONE
appareils de combustion produisent du monoxyde de
carbone (CO) pendant la combustion. De par sa concep-
tion, cet appareil est censé produire une quantité minime
et sans danger de CO s’il est utilisé et entretenu confor-
mément à tous les avertissements et à toutes les
consignes. Il ne faut pas bloquer le débit d’air entrant ou
sortant de l’appareil.
peut provoquer la mort, se manifeste par des symptômes
semblables à ceux de la grippe : yeux larmoyants, maux
de tête, étourdissements et fatigue. Vous ne pouvez ni
sentir ni voir le monoxyde de carbone. C’est un tueur
silencieux. Si ces symptômes se manifestent pendant
que l’appareil fonctionne, allez immédiatement respirer de
l’air frais!
lieu clos ou sans ventilation.
vie, n’utilisez jamais cet appareil dans un lieu clos ou
sans ventilation.
ENTRETIEN DE SÉCURITÉ
vous que la sortie du robinet de la bonbonne est propre.
présente des signes d’abrasion ou d’usure.
en utilisant de l’eau savonneuse. N’utilisez jamais une flamme
à cette fin.
modifiez pas et ne tentez pas de l’utiliser avec un autre appareil.
année.
est chaud ou qu’il fonctionne.
14
Une fois en marche, cet appareil
Usage à l'extérieur seulement.
l'installation initiale,
code en vigueur dans la région. En l’absence d’un tel code,
respectez la version la plus récente de la norme nationale
CAN/CGA-B 149.2 du Canada.
le

AVERTISSEMENT
DANGER
Consignes de montage
Pièces
Retirez toutes les pièces de leur emballage.
Cet appareil est alimenté en gaz propane. Le gaz propane est
odorisant est ajouté au gaz propane pour permettre de
détecter les fuites. Il dégage une odeur qui ressemble à celle
des œufs pourris. L’odorisant peut s’atténuer avec le temps, ce
par l’odorat seulement.
Le gaz propane est plus lourd que l’air, du gaz qui fuit aura
donc tendance à s’accumuler au niveau du sol. Ce gaz peut
sous toutes les formes, et ce, même si ces sources se trouvent à
plusieurs mètres de la fuite. N’utilisez que des bonbonnes
munies d’un dispositif d’évacuation de la vapeur.
L’entreposage et l’utilisation du gaz propane doivent être
exécutés dans le respect des règlements locaux, des codes locaux
ou de la norme ANSI/NFPA 58. Coupez l’alimentation en gaz
propane quand l’appareil n’est pas utilisé.
D LOSION T D
N’entreposez jamais du propane à proximité d’une source de
directement au soleil ou à proximité d’une source
supérieures à 49 °C (120 °F).
Comme le propane en phase gazeuse est plus lourd que l’air, il
peut s’accumuler au ras du sol. Si une odeur de gaz est
perceptible, quittez les lieux immédiatement.
N’installez ni ne retirez jamais la bonbonne de propane
lorsque le radiateur est allumé ou à proximité d’une
soit possible d’y toucher.
d'allumage,
rche; des
au moins 24 po (61 cm) des côtés de l’appareil et au moins
36 po (91 cm)du dessus du radiateur. Tenez le radiateur éloigné
de l’essence et
ropane doit toujours être rangée à
l’extérieur, dans un endroit bien aéré. Ne rangez jamais la
bonbonne de propane dans un espace clos (maison, garage,
etc.). Si le radiateur doit être rangé à l’intérieur, déconnectez la
bonbonne de propane et rangez cette dernière à l’extérieur.
Description ImageQuantité
Rondelle de 6 mm
Rondelle à resort
de 6 mm
Boulon M6 x 10
Boulon M6 x 20
Boulon M6 x 14
Boulon plat M5 x 12
Écrou M6
15
Pièce
AA
BB
CC
DD
EE
FF
GG 2
15
17
12
6
4
6
A
B
C
D
E
F
G
H
I
AA
BB
CC
DD
EE
FF
GG
J

Note: vous devez suivre toutes les étapes dans l'ordre afin
de monter correctement le radiateur.
Installation
Autres exigences
Les outils ci-dessus ne sont pas compris, mais sont nécessaires
pour réaliser le montage de votre appareil. Ne tentez PAS
d’assembler le radiateur si vous ne disposez pas des outils
adéquats.
Étape 1
Rondelle de 6 mm
Boulon M6 x 20
Rondelle à resort
de 6 mm
DescriptionImagePièce Quantité
16
G
I
GG
BB FF
FF
BB
GG
2
2
2
AVERTISSEMENT
Tel que stipulé dans la Proposition 65 de la Californie, les
sous-produits de la combustion générés par l’utilisation de
cet appareil contiennent des substances chimiques
désignées par les autorités de l’État comme causant
de nombreuses maladies graves dont le cancer.
OUTILS ET PIÈCES
Description
Quantité
1
4
1
1
1
1
1
1
1
1
I
Pièce
A
B
C
D
E
F
G
H
J
Écran de réflecteur
Brûleur
Poteau supérieur
Poteau inférieur
Capuchon décoratif
Base
OUTILS REQUIS (non compris)
Clé ouverte
réglable
Tournevis
cruciforme
1
2
Capuchon central du
réflecteur
Barre de blocage de la
bonbonne
Roulettes
Boyau et régulateur de
gaz (pré-assemblé)

DescriptionPièce Image Quantité
FF 4
Boulon M6 x 20
DD 4
Boulon M6 x 14
EE 6
Boulon plat M5 x 12
Boulon M6 x 10
Rondelle de 6 mm
Écrou M6
AA
BB
3
3
Boulon M6 x 10
Rondelle de 6 mm
DescriptionPièce Image Quantité
DescriptionPièce Image Quantité
DescriptionPièce Image Quantité
DescriptionPièce Image Quantité
17
Étape 3
Étape 5
Étape 6
AA
CC
BB
12
12
12
Étape 2
Étape 4
E
D
EE
C
J
E
F
FF A
B
CC
BB
AA
AA
BB
D
DD

Vous devez fournir le gaz
propane ainsi que la
bonbonne.N’utilisez que
des bonbonnes
standard de 2
2
0 lb
de propane, en bon état.
.Une pression minimale
de 5 lb/po est requise
pour l'ajustement de
l'entrée de gaz dans
l'appareil. Il n'est permis
de ranger l'appareil à
l'intérieur que si la bonbonne
de propane est débranchée
et retirée de l'appareil.
Les bonbonnes de propane
doivent être entreposées
à l'extérieur, hors de la portée des enfants. Toute
bonbonne déconnectée doit comporter un bouchon
antifuites serré fermement et ne pas être placée
dans un bâtiment fermé tel qu'un garage.
Raccordez le régulateur à la bonbonne.
Terminez le raccordement.
Installez la bonbonne.
Bonbonne standard de 20 lb
Le régulateur et le boyau fournis avec l'appareil doivent être utilisés.
L’installation doit se conformer aux codes locaux. En l’absence de codes
locaux, l’installation doit se conformer aux normes du National Fuel Gas
Code, ANS Z223.1/NFPA54, au Code d’installation du gaz naturel et du
propane CSA B149.1, ou au Code sur le stockage et la manipulation du
propane B149.2.
Une bonbonne de propane bosselée, rouillée ou endommagée pose un
risque et doit alors être inspectée par le fournisseur de bonbonnes.
N’utilisez jamais une bonbonne dont le raccord de robinet est abîmé.
Utilisez uniquement une bonbonne de propane fabriquée et étiquetée selon
la norme du “US Department of Transportation (DOT)” ou la Norme
nationale du Canada CAN/CSA-B339, "Bouteilles et tubes utilisés pour
le transport des marchandises dangereuses".
Ne jamais raccorder une bonbonne de propane non réglementaire au
radiateur.
Ouvrez la porte du boîtier de la bonbonne.
Une pression minimale d’admission du gaz de 11 po CE est
nécessaire pour les besoins du réglage du débit d’admission.
La bonbonne doit avoir un dispositif de prévention du trop-plein.
La bonbonne doit être munie d’un collet pour protéger la soupape.
La bonbonne doit avoir un dispositif de raccordement compatible avec
la connexion de l’appareil.
(a) Ne pas ranger de bonbonne de propane de rechange sous cet appareil ou
à proximité;
(b) Ne jamais remplir la bonbonne à plus de 80% de sa pleine capacité;
(c) Placez le capuchon antipoussières sur la soupape de la bonbonne
lorsqu’elle n’est pas utilisée. Utilisez uniquement le capuchon
antipoussières fourni avec la soupape de bonbonne. D’autres types de
capuchons peuvent causer des fuites de propane.
Serrer
18
Étape 7
Étape 8
Étape 9
Serrer
Versez au moins 23 lb
de sable dans le trou.
H
H
G
H
boyau et régulateur

Détection des fuites
AVERTISSEMENT
de fuites.
raccords et vous être assuré qu’ils ne fuient pas.
Préparez 2 à 3 oz d’une solution de détection des
fuites (une part de détergent liquide pour lave-vaiselle
pour trois parts d’eau).
Déposez plusieurs gouttes au point de raccord entre
le tuyau flexible et le régulateur.
Déposez plusieurs gouttes au point de raccord entre
le régulateur et la bonbonne.
Assurez-vous que le radiateur et les soupapes
d’allumage sont bien fermés.
Ouvrez le robinet de gaz de la bonbonne.
Si des bulles se forment sur un raccord, c’est qu’il y a une fuite.
Fermez le robinet de gaz de la bonbonne.
Si le raccord du tuyau flexible avec le régulateur fuit,
resserrez le raccord et effectuez un autre test.
Si les bulles continuent d'apparaître, le boyau doit
être retourné au manufacturier.
Si le raccord du régulateur avec le robinet de gaz de la
bonbonne fuit, déconnectez puis raccordez le raccord.
Effectuez ensuite un autre test de fuites.
Si des bulles se forment toujours après plusieurs essais,
cela signifie que le robinet de la bonbonne est défectueux.
Vous devrez retourner la bonbonne à l’endroit où vous
l’avez achetée.
Si aucune bulle ne se forme sur les raccords, les
raccords sont étanches.
Fermez le robinet de gaz de la bonbonne
NOTA : Dès qu’un raccord se desserre ou est déconnecté,
vous devez effectuer un nouveau test de fuites.
Terminez l’installation.
Fonctionnement
DANGER
Ne jamais utiliser à l’intérieur ou dans un lieu non ventilé ou
vie, n’utilisez jamais cet appareil dans un lieu clos ou sans
ventilation.
Mise en garde : Ne tentez pas de faire fonctionner
l’appareil avant d’avoir lu et compris les consignes
générales de sécurité contenues dans le présent
Guide et avant d’avoir terminé le montage ainsi que
les tests de fuite.
Connexion
du dispositif
Raccord du
régulateur
Tuyau d'accès
Raccord de la bouteille
19
tests de fuites
MONOXYDE
This manual suits for next models
4
Table of contents
Languages:
Other Shinerich Patio Heater manuals
Popular Patio Heater manuals by other brands
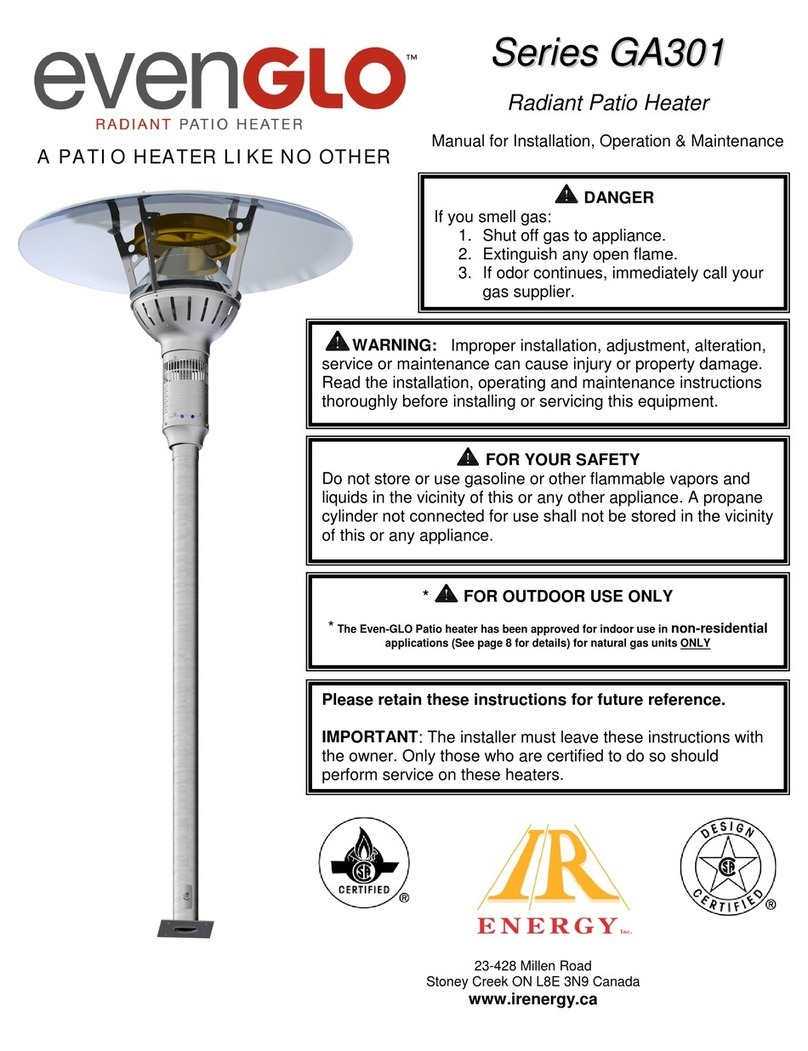
IR Energy
IR Energy Even-GLO GA301 Series Installation, operation & mainenance manual

theBBQshop
theBBQshop 51611010 Safety, Installation, Operation and Maintenance
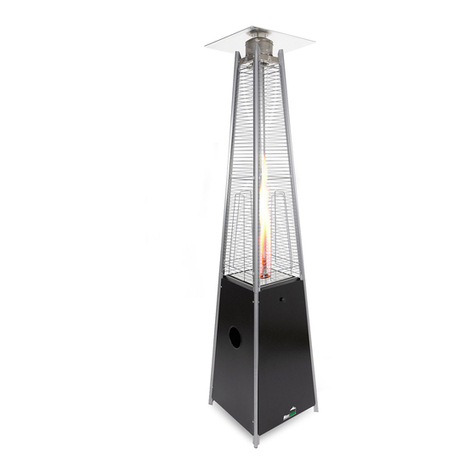
MaxxGarden
MaxxGarden 21967 user manual
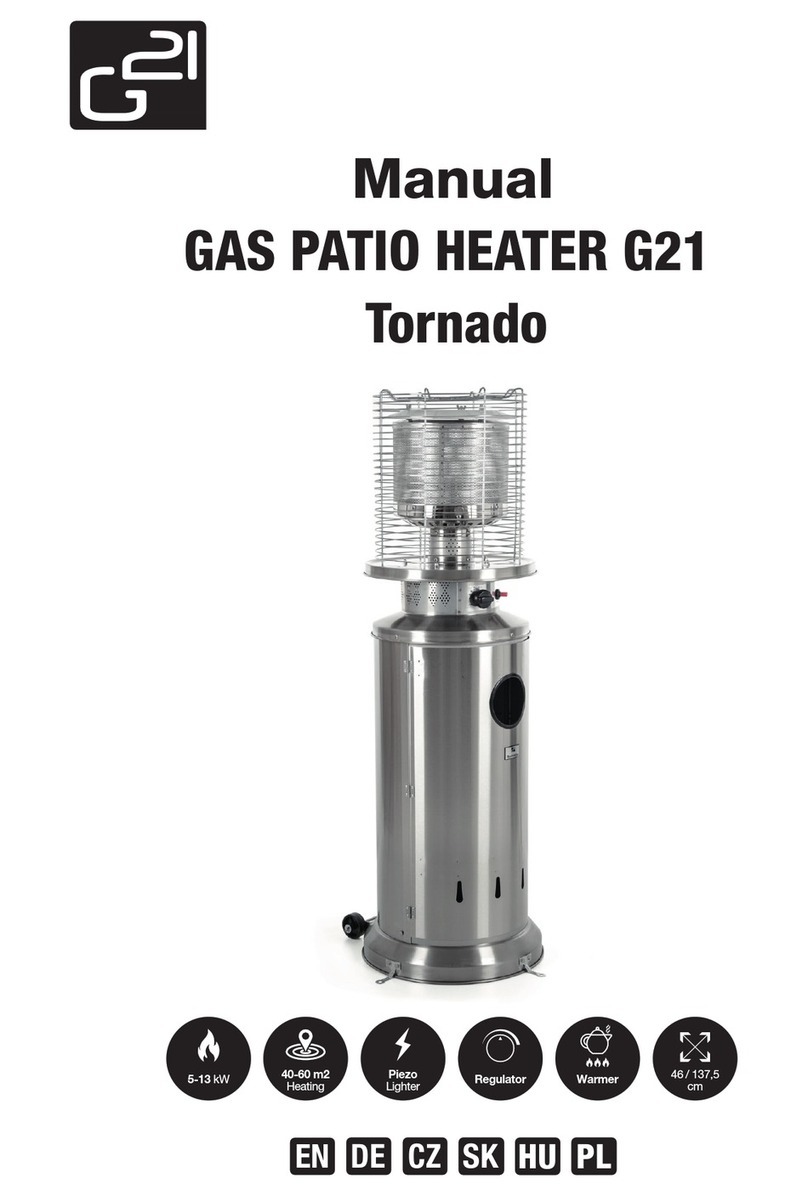
G21
G21 Tornado manual
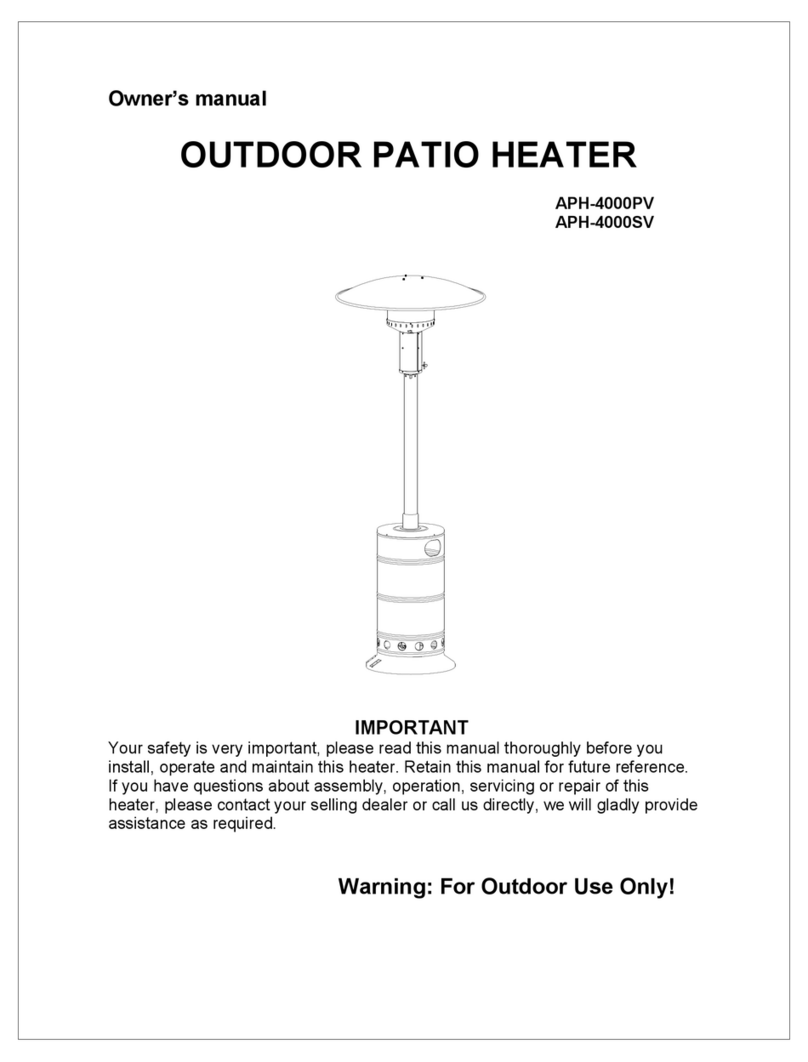
New Air
New Air APH-4000PV owner's manual

Paramount Fitness
Paramount Fitness LIP 10 A TGG instruction manual
