SHORE TEL AP100 User manual

ShoreTel AP100/AP110 Business Telephone
Pocket User Guide

ShoreTel
AP100/AP110
Business
Telephone
User Guide
Last revised: April 16, 2004

Contents
Introduction ..................................................................................1
Installation and Setup ................................................................1
Installation..................................................................................1
1. Connect the handset cord ............................................1
2. Attach the stand ............................................................1
3. Connect the cords..........................................................2
4. Press the cords into grooves ........................................2
5. Install the phone ............................................................3
6. Install on a wall ..............................................................3
7. Insert number card ........................................................4
Screens States and Softkeys Setup..........................................5
Screen States and Softkeys........................................................8
Idle State ..................................................................................8
Pickup Menu Screen ................................................................9
Parked - Pickup Parked Calls............................................9
Ext - Pickup Ringing Extension ......................................9
Night - Pickup the Night Bell ........................................10
Vmail - Accessing Voicemail ................................................10
Greetng - Greeting Menu......................................................10
Mode - Call Handling Mode ................................................10
Connected State....................................................................11
Placing a Call on Hold ....................................................12
Parking Calls......................................................................12
Transferring Calls ............................................................13
Conference Calls ..............................................................13
Call Waiting........................................................................14
Inbound Call State ..............................................................14
Interactive Branding ................................................................15
Other Phone Features ..............................................................16
AP110 especial features not found on the AP100 ................16
ShoreTel AP100/AP110 User Guide
ii ShoreT
el AP100/AP110 User Guide iii
ShoreTel Inc. will not accept liability for any damages,
including long distance charges, which result from unautho-
rized and/or unlawful use.
While every effort has been made to ensure accuracy,
ShoreTel Inc. will not be liable for technical or editorial
errors or omissions contained within this documentation.
The information contained in this documentation is subject
to change without notice.
ShoreTel Inc.
Tel. 408.331.3300
Fax. 408.331.3333
www.ShoreTel.com
info@ShoreTel.com
Copyright 2004 ShoreTel Inc.
All Rights Reserved. Printed in Canada

Deleting all Entries in the Directory ............................28
Locking the Directory ....................................................29
Unlocking the Directory ................................................29
Using the Callers List ............................................................29
Viewing the Callers List ..................................................30
Calling an Entry in the Callers List ..............................30
Copying from the Callers List to the Directory..........30
Changing a Number in the Callers List
before Dialing ..................................................................30
Deleting an Entry in the Callers List ............................31
Deleting all Entries in the Callers List..........................31
FAQ ................................................................................................32
Limited Warranty ......................................................................35
Exclusions ................................................................................35
Warranty Repair Services ......................................................36
After Warranty Service ..........................................................36
Important Safety Instructions ..............................................37
Installation ..............................................................................37
Use ............................................................................................38
US Regulations—Please Read Carefully............................39
Federal Communications Commission (FCC) Notice......39
EMI/EMC (FCC Part 15) ......................................................42
ShoreT
el AP100/AP110 User Guide v
Customizing Your Phone—Options Menu ......................17
Setting your Options..............................................................17
1. Language........................................................................17
2. Time/Date ....................................................................17
3. Set ring tone..................................................................18
4. Clear Message Waiting ................................................18
5. Area Code......................................................................18
6. Contrast Level ..............................................................18
7. Security Numbers ........................................................18
8. Live Dialpad..................................................................19
9. Set Audio ......................................................................19
Predialing a Number ..............................................................20
Using the Redial List..............................................................20
Redialing a Number ........................................................20
Deleting the Redial List ..................................................20
Headset Operation....................................................................21
Using a headset with your ShoreTel AP100 phone ..........21
Using a headset with your ShoreTel AP110 phone ..........21
Dataport Operation ..................................................................23
Adjusting the Volume ..............................................................23
Status Lights ..............................................................................24
Speaker Light ..........................................................................24
Telephone Light......................................................................24
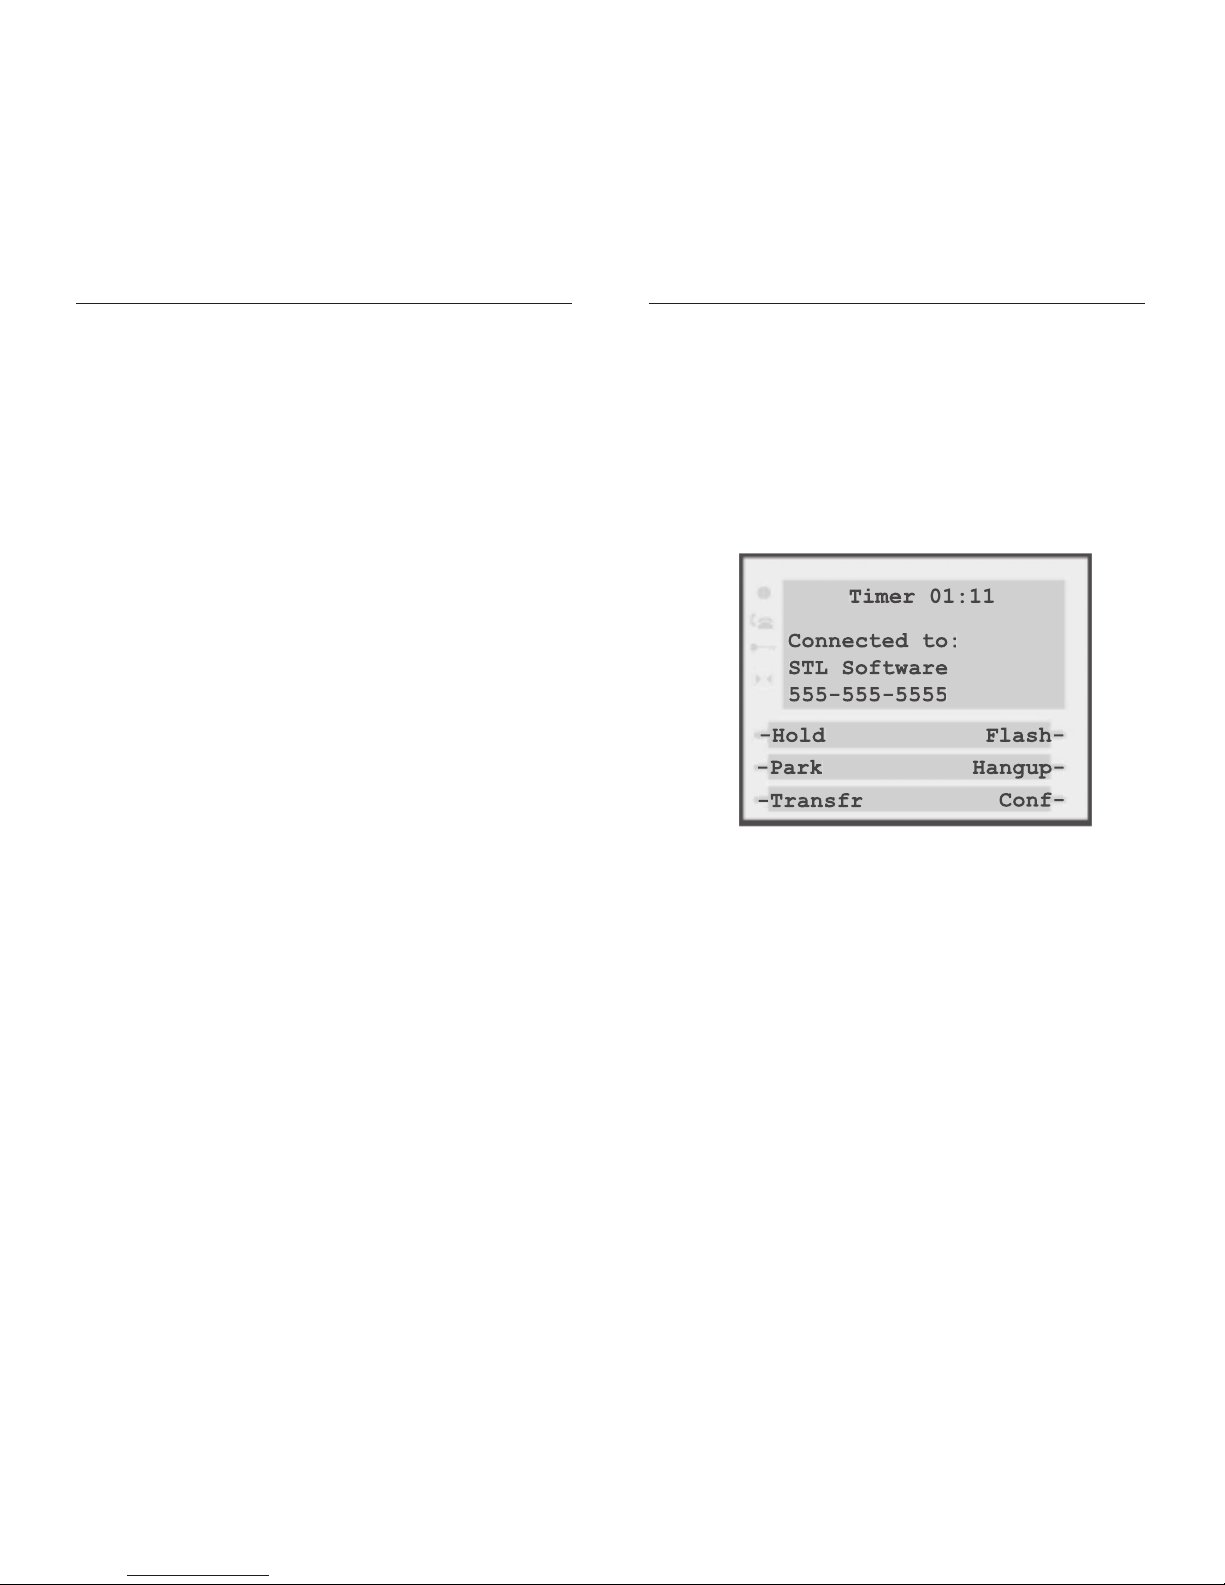
Timing a Call ..........................................................................24
Additional Phone Features ....................................................25
Emergency Service Feature ..................................................25
Using the Directory................................................................25
Adding a Name and Number to the Directory ..........26
Entering Letters and Characters ....................................26
Finding Entries in the Directory ..................................27
Changing Entries in the Directory ................................27
Copying from the Callers List, the Redial List,
or the Display to the Directory......................................28
Dialing from the Directory ............................................28
Deleting an Entry from the Directory..........................28
ShoreT
el AP100/AP110 User Guide
iv
Contents

Introduction
This manual covers the use of the ShoreTel AP100
and ShoreTel AP110 business phones with the
ShoreTel phone system. The ShoreTel AP100 and
AP110 phones provide an easy-to-use interface
through its large screen and 6 softkeys. By providing
this interface, the user no longer has to remember all
the phone feature codes to perform functions such as
call handling, or extension management.
This manual should therefore be used in place of the
Telephone User Interface Quick Reference provided
with the telephone. Please continue to refer to The
Analog Telephone Interface Guide for all other
ShoreTel features.
Installation and
Setup
Installation
1. Connect the handset cord
Turn the telephone over and locate the handset jack
marked . Insert one end of handset cord into the
jack until it clicks into place. Then route the handset
cord through the groove as shown in the illustration
on the next page. Attach the handset to the other end
of the handset cord.
2. Attach the stand
If you plan to mount the phone on the wall, you do
not need to attach the stand, skip this step. If you plan
to use the phone on a desk, attach the stand by insert-
ing the tabs on the stand (marked with ) into the
ShoreT
el AP100/AP110 User Guide 1

5. Install the phone
If you have installed the stand and are using the phone
on a desk:
Simply turn the telephone over so it rests on the stand.
Connect the phone cord to a phone jack and plug the
power adapter into a power outlet.
6. Install on a wall
To install the phone on a wall:
A. Connect the cord to the wall jack.‡
B. Coil the phone cord into the space provided on the
back of the phone.
C. Align the telephone so the hooks on the wall plate,
align with the wall-mount slots on the back of the
phone, as shown here.
D. Push the phone onto the pegs, and then slide it
down until it is secure
E. Plug the power adaptor into a power outlet
ShoreT
el AP100/AP110 User Guide 3
Installation & Setup
slots on the bottom of the telephone. For a higher
viewing angle, use the slots marked . For a lower
viewing angle, use the slots marked . Then rotate
the stand towards the phone until it snaps into place.
3. Connect the cords
If you attached the stand to install the phone on a
desk, route both the phone cord and power adapter
cord through the opening in the stand. Insert the
phone cord into the slot on the back of the telephone
marked until it clicks into place. Insert the power
cord into the power jack marked .
Note: You should connect the power adaptor to a surge
protector or power bar.
4. Press the cords into grooves
Press the cords into two of the grooves provided on
the bottom the stand. This will allow the stand to sit
flat on a desk surface.
ShoreT
el AP100/AP110 User Guide
2
‡Note: You may wish to purchase a short phone cord from a
local supplier for a wall installation.

Screen States and
Softkeys Setup
After phone is plugged in and powered up, lift the
Handset. If softkey‡labels appear on the screen as
shown next, your phone set up is complete. If this is
the case, skip to the next chapter Screen States and
Softkeys.
If softkey labels do not appear on screen:
1. Please dial 1-866-732-8791 (toll free for most States
within North America) or 604-629-4976 to program
your phone
2. At the voice prompt press 2 to download program-
ming. You will see the next screen, please wait. (No
more than ten seconds).
ShoreT
el AP100/AP110 User Guide 5
7. Insert number card
Write your telephone number on the number card, and
place it into the card slot on the telephone, located
under the mouthpiece in the handset cradle. Gently
bend the clear plastic lens into the slot, over the num-
ber card.
ShoreT
el AP100/AP110 User Guide
4
‡The softkeys are the 6 buttons on either side of the screen.
The softkey labels are the text that appears beside the buttons

4. Next, the screen should say either Accept
download from ShereTel Slot 2 or
Slot 4, please press Yes again.
5. Last, the screen should say Download com-
plete and the phone hangs up itself.
Note: If the screen displays Phone ID not found,
please press the Agent softkey to connect with an agent.
ShoreT
el AP100/AP110 User Guide 7
Screen States & Softkeys Setup
3. When the screen displays the prompt, “Do you have
a passcode?” select the No.
The screen should now say Accept Download
from ShoreTel Slot 1. Please press Yes.
Caution: DO NOT pres Yes during a beep. If you
do you may hear a noise similar to a dial up modem or
fax machine. If this happens please hang up and try
again.
ShoreT
el AP100/AP110 User Guide
6
Getting CPE ID...
Do you have a
passcode
-Yes No-
Quit-

Pickup Menu Screen
Press the Pickup softkey from the Idle screen and
your ShoreTel AP100/AP110 phone will prompt you
to Select Pickup Type.
Parked – Pickup Parked Calls
This softkey allows you to answer calls parked at an
extension. To use this feature,
1. Press the Parked softkey
2. Enter extension number where the call is parked
3. Press the OK softkey to connect
Ext – Pickup Ringing Extension
This softkey allows you to answer calls parked at any
extension. To use this feature,
1. Press Ext
2. Enter the ringing extension’s number
3. Press the OK softkey to connect
ShoreT
el AP100/AP110 User Guide 9
Screen States and
Softkeys
The ShoreTel AP100 and AP110 phone contains three
basic screen states—Idle, Connected and Inbound.
These screen states have softkeys to help you make
and manage your calls more easily.
Idle State
The Idle State is the screen you will see most often. It
allows you to make calls, pick up calls, check voicemail
and manage your extension.
Note: When you place the handset in the cradle or press
the button when the handset is in the cradle, the Idle
State Screen will go away for 7 seconds. If you need the Idle
State functions immediately, press the button in the
model AP100 or /in the model AP110 or pickup the
handset.
ShoreT
el AP100/AP110 User Guide
8

Connected State
The Connected State Screen will appear when you are
talking to someone on the phone and is used for all
call handling functions such as Transferring calls,
Parking Calls, Conferencing Calls and Placing Calls on
Hold.
Tip: To see the Connected State immediately when
you are retrieving a call or answering a call at another
extension use the Pickup softkey. If you use the
ShoreTel keycode—retrieve a parked call (*12) or call
ringing at another extension (*11)—you will have to
wait for the Connected State to appear for a few sec-
onds.
Tip: To perform all your call handling functions with-
out having to remember the codes, use the Transfr,
Park and Conf softkeys. You can also use the
Flash softkey, but you will need to know the AltiGen
keycodes
ShoreT
el AP100/AP110 User Guide 11
Screen States & Softkeys
Night – Pickup the Night Bell
This softkey allows you to pick up the ringing Night
Bell at your extension. To use this feature, press the
Night softkey when your phone is ringing to be con-
nected.
Vmail – Accessing Voicemail
The Vmail softkey on the Idle State screen will
access your voicemail box. For more information on
this feature, please review the Voicemail section of
Telephone User Interface of Quick Reference.
Greetng – Greeting Menu
This softkey allows you to change your greeting. You
will be prompted for your password. For more infor-
mation on this feature, please review Telephone User
Interface Quick Reference.
Mode – Call Handling Mode
This softkey allows you to change your extension’s call
handling mode. You can choose from Standrd,
Meeting,Out,Extnded and Custom Modes to
better suit your extension’s status. You will be prompt-
ed for your password.
ShoreT
el AP100/AP110 User Guide
10

Transferring Calls
To transfer a call to another extension, while connect-
ed to a call:
1. Press the Transfr softkey
2. Enter the extension
3. Press the Hangup softkey to complete the transfer
Note: You can use the Back softkey to connect to the incom-
ing call.
Consultation
If you wish to place a call on hold and consult with a
third party, you can use the transfer key as well. While
connected to a call:
1. Press the Transfr softkey
2. Enter the extension to which you wish to transfer
3. Wait for the third party to answer
4. Consult with the third party
• Press the Back softkey if you want to disconnect
from the third party and go back to the original
caller
• Or press the Hangup softkey to transfer the
caller to the third party.
Conference Calls
Conference calling is supported for up to three parties
with the ShoreTelsystem. While connected to the first
party:
1. Press the Conf softkey
2. Enter the extension or (9) + outside number you
wish to add to the conference
3. When the party answers, press the Conf.In soft-
key to create the conference or
4. Press the Back softkey to cancel the conference,
ShoreT
el AP100/AP110 User Guide 13
Screen States & Softkeys
Placing a Call on Hold
To place a call on hold:
1. Press the Hold softkey
2. Press the Hangup softkey
Your phone will ring once every minute to remind you
of the held call. To retrieve a held call, simply press
the Unhold softkey.
You can also use this method to switch between your
current call to a call that is on hold.
Tip: Do not use the button at the top of
the phone to place callers on hold. This simply mutes
the call and they will not hear any on-hold music con-
nected to your ShoreTelsystem.
Parking Calls
To place a call on hold so that it can be retrieved from
another extension, you must park the call. While con-
nected to a call:
1. Press the Park softkey
2. Enter the extension at which you wish to park the
call
3. Press the Hangup softkey
To retrieve the parked call from any extension:
1. Press the Pickup softkey from the idle state screen
2. Press the Park softkey, enter the extension number
and press the OK softkey
Important: Hang up at least 2 seconds between calls
to avoid accidentally transferring or placing calls on
hold.
ShoreT
el AP100/AP110 User Guide
12

3. Pickup the handset.
When you answer the call, the screen will change to
the Connected State. If you can answer the call, it will
go to voicemail and the phone will return to the Idle
State screen.
Interactive
Branding
Interactive Branding allows you to personalize your
phone with two lines of custom text on your phone
Idle state screen via the web. Each line can be up to 20
characters long.
Please go to www.sayson.com . Then click on Products
and then on Interactive Branding.
In the two fields provided, please type in the informa-
tion you want to place on your screen. Then press the
submit button.
ShoreT
el AP100/AP110 User Guide 15
disconnect the last caller and go back to the original
caller.
Call Waiting
If your phone is enabled for call waiting and you hear
the call waiting tone, press the Flash softkey to
answer the second phone call. The first call will be put
on hold. To return to the first call, press Flash soft-
key again.
Note: If you are unable to make calls within certain area
codes, check with your system administrator for any toll restric-
tions placed on your extension that restricts your access to long
distance area codes and dialing prefixes.
Inbound Call State
When someone calls your extension, you will see the
Inbound Call Screen. To answer the call:
1. Press the Answer softkey for hands free operation.
2. Press the in the model AP100 or /
in the model AP110.
ShoreT
el AP100/AP110 User Guide
14

Customizing Your
Phone—Options
Menu
There are nine configuration options, accessed by
pressing .
Setting your Options
1. Press to enter the Options List.
2. Use and to scroll through the list of nine
options.
3. Press the Show softkey to configure an option.
4. Use the softkeys to change a selected option.
5. Press the Done softkey at any time to exit the
option, or press to exit the Options list.
1. Language – Select a language for the display
prompts (English, French, or Spanish).
2. Time/Date – Use this option to change the time
and date setting on the display. Press the appropriate
softkey to increase that item by 1. For example, press
ShoreT
el AP100/AP110 User Guide 17
Please follow the instructions you will see there after
pressing the submit button.
Other Phone
Features
AP110 especial features not found on the AP100
• Headset mode: Activate headset with the touch of a
button without losing the ability to use speaker-
phone or handset. The AP110 is equipped to accept
headsets with either a RJ22 or a 2.5mm standard
jack
• Security Numbers: This feature prevents selected
numbers from appearing on the display screen when
dialed or redialed.
• Live Dial Pad.
• Data port: Fax/Modem.
• Displays time and date, along with New Callers,
Message Waiting, and Extension in
Use status display text.
• Multi-functional FSK and Voltage Message waiting
indicator (for Incoming Call, Extension-in-Use,
Message Waiting, and Hold).
ShoreT
el AP100/AP110 User Guide
16

appear in the Redial list display. Up to three security
numbers can be created using this option. Press the
Change softkey and then enter the security number.
8. Live Dialpad – Use this option to turn on or off
the dial pad mode. With live dialpad on, the telephone
automatically dials out and turns on Handsfree as
soon a dial pad key or softkey is pressed. With live
dialpad off, you must dial the number first and then lift
the handset or press the press the button in
the model AP100 or / button in the AP110.
Press the Change softkey to turn on or off the dial
pad mode.
9. Set Audio – The Model AP110 telephone allows
you to use a handset, headset or handsfree to handle
incoming and outgoing calls. This option provides dif-
ferent combinations of these three methods to provide
maximum flexibility in handling calls. There are four
options to choose from:
• Handsfree – this is the default setting. Calls can
be made or received using the handset or handsfree
speakerphone and can be switched between the two
modes.
• Headset‡– choose this setting if you want to
make or receive all calls using a headset.
• Spkr/Hset – calls will be sent to the handsfree
speakerphone. By pressing the / button on the
phone you can switch between the handsfree speak-
erphone and a headset.
• HSet/Spkr – calls will be sent to the headset. By
pressing the / button on the phone you can
ShoreT
el AP100/AP110 User Guide 19
Customizing Your Phone
the Hour softkey to increase the hour from 1 to 2.
Note: The ShoreTel Phone sets the time and the date
when you receive your first call
3. Set ring tone – Press the Change softkey to
select one of four ring tones.
4. Clear Message Waiting – Sometimes the
Message Waiting prompt will appear and the
light will flash when there are no messages waiting on
your Voice Mail service. When in this option, select the
Clear softkey to clear the prompt and flashing light.
The light will flash again when there are new messages
waiting.
5. Area Code – In some locations, you cannot dial a
local number using the area code. By default, incoming
calls are recorded with area codes in the Callers List.
This option allows you to enter up to three local area
codes to be removed from incoming calls. Press the
Change softkey to enter an area code.
6. Contrast Level – Use the Change softkey to
cycle through 8 contrast settings, which brighten or
darken the display
Security Numbers and Live Dialpad exclusive
to the model AP110
7. Security Numbers – This option allows you to
keep selected numbers from appearing on the screen
when dialed. Use this option to protect passwords,
access codes etc. When a security number is used, your
telephone displays the asterisk * symbol for all digits
entered after the security number and the digits do not
ShoreT
el AP100/AP110 User Guide
18
‡Note: If this option is chosen, the handsfree speakerphone will
not function.

Headset Operation
The model AP100 phone is headset compatible and
the AP110 is equipped with headset mode.
Tip: Contact your telephone equipment retailer or dis-
tributor to purchase a headset. Customers should read
and observe all safety recommendations contained in
headset operating guides when using any headset.
Using a headset with your
ShoreTel AP100 phone
Making calls using a headset on the ShoreTel
AP100 phone
1. Remove the handset from the phone cradle to get
dial tone.
2. Dial the number.
3. To end a call, return the handset to the phone cradle.
Receiving calls using a headset on the
ShoreTel AP100 phone.
1. When you receive an incoming call remove the
handset from the phone cradle
2. To end a call, return the handset to the phone cradle.
Using a headset with your
ShoreTel AP110 phone
The ShoreTel AP110 is equipped to accept headsets
with either a modular RJ22 jack or a 2.5mm standard
jack. Headsets with a modular RJ22 jack can be con-
nected to the phone by using the jack on the back of
the set. Headsets with a standard 2.5mm jack can be
ShoreT
el AP100/AP110 User Guide 21
switch between the headset and the handsfree speak-
erphone.
Predialing a Number
Predialing lets you view a number before you dial.
Enter the number using the dial pad and before lifting
the handset. Use the Backspace softkey or to
correct any errors. To dial the number your can either
lift the handset, press the Dial softkey, or press the
button in the model AP100 or / in
the AP110. If you have the model AP110 phone you
can turn off this option using Live Dial Pad feature.
Using the Redial List
The Redial List records the last 10 numbers you dialed.
Redialing a Number
1. Press to view the Redial List.
2. Use the and keys to move the cursor to
the number you want to dial.
3. Lift the handset to dial the number, or press the
Dial softkey or press the button in the
model AP100 or / in the AP110.
Deleting the Redial List
1. Press to view the Redial List.
2. Press the DeleteList softkey.
3. Press the Delete softkey to confirm.
ShoreT
el AP100/AP110 User Guide
20

Making and Receiving calls using a Headset
1. Ensure that you have selected a headset audio mode
by accessing the menu.
2. Plug the headset into jack.
3. Press the / key to obtain dialtone or answer an
incoming call. Depending on the audio mode select-
ed from the menu, dialtone or an incom-
ing call will be received on either the headset or the
handsfree speakerphone.
4. Press the key to end the call.
Dataport
Operation
The Sayson AP110 phone is equipped with a dataport
located on the right hand side. The data port can be
used to connect another device such as a fax machine
or computer modem to the phone. Plug one end of a
line cord to the phone and the other end to the device
to be connected.
Note: The dataport will only operate when the handset is on
hook (in the phone base cradle).
Adjusting the
Volume
Pressing the volume button adjusts the
receiver, speaker, and ringer volume.
To adjust the ringer volume, leave the handset in the
ShoreT
el AP100/AP110 User Guide 23
plugged into the headset jack located on the left hand
side of the telephone.
ShoreT
el AP100/AP110 User Guide
22

Waiting: you have voicemail.
• Light flashes quickly and the ringer sounds: you have
an incoming call.
• Light is on and the display shows Extension in
use: an extension telephone is using the line. The
message also appears when the telephone is not
properly connected to a phone line.
Timing a Call
When you make or answer a call, the Timer shows the
elapsed time of the call.
Additional Phone
Features
Emergency Service Feature
The Sayson AP100/AP110 will provide telephone
service during a power failure. However, only the dial
pad, ringer and handset will function. If you are on a
handset call during a power interruption, The Sayson
AP100/AP110 will keep the call, although the display
will not work while the power is off. Handsfree calls
will not be reestablished during a power interruption.
Using the Directory
The Directory can store up to 200 names and num-
bers, which are displayed in alphabetical order.
Tip: Store all your Directory contacts the same way,
either first name first, or last name first. This will make
it easier to find names and numbers.
ShoreT
el AP100/AP110 User Guide 25
cradle and press the volume button while
there is no active call. There are 8 settings for the
ringer—the display will temporarily indicate the cur-
rent ringer volume setting.
To adjust the handset /headset volume press the vol-
ume button while you are on a call. The handset will
return to the default volume after you hang up.
To adjust the speaker volume, press the volume button
while the speaker is activated (activate the speaker by
pressing in the model AP100 or / in
the AP110 . The speaker will remain at this volume
until it is adjusted again.
Note: The default handset and headset volume is always set at
medium.
Status Lights
Speaker Light
•Speaker light is on: a call is on Handsfree (speaker).
• Speaker light flashes slowly: indicates that the head-
set/handset is being used.
• Speaker light flashes and the screen displays the
prompt Microphone muted a call is muted. Press
in the model AP100 or in the AP110
to take the call off mute.
Telephone Light
•Light flashes and the display shows Call is on hold: a
call is on hold. Press or lift the handset to
take the call off hold.
• Light flashes and the display shows Message
ShoreT
el AP100/AP110 User Guide
24

case of a letter, press Changecase, and then enter
the letter. By default the first letter of a word or name
will be capitalized, and the letters following will be
lower case.
Special characters are entered by pressing the and
keys. Characters will appear in this order:
&,()` . _-1
# / \ @
Finding Entries in the Directory
1. Press the Directory button . Once in the
Directory:
2. Press to scroll down and to scroll up one
listing at a time. Hold either key down to scroll con-
tinuously.
OR
Press a dial pad key to see listings that start with that
letter. For example, takes you to the first “J” list-
ing, takes you to the first “K” listing.
Changing Entries in the Directory
1. Press the Directory button .
2. Find the entry you would like to change.
3. Press the Change softkey.
4. To change the number, use Backspace or to
erase digits. Use the dial pad to add digits. Use
Pause to insert a 2 second pause. The pause icon
will appear.
5. Press Save to move to the name.
6. To change the name, use Backspace or to
erase letters. Use the dial pad and NextSpace to
ShoreT
el AP100/AP110 User Guide 27
Additional Phone Features
Adding a Name and Number to the Directory
1. Press the Directory button .
2. Press AddNew softkey.
3. Enter the number using the dial pad. You can enter
up to 24 digits. Hyphens will be automatically added.
• If you need to enter a pause (between your voice
mail number and password, for example), press the
Pause softkey. The pause icon will appear.
• To program a number that uses Flash, press Flash
where it is required in the number. The Flash icon
will appear.
• Press Backspace or to erase a number.
4. Press Save softkey
5. Enter a name using the letters on the dial pad. See
the following instructions Entering Letters and
Characters to enter names using the dial pad. The
name can have up to 16 characters, including spaces.
Press NextSpace or to move to the next letter
or add a space. Press Backspace or to erase a
character.
6. Press Save. The new entry now shows on the display.
Note: You can also copy an entry from the Callers List to the
Directory using the button, before or after you have
changed it.
Entering Letters and Characters
You can enter characters using the telephone’s dial pad.
To enter a letter, press the key with that letter on it. If
the letter is the second one on that key, press the key
twice.
For example, to enter ‘R’ press three times. The
cursor will advance to the next space after a delay of 2
seconds or if you press a different key. To change the
ShoreT
el AP100/AP110 User Guide
26

To permanently delete all entries in the directory:
1. Press the Directory button to open the
Directory.
2. Press Deletelist
3. Press Delete to confirm.
Locking the Directory
You can lock the Directory so that entries cannot be
deleted or changed. You cannot add entries to a locked
directory.
1. Press .
2. Press .
3. Press . The display shows Directory
locked.
Unlocking the Directory
1. Press .
2. Press .
3. Press . The display shows Directory
unlocked.
Using the Callers List
The Callers List records the last 100 callers, in the
order that they called. The telephone display will indi-
cate when there are new callers.
When the Callers List is full, new callers are added to
the list, and the oldest callers are deleted.
In the Callers List you will see the message XX New
caller(s), XX Call(s) bumped on the display.
ShoreT
el AP100/AP110 User Guide 29
Additional Phone Features
add letters. Press ChangeCase to switch between
upper and lower case.
7. Press Save to save changes.
Copying from the Callers List, the Redial List,
or the Display to the Directory
1. Open the Callers List, Redial List, or answer a call.
2. When the number is displayed on the screen, press
. If the entry includes a name and num-
ber, the display will show Saved:Directory.
Note: If the entry is a number only (such as in the Redial
List), you will be prompted to enter a name. Once you’ve pressed
Save to save the name, the display will show Saved:
Directory.
Dialing from the Directory
1. Press the Directory button .
2. Find the entry you would like to call in the
Directory.
3. Lift the handset to dial the number, or press Dial or
in the model AP100 or / in the
AP110 to dial the number using Handsfree.
Deleting an Entry from the Directory
1. Press the Directory button .
2. Find the entry you would like to delete.
3. Press Delete.
4. Press Delete again to confirm.
Deleting all Entries in the Directory
Once you have deleted the Directory, you cannot get
entries back. You can protect the Directory by locking
it.
ShoreT
el AP100/AP110 User Guide
28

Note: The Callers List does not save changes. If you plan to
dial the number again, copy it to the Directory and change it
there.
1. Press the Callers button .
2. Find the caller in the Callers List you wish to dial.
3. To add digits, use the dial pad.
4. To delete digits, press EditNum to begin editing.
Use the dial pad to add digits.
5. Lift the handset to dial the number, or press Dial or
in the model AP100 or / in the
AP110 to dial the number using Handsfree.
Deleting an Entry in the Callers List
1. Press the Callers button .
2. Find the entry you would like to delete in the Callers
List.
3. Press Delete.
4. Press Delete again to confirm. The display shows
Item is erased.
Deleting all Entries in the Callers List
1. Press the Callers button .
2. Press DeleteList.
3. Press Delete to confirm. The display shows
Callers list is empty.
ShoreT
el AP100/AP110 User Guide 31
Additional Phone Features
Viewing the Callers List
1. Press the Callers button .
2. Press and to move up and down in the
Callers List. Hold either key down to scroll continu-
ously. You can also press Resume to see the last
caller you viewed the last time you entered the
Callers List. Press the Callers button , Quit,or
at any time to leave the Callers List.
Note: will also hang up a caller if you are on a
call.
Calling an Entry in the Callers List
1. Press the Callers button .
2. Find the entry you would like to call in the Callers
List.
3. Lift the handset to dial the number, or press Dial or
in the model AP100 or / in the
AP110 to dial the number using Handsfree.
Copying from the Callers List to the Directory
When the number is displayed in the Callers List,
press . The display will show Saved:
Directory.
Note: If the entry in the Callers List does not have a name
(i.e. if the name is listed as Unknown or Private), you will be
prompted to enter a name. You can edit a number in the Callers
List and then copy it to the Directory.
Changing a Number in the Callers List before
Dialing
Tip: If you have to frequently remove area codes to
return local calls, you should use the Area Codes
option and add your local area code(s).
ShoreT
el AP100/AP110 User Guide
30
This manual suits for next models
1
Table of contents
Other SHORE TEL Telephone manuals