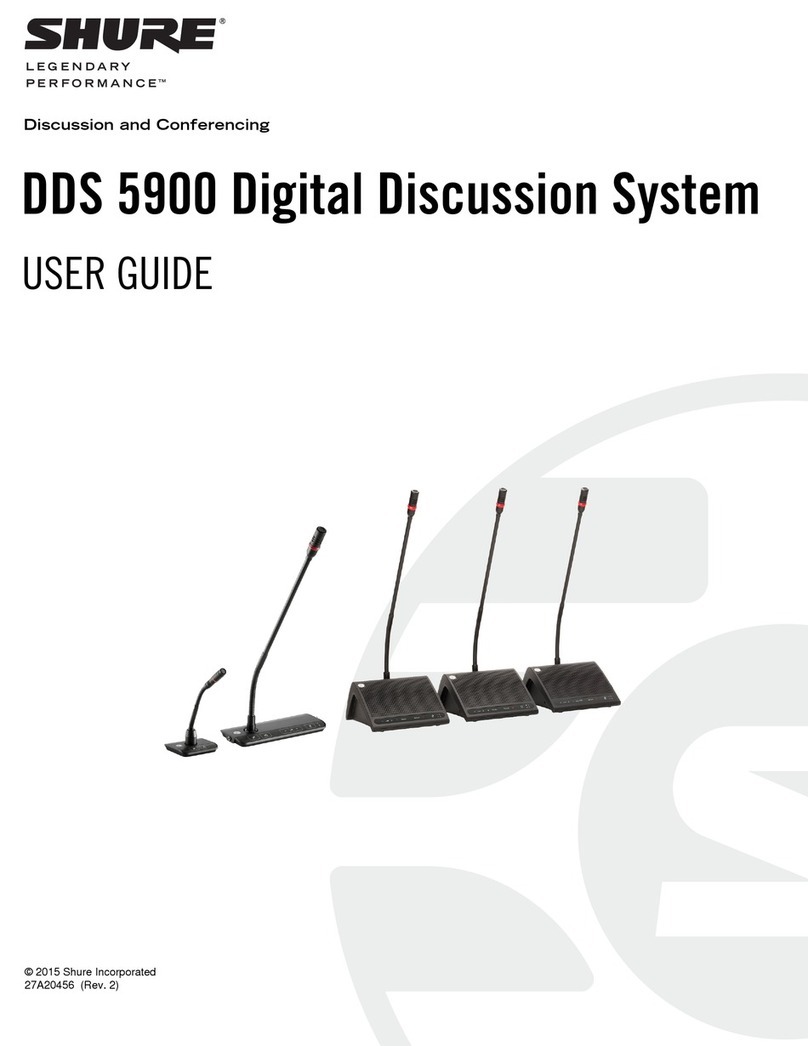
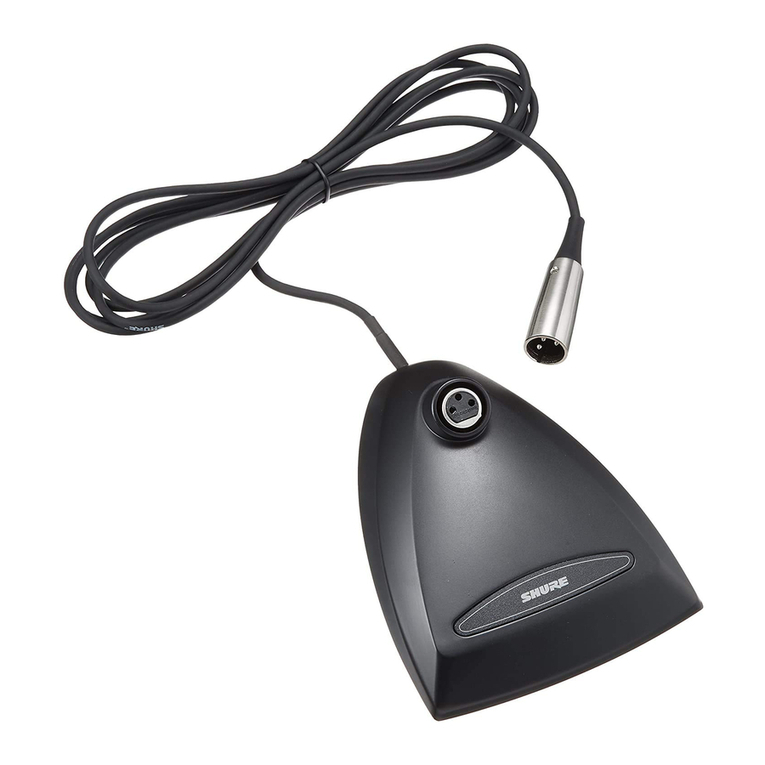
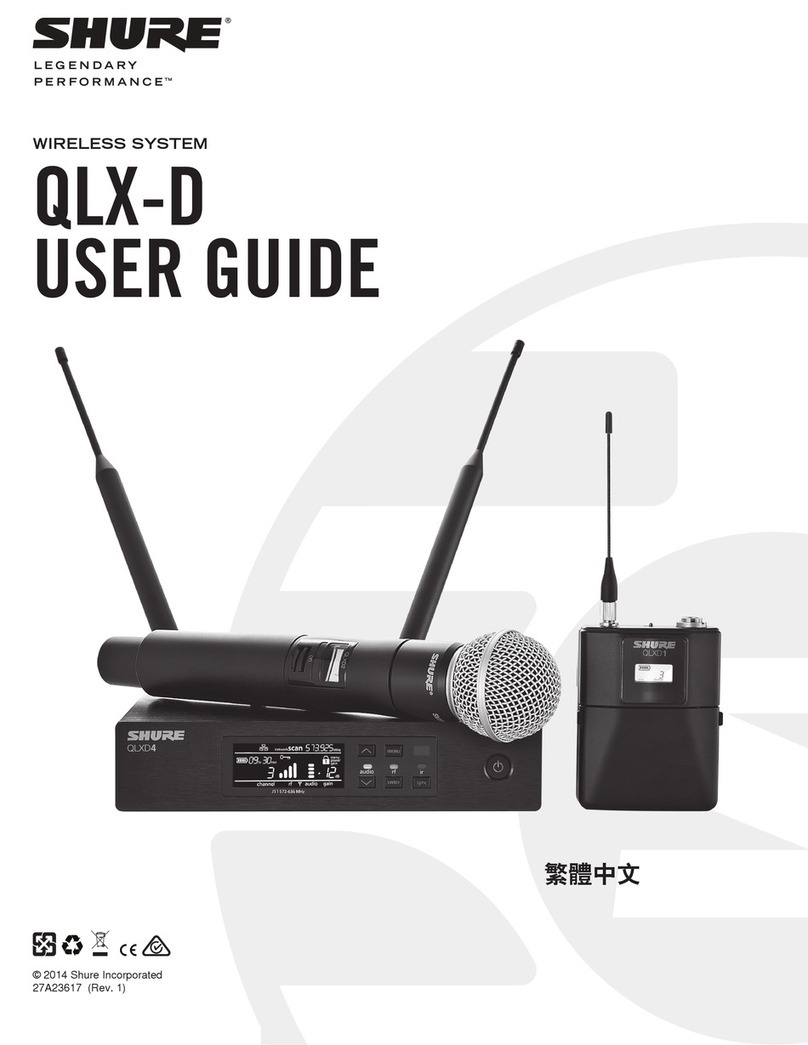
Shure Sistema Microflex MXCW User manual

MXCW
Sistema Microflex wireless completo
®
Complete user guide for the MXCW system. Includes installation instructions, specifications, best practices, and troubleshooting.
Version: 10.5 (2022-A)

Shure Incorporated
2/94
Table of Contents
MXCW Sistema Microflex® wireless completo 5
General Description 5
Features 5
Operazioni preliminari 6
Configurazione di un punto di accesso al sistema (MXC
WAPT) 6
Configurazione delle unità di conferenza wireless (MX
CW640) 7
Perform a Soundcheck 8
Access Point Transceiver (MXCWAPT) 9
Access Point Menu 12
Conference Unit (MXCW640) 14
Gooseneck Microphone (MXC416, MXC420, MXC425,
MXC406/MS) 15
Using the Conference Units 16
Lock Conference Unit Power Button 17
Customize Welcome Screen 18
How to Lock the Welcome Screen 18
Conference Unit Buttons 18
Pila ricaricabile (SB930) 19
Battery Life 20
Suggerimenti importanti per la cura e la conservazione
delle pile ricaricabili Shure 20
Stazione di carica in rete (MXCWNCS) 20
Accensione del dispositivo 22
Monitoraggio dello stato di carica delle pile 22
Icone della ricarica delle batterie 22
LED di stato di carica 23
Tempi di carica medi 23
Carica delle pile con USB 23
Battery Statistics 24
Conservazione delle pile 25
Access Point Installation 25
Best Practices When Selecting a Location for the Access
Point 25
Requirements Checklist 26
External Cover for Painting 27
Mounting Options 27
Networked Charging Station Installation 27
Best Practices for Rack Installation 29
Impostazione del sistema 29
Dimensione massima del sistema 29
Rete di dispositivi wireless 29
Collegamento dei dispositivi per la prima volta 30
Restricting New Device Connections 31
Custom Network SSID Labels 31
Separating Networks for Multiple Systems 32
Applicazioni Web per il monitoraggio e controllo 34
Apertura dell’applicazione Web del dispositivo 35
Requisiti del browser Web 36
Utilizzo del DNS per aprire un’applicazione Web 37
Web Application Views 37
Utilizzo di una passphrase 38
Gestione wireless e RF 38
Distanza operativa wireless 38
Reliable Bandwidth Allocation 40
Selezione o esclusione di canali wireless specifici 40
Interference Detection and Avoidance 40
Tips to Improve Wireless System Performance 41
Setting the Access Point Country and Region (MXC
WAPT-B and MXCWAPT-W only) 41

Shure Incorporated
3/94
Configurazione dei partecipanti 42
Participant Roles 42
Configuring Conference Units for Remote Callers 43
Priorità di parola per i chiamanti remoti 43
Modifica del ruolo del partecipante 43
Identificazione di un dispositivo dal software 44
Customizing the Devices Page 44
Assigning Names and Seat Numbers 46
Retain Seat Information 46
Funzionalità della scheda NFC 46
Speak Priority 46
Interruzione dell’oratore attivo 47
Microphone Activation Style 47
Setting the Number of Active Speakers 48
Prevent Speak Button Conflicts 49
Audio Setup and Channel Routing 50
Descrizione dell’instradamento del sistema MXCW 51
MXCW Wireless Audio 52
Il floor mix 54
Collegamenti analogici 55
Collegamento di dispositivi analogici 56
Regolazione automatica del guadagno (AGC) 56
Aggiunta di altre sorgenti al floor mix 57
Language Interpretation 61
Set Up Interpretation Channels 61
Conference Unit Interpretation Channels 61
Rete audio digitale 61
Dante Network Audio 62
Interruttori consigliati per la rete Dante 63
Impostazioni QoS (qualità del servizio) 63
Criptaggio audio della rete Dante 64
Collegamento in rete 64
Migliore prassi per il collegamento in rete 64
Impostazioni IP del dispositivo 64
Configurazione delle impostazioni IP 65
Assegnazione manuale di indirizzi IP statici 65
Impostazione della latenza 65
Utilizzo dell’applicazione Web con connessione wireless 6
5
Porte e protocolli IP 66
AES67 67
Voting 68
Voting Configurations 68
Voting Results 69
Gestione del sistema e risoluzione dei problemi 69
Troubleshooting 70
Ripristino dei dispositivi 70
Export Log Files 71
Firmware 71
Aggiornamenti del firmware 72
Aggiornamento del firmware per le unità di conferenza 72
Versione del firmware 72
Uso di un sistema di controllo di terze parti 72
Specifiche tecniche 72
Sistema 72
MXCWAPT 73
MXCW640 77
MXCWNCS 83
SB930 85
Accessori 86
Accessori opzionali 87
Access Point Model Variations 87
Varianti di modello stazione di ricarica in rete 88
Informazioni importanti sul prodotto 88

Shure Incorporated
5/94
MXCW
Sistema Microflex wireless completo
General Description
The Shure Microflex Complete Wireless (MXCW) system is a conferencing solution that provides a steady, reliable audio ex
perience for up to 125 conference units. MXCW overcomes cable limitations for offsite meetings, flexible meeting rooms, or hi
storic buildings where drilling holes in furniture is impractical. The system features automatic RF interference detection and
avoidance technology, encrypted digital wireless transmission, and digital audio networking using Dante .
The MXCW access point has multiple mounting options for discreet communication between wireless conference units and the
digital audio network, and works within the 2.4 GHz and 5 GHz frequency bands. Use the access point web application for sy
stem setup, and to monitor and control conference units. Conference units have configurable roles for meeting participants,
and can be routed to the floor audio or an interpretation channel. Each wireless conference unit is powered by a smart lithium-
ion rechargeable battery whose remaining charge can be checked remotely by a technician. The MXCW networked charging
station charges and stores up to 10 Shure rechargeable batteries that can be monitored through its own web application.
Features
RF Efficiency Sound quality is consistent with one speaker or several, and up to 125 units are supported
with just one access point transceiver and one RF channel.
Automatic Frequency
Coordination
The system automatically scans the available spectrum and selects clean transmission
channels for best performance. Setting up the system is as easy as setting up a wireless
router.
Interference Avoidance While in use, the system automatically moves away from unexpected interference. Channel
adjustment protects against disruption to the audio.
Encryption Standard AES-128 encryption of audio and data keeps meeting content private.
Bi-Directional Wireless Provides return channels for interpretation audio to conference units and enables real-time
remote control of conference unit settings.
®
®
®

Shure Incorporated
6/94
1.
2.
3.
4.
Operazioni preliminari
Configurazione di un punto di accesso al sistema (MXCWAPT)
Collegate il punto di accesso a una sorgente di alimentazione tramite Ethernet (Power over Ethernet, PoE) per accen
dere il dispositivo.
Se richiesto, selezionate la regione operativa sul menu per il coordinamento RF (alcune varianti di modello).
Aprite l’applicazione Web in un browser e impostate una passphrase amministatore.
Attendete che il punto di accesso esegua la scansione dell’area per cercare il miglior canale disponibile.

Shure Incorporated
7/94
5.
1.
2.
3.
Dopo aver selezionato il canale, la rete wireless predefinita (00) è pronta per i microfoni MXCW.
Configurazione delle unità di conferenza wireless (MXCW640)
Inserite una pila ricaricabile Shure SB930 completamente carica e collegate il microfono serie MXC400.
Tenete premuto il pulsante di accensione nella parte inferiore del dispositivo fino all’accensione dello schermo.
Attendete che il dispositivo microfonico cerchi la rete predefinita del punto di accesso (00).

Shure Incorporated
8/94
4.
1.
2.
I dispositivi sono pronti quando i LED lampeggiano brevemente in verde e il touchscreen visualizza la pagina iniziale.
Perform a Soundcheck
Press the speak button on one of the devices to activate the microphone.
Speak into the microphone to check the audio.

Shure Incorporated
9/94
3.
•
•
•
•
•
Listen to the sound check on the loudspeakers or headphone output.
Access Point Transceiver (MXCWAPT)
The access point transceiver is the hub of the audio signal flow and manages the RF stability of each microphone in the group.
The access point performs the following functions:
Receives and decrypts wireless audio signals from microphones in the group
Delivers and receives digital and analog audio signals via Dante and XLR
Hosts an embedded web server that provides access to the control software used to manage the system
Sends and receives control information (such as gain adjustment and link settings) between the components, control soft
ware and 3rd party controllers
Transmits an encrypted audio signal to the microphone's headphone output for listening to translated audio or other exter
nal sources.

Shure Incorporated
10/94
①Display
Shows menu screens and settings.
②Enter Button
Enter a menu or save settings.
③Exit Button
Return to previous menu screens or cancel setting changes.
④Arrow Buttons
Scroll to a menu item or make a change to a setting.
⑤Power LED
Icon LED Color Description
Off Powered off (disconnected from network or PoE not present on port)
Green Unit is receiving power
Green (flashing) A system reset is in progress

Shure Incorporated
11/94
Icon LED Color Description
Amber (flashing) A network reset is in progress
Green (flashing) + RF LED green
(flashing) + Network Audio LED
green (flashing)
Simultaneous LEDs: Device identify from the software is in progress
Alternating LEDs: Firmware update is in progress
⑥Network Audio LED
Icon LED Color Description
Off No Dante channels are routed (receive or transmit). Dante Controller software displays no marks
for these channels.
Green All connected Dante network audio channels are functional (receiving digital audio as expected).
Dante Controller software displays green check marks for these channels.
Amber
One or more connected (receiving) Dante network audio channels are experiencing a subscrip
tion error, or unresolved (transmitting device is off, disconnected, renamed or has incorrect net
work setting). Dante Controller software displays yellow triangle marks for these channels.
Amber (fla
shing) A network reset is in progress
Green (fla
shing) +
RF
LED green
(flashing) +
Power
LED green
(flashing)
Simultaneous LEDs: Device identify from the software is in progress
Alternating LEDs: Firmware update is in progress
⑦Wireless Audio LED
Icon LED Color Description
Off No connection or set to RF mute
Green Wireless channel secured and RF/wireless audio connected for 1 or more de
vices
Amber Wireless channel selection in progress
Green/ red (flashing) Detecting wireless interference
Green (flashing) + Po
wer LED green (flashing) +
Network Audio LED
green (flashing)
Simultaneous LEDs: Device identify from the software is in progress
Alternating LEDs: Firmware update is in progress

Shure Incorporated
12/94
◦
◦
◦
◦
◦
⑧Analog XLR Audio Input
Connect an external output.
⑨Analog XLR Audio Output
Connect to an external input.
⑩Ground Lift Switch
Lifts the ground from pin 1 of the XLR connector and the sleeve of the ¼" Audio Output to minimize ground-related noise
that can occur when connecting the XLR Audio Output or Input to a thirdparty device. The ON position of the switch is la
beled lift.
⑪Reset Button (recessed)
Press and hold the reset button for 10 seconds to reset the MXCW system to factory default settings.
⑫Access Point Cover
Paint to match the surrounding decor and snap onto the front plate of the device.
The LCD menu and navigation buttons are inaccessible with the cover.
⑬Ethernet Port
Connect a Cat5e (or higher) cable to a PoE source and the network.
⑭Ethernet Status LED (Green)
Off = no network link
On = network link established
Flashing = network link active
⑮Ethernet Link Speed LED (Amber)
Off = 10/100 Mbps
On = 1 Gbps (required for digital audio routing)
⑯Cable Routing Path
Provides a path for the Ethernet cable to enable a flush-mount.
⑰Mounting Bracket
Allows for optional mounting to a wall, ceiling, or mic stand.
Access Point Menu
Use the access point menu to monitor and adjust system settings without a computer.

Shure Incorporated
13/94
SSID
Select an access point network ID for easy recognition and control of connected conference units. The default SSID is 00.
Meeting Ctrls
Speak Mode Select a mode to determine how microphones are activated for participants.
Max Speakers Change the maximum number of delegates and the total speakers. Total speakers includes
the number of chairpersons.
Device Connections Determine the access of additional conference units connecting and registering to the net
work audio.
Device Control Reboot or power off all connected devices.
Audio
Loudspeaker Gain Adjust the loudspeaker gain from a range of -30 dB to 6 dB, or select enter to mute.
Analog In Gain Adjust the input gain from a range of -30 dB to 10 dB, or select enter to mute.
Analog In Level Select line or aux level.
Analog Out Gain Adjust the output gain from a range of -30 dB to 10 dB, or select enter to mute.

Shure Incorporated
14/94
APT Utilities
Network
Shure Control displays the IP address, Subnet, Gateway, and MAC address of the access
point, while Audio Network shows this information for Dante. Set the IP address for each net
work interface to automatic for an assigned IP address, or manual to edit the IP address.
Firmware Display the access point firmware version and serial number.
Reboot The unit performs a power cycle.
Wireless
RF Power Select the RF coverage level of the access point, or turn it off.
Conference Unit (MXCW640)
MXCW conference units facilitate communication between participants in group meetings and conferences. The multifunctional
units enable participants to speak and be heard with clarity, even in large multilingual events, by combining a gooseneck micro
phone, loudspeaker, headphone jack, and user controls. For advanced meeting tasks, MXCW conference units include featu
res for voting, managing speakers, and more.

Shure Incorporated
15/94
•
•
•
•
•
①Loudspeaker
Provides a clear audio signal of the floor mix.
②Microphone Connector
Lockable 10-pin microphone connector for MXC gooseneck microphones.
③Headphone Output
Two TRRS 3.5 mm ports on each side of the unit allow participants to listen to an interpretation channel or the floor audio
over headphones.
④Volume Control
Two knobs on each side increase and decrease audio playback volume for headphones.
⑤NFC Card Slot
Insert an NFC card to provide participant identification.
⑥Touchscreen
View and select menu options on the display.
⑦Microphone Buttons
Press to control the microphone. The buttons are customizable and function differently depending on the participant role
and meeting setup. See Using the Conference Units for more details.
⑧Power Button
Press and hold to power the unit on or off. The button LEDs on the front of the unit light up red when it is powered on.
⑨Battery Status Button
Press to check the remaining charge of the battery in the unit.
⑩TRRS Port
Enables a remote caller to listen and be heard over the floor mix when a cell phone is connected.
⑪Battery Slot
Insert an SB930 rechargeable battery to power on the unit.
⑫USB Micro-B Connector
Connect a USB Micro-B cable to charge the battery in the conference unit.
Gooseneck Microphone (MXC416, MXC420, MXC425, MXC406/MS)
MXC-series gooseneck microphones deliver excellent audio performance with a frequency response specifically tailored for
speech.
Commshield Technology eliminates RF noise
Single and Dualflex gooseneck options provide flexible positioning
Locking 10-pin modular connector
Built-in LED status indicator (LED ring)
Compatible with the Microflex series cardioid, supercardioid, and omnidirectional cartridges
®

Shure Incorporated
16/94
•
1.
2.
1.
2.
3.
4.
1.
2.
Available in 16 inch (40 cm), 20 inch (50 cm), and 25 in (63 cm) lengths, as well as the MXC406/MS minishotgun micro
phone
Securing the Microphone to the Conference Unit
Insert the microphone into the microphone connector.
Insert the 1.5 mm hex wrench into the hole next to the microphone on the conference unit and turn counterclockwise.
Using the Conference Units
Once a unit has powered on, tap the touchscreen to access the home screen, or insert a preprogrammed NFC card if availa
ble.
Use the navigation pane to move between menus for different options and information on the MXCW640.
Home screen: Displays a combined speaker and request list.
Voting menu (chairperson only): Chairpersons can set up and monitor voting sessions.
Settings menu: View battery status, hide status bar, change brightness, and change screen language.
Chairperson control buttons (chairperson only)
Technician Menu
Additional conference unit information and settings are in the technician menu. To access the menu:
Tap the gear icon to enter the settings menu.
While at the top of the settings page, hold down on both volume control knobs and tap on the right side of the touch
screen.
From this menu you can access 4 different screens to perform the following actions:

Shure Incorporated
17/94
•
•
•
•
•
•
•
•
•
1.
2.
①
Assign a participant role
Change the left-button functionality
②
Display the firmware version of the conference unit and connected access point
Factory reset the device
Reboot the device
③
Display the connected access point SSID
Disconnect from the access point
④
Change the startup mode
Power off the device
Conference Unit Startup Mode
Set the startup mode to determine how MXCW conference units connect to the access point after powering on.
Access the technician menu and choose one of the following startup modes:
Last Connected (default) Automatically selects the network it was last connected to before powering down. New or
factory default devices use this setting to access the SSID 00 by default.
List
Manually choose from a prepopulated list of networks. To update the list with custom names,
rename the SSID labels in the web application and push the list to the registered wireless
devices.
Scan The device scans for available access point networks and ranks them with strongest signal
at top, and weakest at the bottom. Manually select the network from the list.
Tip: When choosing the network manually, the list indicates the last connected access point with a clock icon.
Lock Conference Unit Power Button
Disable the power button on the bottom of the conference unit to prevent the device from being accidentally powered off. To
lock or unlock the power button:
Open the access point web application and click the wrench icon.
Go to Global device settings > Advanced permissions > Power button lock.

Shure Incorporated
18/94
1.
2.
1.
2.
3.
•
1.
2.
3.
•
1.
2.
Customize Welcome Screen
You can upload a custom start-up image to connected MXCW640 devices.
Go to Meeting Controls > Custom welcome screen and upload your image. The image must be 480 by 272 pixels in .png
format.
How to Lock the Welcome Screen
You can lock conference units to stay on the welcome screen for units set to the delegate, dual-delegate, or listener roles. This
will prevent participants from changing settings on the units, and it will disable the view of speak and request lists. Voting con
trols are accessible when a voting session is initiated.
Open the access point web application and click the wrench icon.
Go to Global device settings > Screen content > Welcome screen lock to lock or unlock the welcome
screen.
Conference Unit Buttons
Both hardware buttons on the conference unit are exchangeable, and you can change the left-button functionality depending
on the participant role.
To exchange button hardware:
Insert a thin tool in the gap under the top of the button.
Twist gently until the button pops out.
Press the new button into place.
Left Button
Icons
Right But
ton Icons
Note: Go to Accessories to view which buttons can be ordered.
To change the left-button functionality:
From the conference unit:
Access the technician menu.
Assign a role to the conference unit.
Select the function for the left button of the conference unit.
From the access point web application:
Select a device on the devices tab.
When the device properties panel opens, select the function under the left-button functionality section.
Name Description LED Status
RightBut
ton Func
tionality
Speak Press to be placed on the speak or request list. Solid red: The microphone is on.
Solid green: The participant is placed
in the request queue.

Shure Incorporated
19/94
Flashing green: The request to speak
has been denied.
LeftBut
ton Func
tionality
Mute Press and hold to mute the microphone without
removing the right to speak. Solid blue
Mute all (chair
person only)
Press and hold to mute all active speakers without
removing the right to speak. Solid blue
All Del off
(chairperson
only)
Turn off all delegate microphones. Solid blue
Next on (chair
person only) Turn on the first microphone in the request list. Solid blue
Exclusive
(chairperson
only)
Press and hold to mute all delegate microphones
and activate the chairperson microphone only. Solid red
Speak (dual
delegate only) Press to be placed on the speak or request list.
Solid red: The microphone is on.
Solid green: The participant is placed
in the request queue.
Flashing green: The request to speak
has been denied.
Pila ricaricabile (SB930)
La SB930 è una pila ricaricabile intelligente agli ioni di litio che alimenta l’unità di conferenza MXCW640. Un indicatore di livello
di carica della pila integrato consente di controllarne rapidamente lo stato.
①Pulsante di stato della pila
Premetelo per controllare la carica residua della pila nell’unità.
②Indicatore di stato LED

Shure Incorporated
20/94
•
•
•
•
Mostra lo stato della pila quando viene premuto il relativo pulsante.
Battery Life
Different operating and storage conditions can shorten or lengthen battery life. Consider replacing your battery when the batte
ry health is at 80% or less, or after approximately 1200 charging cycles. Battery health percentage and number of charge cy
cles are available in the charging station web application.
Suggerimenti importanti per la cura e la conservazione delle pile ricari-
cabili Shure
La corretta cura e conservazione delle pile Shure garantisce prestazioni affidabili e assicura una lunga durata nel tempo.
Conservate sempre pile e trasmettitori a temperatura ambiente
Per uno stoccaggio a lungo termine, l’ideale è caricare le pile a circa il 40% della loro capacità
Pulite periodicamente i contatti delle pile con alcol per mantenere il contatto ideale
Nel corso dello stoccaggio, controllate le pile ogni 6 mesi e ricaricatele al 40% della loro capacità, secondo necessità
Stazione di carica in rete (MXCWNCS)
La stazione di carica in rete MXCW (MXCWNCS) consente la ricarica e la conservazione di un massimo di dieci pile ricaricabili
SB930. Le opzioni di installazione prevedono il montaggio su rack, a parete o sulla superficie di un tavolo.
①LED di stato
Table of contents
Languages:
Other Shure Microphone System manuals

Shure
Shure UC User manual

Shure
Shure UP4 User manual

Shure
Shure AMS4000 User guide

Shure
Shure ULX-D User manual

Shure
Shure LEGENDARY PERFORMANCE ULX-D User manual

Shure
Shure BLX4RE-H8E Technical manual

Shure
Shure R7 Owner's manual

Shure
Shure UHF-R Wireless User manual

Shure
Shure PSM 900 User manual
Shure
Shure UA User manual
Popular Microphone System manuals by other brands

Better Music Builder
Better Music Builder VM-93C G3 Operating instruction

Neumann.Berlin
Neumann.Berlin DMI-8 operating manual

Rockville
Rockville RWM3300UA owner's manual

AVProAlliance
AVProAlliance AViMUX4 Operation and application manual

Audio enhancement
Audio enhancement XD MICROPHONE quick start guide

nux
nux B-3 Plus manual