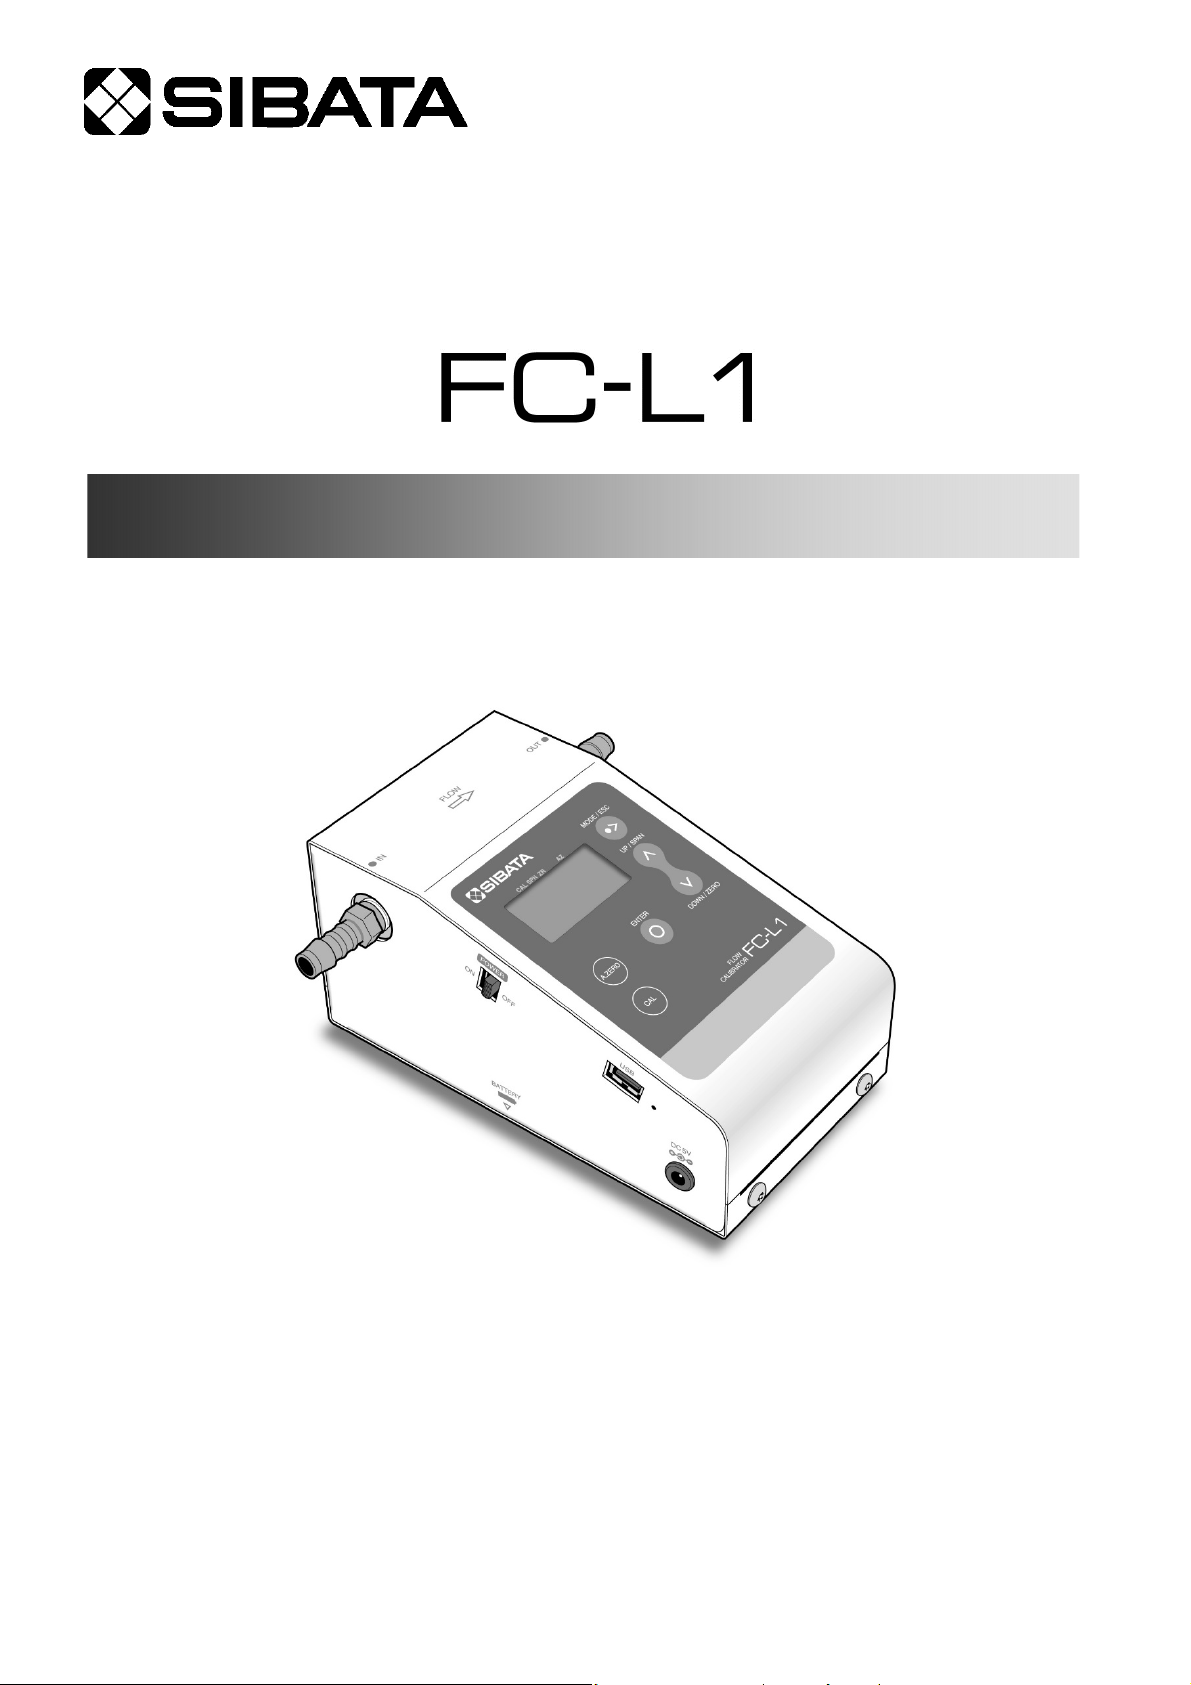
Sibata FC-L1 User manual

OPERATION MANUAL
CODE 080120-157
Flow Calibrator
Read this operation manual before using the product.
Thank you for purchasing this product.
•This operation manual describes precautions that are important for preventing accidents
as well as procedures used to handle the product.
•Read this operation manual and the attached warranty thoroughly before use, and use
the product correctly.
•After reading this operation manual and the warranty, keep them handy for future
reference.

2
Table of Contents
Before Use............................................................................................ 4
Safety Precautions ............................................................................... 5
1Product Overview............................................................................ 9
2Features.......................................................................................... 9
3Names of Parts ............................................................................. 10
4Measurement ................................................................................ 12
4-1 Measurement Site ................................................................................. 12
4-2 Checking the Power Supply .................................................................. 12
4-3 Confirming the Flowrate Conversion Temperature Setting .................... 12
4-4 Checking the Battery Level Indicator..................................................... 13
4-5 Auto-Zero Function (Zero Flowrate Check) ........................................... 13
4-6 Starting Measurements ......................................................................... 13
5Menus ........................................................................................... 14
5-1 Main Screens ........................................................................................ 14
5-2 [MENU] Screen ..................................................................................... 15
5-3 Flowrate Conversion Temperature Setting ............................................ 16
5-4 Accumulation Time Setting.................................................................... 16
5-5 Temperature Display Mode Setting ....................................................... 17
5-6 Pressure Display Mode Setting ............................................................. 18
5-7 Displaying the Software Version............................................................ 19
5-8 Returning from a [MENU] Sub-Screen to the Main Screen ................... 19
6Calibration..................................................................................... 20
6-1 Calibrating the Pressure Sensor............................................................ 20
6-2 Calibrating the Temperature Sensor...................................................... 21
6-3 Determining SPAN and ZERO Values by Calibration ............................ 22
6-4 Accumulated and Average Flowrate Display ......................................... 22
6-5 Automatic Calibration ............................................................................ 23
6-5-1 Preparation for Automatic Calibration......................................... 23
6-5-2 How to Perform Calibration Automatically .................................. 24

3
7Storage ......................................................................................... 26
8Maintenance ................................................................................. 26
9Troubleshooting ............................................................................ 27
10 Summary of Error Screens............................................................ 28
11 Specifications................................................................................ 29
12 Warranty and Repairs ................................................................... 30
13 Product Disposal........................................................................... 30
14 Inquiries ........................................................................................ 30
Problem Report Form ......................................................................... 31

4
Before Use
•This product is not designed to be explosion-proof. To
prevent explosion accidents, do not use it in dangerous
locations.
•Read this operation manual thoroughly before use, and
use the product correctly.
•Keep this operation manual handy for future reference.
•Be sure to familiarize yourself with, and observe, the
safety precautions given in this operation manual.
•Observe usage procedures that are suitable for the
product and that are specified in this operation manual.
Be sure to observe the above instructions.
Not doing so may result in an accident or injury.
About This Operation Manual
•Information in this operation manual is subject to change without notice in the interest of
product improvement.
•Every effort has been made to ensure that the information in this operation manual is
correct. If you discover any errors or omissions, however, please contact your Sibata
representative.
•The copyright of this operation manual belongs to Sibata Scientific Technology Ltd.
This operation manual, or any part thereof, may not be reproduced, reprinted, or altered
in any form without prior written permission from Sibata Scientific Technology Ltd.
Checking Packaging Contents
(Please verify contents before using the product.)
FC-L1 flow calibrator ································································· 1
AA batteries (for checking operation)······································· 4 pcs.
Vinyl tubing, 10 mm I.D. ×14.5 mm O.D. ··································2.5 m
Warranty················································································· 1
Operation manual (Japanese, English)·······························1 for each
Manufacture's Inspection Result ·················································· 1

5
Items to Be Provided by the User
Connecting to an LV-250 or LV-250R PM2.5 Sampler
Connecting an FC-L1 flow calibrator to a SIBATA LV-250 or LV-250R PM2.5 sampler
requires a separately sold hose inlet.
Performing Automatic Calibration
A dedicated communication cable, included with the separately sold product below, is
required if using this flow calibrator to automatically calibrate an LV-40B, LV-40BR, or
LV-40BW low volume pump or an LV-250 or LV-250R PM2.5 sampler.
A commercially available USB A-B cable is required if using this flow calibrator to
automatically calibrate an LVS-30 low volume pump.
Safety Precautions
The precautionary information in this operation manual is for ensuring that the product
is used safely and for preventing injury to you and other people and damage to
equipment. It is all important for ensuring safety, so be sure to read it thoroughly
before using the product and observe it during use.
Graphical Symbols
This operation manual uses various graphical symbols to indicate warnings and
instructions. These consist of two categories, Warning and Caution, which are
indicated based on the severity of consequences if the corresponding warning or
instruction is ignored and the instrument is operated improperly. Always observe
these warnings and instructions, as they include important information about safety.
Labels Indicating Degrees of Damage or Injury
Indicates a potentially hazardous situation which, if
not avoided, will result in serious injury or death.
Indicates a potentially hazardous situation which, if
not avoided, may result in injury or equipment
damage.
Hose inlet (Sold separately: Item code 080180-2525)
Communication cable with software for LV-250/LV-40B
(Sold separately: Item code 080040-7001)
USB A-B cable (commercially available)

6
•Use dry cell batteries only. Do not use dry-cell shaped rechargeable batteries.
•Only connect the specified AC adapter and communication cable (both optionally
available).
•Do not operate the instrument near highly flammable or combustible items. Doing so
could cause explosion or fire.
•Keep the instrument away from open flames. Do not burn the instrument in a fire. Doing
so could cause explosion or fire.
•This product is designed for indoor use. Do not get water or other liquids on the
instrument. Doing so could cause a malfunction or fire.
•Use the instrument at an indoor location at an altitude of 2000 m or less.
•Do not subject the instrument to strong impacts or drops. Doing so could cause a
malfunction or accident.
•Never attempt to disassemble or modify the instrument. Doing so could cause a
malfunction or accident.
•If a problem occurs during operation, immediately stop operating the instrument, and
remove the cause. If it is determined that the product caused the problem, switch the
power OFF, remove the batteries or unplug the AC adapter from the power outlet, and
then contact a Sibata representative. Never operate the instrument if it is not functioning
normally. Also, never allow anyone other than a qualified service engineer to
disassemble or modify the product. Doing so could cause a malfunction or accident.
•When connecting the AC adapter, ensure that the power plug can easily be inserted or
removed from the outlet, and do not connect it to an outlet with multiple items sharing
the same extension cord or plug adapter. Otherwise, an electric shock or fire could
result.
•Check the AC adapter for cuts or other damage to the cable jacket before operating the
instrument. Do not step on or place heavy objects on the cord. Operating the instrument
under such abnormal conditions could cause a fire, electric shock, or other problems.
•Do not touch the AC adapter or outlet with wet hands. Doing so could result in an electric
shock.

7
•This product is a flow calibrator. Do not use it for any purpose not indicated in this
manual. Doing so could cause a malfunction.
•Do not wash the instrument directly in water. Doing so could cause an electric shock,
fire, or malfunction.
•Do not place anything on top of the instrument. Doing so could cause a malfunction or
accident.
•Remove the batteries (or unplug the power plug from the outlet if using the AC adapter)
before cleaning or inspecting the instrument. Not doing so could cause an electric shock,
battery leakage, or other problems.
The AC adapter is not protected against liquids, so do not clean it with ethanol.
•Unplug the AC adapter power plug from the outlet when the instrument is not in use. Not
doing so could cause a fire or malfunction.
•If not using the instrument for an extended period, store it at normal room temperature in
a dry location away from direct sunlight, with the AC adapter disconnected and batteries
removed. Not doing so could cause battery leakage.
•Always grip the plug to unplug the AC adapter. Pulling on the cord could damage the
cord and cause an electric shock or fire.
•Never attempt to connect to the connector using wire or other metal objects, or any other
method not specified in this manual. Doing so could cause a malfunction.
•Do not permit water, other liquids, or non-atmospheric gases to enter the instrument.
Also, do not permit salt air or other corrosive gases or chemicals to enter the instrument,
either. Doing so could cause a malfunction or fire.
•Do not insert screws or other foreign objects into instrument gaps. Doing so could cause
a malfunction. If a foreign object accidentally enters the instrument, immediately switch
the power OFF and remove the batteries. Then contact your Sibata representative or the
distributor where you purchased the product.
•The normal operating temperature range of this product is 0 to 40 °C, with humidity
between 10 and 90 % RH (and no condensation). Operating the instrument outside
these temperature and humidity ranges could reduce performance, shorten the service
life, or cause a malfunction.
•Keep the instrument away from sources of noise. Also, do not place it in areas with
strong magnetic fields, high dust levels, or high humidity. Doing so could cause
instrument damage or other problems.

8
■ Caution Labels
Caution labels are affixed to the back of this product. During use, be sure to comply with
the cautions noted.
AVOID SHOCK
Do not subject the product to strong impacts or drops.
Doing so could cause a malfunction or accident.
KEEP DRY
Do not touch the outlet or the AC adapter plug with wet hands.
Also, do not wash the product with water.
Doing so could cause an electric shock, fire, or malfunction.
■ Pollution Degree and Overvoltage Category
The pollution degree and overvoltage category for this product are as follows.
Pollution Degree 2
Overvoltage Category II

9
1 Product Overview
The FC-L1 flow calibrator is able to measure flowrates between 5 and 40 L/min.
The compact and easily portable design makes it easy to carry the unit to measurement
sites for calibrating the flowrate of low volume pump.
The FC-L1 can be used for SIBATA LV-40B, LV-40BR, LV-40BW, or LVS-30 low volume
pumps or LV-250 or LV-250R PM2.5 samplers. (Connecting the flow calibrator to a LV-
250 or LV-250R PM2.5 sampler requires a separately sold hose inlet.)
2 Features
•Four modes are available for displaying flowrate: 25 °C at 1 atm, 20 °C at 1 atm, 0 °C
at 1 atm, or actual volume.
•Flowrates under the above conditions do not require user calculation, because they
are calculated internally.
•Measurement flowrate, temperature, and air pressure values are displayed on the
LCD screen.
•This product can be used for automatic calibration if used in combination with the
Sibata LV-40B, LV-40BR, or LV-40BW low volume pump, or the LV-250 or LV-250R
PM2.5 sampler, and a dedicated communication cable (communication cable with
software for LV-250/LV-40B, sold separately). This product can also be used for
automatic calibration if used in combination with the LVS-30, and a commercially
available USB A-B cable.
•In comparison with the previous FC-L1, a new accumulated flowrate display function
has been added. As a result, it is possible to confirm the accumulated flowrate value
either manually or when the configured time has ended.

10
3 Names of Parts
Battery box
Rubber feet
Power supply socket
Power switch
USB connector
Control panel
Air intake port
Exhaust port

11
Control Panel
LCD Screen
Action indicator
Mode bar Battery level
Timer indicator
Units
Numeric display field
Character display field
Over indicator
[ENTER] key
[MODE/ESC] key
[UP/SPAN] key
[DOWN/ZERO] key
[A.ZERO]
(auto-zero) key
[CAL]
(calibration) key
LCD screen

12
4 Measurement
4-1 Measurement Site
For precise measurements, perform measurements in a room (or thermostatic chamber)
where temperature and humidity are controlled to constant levels. Note that the
following types of sites are not appropriate for measurements.
(1) Sites with a sloped floor
(2) Sites with vibration
(3) Sites exposed to direct sunlight
(4) Sites where condensation could form
(5) Sites with a large difference between hot and cold temperatures
4-2 Checking the Power Supply
If Powered by Batteries
The battery box is located on the bottom of the unit.
Remove the cover and install four AA size alkaline batteries.
Note: Use dry cell batteries only. Do not use dry-cell shaped rechargeable batteries.
If Powered by an AC Adapter (optional)
Connect the DC plug from the AC adapter into the power supply socket on the side of
the main unit and plug the AC adapter into the power supply outlet.
4-3 Confirming the Flowrate Conversion
Temperature Setting
When the power supply is switched ON, the flowrate
conversion temperature is displayed. To change the flowrate
conversion temperature, press the [ENTER] key while the
flowrate conversion temperature is still displayed (about
5 seconds). (For instructions on how to change the setting,
see page 16.)
To not change the flowrate conversion temperature, either press the [MODE/ESC] key
while the flowrate conversion temperature is displayed or switch to the main screen
(flowrate measurement) after 5 seconds.
If batteries are left installed when the AC adapter is connected, the system is
powered by the AC adapter.

13
4-4 Checking the Battery Level Indicator
Check the remaining battery charge as
follows.
A general guideline for the amount of
remaining charge is indicated to the right.
This indicator is not displayed while the AC adapter is being used.
4-5 Auto-Zero Function (Zero Flowrate Check)
Let the instrument warm up at least 10 minutes after
switching the power ON. After at least ten minutes have
elapsed, press the [A.ZERO] key and confirm that the
flowrate is 0.00 L/min. Make sure there is no air blowing
when pressing the [A.ZERO] key.
Note: To cancel the auto-zero function, hold down the [A.ZERO] key.
4-6 Starting Measurements
After confirming the items indicated in 4-1 to 4-5, connect the tube between the air
intake port on the low volume pump (or separately sold hose inlet attached to the PM2.5
sampler, if used) and the exhaust port on the FC-L1 flow calibrator. Then start operating
the instrument.
Confirm the flowrate value indicated on the LCD display.
Note: It is also possible to display the accumulated or average flowrate value.
(For instructions on displaying the accumulated and average flowrate, see page 22.)
The sensor used to measure flowrates requires time to stabilize the sensor
output after the power is switched ON. Let the instrument warm up at least 10
minutes after switching the power ON. If not warmed up, it may not display
correct flowrate values.
Values less than 5 L/min are not within the guaranteed precision range.
(The indicated value flashes if below 4 L/min and is shown as 0.00 L/min for
values below 1 L/min.)
<10% ≥10% ≥25% ≥50% ≥75%

14
5 Menus
The following describes the parameters that can be set or confirmed in respective flow
calibrator menus.
5-1 Main Screens
The current air pressure
*1
and temperature can be confirmed by pressing the
[MODE/ESC] key in the flowrate measurement screen.
Flowrate Measurement Screen Pressure Sensor Display
*1
[MENU] Screen Temperature Sensor Display
Note: It is possible to check the pressure and temperature even while measuring the
accumulated and average flowrate.
*1 The atmospheric air pressure is indicated when no air is flowing, but the reference
pressure (absolute pressure) at the flow calibrator air intake port is indicated if air is
flowing.
A kPa is one tenth of a hPa.
LCD Screen
Status Flashing ON
(steady)

15
5-2 [MENU] Screen
In the [MENU] screen, press the [ENTER] key to open the menu sub-screens.
Press the [MODE/ESC] key to return to the [MENU] screen from any sub-screen
in the dashed line area above.
(2) Exit to main screen (3) Accumulation time
setting screen
(5) Pressure display
m
ode
sc
r
ee
n
(6) Software version
display screen
(1) Flowrate conversion
temperature setting
Screen Sequence Within
Dashed Line Area Below
Clockwise
Counterclockwise
(4) Temperature display
mode screen

16
5-3 Flowrate Conversion Temperature Setting
The flowrate conversion temperature can be set as follows.
Pressing the [ENTER] key causes the numeric display to flash and enables changing
the setting (default setting is 25 °C at 1 atm).
°C →Converts flowrate based on 25 °C at 1 atmosphere
°C →Converts flowrate based on 20 °C at 1 atmosphere
°C →Converts flowrate based on 0 °C at 1 atmosphere
→Actual flowrate
Select the setting using the [UP/SPAN] and [DOWN/ZERO] keys, then press the
[ENTER] key to confirm the setting. Once confirmed, settings are remembered even if
the power is switched OFF.
5-4 Accumulation Time Setting
The accumulation time setting can be configured.
(No time setting configured) →Manual setting (default setting)
:(Time setting configured) →Timer setting
Press the [ENTER] key, which causes the hours display (hours) to flash. Then use the
[UP] or [DOWN] key to set the time (hours). Once again, press the [ENTER] key, which
causes the minutes display (minutes) to flash. Then use the [UP] or [DOWN] key to
change the setting for minutes. Press the [ENTER] key to confirm the setting. (To return
to the previous screen without changing the setting, press the [MODE/ESC] key.)
Note: The accumulation time can be configured between 1 minute and 9 hours 59 minutes.
The setting can also be changed by pressing the [ENTER] key when the power
is switched ON (see page 12).
No accumulation time
setting configured (Hours setting) (Minutes setting)

17
5-5 Temperature Display Mode Setting
The temperature used to convert flowrates can also be set manually (default setting is
[AUTO]).
→Automatic setting
(based on temperature sensor values)
°C →Manual setting
(initially displays temperature sensor value)
Press the [ENTER] key, which causes the display to flash, then use the [UP] or [DOWN]
key to select auto or manual mode. In the manual mode, press the [ENTER] key again
and then the [UP] or [DOWN] key to change the temperature value. Press the [ENTER]
key to confirm the setting. (To return to the previous screen without changing the
setting, press the [MODE/ESC] key.)
It is recommended that this setting be used only if there is a temperature
sensor problem. The setting reverts to [AUTO] when the power is switched OFF.
(If the indicated value is clearly not normal, request repairs.)
Automatic setting Manual setting
(initially displays temperature sensor value)
(Confirm manual setting)
(numeric setting)
(Confirm)

18
5-6 Pressure Display Mode Setting
The reference pressure (absolute pressure) value used to convert flowrates can also be
set manually (default setting is [AUTO]).
→Automatic setting
(based on pressure display value)
kPa →Manual setting
(initially displays pressure sensor value)
Press the [ENTER] key, which causes the display to flash, then use the [UP] or [DOWN]
key to select auto or manual mode. In the manual mode, press the [ENTER] key again
and then the [UP] or [DOWN] keys to change the pressure value. Press the [ENTER]
key to confirm the setting. (To return to the previous screen without changing the
setting, press the [MODE/ESC] key.)
It is recommended that this setting be used only if there is a pressure sensor
problem. The setting reverts to [AUTO] when the power is switched OFF.
(If the indicated value is clearly not normal, request repairs.)
(numeric setting)
(Confirm manual setting)
Manual setting
(initially displays pressure sensor value)
(Confirm)
Automatic setting

19
5-7 Displaying the Software Version
The software version is displayed as shown to the right
(Version 1.00 in the example shown).
5-8 Returning from a [MENU] Sub-Screen to the
Main Screen
(1) In the [EXIT] screen, press the [ENTER] or [MODE/ESC] key.
(2) In the [MENU] screen, press the [MODE/ESC] key.
OR

20
6 Calibration
6-1 Calibrating the Pressure Sensor
The pressure sensor display value can be calibrated as follows.
(1) With a main screen displayed, press the [MODE/ESC] key to display the pressure,
temperature, or flowrate. Then hold the [CAL] key down for two seconds to
illuminate the [CAL] indicator on the mode bar.
(2) Press the [SPAN] key to illuminate the [SPN] indicator on the mode bar.
(3) Use the [UP] or [DOWN] key to set the value back to and then press the
[ENTER] key.
(4) Press the [ZERO] key to illuminate the [ZR] indicator on the mode bar.
(5) Use the [UP] or [DOWN] key to set the value back to and then press the
[ENTER] key.
(6) Determine the SPAN and ZERO values based on the reference pressure value
and the value displayed on the LCD screen.
(→Calculated based on the value on the reference
device and the value displayed when [CAL] is
indicated on the mode bar. For information about
how values are calculated, see page 22.)
(7) Press the [SPAN] key and then press the [UP] or
[DOWN] key to enter the SPAN value. Then press the
[ENTER] key.
(8) Press the [ZERO] key and then press the [UP] or [DOWN] key to enter the ZERO
value. Then press the [ENTER] key.
(9) Press the [CAL] key to return to the main screen.
LCD Screen
Status Flashing ON
(steady)
(Enter value)
(Confirm)
([SPAN] key)
SPAN value input screen
(2 sec)
(Enter value)
(Confirm)
([ZERO] key)
ZERO value input screen
Table of contents
Other Sibata Test Equipment manuals