Chapter 2Technical Information
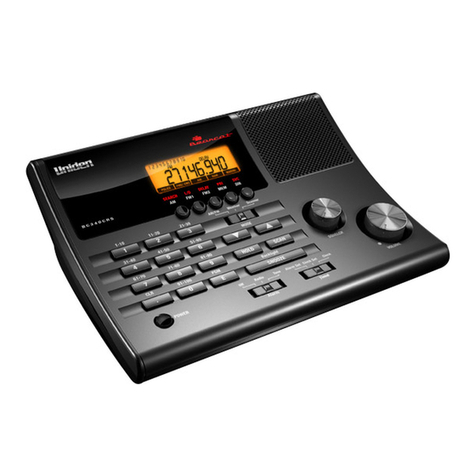
TiM310-1030000S01 ranging and detecting laser scanner
6©SICK AG · Germany · All rights reserved · Subject to change without notice 8014884/YK97/2015-04-27
Operating principle of the TiM3xx
2Operating principle of the TiM3xx
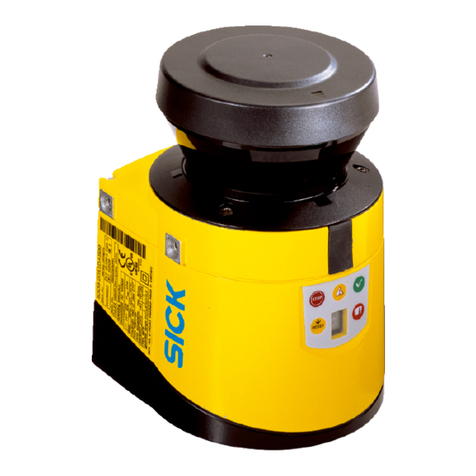
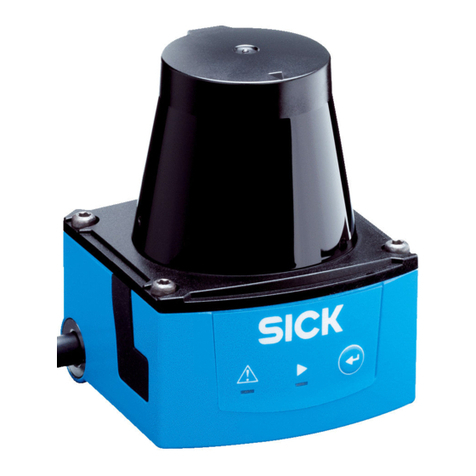
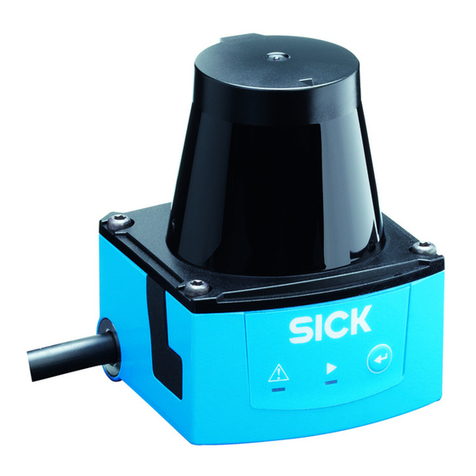
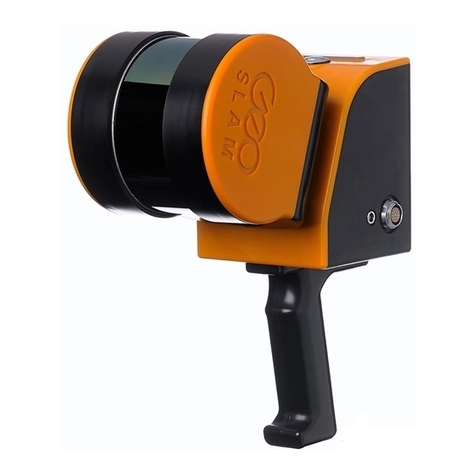
The TiM3xx is an opto-electronic laser scanner that electro-sensitively scans the perimeter
of its surroundings at a single plane with the aid of laser beams. The TiM3xx measures its
surroundings using two-dimensional polar coordinates based on its measurement origin.
This is marked on the hood in the centre using a circular indentation. If a laser beam hits
an object, its position in terms of distance and direction is determined.
Scanning is performed across a 270° sector. The maximum range of the TiM3xx is 4 m
(13.12 ft) on light, natural surfaces with an object reflectivity > 50 % (e.g. a white house
wall).
2.1 Distance measurement
The TiM3xx emits pulsed laser beams using a laser diode. If one of these laser pulses hits
an object or a person, this is reflected at its surface. The reflection is detected in the
TiM3xx's receiver by a photodiode. The TiM3xx uses HDDM technology (High Definition
Distance Measurement), a SICK own-development. Using this measurement method, a
measured value is formed by the average value for several individual pulses. The TiM3xx
calculates the distance to the object from the transit time required by the light from emis-
sion of the beam to receipt of the reflection. This principle of "time-of-flight measurement"
is used by radar systems in a similar manner.
2.2 Direction measurement
The emitted laser beams are deflected by the TiM3xx using a rotating mirror and its sur-
roundings scanned in a circular form. The measurements are triggered internally at regular
angle increments using an angular encoder. One complete rotation represents one measur-
ing process (scan).
The TiM3xx works at a scanning frequency of 15 Hz, i.e. it performs 15 measuring processes
per second and makes the measurement results continuously available in real time via the
USB interface.
The measurement method forms an average value from several pulses to determine indi-
vidual measured values. At an angle resolution of 1°, a measuring point is formed from the
average of 84 measurements. The spot geometry of the submeasuring points is virtually cir-
cular whereas a measuring point has the form of a narrow rectangle due to overlapping.
