manuals.online logo
Brands
  1. Home
  2. •
  3. Brands
  4. •
  5. Siemens
  6. •
  7. Cooktop
  8. •
  9. Siemens ER326AB91X User manual

Siemens ER326AB91X User manual

Assembly instructions ER326AB91X
please keep to be used with Town Gas
1
min. 100
min. 50
min. 50
min. 600
min. 650
min. 450
min. 5
490÷500± 270±
2
02
0
302
5
2
0
~60
~30 30÷40
2
3
4
5
Z
min. 30
max. 50
min. 5
min. 10
max. 150
min. 53
50
62
min. 25
45
Put these instructions in a safe place for future reference
Read the appliance’s instructions
before installing and using.
The graphics in these Assembly
instructions are given as a guide
only.
The manufacturer is exempt from
all liability if this manual’s
requirements are not complied
with.
Safety instructions
Connection of Town Gas rubber
tube
-It must be used approved rubber
tube bearing EMSD Approval
marking (such as “EMSD Approval
GTXXXX”) and fuse cock for piped
gas supply or regulator for
connection.
Connection of stainless steel
flexible hose BSP MALE
-It must be used approved stainless
steel flexible hose BSP MALE
bearing EMSD Approval marking
(such as “EMSD Approval
GTXXXX”) and approved fuse cock
or gas cock for connection.
HK Town Gas connection
-Governor Beckley 2300 should be
installed.
“Under the Gas Safety
(Registration of Gas installers
and Gas Contractors)
regulations, only registered gas
installers (registered to the
appropriate class) employed by
registered gas contractors can
personally carry out gas
installation, regulation and
conversion, in additional, only
use the GTXXXX approved
flexible gas tubing for
installation. This appliance must
not be converted to another type
of gas.”
The installation engineer has to
respect the standards and the
specifications of the gas and
electricity providers.
Before you begin, turn off the
appliance’s electricity and gas
supply.
This appliance has been designed
for home use only. This appliance
cannot be installed on yachts or in
caravans.
Before installing, you need to check
that local distribution conditions
(gas type and pressure) and the
appliance’s adjustment are
compatible. The appliance’s
adjustment conditions are written on
the label or the specifications plate.
This appliance can only be installed
in a well-ventilated place in
accordance with existing
regulations and ventilation
specifications. The appliance must
not be connected to a combustion
product evacuation device.
The supply cable must be attached
to the unit to prevent it from
touching hot parts of the oven or
hob.
Appliances with electrical supply
must be earthed.
Do not tamper with the appliance’s
interior. If necessary, call our
Technical Assistance Service.
Before installing
This appliance is class 3 type,
according to the EN 30-1-1
regulations for gas appliances: built-
in appliance.
These individual appliances can be
combined with other identical
appliances and/or with conventional
hobs of the same make, using the
joint accessory.
See the catalogue for details.
The units next to the appliance
must be made of non-flammable
materials. The laminated covering
and glue for adhering it must be
heat resistant.
This appliance cannot be installed
above fridges, washing machines,
dishwashers or similar.
An oven must have a power cooling
fan to install a hob above it.
Check the oven’s dimensions in its
installation manual.
If an extractor fan is installed, you
must follow the installation manual’s
instructions, always keeping a
minimum distance of 650 mm to the
hob.
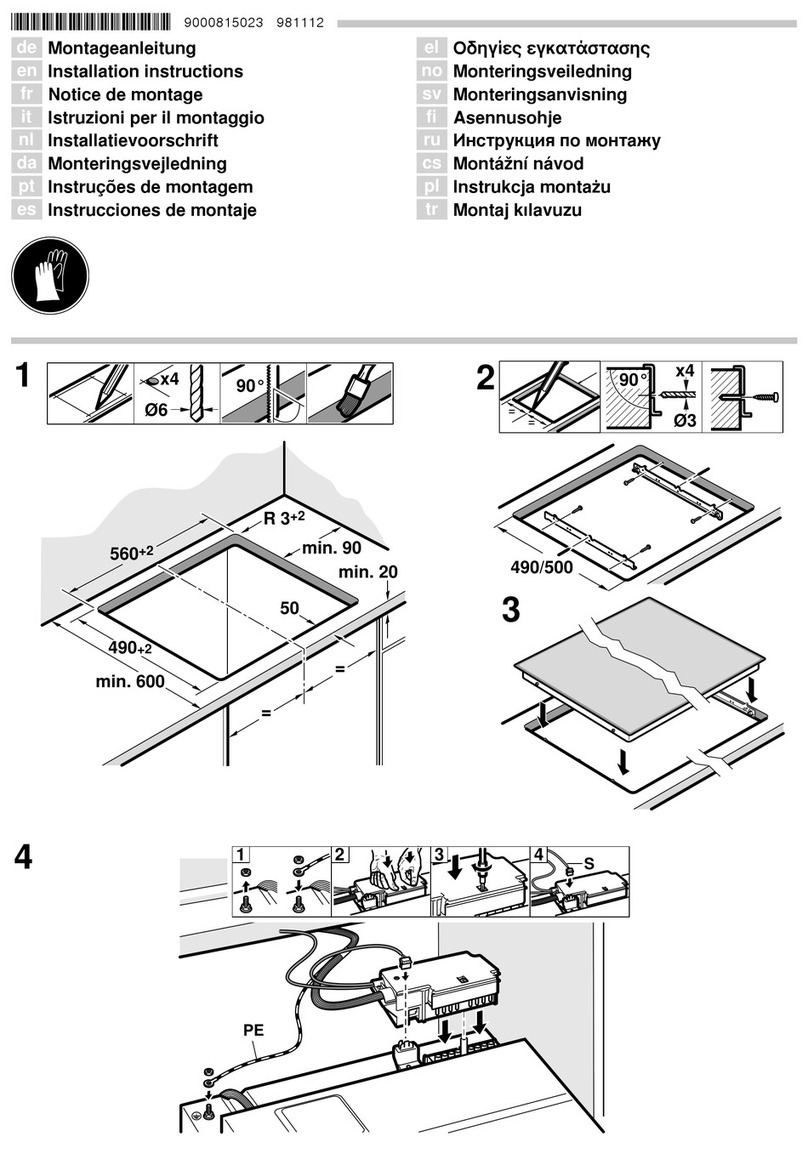
Preparing of kitchen unit
(fig. 1-2)
Make an appropriate size cut in the
work surface.
If there is no oven below the hob,
place a non-flammable separator
(e.g. metal or plywood) 10 mm from
the bottom of the hob. This will
prevent access to the base of the
hob.
On wood work surfaces, varnish the
cutting surfaces with special glue.
This protects them from moisture
which could collect under the work
surface.
Installation of appliance
The clips and the adhesive seal
(underside of the hob) are factory-
fitted: do not under any
circumstances remove them. The
seal ensures that the entire work
surface will be watertight, and
prevents water seepage.
In order to fit the appliance into the
kitchen unit, first place the hob in
the correct position then loosen
each of the clips so that they all turn
freely (it is not necessary to
completely undo them).
Insert and centre the hob.
Press the sides of the hob until it is
supported around its entire
perimeter.
Turn the clips and tighten them
fully. Fig. 3
To complete the installation, the
burner diffusers and covers must be
fitted onto their corresponding rings.
In addition, the pan supports must
also be located in their correct
places. Fig. 4.
Removal of hob
Turn off the appliance’s electricity
and gas supply.
Unscrew the clips and proceed in
the reverse order to installation.
Gas connection (fig. 5)
The end of the inlet connection
point of the gas hob has a ½”
thread that allows for:
- fixed connection.
- connection using a flexible metal
pipe. In this case, it is necessary to
insert the L-tube supplied and the
watertight seal supplied between
the manifold outlet and the gas
supply.
In this case, you must prevent the
pipe from coming into contact with
moving parts of the kitchen unit
being inserted (for example, a
drawer) and prevent access to any
spaces which might become
obstructed.
Warning! If any connection is
handled, check the seal.
Danger of leaks.
The manufacturer is not liable for
any connection leaking, after being
handled.
Electrical connection
Check that the voltage and power of
the appliance are compatible with
the electrical installation.
The hobs are supplied with a power
cable with a wall socket plug.
Provide an omnipolar cut-off switch
with a minimum contact separation
of 3 mm (except for plug
connections, if the user has access
to it).
Appliances with plugs must only be
connected to sockets that have
earth wires correctly installed.
This appliance is type “Y”: the
supply cable can only be changed
by the Technical Assistance Service
and not by the user. The cable type
and minimum cross-section
(3 x 0.75 mm²) must be respected.
BURNER AND GAS TAP SPECIFICATIONS
The burner must be used with the gas indicated in the table GAS
TYPE
G-110
TOWN GAS
HONG KONG
TOWN GAS
Gas pressure for use mbar 10 12.5
Inner burner tip marking S
Outer burner tip marking 350
Distance “Z” outer bushing mm 7
Nominal kW 4.4 5.0
Consumption (H
s
) Reduced ≤0.20
Flow 15°C, 1013 mbar m³/h 0.998 1.110
gas tap by-pass screw marking 65
Siemens-Electrogeräte GmbH
Carl-Wery-Straße 34
81739 München
1030010 – 08.2010

Other manuals for ER326AB91X

1

Other Siemens Cooktop manuals

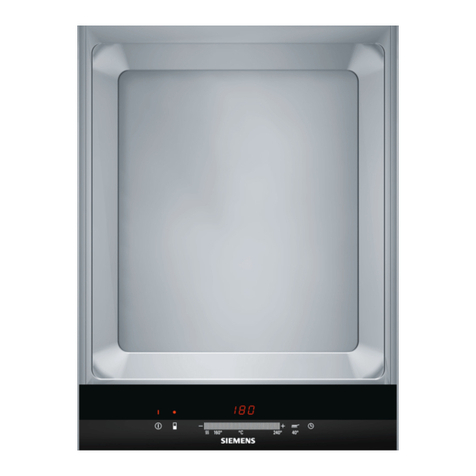
Siemens ET475MY11E User manual

Siemens

Siemens ET475MY11E User manual

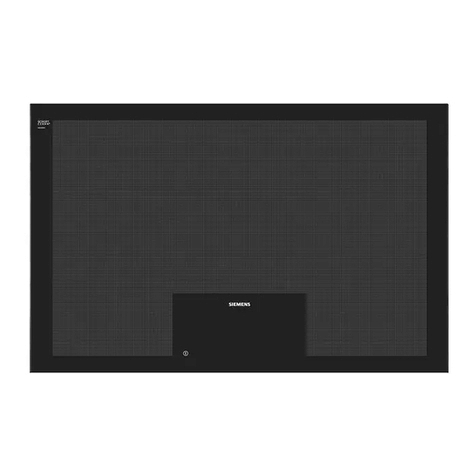
Siemens EH8..KU1 SERIES User manual

Siemens

Siemens EH8..KU1 SERIES User manual

Siemens EX875LX34E User manual

Siemens

Siemens EX875LX34E User manual

Siemens ET6..EE Series User manual

Siemens

Siemens ET6..EE Series User manual

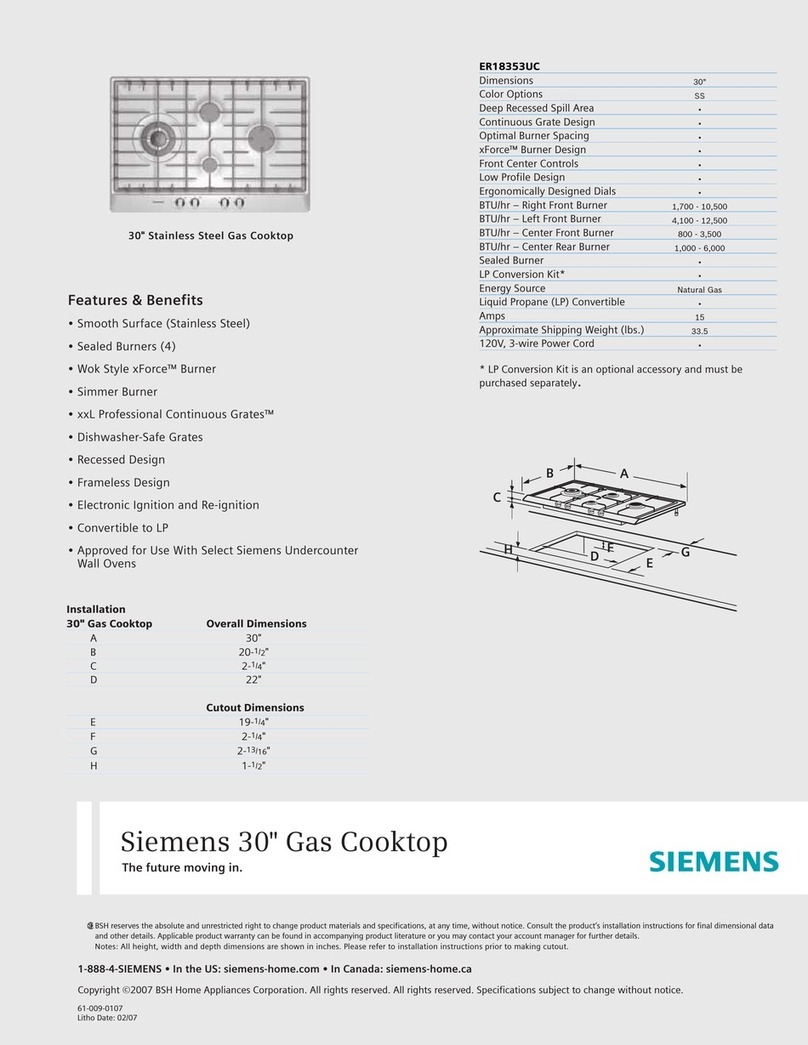
Siemens ER18353UC User manual

Siemens

Siemens ER18353UC User manual

Siemens ET475MY11E User manual

Siemens

Siemens ET475MY11E User manual

Siemens ER726RF70E User manual

Siemens

Siemens ER726RF70E User manual

Siemens iQ300 EF601HN17 User manual

Siemens

Siemens iQ300 EF601HN17 User manual

Siemens EZ9**KZ series User manual

Siemens

Siemens EZ9**KZ series User manual

Siemens EH6 MK2 Series User manual

Siemens

Siemens EH6 MK2 Series User manual

Siemens EH70650 Setup guide

Siemens

Siemens EH70650 Setup guide

Siemens EH375CE11E User manual

Siemens

Siemens EH375CE11E User manual

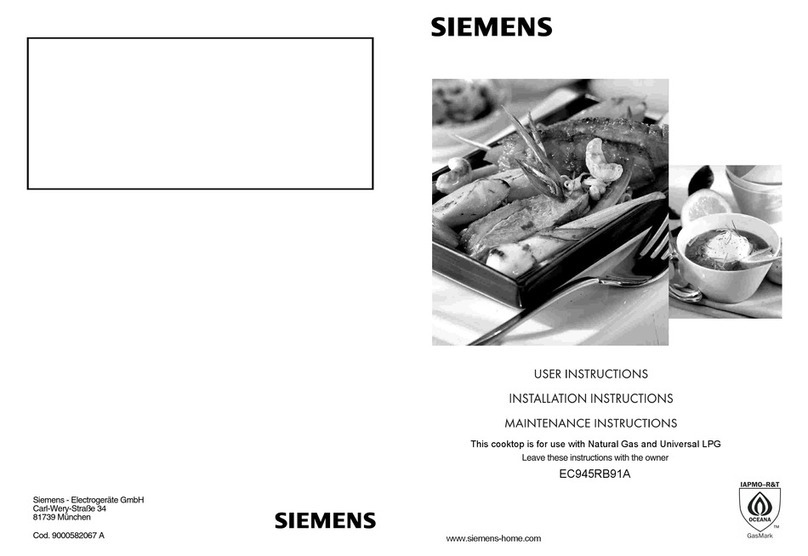
Siemens EC945RB91A User manual

Siemens

Siemens EC945RB91A User manual

Siemens Cooktop User manual

Siemens

Siemens Cooktop User manual

Siemens ET 77..UC User manual

Siemens

Siemens ET 77..UC User manual

Siemens EH7752UC User manual

Siemens

Siemens EH7752UC User manual

Siemens EX275FXB1E User manual

Siemens

Siemens EX275FXB1E User manual

Siemens EF645HN17C/01 User manual

Siemens

Siemens EF645HN17C/01 User manual

Siemens ET7752UC User manual

Siemens

Siemens ET7752UC User manual

Siemens EX8 LX3 E Series User manual

Siemens

Siemens EX8 LX3 E Series User manual

Siemens Teppan Yaki User manual

Siemens

Siemens Teppan Yaki User manual

Siemens 5551 User manual

Siemens

Siemens 5551 User manual

Siemens EX675LYV1E User manual

Siemens

Siemens EX675LYV1E User manual

Siemens EH875KU12E User manual

Siemens

Siemens EH875KU12E User manual

Popular Cooktop manuals by other brands

TriStar ik-6176 instruction manual

TriStar

TriStar ik-6176 instruction manual

Concept2 IDV4260wh manual

Concept2

Concept2 IDV4260wh manual

Whirlpool WFG540H0A Product dimensions

Whirlpool

Whirlpool WFG540H0A Product dimensions

Euromaid CT70 owner's manual

Euromaid

Euromaid CT70 owner's manual

Sencor UltraFlat SCP 4501BK user manual

Sencor

Sencor UltraFlat SCP 4501BK user manual

Astivita ASTEC60CERTOP instruction manual

Astivita

Astivita ASTEC60CERTOP instruction manual

Frigidaire GLES388CSB Wiring diagram

Frigidaire

Frigidaire GLES388CSB Wiring diagram

Thermador Freedom CIT30YWBB installation guide

Thermador

Thermador Freedom CIT30YWBB installation guide

duxtop BT-200DZ user manual

duxtop

duxtop BT-200DZ user manual

Whirlpool GJC3634RB01 parts list

Whirlpool

Whirlpool GJC3634RB01 parts list

Blanco BCGF75 Use, installation and maintenance instructions

Blanco

Blanco BCGF75 Use, installation and maintenance instructions

LG LCG3611ST Manual De Propietario

LG

LG LCG3611ST Manual De Propietario

Thermador CET304NS Use and care guide

Thermador

Thermador CET304NS Use and care guide

Verona VDGCT212F Series installation instructions

Verona

Verona VDGCT212F Series installation instructions

GE Monogram ZEU304 installation instructions

GE

GE Monogram ZEU304 installation instructions

Cecilware IC-18A Operation manual

Cecilware

Cecilware IC-18A Operation manual

Ikon IHP-2-12 Installation & operation manual

Ikon

Ikon IHP-2-12 Installation & operation manual

LG LCE30845 - 30in Induction Cooktop Specifications

LG

LG LCE30845 - 30in Induction Cooktop Specifications

manuals.online logo
manuals.online logoBrands
  • About & Mission
  • Contact us
  • Privacy Policy
  • Terms and Conditions

Copyright 2025 Manuals.Online. All Rights Reserved.