4
Dispose o the packaging and old unit, i necessary, in an
environmental riendly manner.
Installation instructions
Sa ety In ormation
This appliance is not intended for use by persons (including
children) with reduced physical, sensory or mental capabilities,
or lack of experience and knowledge, unless they have been
given supervision or instruction concerning use of the
appliance by a person responsible for their safety.
Children should be supervised to ensure that they do not
play with the appliance.
■Have the small water heater connected only by
a specialist.
■Observe the legal regulations as well as the connection
conditions of the electrical power company and the water
works.
Caution!
Fill the unit completely with water irst and then plug in
the mains plug. Otherwise the temperature use will
melt and must be replaced by customer service.
■Connect the unit only to a mains socket with protective
contact that is installed according to regulations. Do not
use an extension cord. If necessary, equip the unit with a
longer cord (see Section I).
■The small water heater may be used only open
(unpressurised) and or one tapping point. The warm
water outlet serves or pressure equalisation and
may be connected only to special mixing batteries
(Order-Nr. BZ 13051 or BZ 13061).
■The outlet of the battery must always be free.
Do not use a aerator (air mixer).
■During heating, expansion water drips from the outlet.
■The supply cord should not touch hot parts. The insulation
could be damaged.
■The unit is to be mounted only in rost- ree rooms.
■After mounting, please give the instructions for use to
the owner and explain the unit to him.
■Maintenance and repair work should only be
per ormed by a quali ied pro essional.
■The appliance should not be supplied power via a timer
switch. Otherwise, there is a risk of an unintentional reset
of the protection temperature limiter during a
malfunction.
Disconnect the power supply be ore
opening the appliance!
Items Supplied/Dimensions
Mounting
Water Connection
Caution!
Do not allow the existing mixing battery to become
calci ied. A reduced low rate will ruin the water heater.
Wall Mounting
Screwing on the Connection
Pipes
■Fit the sealing gasket.
■Place the sleeve nuts onto the threads and screw on by
hand.
■Tighten the screw fitting. Hold the threaded ittings on
the water heater with a spanner. Do not lubricate the
thread!
■After the unit has been used to heat water a few times,
retighten the screw fitting.
■Replacement for a damaged threaded fitting is available
from customer service.
Putting into Operation
1. Open the angle valve. The mains plug must not be
plugged in.
2. Completely ill the heater’s reservoir with water.
Set the low on the angle valve
5 l/min= 1 l in 12 seconds
3. Only a ter steps 1 and 2 have been completed:
Insert the mains plug.
Turn the temperature selector to „III“ (approx. 85° C).
Observe the heating until the control lamp goes off.
Duration: approx. 12–18 minutes.
Check the temperature.
Caution: if the safety temperature limiter has switched off
the small water heater, disconnect the mains plug, open the
hot water tap, allow approx. 4 litres of water to run through
and then reconnect the mains plug. The unit is now ready
for operation again.
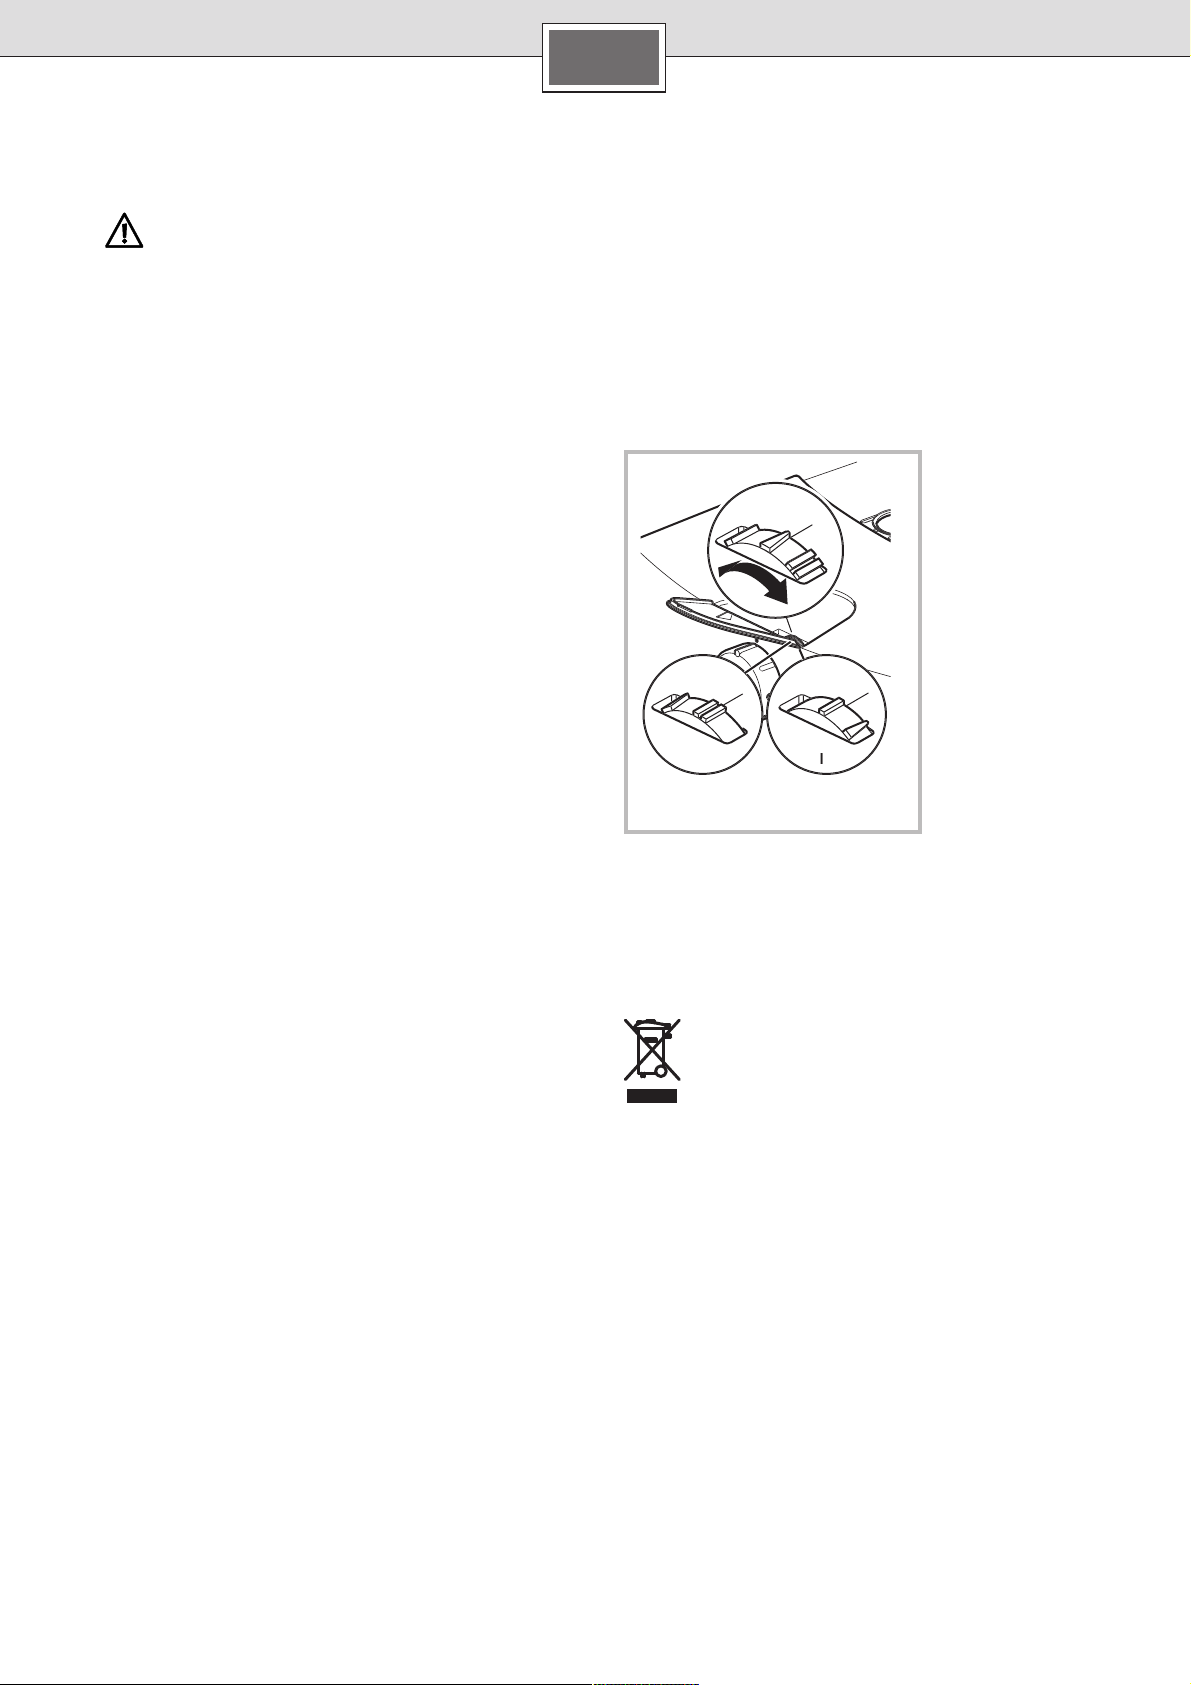
4. Limiting o the Outlet Temperature
The outlet temperature of the water heater can be
mechanically limited to Step „I“ (approx. 40 °C) or
Step „e“ (approx. 60 °C).
Information on temperature limiting can be found on page 5.
5. Saving energy
Turn the temperature selector to „e“.
Replacing the Power Supply
Cord
■The power supply cord must be replaced by our
customer service only in order to avoid a hazard.
■The mains plug must be pulled be ore replacing!
Der Warmwasser-Auslau des Kleinspeichers dient zum
Druckausgleich und dar nur an drucklosen Armaturen
(BZ 13051 oder BZ 13061) angeschlossen werden.
E
B
D
F
A
C
en


 Operation and maintenance instructions")