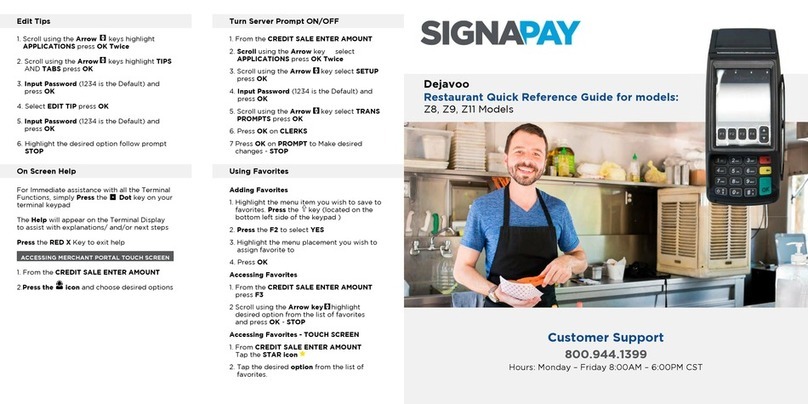
SignaPay Z9 User manual

Customer Support
800.944.1399
Hours: Monday – Friday 8:00AM – 6:00PM CST
Dejavoo
Restaurant Quick Reference Guide for models:
Z9, Z11, touch screen Z-Line Models
CALL ME FEATURE (MUST BE ENABLED)
TURN SERVER PROMPT ON/OFF
1. From the terminal main screen tap the icon.
2. If prompted, input Manager Password (1234
default).
3. Tap CALL ME.
4. The terminal sends notication to the help
desk and you will receive a call back from a
representative with assistance.
1. From the idle prompt, tap the icon to
access the
2. Tap CORE.
3. Tap APPLICATIONS.
4. Tap DVCREDITAPP.
5. Tap SETUP.
6. If prompted, input Manager Password (1234
default). Tap TRANS PROMPTS.
7. Tap CLERKS.
8. Tap PROMPT.
9. Tap to select desired option and press OK.
10. To return to the home screen press the
key 2 times
REPRINT RECEIPT
1. From the idle prompt, tap the icon to access
the FAVORITES menu.
2. Tap REPRINT RECEIPT
3. If prompted, input Manager Password (1234
default)
4. Tap desired option (LAST, BY TRANSACTION
# or BY CARD NUMBER)
5. Follow prompts and transaction receipt prints.
PRINTING REPORTS
1. From the idle prompt, tap the icon to access
the FAVORITES menu.
2. Tap desired report type (DAILY REPORT or
SUMMARY REPORT).
3. If prompted, input Manager Password (1234
default).
4. REPORT prints.
10.
To return to the home screen press the
key 2 times
From the terminal main screen tap the icon.
If prompted, input Manager Password (1234
From the idle prompt, tap the icon to
EDIT TIPS BY TRANSACTION #
1. From the idle prompt, tap the icon to access
the FAVORITES menu.
2. Tap EDIT TIP.
3. If prompted, input Manager Password (1234
default).
4. Tap ALL.
5. Tap TRANSACTION #.
6. Transaction amount appears, input TIP
AMOUNT and press OK.
7. If prompted, conrm the tip amount by
tapping YES or NO. Conditional on the
terminal’s conguration.
8. Repeat steps 5 and 6 as needed.
9. Press the key after all desired tips have
been adjusted.
Repeat steps 5 and 6 as needed.
Press the key after all desired tips have
been adjusted.
From the idle prompt, tap the icon to access

CREDIT CARD RETURN
VOID TRANSACTION (CARD NOT PRESENT)
SETTLE DAILY BATCH
CHIP CREDIT SALE MANUALLY ENTERED CREDIT SALE VOID TRANSACTION (CARD PRESENT)
DEBIT SALE
1. Tap on the CREDIT icon on your terminal
home screen.
2. Tap on the SALE icon.
3. Input SERVER # and press OK. Conditional
on the terminal’s conguration.
4. Input the SALE AMOUNT and press OK.
5. Tap (contactless only) or insert chip card.
6. If prompted, conrm the sale amount
by tapping YES or NO. Conditional on the
terminal’s conguration.
7. The transaction is processed. Sales receipts
will print with details of the transaction.
1. Tap on the CREDIT icon on your terminal
home screen.
2. Tap on the SALE icon.
3. Input SERVER # and press OK. Conditional
on the terminal’s conguration.
4. Input the SALE AMOUNT and press OK.
5. Manually input card #.
6. Follow the CNP prompts (input exp. date,
ZIP code etc). Conditional on the terminal’s
conguration.
7. The transaction is processed. Sales receipts
will print with details of the transaction.
1. Tap on the DEBIT icon on your terminal
home screen.
2. Tap on the SALE icon.
3. Input SERVER # and press OK. Conditional
on the terminal’s conguration.
4. Input the SALE AMOUNT and press OK.
5. Tap (contactless only), swipe or insert chip
card.
6. If prompted, conrm the sale amount
by tapping YES or NO. Conditional on the
terminal’s conguration.
7. Cardholder inputs PIN on terminal PIN Pad
or external PIN Pad and presses OK.
8. The transaction is processed. Sales receipts
will print with details of the transaction.
Restaurant Quick Reference Guide for models:
Z9, Z11, touch screen Z-Line Models
1. Tap on the CREDIT icon on your terminal
home screen.
2. Tap on the VOID icon.
3. Input SERVER # and press OK. Conditional
on the terminal’s conguration.
4. Input the VOID AMOUNT and press OK.
5. If prompted, conrm the void amount by
tapping OK or CANCEL. Conditional on the
terminal’s conguration.
6. If prompted, input Manager Password (1234
default).
7. Tap (contactless only) or insert chip card.
8. The transaction is processed. Void receipts
will print with details of the transaction.
1. Tap on the CREDIT icon on your terminal
home screen.
2. Tap on the RETURN icon.
3. Input SERVER # and press OK. Conditional
on the terminal’s conguration.
4. Input the RETURN AMOUNT and press OK.
5. Tap (contactless only), swipe, insert chip
card or manually enter card #.
6. If prompted, conrm the sale amount
by tapping YES or NO. Conditional on the
terminal’s conguration.
7. The transaction is processed. Sales receipts
will print with details of the transaction.
1. From the idle prompt, tap the icon to access
the FAVORITES menu.
2. Tap VOID TRANSACTION.
3. If prompted, input Manager Password (1234
default).
4. Tap BY TRANSACTION #.
5. Input TRANSACTION # to be voided and
press OK.
6. Conrm the void transaction by tapping
SELECT.
7. If prompted, conrm the void amount by
tapping OK or CANCEL. Conditional on the
terminal’s conguration.
8. If prompted, input Manager Password (1234
default).
9. The void is processed. Void receipts will
print with details of the
These steps have been provided as a guide for assistance with your Dejavoo touch screen payment device
with AURA software.
IMPORTANT: The terminal’s idle prompt displays a selection of payment type icons. The icon will take you
to your FAVORITES menu, the icon will take you to the terminal’s SERVICES menu and when congured,
use the icon for a CALL ME request.
: The terminal’s idle prompt displays a selection of payment type icons. The icon will take you
menu and when congured,
: The terminal’s idle prompt displays a selection of payment type icons. The icon will take you
menu, the icon will take you to the terminal’s
ME
request.
IMPORTANT
to your
FAVORITES
use the icon for a
WIRELESS INDICATORS (FOR ENABLED UNITS)
Wi-Fi icon will blink when not connected.
It will remain static when connected
successfully.
GPRS signal strength indicator (the more
bars, the better your signal GPRS).
Battery strength indicator.
Indicates issue with SIM card (GPRS)
1. From the idle prompt, tap the icon to
access the FAVORITES menu.
2. Tap SETTLE DAILY BATCH.
3. If prompted, input Manager Password (1234
default).
4. Terminal communicates with the host.
5. Settlement Report prints.
From the idle prompt, tap the icon to
This manual suits for next models
1
Other SignaPay Cash Register manuals
