SIIG CE-H25Y11-S1 User manual

1
Dual View Wireless Media Presentation
User Manual
P/N CE-H25Y11-S1
P/N CE-H26611-S1
04-1272A P/N CE-H26711-S1

2
Features
Support dual viewer on one display.
Support VESA PC resolution input, auto-detecting.
Can transmit PC’s mirror/extended desktop or Macbook’s mirror desktop.
Can transmit smart devices’ mirror, photos, videos, music etc.
Support USB plug-in auto pairing for Wireless Media Presentation
Support “Airplay” for apple device.
Package contents (CE-H25Y11-S1)
Dual View Wireless Media Presentation (WMS)
USB A/C Dongle
Power adapter DC 12V/1.5A
Antenna x2
Quick Start Guide
Package contents (CE-H26611-S1)
Dual View Wireless Media Presentation (WMS)
Wireless Media Presentation Transmitter-HDMI Dongle x2
USB A/C Dongle
Power adapter DC 12V/1.5A
Antenna x2
Quick Start Guide
Package contents (CE-H26711-S1)
Wireless Media Presentation Transmitter-HDMI Dongle
Quick Start Guide

3
Specification:
WMS Specification
HDMI output
1x HDMI 19-pin female connector
Video Output Resolution 3840x2160@60Hz,3840x2160@30Hz,
1920x1080@60Hz,
Format Compliance
HDMI1.4/HDMI2.0
Video Capacity:
1080P @ <60Hz Airplay for IOS devices
1080P @ <60Hz "WirelessMedia" app
1080P @ <30Hz for all show-me button
HDCP HDCP1.4/HDCP2.2
Analog Audio Output 1x 3.5mm PC audio female connectors
LAN port RJ45 x2:1000Mbps x1,100Mbps x1
USB interface USB3.0 x1, USB 2.0 x1,Type-C x1
Audio Input AirPlay, Windows/MAC, WMH
Control connectors
3.5mm Phoenix terminal/ RS232 interface
Number of window simultaneous
on screen
≥4+14
(
4 main windows+14 thumbnail
windows)
Number of simultaneous
connections ≥16
Data rate in wireless Up to 1200Mbps
Video Playback Frame Rate 20-60 FPS
Latency <100ms,Min 20ms
Wireless transmission protocol WIFI IEEE 802.11 a/g/n/ac
Frequency band 2.4 GHz & 5 GHz
WIFI Antenna
MIMO 2x2
Dimension (W x D x H)
165mm x 95mm x 24.5mm
(
including antenna
:
165mm x 125mm x 24.5 mm)
Weight 0.4lbs(200g)
Temperature -4° ~ +140° F (-20° ~ +60° C)
Humidity (Storage / Operating)
20%-90%
(
non-condensing
)
DC Power
12V / POE
POE standard IEEE802.3af
Power Consumption
10W(MAX)

4
Catalogue
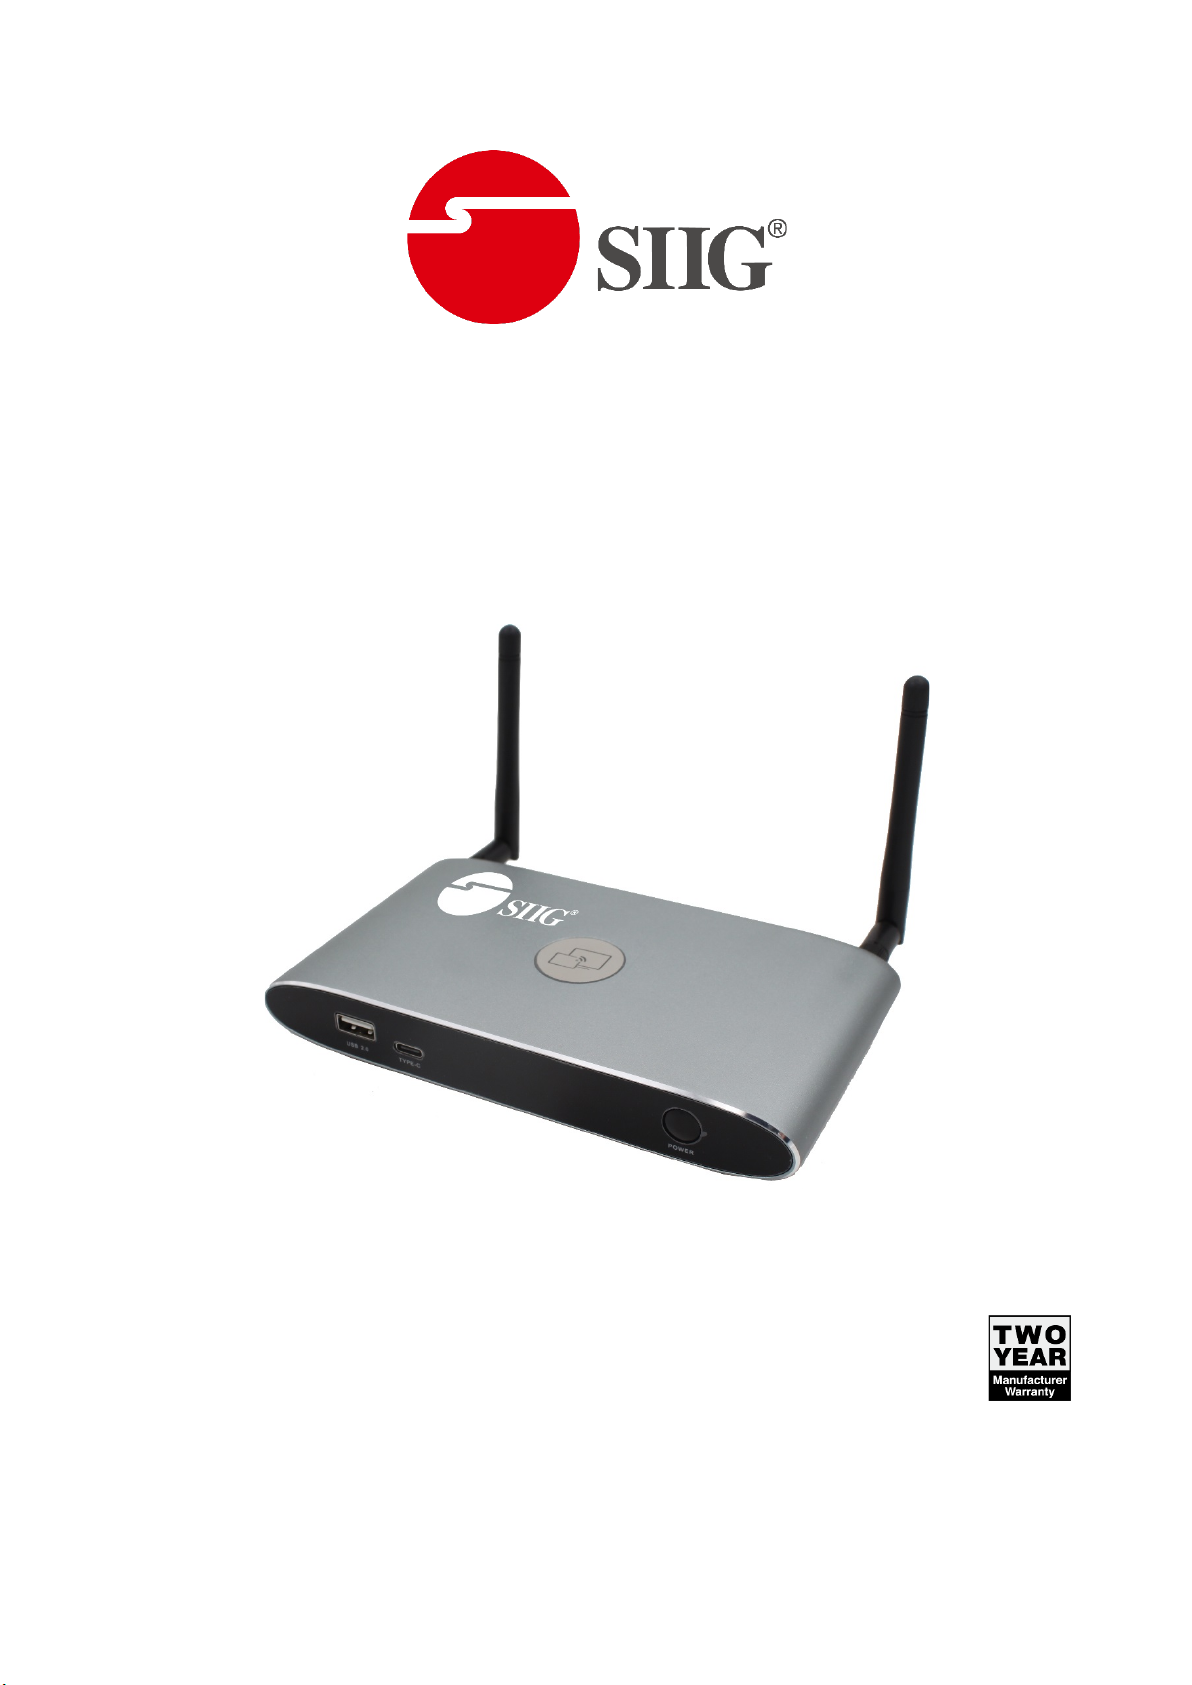
Layout.......................................................................................................................................................................6
Software Interface.................................................................................................................................................. 12
Installation..............................................................................................................................................................14
Wiring Diagram.......................................................................................................................................................16
Video Connection ...................................................................................................................................................16
Audio Connection...................................................................................................................................................17
LAN connection ......................................................................................................................................................19
Usage of USB device...............................................................................................................................................20
Quick-to-Start.........................................................................................................................................................21
Mobile device: Wireless Connection ..........................................................................................................21
Mirroring ................................................................................................................................................................25
Preview Window ....................................................................................................................................................30
Whiteboard & Annotation......................................................................................................................................30
Whiteboard ............................................................................................................................................................31
Annotation .............................................................................................................................................................34
Web Setting Management Configuration ..............................................................................................................36
Network settings ....................................................................................................................................................39
Ethernet..................................................................................................................................................................49
Auto change password ...........................................................................................................................................50
Display & Audio ......................................................................................................................................................51
Audio ......................................................................................................................................................................53
Volume ...................................................................................................................................................................53
Airplay screen quality.............................................................................................................................................54
Screen display ID ....................................................................................................................................................55
Home Screen background image ...........................................................................................................................56
System settings.......................................................................................................................................................57
Date & Time............................................................................................................................................................58
Auto standby ..........................................................................................................................................................59
Language ................................................................................................................................................................60
Reset.......................................................................................................................................................................60

5
Config File...............................................................................................................................................................61
Uart Setting ............................................................................................................................................................61
Security Settings.....................................................................................................................................................62
Password ................................................................................................................................................................63
Connection password.............................................................................................................................................64
Firmware upgrade ..................................................................................................................................................64
Other settings.........................................................................................................................................................65
Clear history after meeting ....................................................................................................................................65
About device ..........................................................................................................................................................66
Updating WirelessMedia........................................................................................................................................66
Check current firmware information .....................................................................................................................67
Upgrading firmware of base unit: .......................................................................................................................... 70
Upgrading and Pairing of Dongle: ..........................................................................................................................71
Upgrading Launcher: ..............................................................................................................................................72
Operation Guide.....................................................................................................................................................74
Mirroring PC desktop ....................................................................................................................................74
MAC OS PC/Laptop with Dongle .............................................................................................................80
MAC OS PC/Laptop without Dongle .......................................................................................................81
Options for Apple MacOS, MacBook – Extended Screen ..................................................................83
Transmitting IOS mobile device .............................................................................................................................84
Transmit Android device wireless ..........................................................................................................................84
WIFI Recommendation Setting ..............................................................................................................................86
Check the WIFI config on base unit ............................................................................................................86
Check the WIFI RSSI on dongle or Mobiles ............................................................................................................87
Problem Shooting...................................................................................................................................................87

6
Layout
ID Name Description
1 Front USB connector USB port, for dongle pairing, mouse control,
USB touch screen etc.
2 Front Type-C connector Type-C port, for dongle pairing.
3 Back-lit LED indicator
Initializing indicates RED, power on indicates
flashing GREEN, “Ready to share” indicates
static GREEN, “Sharing” indicates static cyan.
USB port
The USB port is used to update the software of the WMS.
The USB port is used for pairing the dongle and base unit, when the transmitter is plugged-in.
The USB port is used for connecting a mouse to create/upgrade Launcher by clicking Download
button, hide SSID, PASS, Wifi IP and Lan IP by clicking Info,check Security level button and control PC
source device, when a PC desktop is mirroring to the screen by plugging in the dongle.
The USB port is used for connecting a USB-based touch screen to create/upgrade Launcher by clicking
Download button, hide SSID, PASS, Wifi IP and Lan IP by clicking Info, check Security level button
and control PC source device, when a PC desktop is mirroring to the screen by plugging in the dongle.
The USB port is used for creating or upgrading Launcher by clicking Download button, when a USB
stick is plugged in.
Type-C port
The Type-C port is used for pairing USB Type C dongle with base unit.

7
Mechanical fixture points.
The mechanical fixture points are located at the bottom of the base unit.
ID Name Description
1 Line audio
output
2 channel analog audio output, Connect a 3.5mm mini-
jack PC connector from this jack to the Line in jack of an
audio system.
2 Rear USB3.0
connector
USB port, for USB dongle pairing, mouse control, USB
touch screen etc.
3 Reset Reset button to restore to the factory default setting.
4 HDMI output Connect an HDMI cable from this port to an
HD or 4K/HDMI2.0 display.
5 RS-232 Connect an RS-232 cable from this port to an RS-232
device.
6 LAN Ethernet
port 1
100Mbps, Connect an Ethernet cable between
this jack and a LAN to connect WMS to LAN.
7 LAN Ethernet
port 2
1000Mbps, Connect an Ethernet cable between
this jack and a LAN to connect WMS to LAN. Support POE.
8 DC Power
socket
Connect the included power adapter to this socket, and
connect the plug to an available electrical outlet.
9 Antenna fixture
points Screw up the included two antennas to these two ports.

8
USB port
The USB port is used to update the software of the WMS.
The USB port is used for pairing the dongle and base unit, when the transmitter is plugged-in.
The USB port is used for connecting a mouse to create/upgrade Launcher by clicking Download
button, hide SSID, PASS, Wifi IP and Lan IP by clicking Info,check Security level button and control PC
source device, when a PC desktop is mirroring to the screen by plugging in the dongle.
The USB port is used for connecting a USB-based touch screen to create/upgrade Launcher by clicking
Download button, hide SSID, PASS, Wifi IP and Lan IP by clicking Info, check Security level button
and control PC source device, when a PC desktop is mirroring to the screen by plugging in the dongle.
The USB port is used for creating or upgrading Launcher by clicking Download button, when a USB
stick is plugged in.
Factory Reset
Start up the Base unit.
When the Home Screen is shown up, press the reset button at the rear panel of base unit. Press this
button with a pointed object, e.g. an unbent paper clip until the “Factory Reset” page is shown up as
below, for at least 2 seconds.
The Base unit will reboot after 3 seconds to be default configuration.
If you do not have a picture, press and hold the reset button until the red LED in the top panel will lit,
to execute the reset.
All previous settings will be lost and you will need to do the set-up once more.

9
Default Configuration
Ethernet:
Proxy: None
IP setting: DHCP
Wireless network:
Frequency: 5GHZ
Channel: 40Hz
Auto change Wi-Fi hotspot password: 5minute
Display & Audio
HDMI resolution: Auto
HDMI CEC: Device auto power off: ON
Base unit auto power on: OFF
Audio output: Jack&HDMI
Airplay screen quality: High
show device name and password when mirroring: OFF
show PCs user name when mirroring: ON
System settings
Date & time: Automatic date & time: use network-provided time
Auto Standby: Never
Language: English
Security Settings
Security Level: Security level 1
Connection Password: 4-digits password beginning with 0000
Change admin password: admin(default)
Other settings
Auto create launcher: Disabled
Clear history after meeting: Always

10
Transmitter-HDMI Dongle
ID Name Description
1 HDMI
connector
Using HDMI connector of the button can be plugged into a
PC/Laptop for sharing your screen.
2 USB connector Supply power, or plug into the base unit for pairing the
Button to the Base Unit or upgrade the dongle.
3 Touching
Button
Touch the sensor button to start displaying the content of
the PC/Lap-top’s screen on the main screen. Touch the
button during the meeting will toggle the sharing of the
screen.
4. LED ring
indicator Indicates the status of the button.

11
LED ring indicator behavior
When LED indicator is static green, it’s ready to mirror your PC desktop on the main screen.
When LED indicator is static red, 1) it’s mirroring your PC desktop on the screen, 2) pairing is done. You
can now unplug the Button from the base unit.
When LED indicator is blinking Green, it indicates 1) the button is plugged in the laptop and initializing
or waiting for user to start the WirelessMedia application, 2) pairing/software upgrading of the button
in the Base Unit is in progress.
When LED indicator is Off (no light), it indicates 1) the button is not plugged in the PC/Lap-top; 2) the
button is defective; 3) the USB port or computer might be defective.
USB A/C Dongle
ID Name Description
1 USB connector Using USB connector of the dongle can be plugged into a
PC/Laptop for sharing your screen.
2 Type C
connector
Using Type C connector of the dongle can be plugged into
a PC/Laptop for sharing your screen.

12
Software Interface
Home Screen
ID Name Description
1 Wi-Fi Indicator
Wi-Fi Direct mode: internal access point is enabled
Wi-Fi Infrastructure mode: “Client-Mode“ ,
Wi-Fi connection to router is established,
icon displays the current signal strength.
A secure Wi-
Fi connection is established, or
connection to a router failed:
Wi-Fi is not available:
LAN Infrastructure mode: access point is disabled
2 ID Wi-Fi name or device name of the Base-unit access
point.
3 PASS Wi-Fi password of base unit.

13
4 Password-timer only displayed, when timer is active;
time until the password is changed automatically.
5 Refresh Wi-Fi-
password
Generate new password manually for securing your
Wi-Fi network.
6 Wi-Fi IP
LAN IP
Wi-Fi IP: address of base unit in wireless LAN
Assigned IP: address of base unit in LAN;
“N/A“ = no connection to network
7 SSID: Guest
SSID: Staff
Name of Wi-Fi network for Guest and Staff, which
allows mobile devices to connect with the base unit.
8 TIME
Show time, if LAN has access to a time server; even
after
disconnecting the LAN
connection, the time is
displayed until the device has been disconnected
from power.
9 Security level
Security level 1-3, display ONLY; the security features
of the displayed level are displayed in detail by
clicking on the icon;
the settings can only be changed by administrator in
the webserver console setting menu.
10 Download Button Creating & upgrading Launcher
“WirelessMedia.exe“ for Windows, MAC to USB stick.
11 Info Show status-bar (1) – (7) in Home screen
showing/hiding
12 Windows / MacOS
Quick Start
Steps to instruct how to transmit PC/Lap-top onto
the main screen. First-time users must first install
the starter program from the web page or from the
USB stick one time.
13 Android/IOS
Quick Start
Steps to instruct how to transmit smart mobile
devices either powered by Android or IOS, onto the
main screen.
14
Preview function of
the screen contents
of the participants
with transmitter
and mobile devices;
White Board&
Annotation
function icon
Preview function of the screen contents of all
connected transmitters and mobile devices;
White Board and Annotation function.
15
Load
“WirelessMedia”-
App from Store
Scan QR-code for Android device and download the
App from the Store.

14
Installation
The installation chapter gives an overview of the different ways to install and connect WirelessMedia Base
Unit.
Overview:
Installation methods for the Base unit
Table mounting
Wall mounting
Recommendations about antenna placement and orientation
WMS Power Connection
WMS Video Connection
WMS Audio connection
WMS LAN connection
About USB device connection
Wiring Diagram
Installation methods for the Base unit
Introduction to the installation methods:
The Base unit can be installed in different ways in a meeting room.
Table mount
Wall mount
The articulated antennas are removable. They can rotate for better wireless connection.
Attention: For optimal performance, install the Base unit close to the display and avoid obstacles between
the Base unit and the Transmitters.
Necessary tools
• A drill (type of drill depends on the type of wall)
• Flat screwdriver
• Additional screwdriver that matches the mounting screws (mounting screws not included in the package)

15
Necessary parts
• 2 mounting screws
• 2 plugs
How to install
1. Drill two holes in the wall as indicated on the drawing.
Horizontal distance: 177 mm ± 0.15
2. At the bottom of Base Unit, turn in 2 flat screws into 2 holes to be fasten enough.
Note: Mounting screws and plugs are not included in the WirelessMedia box . The type of screws depends
on the type of wall (stone, wood, plasterboard, ...) you are mounting the Base Unit to. Make sure the head
of the screw is not larger than the hole in the bottom of base unit.
3. Place the WMS on the wall and fixate the base unit with the 2 unfixed screws.
Antenna placement rules
The antennas should be oriented vertically, so perpendicular to the ceiling and parallel to the walls.
The antennas should be installed far enough (at least 50cm/1.6ft) from metallic surfaces to avoid
unwanted reflections and far enough (at least 1m/3.3ft) from other radio equipment that operates in
the same frequency range, e.g. other Wi-Fi access points, cordless telephone, microwave ovens,…. It is
also best to install antennas at least 15 cm (6 inches) from concrete walls.
The most favorable situation is a direct line of sight between antennas and Buttons. Any obstruction
will cause the signal to follow a longer propagation path, which can result in performance degradation.
Due to the particular radio pattern of the dipole antennas, the antennas should not be placed just
above potential positions of WirelessMedia users. As a result, the advised position for the antennas is
at the side of the meeting room.

16
Wiring Diagram
Power over Ethernet
If the LAN Ethernet switcher support POE (Power over Ethernet), it could power up the Base-unit instead of
using the external power adapter. (WMS LAN2 Port is support POE.)
Video Connection
1. Connect the HDMI Output of base unit to a 4K or Full-HD display by a HDMI cable.
2. Connect the power adapter to the base unit DC power socket and connect the other side plug to
an available electrical outlet and switch the base unit on.
3. After started, the system show the home page, as shown below.

17
Audio Connection
WirelessMedia transmitter can transmit the audio output of the PC/Lap-top, re-direct and send to the Base
Unit together with the video signal. The audio will be output at line levels from mini jack socket 3.5mm
connector and via the HDMI output connectors simultaneously.
It’s up to the user to decide whether or not to send the audio signal together with the video signal.
Audio via HDMI output
When your display/projector is connected via HDMI and it support audio together with video, then a
separate audio connection is not necessary. The audio signal is sent together with the video signal to the
display. The system is shown as below.

18
How to connect separate audio
1. Connect an audio cable with mini jack socket 3.5mm connector into the audio of the Base Unit
2. Connect the other side to the meeting room’s sound system.
Sound is not sent out
WirelessMedia button will keep capturing and send the audio of PC/Lap-top, since PC/Lap is successfully
mirroring desktop to the main screen.
1. Please be sure the button is static green and the PC/Lap-top is sharing on the screen
2. Check Setting configuration, to adjust the Volume set in WirelessMedia setting tab.
PC/Lap Sound
As default set, WirelessMedia will mute the internal speaker of PC/Lap and route the audio to the base unit,
after PC/Lap is successfully mirroring desktop to the main screen, in order to avoid the repeated audio.
When click the button to stop sharing, local loudspeaker will return to previous status, you could adjust the
volume on your PC/Lap.
Note: If you want to keep the internal speaker of PC/Lap still while route the audio to the base unit, please click
the audio mute icon in the status bar to turn on the internal speaker.

19
LAN connection
The Base Unit can be connected to a local network or directly to a PC/lap-top. For normal operation, a LAN
connection is not necessary. When needed, it’s suggested to connect the WMS to the Internet.
1. Connect a network cable with RJ-45 connector into the LAN port of Base Unit.
2. Connect the other side to LAN.
3. If the LAN Ethernet switcher support POE (Power over Ethernet), it could power up the WMS than using
the external power adapter.
The LAN connection can be used for:
Network integration of Base Unit in guest or company network.
Telnet control the Base Unit.
Maintenance purpose.
Over-The-Air -Update (OTA) of firmware of Base-unit.

20
Usage of USB device
Please use a USB Mouse or Touchscreen:
1. To configure the Security level check button, DOWNLOAD BUTTON, INFO.
2. To control the sharing PC/Lap-top.
3. To activate system upgrading
4. For white board or annotation during a presentation, WirelessMedia transmits Video, Audio and the
USB-HID
function for mouse-control and click-function of a touchscreen. Connect touch-interface of your screen to
the USB-port on your laptop or PC.
USB control
USB mouse for configuration menu
Single click to select.
Right-click to back to the Home Page.
Touch screen
Click to select.
Long press to open the contextual menus, as double-click or click the right button of a USB mouse.
This manual suits for next models
2
Table of contents
Popular Projector Accessories manuals by other brands

Viz-Art Automation
Viz-Art Automation LEADER Mount manual

NEC
NEC NP2200 Series Installation and assembly

InFocus
InFocus SP-CEIL-006 installation instructions

JT Motors
JT Motors STATIV BASIC MOBIL Series Mounting & operating instructions

Kimex
Kimex 049-3W Series manual

Xpand
Xpand RF PRO AE125-RF user guide