manuals.online logo
Brands
  1. Home
  2. •
  3. Brands
  4. •
  5. SImx
  6. •
  7. Floodlight
  8. •
  9. SImx TUTOKO LHT1146 User manual

SImx TUTOKO LHT1146 User manual

This manual suits for next models

1

Other SImx Floodlight manuals

SImx LHT0331 User manual

SImx

SImx LHT0331 User manual

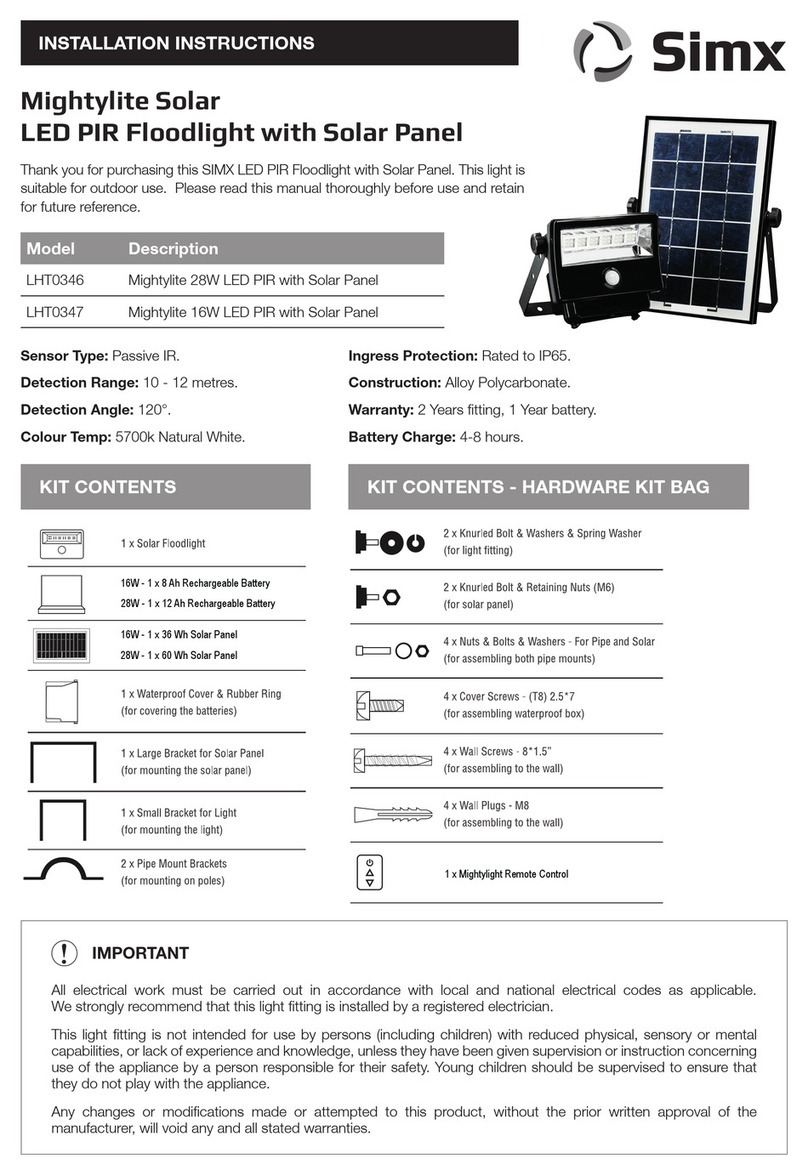
SImx LHT0346 User manual

SImx

SImx LHT0346 User manual

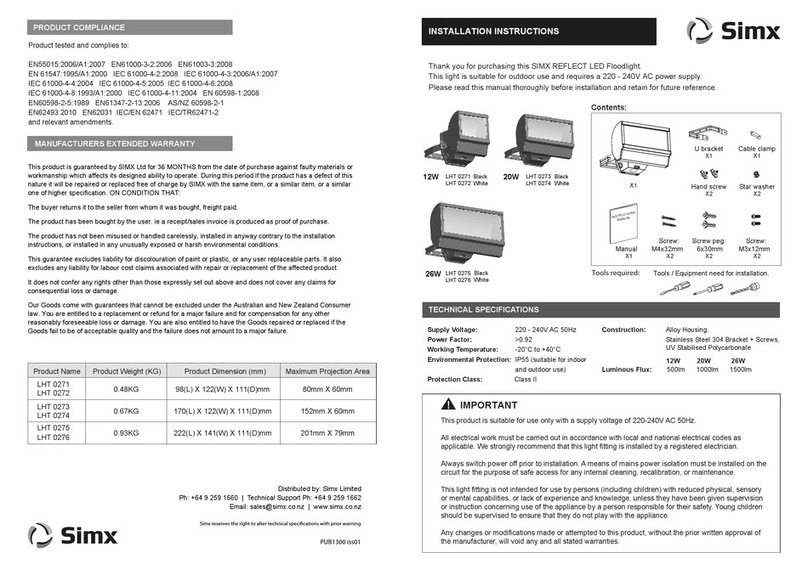
SImx LHT 0271 User manual

SImx

SImx LHT 0271 User manual

SImx LHT0088 User manual

SImx

SImx LHT0088 User manual

SImx ECO SPOT SELECT LHT1054 User manual

SImx

SImx ECO SPOT SELECT LHT1054 User manual

SImx LHT0090 User manual

SImx

SImx LHT0090 User manual

SImx CHAMELEON LHT1096 User manual

SImx

SImx CHAMELEON LHT1096 User manual

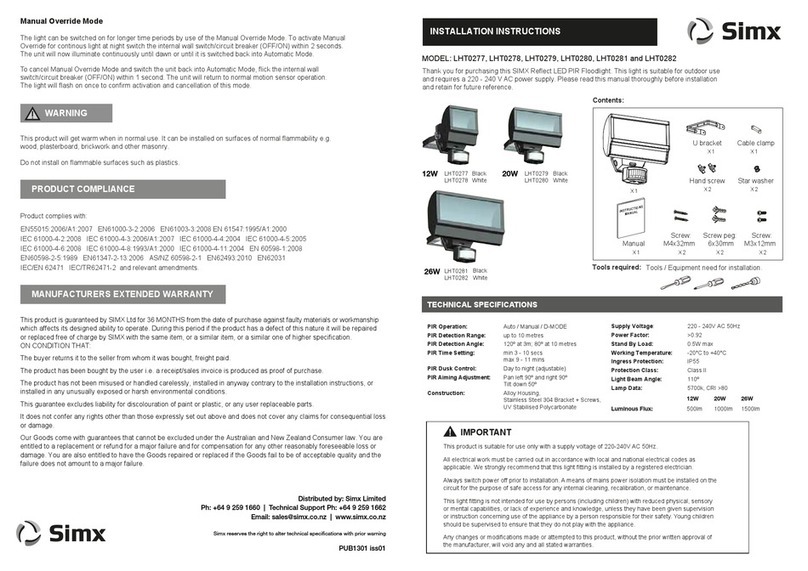
SImx LHT0277 User manual

SImx

SImx LHT0277 User manual

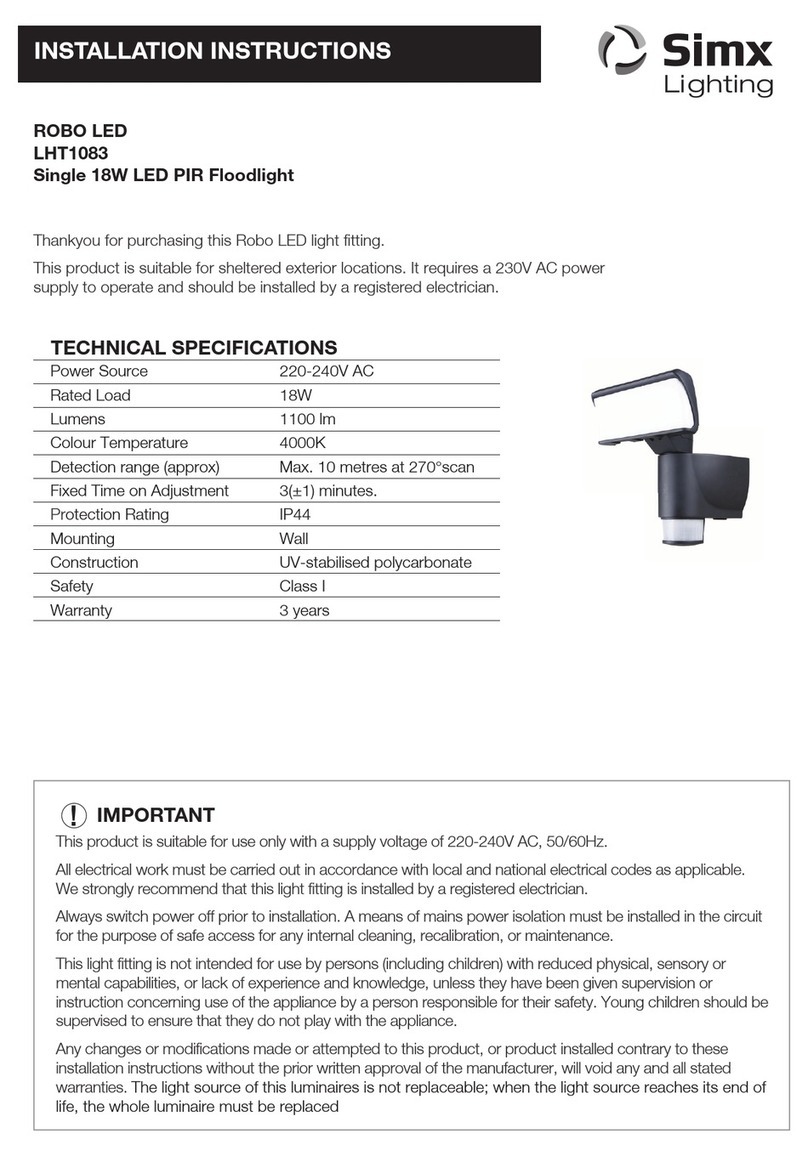
SImx LHT1083 User manual

SImx

SImx LHT1083 User manual

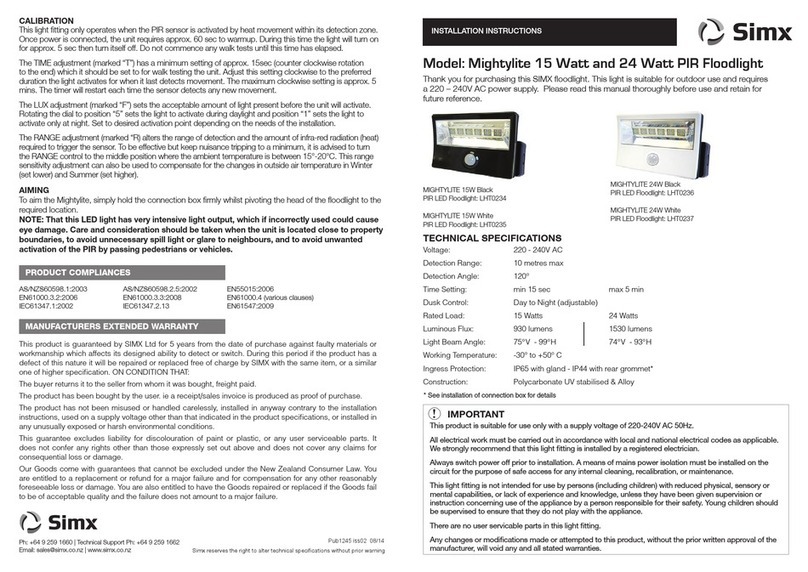
SImx Mightylite LHT0237 User manual

SImx

SImx Mightylite LHT0237 User manual

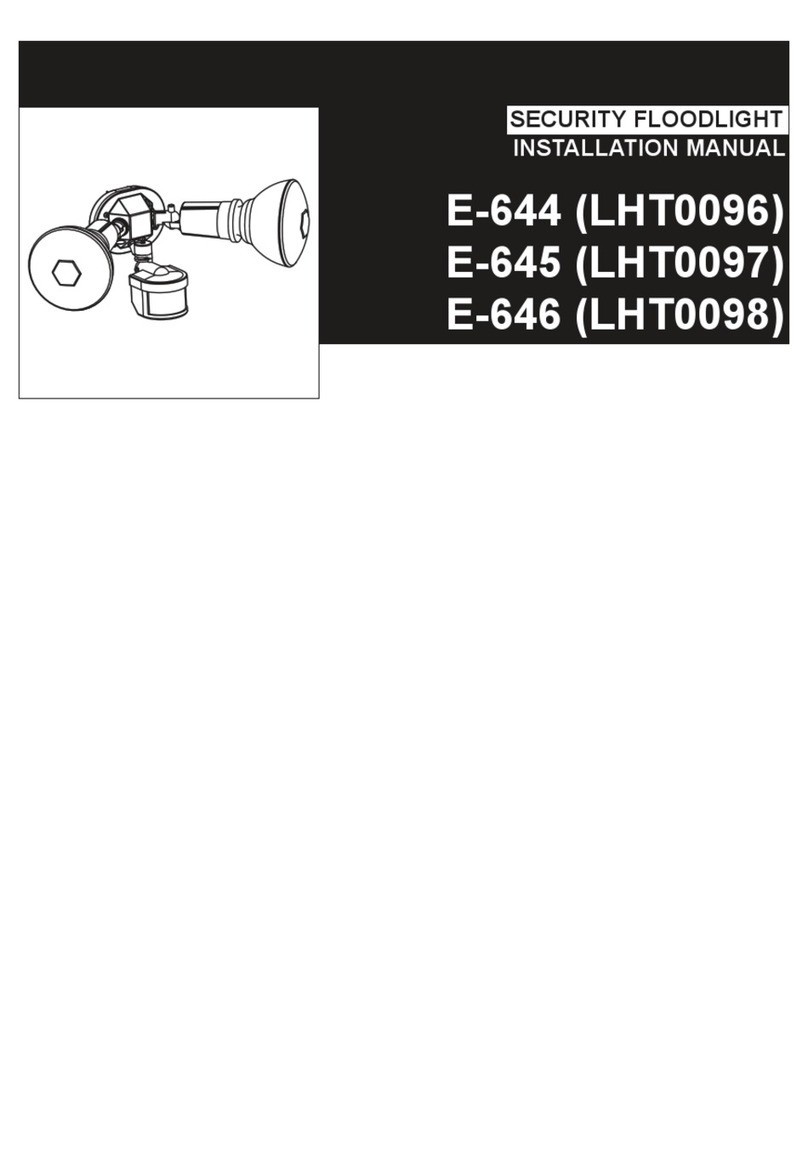
SImx E-644 User manual

SImx

SImx E-644 User manual

SImx LHT0192 User manual

SImx

SImx LHT0192 User manual

SImx Eco-Flood LHT0190 User manual

SImx

SImx Eco-Flood LHT0190 User manual

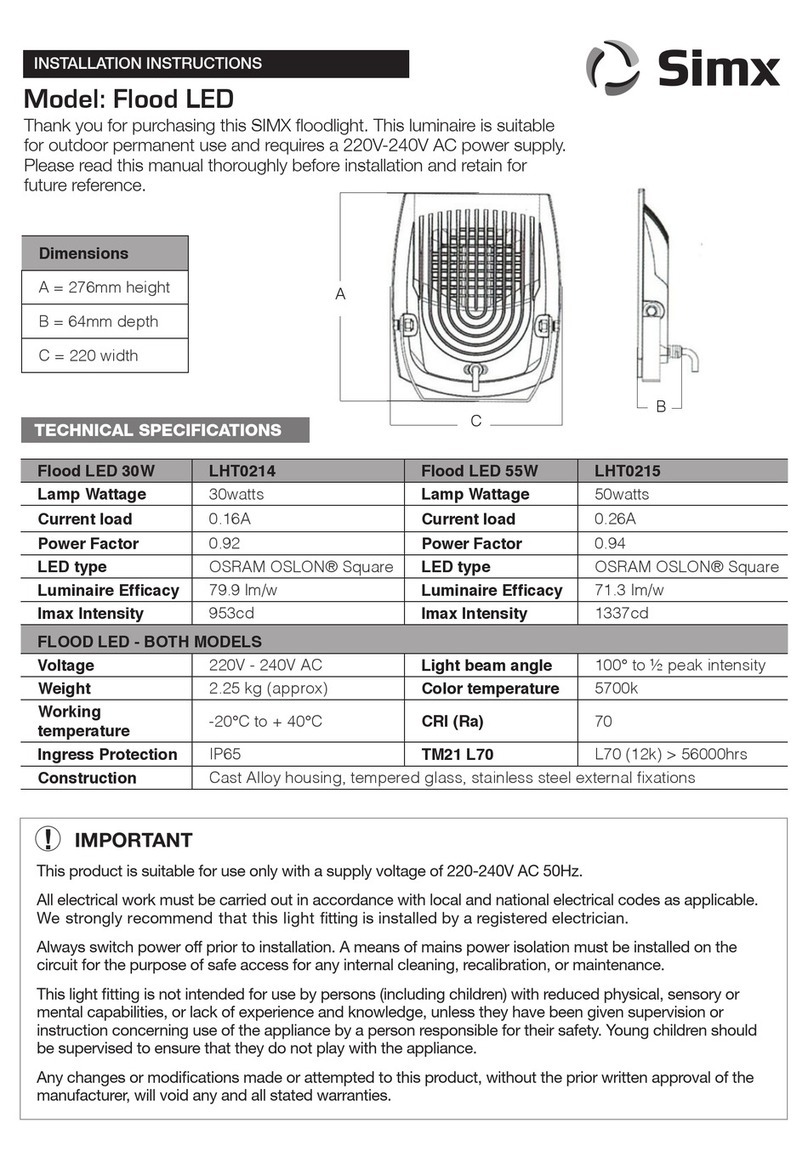
SImx LHT0214 User manual

SImx

SImx LHT0214 User manual

SImx Mightylite LHT0230 User manual

SImx

SImx Mightylite LHT0230 User manual

Popular Floodlight manuals by other brands

V-TAC VT-5192S installation instructions

V-TAC

V-TAC VT-5192S installation instructions

Major tech HLF30CW instruction manual

Major tech

Major tech HLF30CW instruction manual

EuroLite LED Cube user manual

EuroLite

EuroLite LED Cube user manual

EuroLite LED IP FL-100 SMD user manual

EuroLite

EuroLite LED IP FL-100 SMD user manual

Cooper Wheelock XB12 specification

Cooper Wheelock

Cooper Wheelock XB12 specification

Allen + Roth 17624-000 user manual

Allen + Roth

Allen + Roth 17624-000 user manual

ADJ 4 STAGE PAK User instructions

ADJ

ADJ 4 STAGE PAK User instructions

Cooper Lighting EGL91SW233 Specification sheet

Cooper Lighting

Cooper Lighting EGL91SW233 Specification sheet

Max 37496 instruction manual

Max

Max 37496 instruction manual

BEGA 85 143 Instructions for use

BEGA

BEGA 85 143 Instructions for use

Cameo CLPST64Q8W user manual

Cameo

Cameo CLPST64Q8W user manual

Beamz 151.226 user manual

Beamz

Beamz 151.226 user manual

EuroLite LED IP FL-8 user manual

EuroLite

EuroLite LED IP FL-8 user manual

Ledj PERFORMER 36 RGB user manual

Ledj

Ledj PERFORMER 36 RGB user manual

Perel ELS3 user manual

Perel

Perel ELS3 user manual

Perel ELS3WD user manual

Perel

Perel ELS3WD user manual

Xtricity 4-80053 instructions

Xtricity

Xtricity 4-80053 instructions

Stahl 6521/4 Series operating instructions

Stahl

Stahl 6521/4 Series operating instructions

manuals.online logo
manuals.online logoBrands
  • About & Mission
  • Contact us
  • Privacy Policy
  • Terms and Conditions

Copyright 2025 Manuals.Online. All Rights Reserved.

BEFORE YOU START
Please read all the instructions prior to installation.
• The Tutoko light should be wired to its own light switch.
• Do not connect non-LED lamps on the same switch.
• An earth connection must be used for electrical safety.
• For all locations, please check that the direction of the beam will not cause undue glare to neighbouring
properties.
The Simx Lighting Tutoko up/down lights and downlights are contemporary designs with high quality
LED arrays. Water and dustproof, they are rated for installation in exposed exterior locations.
INSTALLATION INSTRUCTIONS
TUTOKO
2 x 6W LED UP/DOWN LIGHT
LHT1146 ANTHRACITE
TUTOKO
1 x 7W LED DOWNLIGHT
LHT1145 ANTHRACITE
Power Supply 220-240V AC
Lumens 2 x 6W: 950 lumens
1 x 7W: 500 lumens
LED Colour Warm White 3000K
IP Rating IP65
Safety Class I
Mounting Wall
Construction Powder coated aluminium/tempered glass
TECHNICAL SPECIFICATIONS
Specifications are subject to change without notice
IMPORTANT
!
This product is suitable for use only with a supply voltage of 220-240V AC.
All electrical work must be carried out in accordance with local and national electrical codes as
applicable. We strongly recommend that this light fitting is installed by a registered electrician.
Always switch power off prior to installation. A means of mains power isolation must be installed in
the circuit for the purpose of safe access for any internal cleaning, recalibration, or maintenance.
This light fitting is not intended for use by persons (including children) with reduced physical, sensory
or mental capabilities, or lack of experience and knowledge, unless they have been given supervision
or instruction concerning use of the appliance by a person responsible for their safety. Young children
should be supervised to ensure that they do not play with the appliance.
Any changes or modifications made or attempted to this product, without the prior written approval
of the manufacturer, will void any and all stated warranties.
= Brown
= Green / Yellow
= Blue
We strongly recommend this light fitting is installed by a registered electricianWe strongly recommend this light fitting is installed by a registered electrician. This guide can be used to install both models listed in this manual.
IMPORTANT: When installing the rear mounting base, always ensure that the power entry is at the bottom.
1Switch off the power supply before commencing any
electrical work. 2Unscrew the fixing cover screws and remove the rear
mounting base. 3Use the rear base to mark the position of screw holes onto
the mounting surface. Use a spirit level to ensure correct
orientation. Power entry hole should be at the bottom.
4Drill the wall to depth of about 40mm and fit the wall
plugs (supplied). Care should be taken to avoid drilling
or screwing into concealed electrical wiring/plumbing.
6Connect the power cables to the terminal block securely
using the wiring diagram in Step 7.
7Terminate the power supply cable. 8Reattach and screw securely the light to the base.
Ensure cables are not pinched when closing the unit. 9Reconnect mains power and test circuit.
5Push the power supply through the cable gland.
Affix the rear base firmly to the mounting surface with
mounting wall screws supplied. To maintain the IP rating,
a round 3 core 0.75mm² (min) cable should be used.
INSTALLATION
OFF
ON
PRODUCT COMPLIANCES
EN55015:2013+AI EN61549:2009 EN61000-3-3:2013 EN61000-3-2:2014
EN60598-1:2015 EN60598-2-1:1989 EN62471:2008 EN62493:2010 & 2015
LV Directive 2014/35/EU AS/NZS3820:2009 and relevant amendments
PUB1623 2009
Distributed in New Zealand by Simx Ltd
Ph: +64 9 259 1660 | Technical Support Ph: +64 9 259 1662
e: [email protected] | www.simx.co.nz
Distributed in Australia by Ventair Pty Ltd
4 Capital Place, Carrum Downs, 3201 VIC, AUSTRALIA.
Technical Support: 1300 665 926
e: [email protected] | www.ventair.com.au | www.simx.com.au
MANUFACTURERS EXTENDED WARRANTY
This product is guaranteed by SIMX Ltd and Ventair Pty Ltd for 5 years from the date of purchase against
faulty materials or workmanship which affects its designed ability to switch and operate. During this period
if the product has a defect of this nature it will be repaired or replaced free of charge by SIMX with the
same item, or a similar one of higher specification.
ON CONDITION THAT:
• The buyer returns it to the seller from whom it was bought, freight paid.
• The product has been bought by the user (ie. a receipt/sales invoice is produced as proof of purchase).
• The product has not been misused or handled carelessly, installed in any way contrary to the
installation instructions, or installed in any unusually exposed or harsh environmental conditions.
This guarantee excludes liability for discolouration of paint or plastic, or any user serviceable parts. It does
not confer any rights other than those expressly set out above and does not cover any claims for
consequential loss or damage.
Our Goods come with guarantees that cannot be excluded under either Australian, or New Zealand,
Consumer Law.
You are entitled to a replacement or refund for a major failure and for compensation for any other
reasonably foreseeable loss or damage. You are also entitled to have the Goods repaired or replaced if
the Goods fail to be of acceptable quality and the failure does not amount to a major failure.