manuals.online logo
Brands
  1. Home
  2. •
  3. Brands
  4. •
  5. SImx
  6. •
  7. Outdoor Light
  8. •
  9. SImx Bulk LED User manual

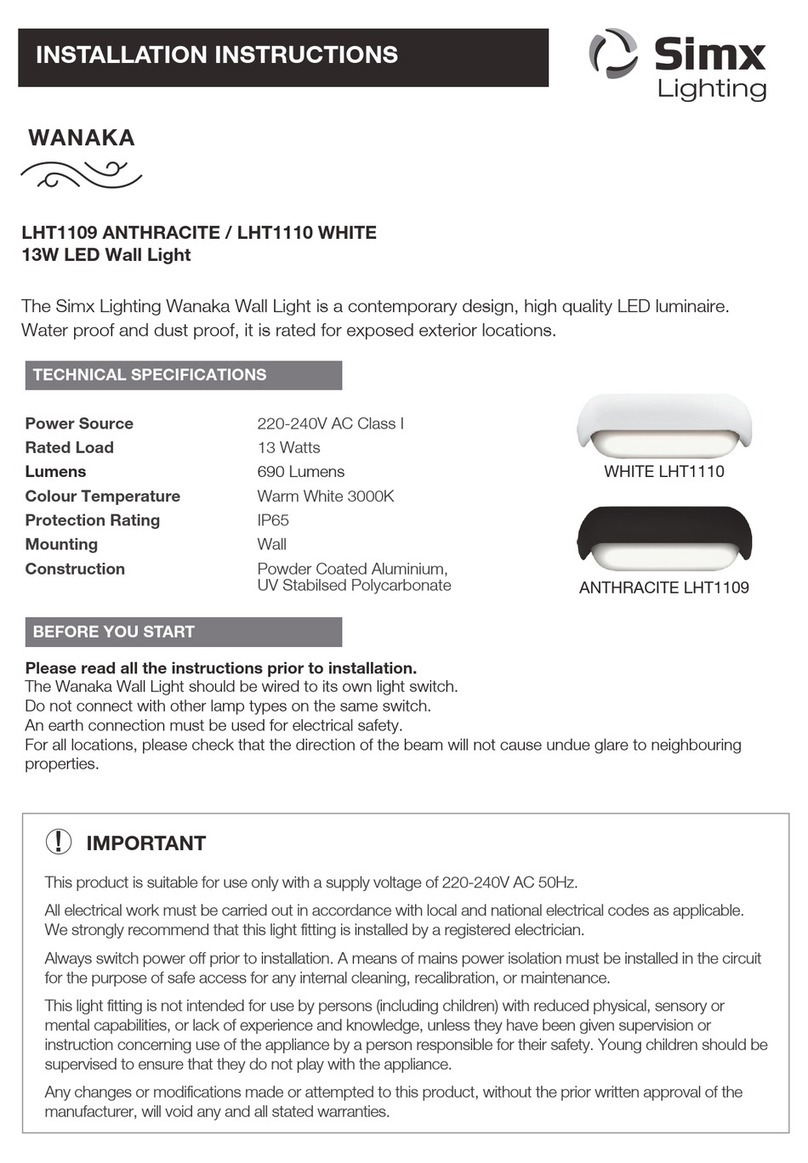
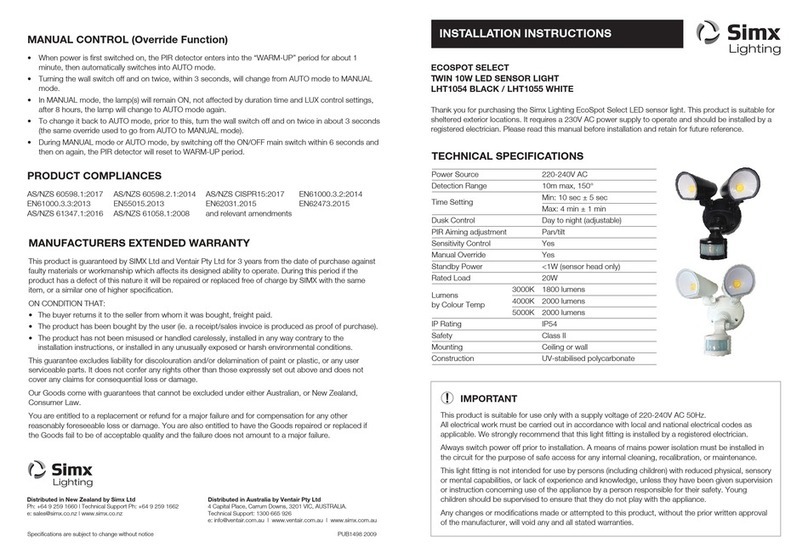
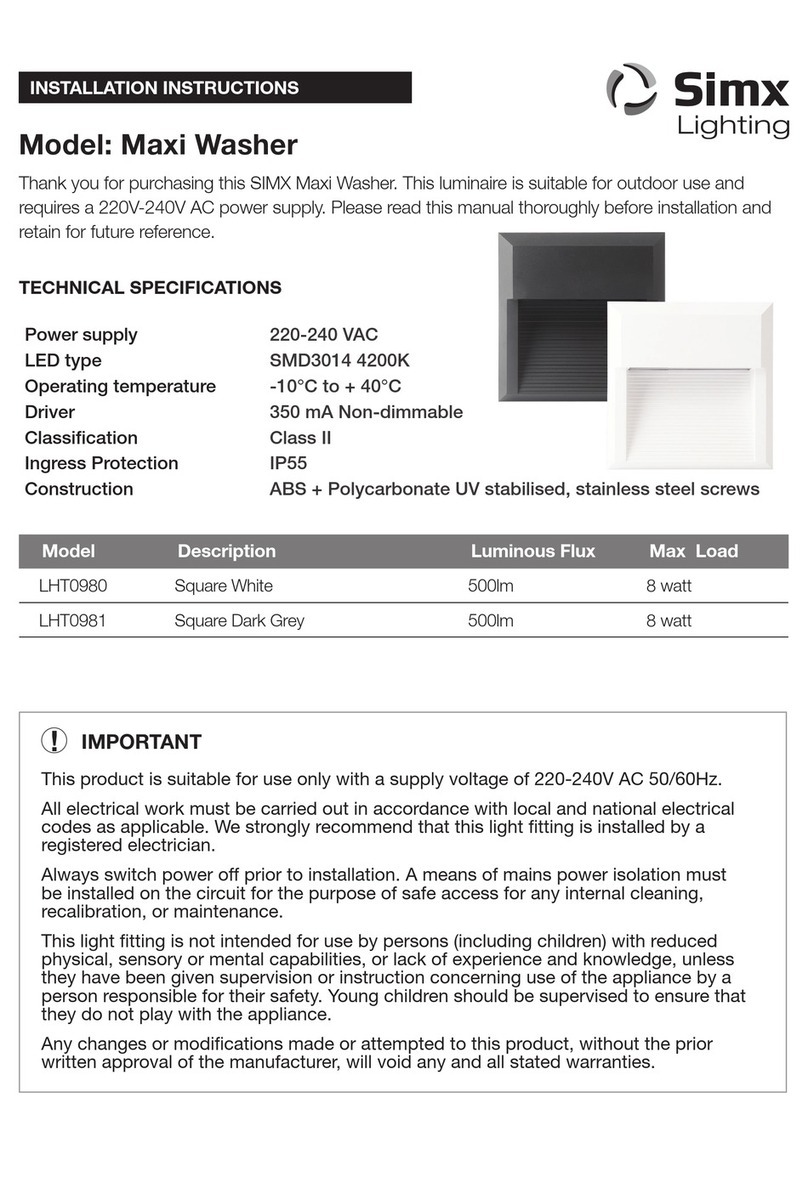
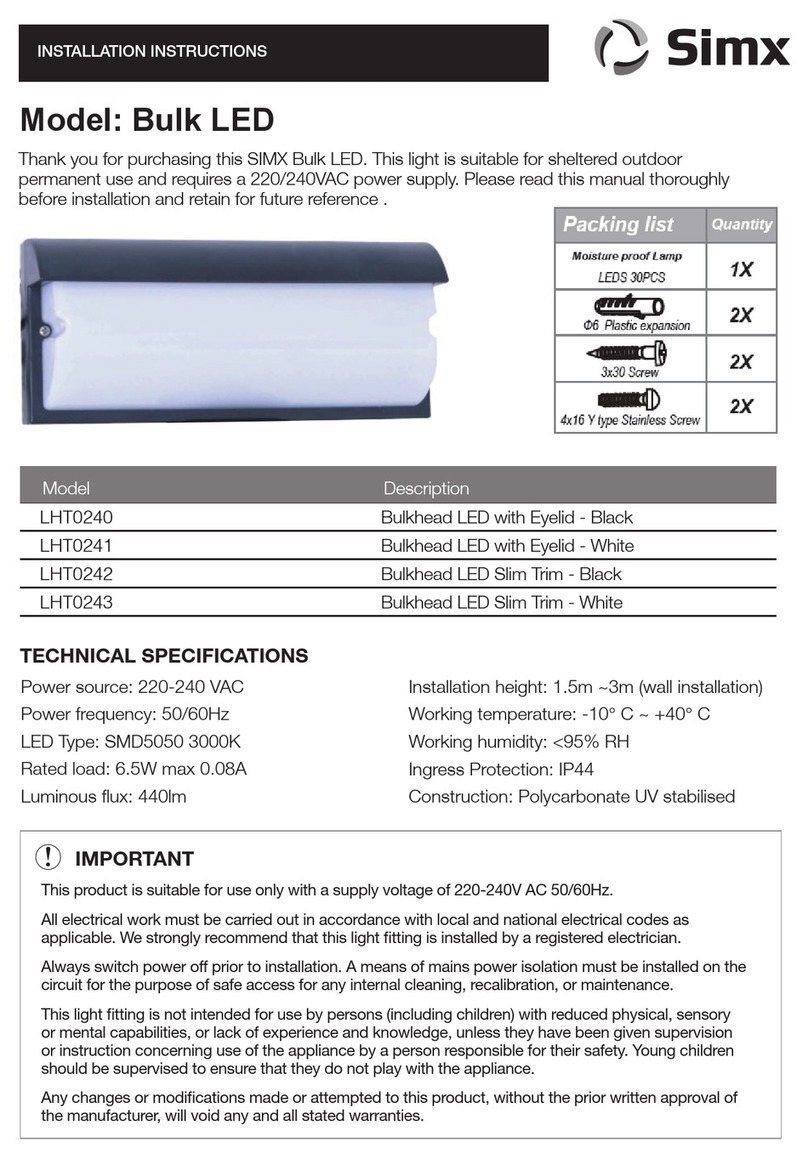
SImx Bulk LED User manual

Thank you for purchasing this SIMX Bulk LED. This light is suitable for sheltered outdoor
permanent use and requires a 220/240VAC power supply. Please read this manual thoroughly
before installation and retain for future reference .
Model: Bulk LED
INSTALLATION INSTRUCTIONS
This product is suitable for use only with a supply voltage of 220-240V AC 50/60Hz.
All electrical work must be carried out in accordance with local and national electrical codes as
applicable. We strongly recommend that this light fitting is installed by a registered electrician.
Always switch power off prior to installation. A means of mains power isolation must be installed on the
circuit for the purpose of safe access for any internal cleaning, recalibration, or maintenance.
This light fitting is not intended for use by persons (including children) with reduced physical, sensory
or mental capabilities, or lack of experience and knowledge, unless they have been given supervision
or instruction concerning use of the appliance by a person responsible for their safety. Young children
should be supervised to ensure that they do not play with the appliance.
Any changes or modifications made or attempted to this product, without the prior written approval of
the manufacturer, will void any and all stated warranties.
IMPORTANT
!
TECHNICAL SPECIFICATIONS
Distributed by: Simx Limited
Ph: +64 9 259 1660 | Technical Support Ph: +64 9 259 1662
Email: [email protected] | www.simx.co.nz | www.simxlighting.com.au
Simx reserves the right to alter technical specications without prior warning
Power source: 220-240 VAC
Power frequency: 50/60Hz
Detection range: 8 ± 2m Max (at 22°C)
Detection Angle: 120°
Time setting: min 7sec ± 3 sec
max 6min ± 2 min
Dusk control: <5LUX ~ 2000LUX (adjustable)
PIR Max Load:1200W θ= 1.0 Resistive
PIR Max Load: 600W θ= 0.5 Inductive
Standby power: 0.45W
LED Type: SMD5050 3000K
Rated load: 6.5W max 0.08A
Luminous flux: 440lm
Installation height: 1.5m ~3m (wall installation)
Working temperature: -10°C ~ +40°C
Working humidity: <95% RH
Ingress Protection: IP44
Construction: Polycarbonate UV stabilised
This product is guaranteed by SIMX Ltd for 36 MONTHS from the date of purchase against faulty materials
or workmanship which affects its designed ability to detect or switch. During this period if the product has a
defect of this nature it will be repaired or replaced free of charge by SIMX with the same item, or a similar one
of higher specification. ON CONDITION THAT:
The buyer returns it to the seller from whom it was bought, freight paid.
The product has been bought by the user. ie a receipt/sales invoice is produced as proof of purchase
The product has not been misused or handled carelessly, installed in anyway contrary to the installation
instructions, or installed in any unusually exposed or harsh environmental conditions.
This guarantee excludes liability for discolouration of paint or plastic, or any user replaceable parts.It does not confer
any rights other than those expressly set out above and does not cover any claims for consequential loss or damage.
Our Goods come with guarantees that cannot be excluded under the Australian and New Zealand Consumer
Law. You are entitled to a replacement or refund for a major failure and for compensation for any other
reasonably foreseeable loss or damage. You are also entitled to have the Goods repaired or replaced if
the Goods fail to be of acceptable quality and the failure does not amount to a major failure.
MANUFACTURERS EXTENDED WARRANTY
This light fitting only operates when the PIR sensor is activated by heat movement within its
detection zone. A red LED inside the PIR will flash when movement is detected
CALIBRATION
INSTALLATION
The TIME adjustment has a range of approx. 7 seconds (counter-clockwise rotation to the end),
which it should be set to for walk testing the unit. Adjust the knob clockwise to the preferred
duration the light is activated for when it detects movement. The maximum clockwise setting will be
approximately 8 minutes. The timer will restart each time the sensor detects any new movement.
The SENSITIVITY adjustment sets the acceptable amount of daylight present before the unit will start
detecting. Rotating the knob counter-clockwise to the end will set it to full daylight. Use this setting
for walk testing the unit. Fully rotated clockwise will set the fitting to activate after dark only. It is
recommend to set the final desired position of this at dusk.
When completed, click the front cover of the PIR upwards into its locked position.
Switch off the power supply before commencing electrical work.
Remove the front trim and diffuser and locate the mounting holes for the unit (FIG.A.)
Mark these locations on the wall at the desired location. In the same position, locate and mark the
power entry hole.
Drill holes in the wall to suit the mounting screws supplied (FIG B).
Pierce the power entry grommet on the fitting and slowly draw power cable through the power
entry hole.
Firmly secure the light fitting to the wall with the screws provided.
Wire the cable to the terminal block, ensuring that polarity is maintained. Failure to do this
correctly will result in irrepairable lamp and sensor failure.
If the model purchased has an eyelid front trim, carefully tilt the LED panel downwards to
maximise light output. This is not necessary if you have purchased a Plain trim model.
Carefully secure the diffuser and front trim firmly (FIG A). Check all work before reconnecting the
power supply.
Fig A Fig B
Note: Do not force these knobs when adjusting. They are assembled directly to the component.
There is a small limiting device in the component, which will be broken if forced around too far. If this
happens the knobs will continue to rotate without limiting. Please notice the limited adjusting angle of
the knobs is 270°.
8
±
2m Range
Time/Sensitivity Adjustment
1 2
120° Degree
Open the cover located above the sensor. This lid will
flip downwards to open. Inside this are two control
knobs. The Clock symbol (1) is for TIME adjustment,
and the Sun/Moon (2) is for SENSITIVITY adjustment.
This light fitting is rated to IP44. This means that it is suitable in areas which may
receive light rainfall. Please ensure the desired location does not exceed this rating.
Model Description Rated Power
Rated
Voltage
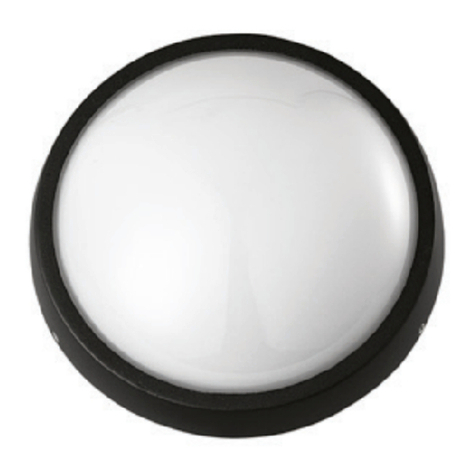
LHT0199 Bulkhead Led PIR with Eyelid - Black 220-240 VAC ˜ 50/60Hz 6.5W
LHT0200 Bulkhead Led PIR with Eyelid - White 220-240 VAC ˜ 50/60Hz 6.5W
LHT0201 Bulkhead Led PIR - Black 220-240 VAC ˜ 50/60Hz 6.5W
LHT0202 Bulkhead Led PIR - White 220-240 VAC ˜ 50/60Hz 6.5W

This manual suits for next models

4

Other SImx Outdoor Light manuals

SImx LHT1148 User manual

SImx

SImx LHT1148 User manual

SImx LHT0255 User manual

SImx

SImx LHT0255 User manual

SImx Pukaki LHT1111 User manual

SImx

SImx Pukaki LHT1111 User manual

SImx TARAWERA LHT1137 User manual

SImx

SImx TARAWERA LHT1137 User manual

SImx ELITE LED LHTC637 User manual

SImx

SImx ELITE LED LHTC637 User manual

SImx WANAKA LHT1109 User manual

SImx

SImx WANAKA LHT1109 User manual

SImx Aoraki LHT1128 User manual

SImx

SImx Aoraki LHT1128 User manual

SImx LHT1054 User manual

SImx

SImx LHT1054 User manual

SImx LHT1081 User manual

SImx

SImx LHT1081 User manual

SImx LHT0337 User manual

SImx

SImx LHT0337 User manual

SImx LHT0240 User manual

SImx

SImx LHT0240 User manual

SImx Maxi Washer User manual

SImx

SImx Maxi Washer User manual

Popular Outdoor Light manuals by other brands

elvita 117664 user manual

elvita

elvita 117664 user manual

Defiant 17000091 Use and care guide

Defiant

Defiant 17000091 Use and care guide

Briloner MAL 3674 Mounting instructions

Briloner

Briloner MAL 3674 Mounting instructions

SLV Elektronik 228980 operating manual

SLV Elektronik

SLV Elektronik 228980 operating manual

atmosphera 167549 installation instructions

atmosphera

atmosphera 167549 installation instructions

Portfolio IAN1501L-4 manual

Portfolio

Portfolio IAN1501L-4 manual

Molo Small cloud mast installation guide

Molo

Molo Small cloud mast installation guide

MGA Entertainment NOVI STARS Glitter Lamp manual

MGA Entertainment

MGA Entertainment NOVI STARS Glitter Lamp manual

Calex SMART OUTDOOR manual

Calex

Calex SMART OUTDOOR manual

Kettal FILA LAMP Battery Assembly instructions

Kettal

Kettal FILA LAMP Battery Assembly instructions

Gardenic OZ-1525 user manual

Gardenic

Gardenic OZ-1525 user manual

luceco GUARDIAN LFSP-XD5 Series Installation & operating instructions

luceco

luceco GUARDIAN LFSP-XD5 Series Installation & operating instructions

Unex Tom Square II LED operating manual

Unex

Unex Tom Square II LED operating manual

unios Emerald ESPI0005 quick start guide

unios

unios Emerald ESPI0005 quick start guide

Talenti CLEO ALU quick start guide

Talenti

Talenti CLEO ALU quick start guide

BEGA 88 490 Instructions for use

BEGA

BEGA 88 490 Instructions for use

LIGMAN LA-40021 installation manual

LIGMAN

LIGMAN LA-40021 installation manual

Panlux OKO instructions

Panlux

Panlux OKO instructions

manuals.online logo
manuals.online logoBrands
  • About & Mission
  • Contact us
  • Privacy Policy
  • Terms and Conditions

Copyright 2025 Manuals.Online. All Rights Reserved.