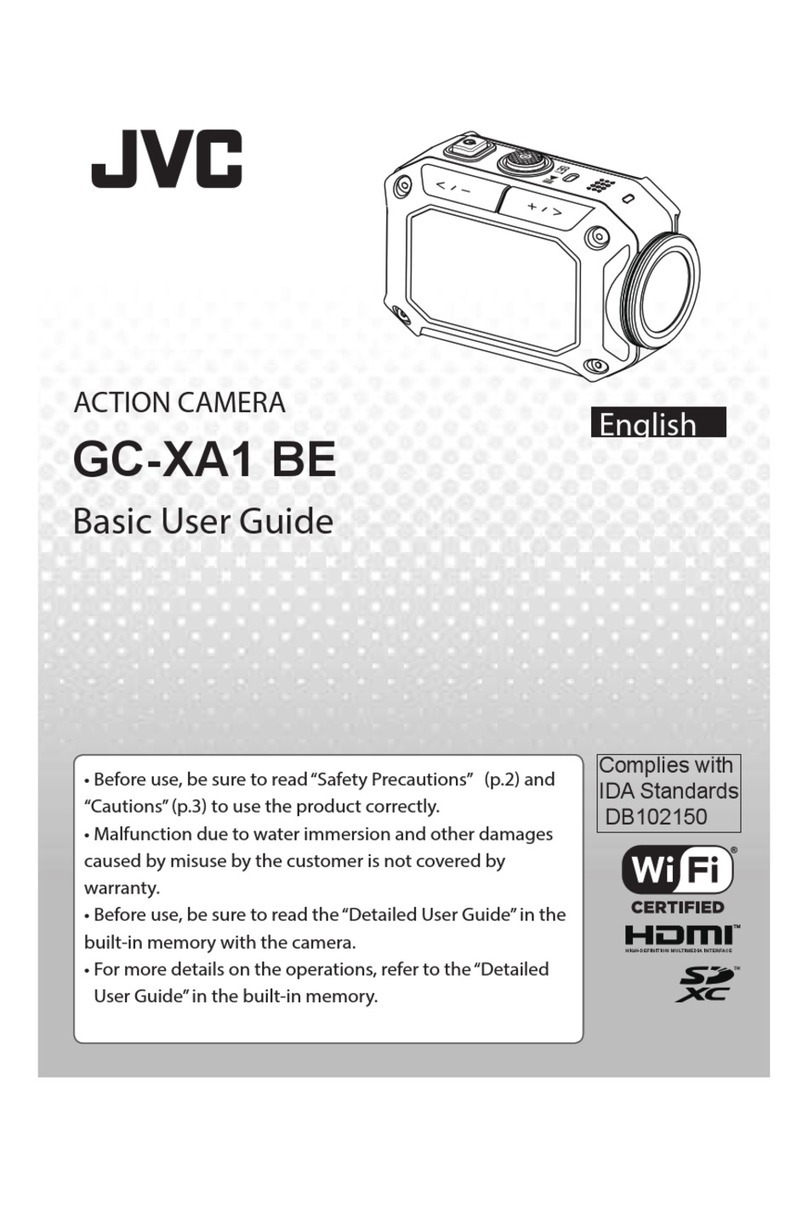
Sioeye IRIS4G User manual

UserManual

What’sInside.....................................................................................................................................2
TheBasics..........................................................................................................................................2
GettingStarted..................................................................................................................................4
CameraMode....................................................................................................................................4
Gallery...............................................................................................................................................5
QuickSettings....................................................................................................................................5
ButtonMode.....................................................................................................................................6
APPConnection.................................................................................................................................6
SystemUpgrade................................................................................................................................7
EnclosedMountings..........................................................................................................................7
What’sInside
IRIS4G
DivingHousing
Battery
Flat/CurvedSurfaceMount
SkeletonBackdoor
SIMCardNeedle
USBCable
LensCleaningCloth
UserManual
TheBasics
PartsandControls
1. PowerButton
2. ShutterButton
3. ChargeLight(Red)
4. ShareLight(LiveStream/Hotspot)(Green)
5. ShareButton
6. USB/MHLPort
7. HeadsetJack

8. SDCardSlot
9. SIMCardSlot
10. Microphone
11. BatterySlot
12. TouchScreen
13. ExternalAntennaContactors
1. HomeButton
2. SettingButton
3. I/OPortCover
4. SpareBatteryContactors
PowerandScreenon/off
Poweron:keeppressingpowerbuttontoturnonIRIS4G whilecameraisoff
Poweroff:Keeppressingpowerbuttontoturnoff whilecameraison
Screenon:Clickpowerbuttonwhilecameraisinuse
Screenoff:Clickpowerbuttonwhilecameraisscreenon
Shortcut
PressShareButton:Enablecamerahotspot
KeeppressingShareButton:StartLiveStreaming
TapSettingButtoninNonIRIS4Ginterface:AdjustVolume
Charging
1. ConnectSioeyeChargerwithaUSBCharger
2. Openthebatteryslot,takeoutthebattery
3. PutbatteryintoChargertostartcharging
OR
1. OpentheI/Ocover.
2. InsertUSBcableinUSB/MHLPort.
3. ChargethebatterybyconnectingIRIS4G USBCablewithachargeroracomputer.
Duringthechargingprocess,indicatorlightwillturnon.
Whenthechargingprocessiscompleted,theindicatorlightwillturnoff.
InsertingBattery
1. Slidethebuttonasidethebatteryslottounlocktheslot.
2. Openthecover.
3. Placethebatterypackproperly,confirmingeachsideisfacingthecorrectdirection.
4. Pressbatteryslot,thecoverwillbeclosedautomatically.
InsertingMemoryCard
1. OpentheI/Ocover.
2. Insertthememorycardproperly,confirmingeachsideisfacingthecorrectdirection.
IRIS4G

InsertingSIMCard
1. OpentheI/Ocover.
2. InserttheSIMcardproperly,confirmingeachsideisfacingthecorrectdirection.
3. WhentakingouttheSIMcard,usetheSIMCardneedletoopentheSIMcardslot.
4. SIMCardwillbeejectedautomatically.
NOTICE:
Antennaiselectrostaticsensitivearea,whentestingelectrostaticdischarge,Lossoffunctionis
allowed,providedthefunctioncanberestoredbytheoperationofthecontrolsbytheuserin
accordancewiththemanufacturer’sinstructions.Ifpossible,pleasedonottouchtheantenna
areaonyourcamera.
GettingStarted
Gestures
SwipeLeft
SwipeRight
SwipeUp
SwipeDown
CameraMode
SwipeleftinVideoMode(default)tojumptoCameraMode.
Swipeup/downtoselectthemode,taptheselectedmodetoturniton.
SevenCameraModesareavailable:Capture,Video,LiveSteaming,TimeLapse,Slo‐Mo,Burst
andPanorama.
Camera Mode Description
Video (default) Capture videos
Capture Shoot photos
Live Streaming Live streaming your action to Sioeye Live or Youtube
Time Lapse Video time appears to be moving faster, every 3 or 5 or even
10 seconds action will be compressed down to 1 second.
SLO-MO Video will be played 4 times slower than normal ones
Burst Up to 30 photos can be captured in quick succession
Panorama Shoot 360 degree panorama pictures

Gallery
SwipeupinanyCameraModetojumptoGallery.
InGallery,thefootagecanbebrowsed,playedordeleted.
HowtoStart
Swipeleft/righttobrowsevideoorpicture.
Taptoplayvideoorburstphotos.
Tap todeletevideoorphoto.Choose“YES”todeletetheitemselected,choose“No”
toreturn.
QuickSettings
Inanycameramode,tapQuickSettingsbutton inlowerrightcornerofthescreentojump
toQuickSettings.
TaptheQuickSettingsbuttonagaintoreturntothepreviousCameraMode.
InQuickSettings,swipeup/downtoswitchoversettings;swipeleft/righttogototheloweror
uppermenu.Tapanymodetostartthemode.
Quick
Settings Description
HotSpot Turn on/off Hotspot to control the connection with Sioeye APP
Video Quality Select the ideal video quality
Video Angle Select the angle of video, wide or super wide
Image Size Select the image pixels of photo
Time Lapse Select the time lapse interval
Burst Rate Select the number of burst photos in quick succession
Live Select Live Streaming network
Cellular Data Select to turn on/off cellular data
Trace GPS data will be stamped in the video
Altimeter Record real-time altitude of the action in the video
Speedometer Record real-time speed of the action in the video
Up/Down When IRIS4G rotates 180 degree, the screen will rotate 180 degree
accordingly, making the view upside down.
Bluetooth Pair IRIS4G to Bluetooth devices

Date & Time Set system date and time
Account To sign in/out Sioeye, Twitter or YouTube account
Storage Status Display memory storage status. Disk also can be formatted in this
setting.
Reset Reset all settings to factory default
System
Upgrade Upgrade Sioeye software.
About Display Sioeye company info and software version
Back Quit settings
ButtonMode
WhenIRIS4G isintheDivingHousing,thecamerawillswitchtoButtonModeautomatically.Inthis
mode,thetouchscreencannotbeused.ThreephysicalbuttonsareavailableinButtonMode:
powerbutton,shutterbuttonandsharebutton.PleaseuseIRIS4G withthesephysicalbuttons.
Instructions:
OperationsSettings
PresspowerbuttonBrowsesettings
PressshutterbuttonSelectsetting
Pressshutterbuttoninvideo/capturemodeShootorrecord
PresssharebuttonStartcamerahotspot
KeeppressingsharebuttonStartlivestreaming
APPConnection
Search“Sioeye”inGooglePlayorAppStore
Connection
Android
InitialConnection
1. EnterQuickSettingsinIRIS4G enable“Hotspot”,makingaQRcodepopup.
2. LaunchtheSioeyeapponyoursmartphone.
3. IntheSioeyeapp,tap
4. ScantheQRcodegeneratedbyIRIS4G
5. IntheSioeyeapp,selectIRIS4G hotspot
6. Oncetheconnectionissetup,1canberemote‐controlledbyyoursmartphone.Youcan

watchliveactionsoreditfootage.
Follow‐upConnections
1. EnterQuickSettingsinIRIS4G1toturnonHotspot.
2. LaunchtheSioeyeapponyoursmartphone.
3. IntheSioeyeapp,taptoselectIRIS4G hotspot
Ifautomaticconnectionfailed,pleasescantheQRcodeagainasillustratedintheInitial
Connectioninstructions.
iOS
EnterQuickSettingsin enableHotspot.
Select“SioeyeSSID”iniPhone’sWi‐Filist.
Inputthepasswordasitappearsin
SystemUpgrade
BeforetheUpgrade:
Makesureanetworkconnectionisavailable.
Softwarewillbestoredintheexternalmemorycardautomatically.ONLYwhenoutof
externalmemory,thesoftwarewillbeinstalledininternalmemory.
Instructions:
EnterCameraSettings,selectSystemUpgrade
TaptoselectSystemUpgrade,tapInstalltoinitiateinstallment.
Whentheupgradeiscompleted,thesystemwillreboot.
NOTICE:Ifforanyreasonthedownloadingprocessisinterrupted,theinterrupteddownloadcan
beeasilyresumednexttime.Tap“Continue”toresume.
EnclosedMountings
DivingHousing
IRIS4G
IRIS4G

Instructions:
1. Toopenthehousing,slideandliftthebuckleabovethehousing.
2. Putit intotheDivingHousing.
3. CliptheHousingfrontwiththebuckle.
4. Pushdownthebuckletosnapthehousing.
5. HousingModewillbeappearedwheninstalledsuccessfully.
FlatSurfaceMounting
CurveSurfaceMounting
VerticalMounting

SideMounting
BackdoorforWaterHousing
StandardBackdoor
SkeletonBackdoor
Instructions:
1. OpentheDivingHousing.
2. PulldowntheBackdoorsoitcanbedetached(Makesuretherotaryunionisdetached).
3. AlignanewBackdoorwiththehinge.
4. PushuptheBackdoor.
5. CliptheWaterHousing.

The 15.19 statement is used. They should have used the one for Licensed devices: “This device
complies with part 15 of the FCC Rules. Operation is subject to the condition that this device does
not cause harmful interference.”
Changes or modifications not expressly approved by the party responsible for compliance could
void the user’s authority to operate the equipment.
NOTE: This camera has been tested and found to comply with the limits for a Class B digital
device, pursuant to part 15 of the FCC Rules. These limits are designed to provide reasonable
protection against harmful interference in a residential installation. This camera generates uses
and can radiate radio frequency energy and, if not installed and used in accordance with the
instructions, may cause harmful interference to radio communications. However, there is no
guarantee that interference will not occur in a particular installation. If this camera does cause
harmful interference to radio or television reception, which can be determined by turning the
equipment off and on, the user is encouraged to try to correct the interference by one or more of
the following measures:
- Reorient or relocate the receiving antenna.
- Increase the separation between the equipment and receiver.
-Connect the equipment into an outlet on a circuit different from that to which the receiver is
connected.
-Consult the dealer or an experienced radio/TV technician for help
RF Exposure Information (SAR)
This device is designed and manufactured not to be exceeded the emission limits for exposure to
radio frequency RF energy set by the Federal Communications Commission of the United States.
The exposure standard for wireless devices employing a unit of measurement is known as the
Specific Absorption Rate (SAR), and the SAR limit set by FCC is 1.6 W/kg.
*Tests for SAR are conducted using standard operating positions accepted by the FCC with the
camera transmitting at its highest certified power level in all tested frequency bands. Although
the SAR is determined at the highest certified power level, the actual SAR level of the camera
while operating can be well below the maximum value. This is because the camera is designed
to operate at multiple power levels so as to use only the poser required to reach the network. In
general, the closer you are to a wireless base station antenna, the lower the power output.
The highest SAR value for the camera as reported to the FCC when tested for use direct contact on
the body, as described in this user guide, is 0.85W/kg , While there may be differences between
the SAR levels of various camera and at various positions, they all meet the government
requirement.
The FCC has granted an Equipment Authorization for this model camera with all reported SAR
levels evaluated as in compliance with the FCC RF exposure guidelines. SAR information on
this model camera is on file with the FCC and can be found under the Display Grant section of
http://www.fcc.gov/oet/fccid after searching on FCC ID: 2AE44IRIS4G. For body operation, this
camera has been tested and meets the FCC RF exposure guidelines for use with an accessory that
contains no metal and the positions with a minimum of 0.5cm from the body. Use of other
enhancements may not ensure compliance with FCC RF exposure guidelines.
Table of contents
Other Sioeye Action Camera manuals

