manuals.online logo
Brands
  1. Home
  2. •
  3. Brands
  4. •
  5. Sirio Antenne
  6. •
  7. Antenna
  8. •
  9. Sirio Antenne MINI MAG 27 User manual

Sirio Antenne MINI MAG 27 User manual

This manual suits for next models

1

Other Sirio Antenne Antenna manuals

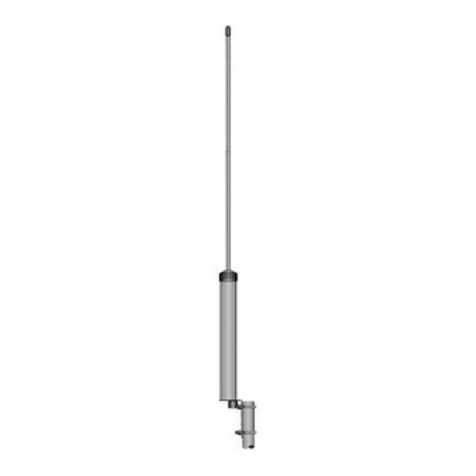
Sirio Antenne CX 2m series User manual

Sirio Antenne

Sirio Antenne CX 2m series User manual

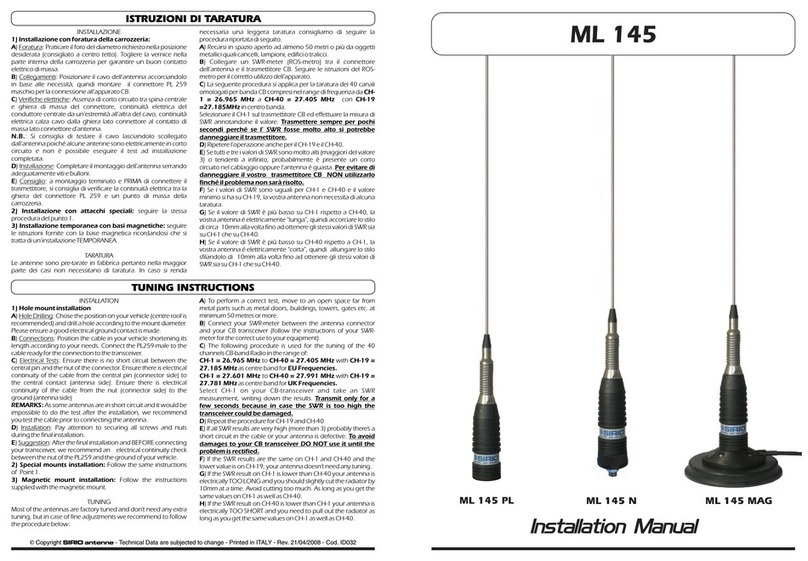
Sirio Antenne ML 145 User manual

Sirio Antenne

Sirio Antenne ML 145 User manual

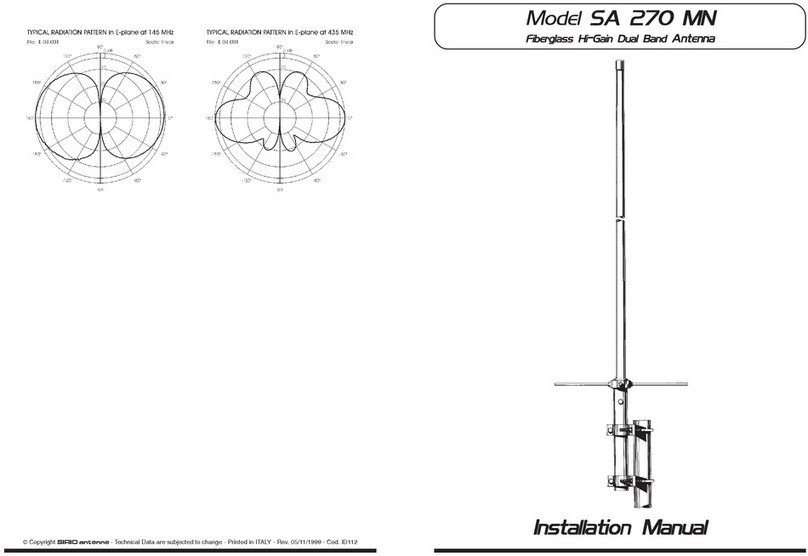
Sirio Antenne SA 270 MN User manual

Sirio Antenne

Sirio Antenne SA 270 MN User manual

Sirio Antenne SM 66-88 User manual

Sirio Antenne

Sirio Antenne SM 66-88 User manual

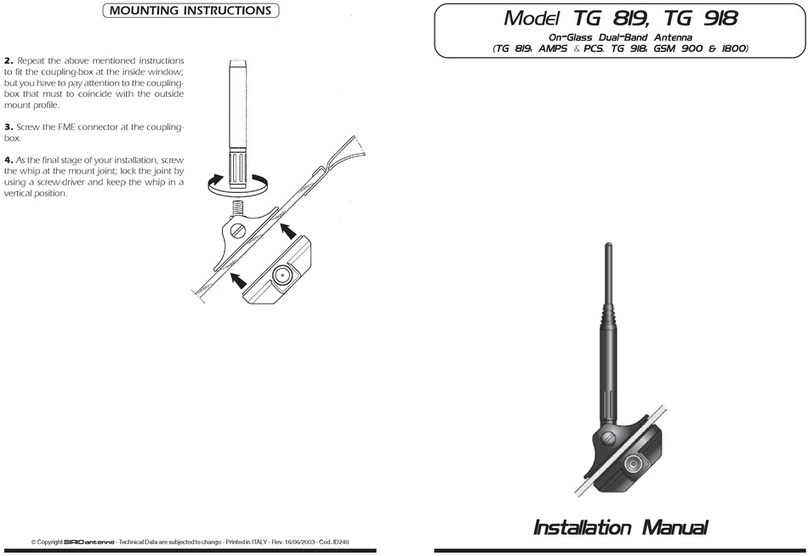
Sirio Antenne TG 819 User manual

Sirio Antenne

Sirio Antenne TG 819 User manual

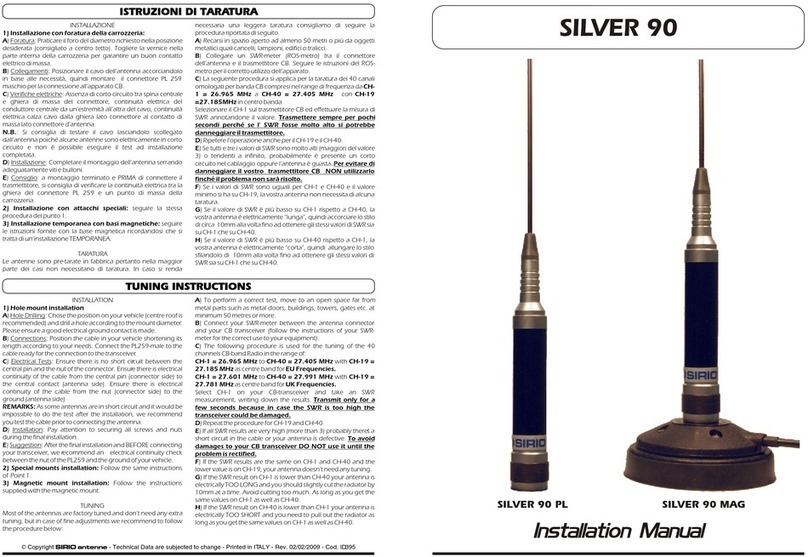
Sirio Antenne SILVER 90 User manual

Sirio Antenne

Sirio Antenne SILVER 90 User manual

Sirio Antenne BULL Trucker 3000 3/8" User manual

Sirio Antenne

Sirio Antenne BULL Trucker 3000 3/8" User manual

Sirio Antenne TORNADO 27 5/8 User manual

Sirio Antenne

Sirio Antenne TORNADO 27 5/8 User manual

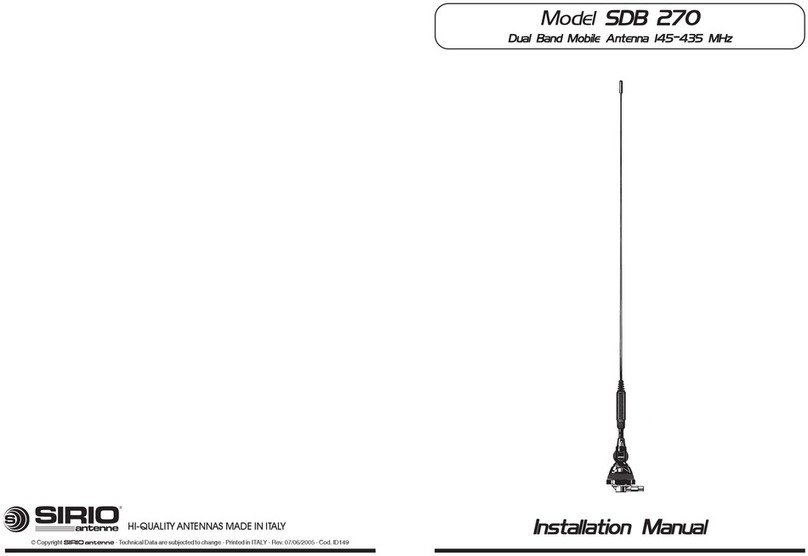
Sirio Antenne SDB 270 User manual

Sirio Antenne

Sirio Antenne SDB 270 User manual

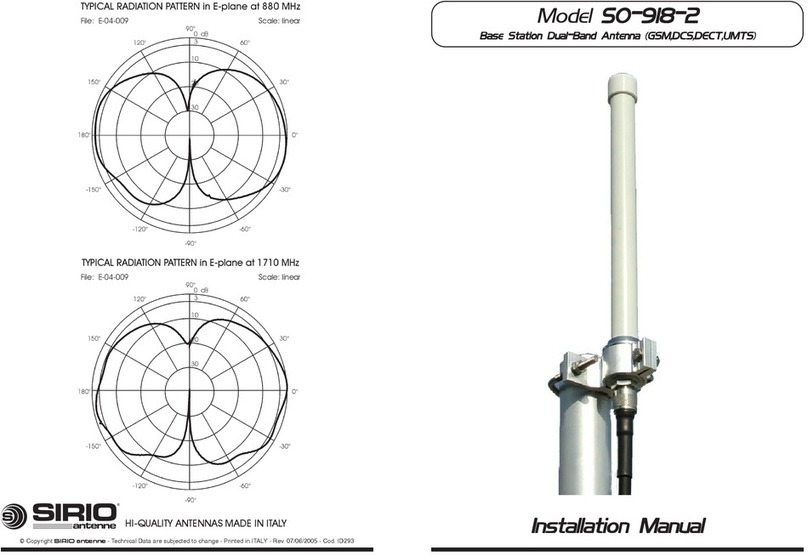
Sirio Antenne SO-918-2 User manual

Sirio Antenne

Sirio Antenne SO-918-2 User manual

Sirio Antenne HP 2000 User manual

Sirio Antenne

Sirio Antenne HP 2000 User manual

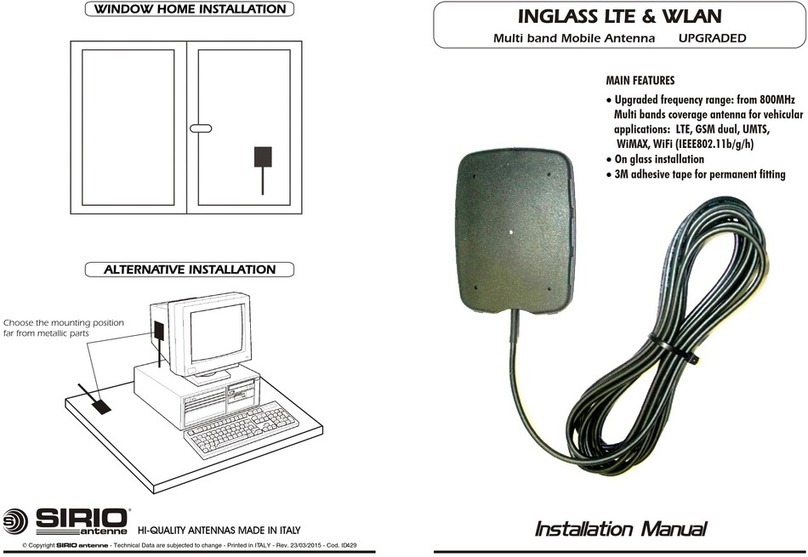
Sirio Antenne IN-GLASS LTE & WLAN User manual

Sirio Antenne

Sirio Antenne IN-GLASS LTE & WLAN User manual

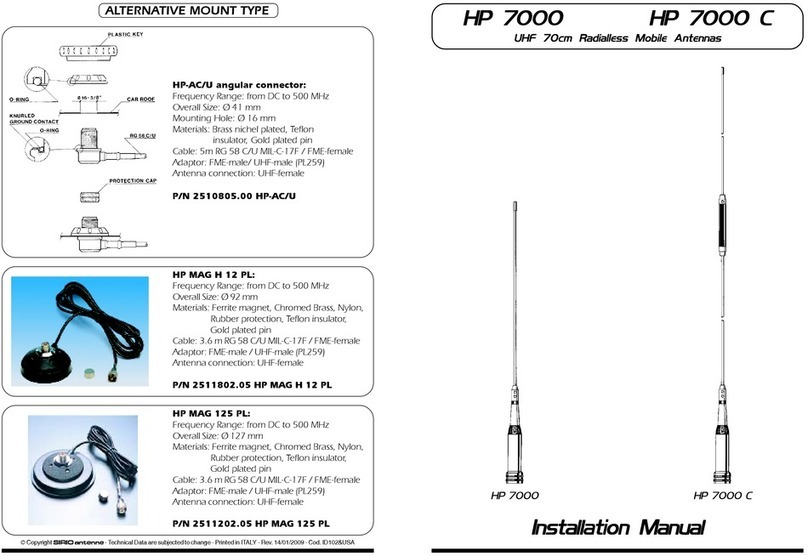
Sirio Antenne HP 7000 User manual

Sirio Antenne

Sirio Antenne HP 7000 User manual

Sirio Antenne HGO 433 User manual

Sirio Antenne

Sirio Antenne HGO 433 User manual

Sirio Antenne GPA 108-136 User manual

Sirio Antenne

Sirio Antenne GPA 108-136 User manual

Sirio Antenne SU 370-490 User manual

Sirio Antenne

Sirio Antenne SU 370-490 User manual

Sirio Antenne GPA 27-45M User manual

Sirio Antenne

Sirio Antenne GPA 27-45M User manual

Sirio Antenne CX 4m series User manual

Sirio Antenne

Sirio Antenne CX 4m series User manual

Sirio Antenne TG / GDD Series User manual

Sirio Antenne

Sirio Antenne TG / GDD Series User manual

Sirio Antenne SUPER 9 Blue Line User manual

Sirio Antenne

Sirio Antenne SUPER 9 Blue Line User manual

Sirio Antenne GPF 21 N User manual

Sirio Antenne

Sirio Antenne GPF 21 N User manual

Sirio Antenne SA 270 LN User manual

Sirio Antenne

Sirio Antenne SA 270 LN User manual

Sirio Antenne P 5000 LED User manual

Sirio Antenne

Sirio Antenne P 5000 LED User manual

Sirio Antenne New Vector 4000 User manual

Sirio Antenne

Sirio Antenne New Vector 4000 User manual

Popular Antenna manuals by other brands

DAVIS Windex AV 3160 installation instructions

DAVIS

DAVIS Windex AV 3160 installation instructions

Belden Hirschmann BAT-ANT-N-14G-IP23 Mounting instruction

Belden

Belden Hirschmann BAT-ANT-N-14G-IP23 Mounting instruction

Vtronix YHK Fitting instructions

Vtronix

Vtronix YHK Fitting instructions

KVH Industries TracVision 6 Technical manual

KVH Industries

KVH Industries TracVision 6 Technical manual

Leica Geosystems GS10 user manual

Leica Geosystems

Leica Geosystems GS10 user manual

Sony VCA-41 Installation/connections

Sony

Sony VCA-41 Installation/connections

ZCG Y100 Series installation guide

ZCG

ZCG Y100 Series installation guide

Advantech Wireless INTREPID120 Assembly instructions

Advantech Wireless

Advantech Wireless INTREPID120 Assembly instructions

Cerio ANT-10AO installation guide

Cerio

Cerio ANT-10AO installation guide

Alfa Network APA-L01 Specifications

Alfa Network

Alfa Network APA-L01 Specifications

Naval PR-422CA Operation manual

Naval

Naval PR-422CA Operation manual

Feig Electronic ID ISC.ANTH200/200 Series manual

Feig Electronic

Feig Electronic ID ISC.ANTH200/200 Series manual

TERK Technologies TV44 owner's manual

TERK Technologies

TERK Technologies TV44 owner's manual

TERK Technologies SIR3 owner's manual

TERK Technologies

TERK Technologies SIR3 owner's manual

Directive Systems & Engineering DSE2324LYRMK quick start guide

Directive Systems & Engineering

Directive Systems & Engineering DSE2324LYRMK quick start guide

HP J8999A instructions

HP

HP J8999A instructions

MobilSat MSP-S Mounting instructions

MobilSat

MobilSat MSP-S Mounting instructions

Steren ANT-UHF 13 instruction manual

Steren

Steren ANT-UHF 13 instruction manual

manuals.online logo
manuals.online logoBrands
  • About & Mission
  • Contact us
  • Privacy Policy
  • Terms and Conditions

Copyright 2025 Manuals.Online. All Rights Reserved.

MINI MAG 27MINI MAG 27
BCopyright SIRIO antenne - Technical Data are subjected to change - Printed in ITALY - Rev. 20/11/2007 - Cod. ID381
HI-QUALITY ANTENNAS MADE IN ITALY
1. L’installazione di antenne veicolari mediante base magnetica è da ritenersi una soluzione
TEMPORANEA poichè la base magnetica non può garantire la stessa tenuta di una base fissa. Si
consiglia per tanto, per la vostra e l’altrui sicurezza, di NON SUPERARE I 110 Km/h.
2. La posizione più idonea per il corretto funzionamento della base magnetica è a centro tetto del
veicolo. In taluni casi è possibile installarla in posizioni alternative (bordo tetto o baule) a patto che le
superfici di appoggio nella zona di contatto della base magnetica siano sufficientemente piane da
garantire la corretta tenuta della base. Durante la prima installazione si consiglia di prestare attenzione
alla tenuta della base magnetica durante la marcia per verificarne l’adeguatezza di montaggio.
3. Consigliamo vivamente di rimuovere la base magnetica quando inutilizzata in modo da evitare
l’accumulo di sporcizia al di sotto della stessa e i conseguenti danni alla carrozzeria del veicolo. Una
sosta prolungata sotto il sole, soprattutto durante i mesi estivi, può far innalzare la temperatura del tetto
del veicolo fino a 70/80 gradi centigradi con conseguenti seri danni sia alla base magnetica che alla
carrozzeria. Si consiglia per tanto di rimuoverla sempre dopo ogni utilizzo. Si raccomanda la
rimozione anche prima di entrare nell’autolavaggio.
1. Magnetic mounts are only suitable for temporary installation and are not safe or strong as fixed body
mounts so for your own safety as well as the safety of other road users please DO NOT EXCEED THE
SPEED LIMITS OF 110 Km/h OR 70 MPH.
2. For optimum results the magnetic base should be fixed on the centre of the car roof, however
alternative mounting positions can be used as long as the surface is flat enough to guarantee a strong
installation. Pay particular attention to the stability of your magnetic mount to ensure safety during
driving.
3. It is recommended that your magnetic mount is removed after each time it is used, so that any dirt can
be removed before the magnet is used again. Also do not leave the vehicle parked in direct sunlight for
long periods with the magnet installed as high temperatures (70 / 80 °C) can damage the magnetic base
and car body. We strongly recommend that youalways remove your magnetic mount after each use and
before visiting a car wash
Istruzioni generali per basi magnetiche
General instruction for magnetic mounts
Istruzioni generali per basi magnetiche
General instruction for magnetic mounts
ANWEISUNGEN DER INSTALLATIONANWEISUNGEN DER INSTALLATION
Wie die meisten CB Antennen, sollte diese Antenne vor Gebrauch mit einem SWR Meter abgestimmt werden.
Bei Betrieb auf den (deutschen) Kanälen 41-80 ist die optimale Strahlerlänge länger als beim Betrieb auf den
Kanälen 1-40 oder höher.
Gegebenenfalls kann der Strahler auch noch vorsichtig um bis zu 1 cm gekürzt werden, wenn sich die
Antenne auf höheren Frequenzen nicht optimal abstimmen lässt.
DESCRIPTIONDESCRIPTION
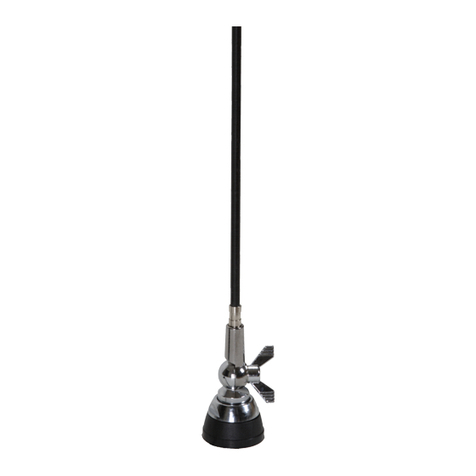
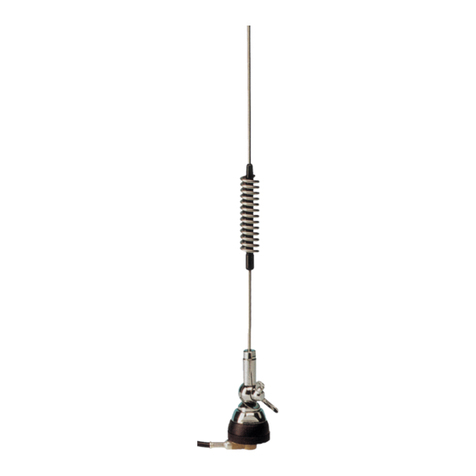
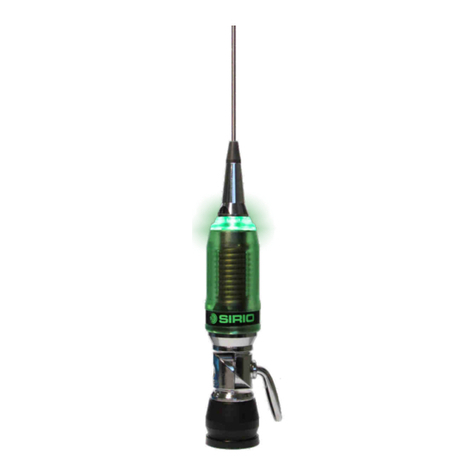
MINI MAG 27 is a mobile antenna working on 27 MHz. The whip is made of 17/7 PH stainless steel
whit a stainless steel spring and all the metallic parts are of chromed brass to get the best
robustness. Supplied with magnetic mount and 3m cable for a TEMPORARY INSTALLATION.
SPECIFICATIONSSPECIFICATIONS
ID381
Type : Central Loaded
Impedance : 50 W
Frequency Range : 27 - 27.5 MHz
Polarization : Vertical
SWR @ res. freq. : £1.2
Bandwidth @ SWR £ 2:³280 KHz
Max Power : 10 Watts (CW) continuous,
50 Watts (CW) short time
Height (approx.) : 630 mm
Weight (approx.) : 575 gr
Standard Mount : Magnetic
Cable Lenght / Type / Connector : 3 m / RG 58 / UHF PL-259
Mag mount overall size : Æ90mm
HI-QUALITY ANTENNAS MADE IN ITALY
Tuning system 180°inclination system
Stainless steel spring
for flexibility
ISTRUZIONI DI TARATURAISTRUZIONI DI TARATURA
Le antenne sono pre-tarate in fabbrica
pertanto nella maggior parte dei casi non
necessitano di taratura. In caso si renda
necessaria una leggera taratura consigliamo di
seguire la procedura riportata di seguito.
A) Recarsi in spazio aperto ad almeno 50 metri
o più da oggetti metallici quali cancelli,
lampioni, edifici o tralicci.
B) Collegare un SWR-meter (ROS-metro) tra il
connettore dell’antenna e il trasmettitore CB.
Seguire le istruzioni del ROS-metro per il
corretto utilizzo dell’apparato.
C) La seguente procedura si applica per la
taratura dei 40 canali omologati per banda CB
compresi nel range di frequenza da
CH-1 = 26.965 MHz a CH-40 = 27.405
MHz con CH-19 = 27.185MHz in centro
banda.
Selezionare il CH-1 sul trasmettitore CB ed
effettuare la misura di SWR annotandone il
valore. Trasmettere sempre per pochi
secondi perché se l’ SWR fosse molto alto
si potrebbe danneggiare il trasmettitore.
D) Ripetere l’operazione anche per il CH-19 e il
CH-40.
E) Se tutti e tre i valori di SWR sono molto alti
(maggiori del valore 3) o tendenti a infinito,
probabilmente è presente un corto circuito nel
cablaggio oppure l’antenna è guasta. Per
evitare di danneggiare il vostro
trasmettitore CB NON utilizzarlo finché il
problema non sarà risolto.
F) Se i valori di SWR sono uguali per CH-1 e CH-
40 e il valore minimo si ha su CH-19, la vostra
antenna non necessita di alcuna taratura.
G) Se il valore di SWR è più basso su CH-1
rispetto a CH-40, la vostra antenna é
elettricamente “lunga”, quindi accorciare lo
stilo di circa 10mm alla volta fino ad ottenere gli
stessi valori di SWR sia su CH-1 che su CH-40.
H) Se il valore di SWR è più basso su CH-40
rispetto a CH-1, la vostra antenna é
elettricamente “corta”, quindi allungare lo stilo
sfilandolo di 10mm alla volta fino ad ottenere
gli stessi valori di SWR sia su CH-1 che su CH-40.
TUNING INSTRUCTIONSTUNING INSTRUCTIONS
SWR measurement, writing down the results.
Transmit only for a few seconds because
in case the SWR is too high the
transceiver could be damaged.
D) Repeat the procedure for CH-19 and CH-40.
E) If all SWR results are very high (more than 3)
probably there’s a short circuit in the cable or
your antenna is defective. To avoid damages
to your CB transceiver DO NOT use it until
the problem is rectified.
F) If the SWR results are the same on CH-1 and
CH-40 and the lower value is on CH-19, your
antenna doesn’t need any tuning.
G) If the SWR result on CH-1 is lower than CH-
40 your antenna is electrically TOO LONG and
you should slightly cut the radiator by 10mm at
a time. Avoid cutting too much. As long as you
get the same values on CH-1 as well as CH-40.
H) If the SWR result on CH-40 is lower than CH-
1 your antenna is electrically TOO SHORT and
you need to pull out the radiator as long as you
get the same values on CH-1 as well as CH-40.
Most of the antennas are factory tuned and
don’t need any extra tuning, but in case of fine
adjustments we recommend to follow the
procedure below:
A) To perform a correct test, move to an open
space far from metal parts such as metal doors,
buildings, towers, gates etc. at minimum 50
metres or more.
B) Connect your SWR-meter between the
antenna connector and your CB transceiver
(follow the instructions of your SWR-meter for
the correct use to your equipment).
C) The following procedure is used for the
tuning of the 40 channels CB-band Radio in
the range of:
CH-1 = 26.965 MHz to CH-40 = 27.405
MHz with CH-19 = 27.185 MHz as centre
band for EU Frequencies.
CH-1 = 27.601 MHz to CH-40 = 27.991
MHz with CH-19 = 27.781 MHz as centre
band for UK Frequencies.
Select CH-1 on your CB-transceiver and take an