Skim-A-Round The Floating Skimmer User manual

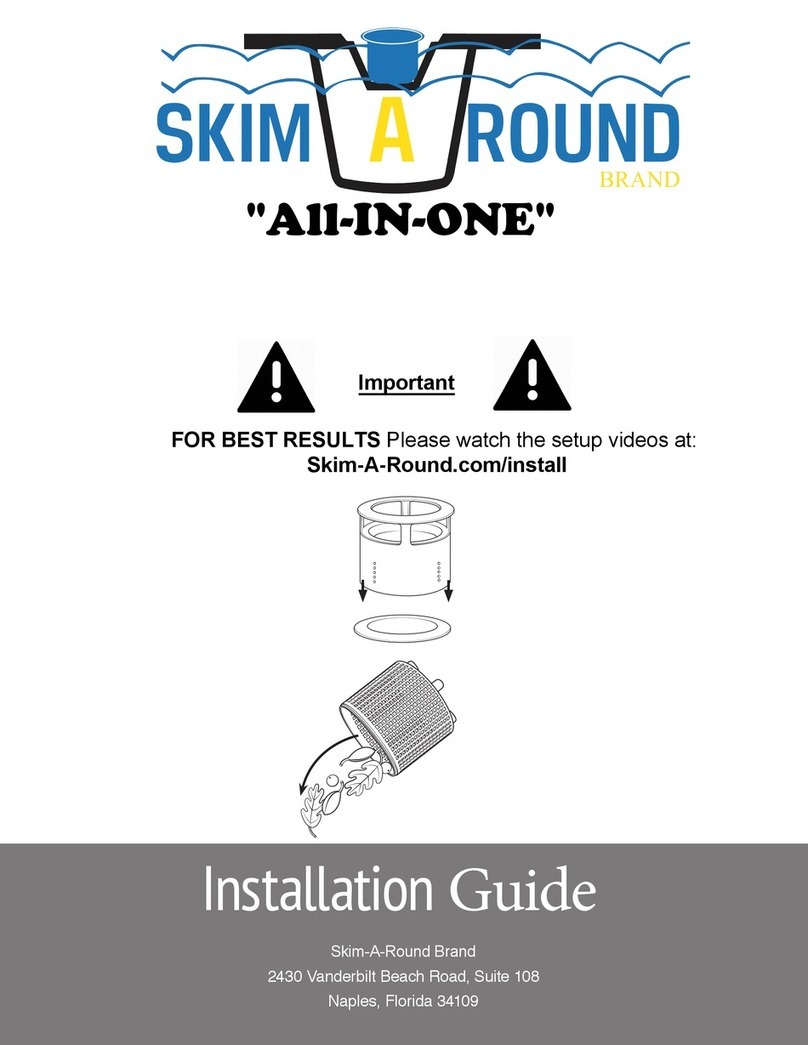
Installation Manual
SKIM-A-ROUND
2430 Vanderbilt Beach Road, Suite 108
Naples, Florida 34109
FOR BEST RESULTS Please watch the setup videos at:
Skim-A-Round.com/setup
Important
US Patent US9879439

Thank you for purchasing the Skim-A-Round, the next generation of pool cleaning. The Skim-A-
Round is a fully functional, oating pool skimmer that has multiple features and will help protect the
investment you’ve made in your swimming pool. These features include:
Extra or Replacement Skimmer
Traditional wall skimmers rarely provide enough suction to pull debris in from across the pool.
The Skim-A-Round can be added to the pool or spa as an extra skimmer, or even as a
replacement skimmer.
Just plug Skim-A-Round into the vacuum line, or even into the bottom hole of an existing wall
skimmer. Within 5 minutes the Skim-A-Round will be out toward the center of the pool, keeping your
pool surface free of debris.
Pool PumpProtection
Normally, if a swimming pool loses water due to a leak or evaporation, water will need to be added to
the pool immediately, to prevent the pool pump from running dry. Since Skim-A-Round oats on the
pool surface it will follow the water level, so re-lling the pool is no longer an emergency.
Skim and Vacuum Simultaneously
The Skim-A-Round can be used as a vacuum attachment that provides the ability to attach a fully
functional pool skimmer to your pool vacuum, creating a moving skimmer. Now, wherever the pool
vacuum goes, Skim-A-Round will follow, simultaneously cleaning the pool surface.
Technical Support
Skim-A-Round owners have access to technical support via Certified Pool Operators.
Skim-A-Round.com/Tech
Introduction
2

Safety
DANGER
Suction from the pool pump in a wall skimmer or sidewall vacuum port may cause limbs, hair, hair
accessories, jewelry, bathing suits or loose clothing to become trapped and result in serious injury or
death. Always turn the pool lter pump off before installing the product. Always ensure protective lids
on wall skimmers and protective caps on sidewall vacuum ports are securely in place before turning
the pool lter pump on. Adult supervision is required during the use of this product.
NOTICE
Improper handling, use, or maintenance of the product may result in poor performance, or product
failure, and potentially void the warranty.
Parts
Basket
Debris Trap
Body
Hose Connector:
(Stand Alone Skim-A-Round only)
Air-Tight Adapter
Hose Connector:
(For Vacuum Attachment Only)
Regulator
(Stand Alone Skim-A-Round only)
Velocity Increaser (2)
(For Vacuum Attachment Only)
Adapter for Zodiac Vacuums
(not included)
Cap
(Stand Alone Skim-A-Round only) 3

Installation
The Skim-A-Round may be installed as a stand alone, oating skimmer or as a vacuum attachment.
Please follow the installation for the desired setup.
Installation as a Stand Alone Skimmer
Important! Check if the pool, or spa, has
at least two open suction lines. If the pool,
or spa, doesn’t have at least two open
suction line’s then you may need to install a
Regulator (see Installing a Regulator).
1. Turn off the pool pump/ltration system.
2. Completely open the existing skimmer
and bottom drain valves.
3. Remove the components from the body
of the Skim-A-Round.
4. Place the threaded end of the hose
connector into the bottom of the
Skim-A-Round and thread until tight.
5. Connect the Debris Trap onto the top of
the basket. (if not already attached)
6. Place the Floating Debris Trap and
Basket assembly into the body of the
Skim-A-Round. 5
7
6
4
Ensure the threaded cap is secured
into the threaded side of the hose
connector. 7
7.

8. Connect the two hoses together. Note:
Ensure the connection istight.
9. Attach the hoses to the cone shaped
portion of the Hose Connector.
10. Place the Skim-A-Round into the pool
until the wings are floating on the water
surface.
11. Connect the hoses to a wall skimmer or
side wall vacuum port.
Connecting to a Wall Skimmer
a. Remove the existing basket out of the
wall skimmer.
b. Place the rubber Air-Tight Adapter into
suction hole in the existing skimmer.
Important! There may be two holes
in the bottom of the existing skimmer.
Place the adapter in the suction hole
that pulls the water.
c. Push the Air-Tight Adapter down until
it is completely in the suction hole.
d. Place the hoses through the skimmer
mouth in the pool and insert it into the
Air-Tight Adapter.
e. Securely replace the protective lid to
the wall skimmer.
12. Turn on the pool pump/ltration system.
13. To increase suction to the Skim-A-Round,
partially close the main/bottom drain valve
at the pool pump.
8
9
10
b
c
5
(See page 9)

Installing a Regulator
Note: These instructions are for a Stand Alone
Skim-A-Round Only. The Regulator is only used
if Skim-A-Round continuously runs dry and lifts
out of the water.
1. Turn off the pool pump/ltration system.
2. Remove the cap from the left side of the
Hose Connector.
3. Place the Regulator on the Hose Connector
and tighten.
4. Turn on the pool pump/ltration system.
Installing the Skim-A-Round as a Vacuum Attachment
6
5
4
NOTE: Attaching to an existing pool vacuum does not require
the use of any additional hose sections. If you received
additional hose sections with your Skim-A-Round, these will
only be needed when using as a stand-alone skimmer
1. Turn off the pool pump/filtration system.
2. IMPORTANT: Completely CLOSE main/
bottom drain valve at the pool pump.
3. Remove the components from the body of
the Skim-A-Round.
4.
5.
6.
7.
8.
6
(See page 9)
Turn the top section on the Valve
Connector until the "handle" is centered to the
bottom portion as show in figure 4.
Skim-A-Round logo on the connector body. Move
the Valve Handle into the Open
(vertical, downward) position.
Place the threaded end of the hose
connector into the bottom ofthe
Skim-A-Round and tighten.
Disconnect the existing vacuum hoses.
Note: If your pool has a depth of less than 7 feet
disconnect between the second and
third hose sections, starting from the
vacuum head. If your pool has a depth of greater
than 7 feet then disconnect between the third and
fourth hose sections, starting from the vacuum
head.
Remove any in-line regulators or "flow reducers"
from your current vacuum hoses.

b
c
9. Loosen the nut on the left side of the of the
Hose Connector.
10. Insert the hoses attached to the vacuum head
into the Hose Connector and tighten the nut.
11. Attach the remaining hose(s) to the cone
shaped portion to the right side of the
Hose Connector.
12. Place the vacuum head and the Skim-A-Round
into the pool.
13. Connect the Debris Trap onto the top of
the basket.
14. Place the Floating Debris Trap and Basket
assembly into the body of the Skim-A-Round.
15. Connect the hose(s) to a wall skimmer or side
wall vacuum port.
Connecting to a Wall Skimmer
a. Remove the existing basket out of the wall
skimmer. Note: If there is a Regulator in the
bottom of your skimmer, remove it.
b. Place the rubber Air-Tight Adapter into
the suction hole in the existing skimmer.
Important! There may be two holes in the
bottom of the existing skimmer. Place the
adapter in the suction hole that pulls the
water.
c. Push the Air-Tight Adapter down until it is
completely in the suction hole.
d. Place the hoses through the skimmer
mouth in the pool and insert it into the
Air-Tight Adapter.
e. Securely replace the protective lid to the
wall skimmer.
910
13
11
14
7

16. To maximize performance, ensure that
all other suction lines to the pool are
completely closed.
17. Turn on the pool pump/ltration system.
Important! Divert the suction to the correct valve:
a. If you are connecting the hoses to an
existing wall skimmer, close the main/
bottom drain valve at the pool pump
completely and divert all of the suction to
the Skimmer Valve.
b. If you are connecting the hoses to vacuum
port on the side wall of the pool divert all
your suction to that line.
18. To divert suction back to your pool vacuum,
slightly close the valve on the bottom of
Skim-A-Round (horizontal) position.
Using the Zodiac Adapters
If you own a Zodiac pool vacuum you will need to attach the Zodiac Adapters.
1. Insert the short/clear Zodiac adapter into the male end of the Zodiac vacuum hose.
2. Insert the other end of the short/clear Zodiac adapter assembly into the T-Section; tighten the nut.
3. Insert the blue piece of the Zodiac adapter into the female end of the Zodiac hose.
4. Turn the blue Zodiac adapter until it clicks into place.
5. Firmly attach the blue Zodiac adapter over the "cone" of the T-section.
18
13
Increase Suction
25
4
*If your pool pump is not providing enough suction to run the floor vacuum and the Skim-A-Round simultaneously, first
ensure that the bottom drain valve, by your pool pump is closed (Seen In Diagram - page 9), and that any existing regulator
valves from your existing vacuum have been removed. If your bottom drain valve, has already been closed, see 'Installing
Velocity Increasers' in the troubleshoot table - Page 10. (Seen in the INSTALLATION VIDEO: Skim-A-Round.com/setup
8

Open/Close
Bottom Drain
Valve
Open/Close The Bottom Drain Valve
Want more suction?
*** By closing the bottom drain valve, suction is diverted toward the line with the Skim-A-Round
attached, increasing flow to the Skim-A-Round.
To increase suction to your Skim-A-Round, first ensure that you've removed any existing regulators
from your automatic floor vacuum. Then, partially close the bottom drain valve (over by your pool
pump). As this valve closes, more suction will be diverted to the Skim-A-Round. If you completely
closed your bottom drain valve, and still cannot find an adaquate position for the Skim-A-Round valve
to provide sufficient suction to your Skim-A-Round/Floor Vacuum combo, see 'Installing Velocity
Increasers' in the troubleshoot table - Page 10.
Skim-A-Round Tipping/Pulling Air?
***By opening the bottom drain valve, suction is diverted away from the line with the Skim-A-Round
attached, reducing the flow to the Skim-A-Round.
To decrease suction to your Skim-A-Round, ensure that the bottom drain valve is open. If your bottom
drain valve is already open, you can decrease suction further by installing the regulator. See 'Installing
The Regulator' - Page 6. 9

Troubleshooting
Problem Cause Action
Not enough suction
to Skim-A-Round
The main/bottom drain valve at
the pool pump is open too much
and diverting suction away from
the Skim-A-Round.
Partially close the main/bottom drain
valve at the pool pump.
The regulator tting included with
your automatic pool vacuum may
still be installed.
Remove the regulator tting from
bottom of existing wall skimmer.
If you have a small pump (1HP
or less).
Install the velocity increasers as
shown below.
Skim-A- Round
continuously runs dry
and lifts out of the
water Note: You will
hear air being pulled
into the Skim-A-Round.
The main/bottom drain valve
at the pool pump is closed
too much resulting in
excessive suction to the
Skim-A-Round.
• Open the main/bottom drain valve
at the pool pump.
• If the main/bottom drain valve is
already open or if there is no
main/bottom drain valve, install
the included Regulator.
Installing the Velocity Increasers
1. Orient the Velocity Increaser so the 2 smaller clips are facing the inside if the housing
(as shown below).
2. Slide the velocity increaser down the "mouth" of the skimmer housing.
3. Ensure the outside clip is extended below the exterior of the "mouth" of the housing
and the inside clips are securely inside the skimmer housing.
4. Repeat steps 1- 3 on the opposite side of the Skim-A-Round body.
5. Completely close the Skim-A-Round valve
6. Turn pool pump on; Slowly open the Skim-A-Round valve until it begins to skim the
surface. (NOTE: Skim-A-Round will now require significantly less flow.)
Note: To see a full setup video go to: Skim-A-Round.com/setup
2
10
Inside Clip
Inside Clip
Outside Clip
20-Second Velocity Increaser Installation Video
Skim-A-Round.com/velocity

Emptying the Basket
1. Turn the Pool Pump off.
2. Slowly pull the Skim-A-Round to the
edge of the pool.
3. Pull the basket out by the handle.
4. Disconnect the Debris Trap from
the Basket.
5. Empty the debris from the Basket.
6. Carefully snap the Debris Trap back
onto the Basket.
7. Insert back into the
Skim-A-Round housing.
3
2
4
6
5
11
Table of contents
Other Skim-A-Round Lighting Equipment manuals
Popular Lighting Equipment manuals by other brands
Eterna
Eterna MSCSLEDCR installation instructions
Lindab
Lindab Architect Series Installation instruction
Daniamant
Daniamant RL1 Installation and maintenance instructions
Edwards Signaling
Edwards Signaling 94PLEDM Series Installation sheet
Martin
Martin Acrobat user manual

Blue Thumb
Blue Thumb IllumiGlow PB2897 installation instructions
