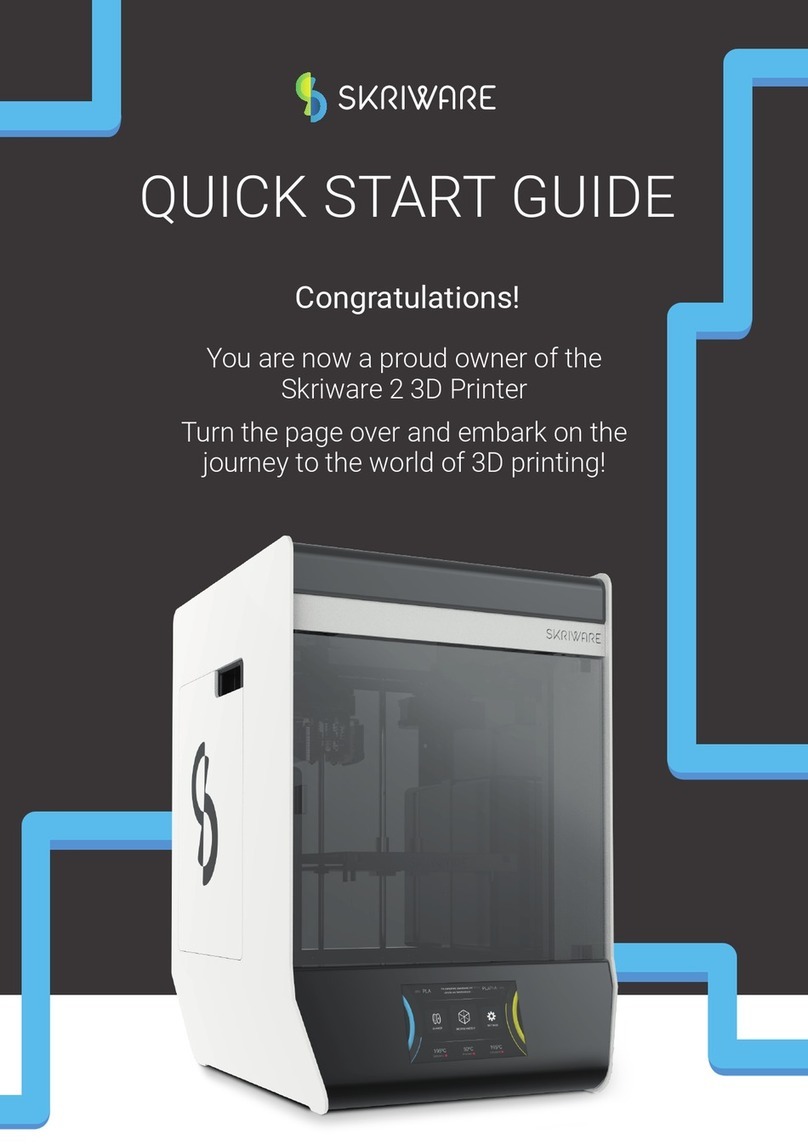
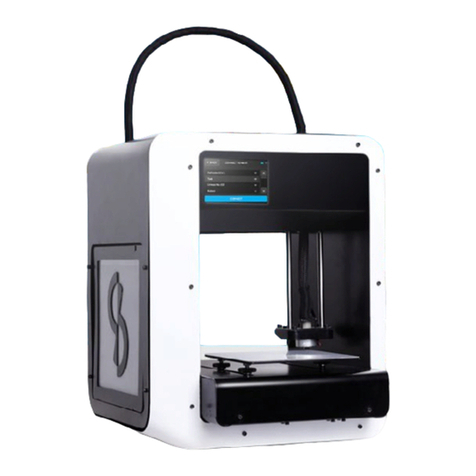
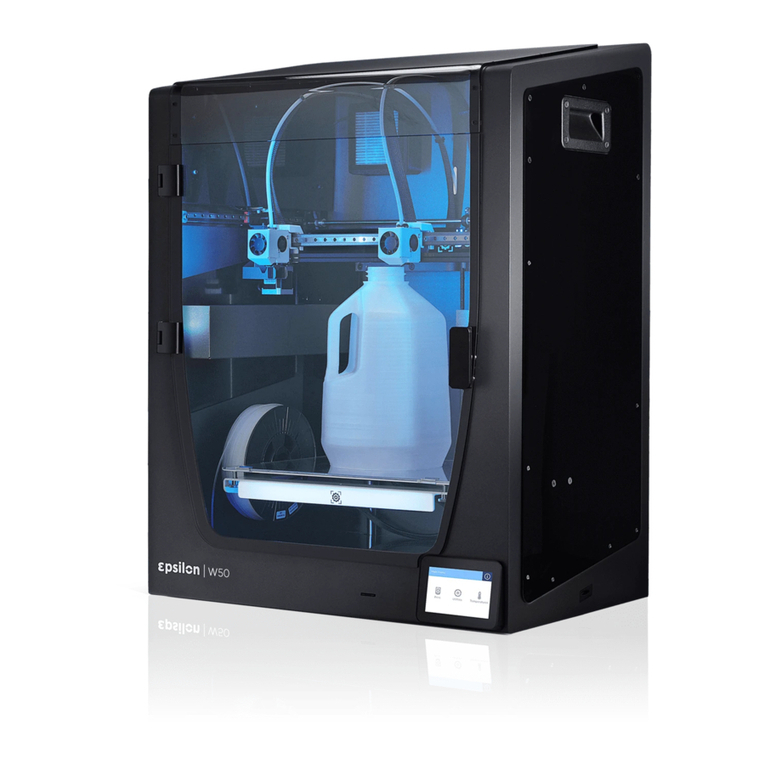
Skriware 2 User manual

USER MANUAL
Skriware 2
USER MANUAL
Skriware 2

TABLE OF CONTENTS
Skriware 2 User Manual
Read before proceeding 2
Warning stickers 3
Complies with the European Directives 4
General conditions 5
Hello, I’m Skriware 2 6
Components overview 7
Setting up the 3D printer 8
First set up 9
Levelling the printing platform 9
Filaments 10
Dashboard 12
Printing 15
Skrimarket 15
Taking care of your Skriware 2 18
Technical Specification 19
Troubleshooting 20
01 Skriware 2 | User manual

SAFETY & COMPLIANCE
Read before proceeding
Risk of burns
Skriware 2 itself operates in a safe temperature spectrum but some of its parts
can get extremely hot (up to 280OC/536OF). Never touch the hotend, extruder, or
printing platform and their vicinities while you can see the red symbol on the
display. These parts can stay hot for up to 30 minutes after the 3D printer finishes
operating.
Children supervision
We made Skriware 2 easily accesible but due to the possible hazards listed below
children should only use it under adult’s supervision.
Moving mechanical elements
Never reach into the Skriware 2 work area, and be careful around it, while it
operates. Extruders’ gantry system uses engines that may pull in a piece of
clothing or clip a body part.
Risk of electrocution
Skriware 2 requires electric power to operate. Always connect the power cable to
a grounded power socket. Never perform any maintenance while the printer is
connected to a power socket, unless it is explicitly stated otherwise.
Dangerous vapours
It is advised to use your Skriware 2 in a well ventilated area. Depending on a type
of filament, some dangerous vapours can be released during a print process.
Electromagnetic and radio interference
Skriware 2 3D Printer is an electronic device and may cause radio and television
interference. It also utilizes Wi-Fi radio which may cause disruptions in certain
environments.
Skriware 2 | User manual 02

SAFETY & COMPLIANCE
Warning stickers
Make sure to keep the lid
closed during the printing
process! There are moving
parts that may cause harm!
Do not touch the gantry
during the printing process!
The parts may be hot and
cause burns!
Keep your hands away during
the printing process! The
moving platform may cause
harm!
03 Skriware 2 | User manual

SAFETY & COMPLIANCE
Complies with the European Directives
2001/95/WE General Product Safety
and harmonized standards:
PN-EN 60950-1:2007/A12:2011
2014/35/UE Low Voltage
and harmonized standards:
PN-EN 60335-1:1999
PN-EN 60950-1:2007/A2:2014-05
2014/30/UE Electromagnetic Compatibility
and harmonized standards:
PN-EN 55014-1:2012
127 PN-EN 61000-6-1:2008
PN-EN 61000-6-3:2008
This is confirmed by the sign
placed on the device
Skriware 2 | User manual 04

The warranty is granted for a period of 12 months from the date of sale.
The printer must only be used in accordance with the following user manual.
Any use of the printer in violation of the manufacturer's guidelines contained in the following
user manual, results in the loss of the warranty.
During the warranty period, any defects originating from manufacturing process will be
removed free of charge.
Warranty repair request will only be considered in a written form containing a detailed
description of the problem and its cause. A form can be requested after contacting
support@skriware.com.
Any warranty claim must first be recognized as justified by Skriware or its Reseller.
In the event of a justified warranty repair, the costs of transportation to the service centre are
covered by the User and the return journey by the Guarantor. In the event of unjustified
warranty repair, the User will be charged for the costs of transportation to and back from the
service centre as well as any repair costs.
The warranty period is extended by the time of repair and transportation.
The warranty excludes:
mechanical damage caused by improper use;
thermal damage;
chemical damage;
damage caused by surges in the power network, or any other random events;
parts that are subject to wear during normal operation: extruder head (nozzle, hot end,
heater, plastic insulator, thermistor), filament, replaceable beds;
surface damages (discolouration, scratches, abrasions) caused by errors in storage or
use of the product;
damage caused by operation under conditions that do not meet the specifications;
cables, buttons, sockets and other components exposed to intentional or accidental
damages;
changes or temporary limitation of functionality as part of software upgrades;
limitations or lack of connection with Skriware online services.
WARRANTY
General conditions
05 Skriware 2 | User manual

WELCOME
Hello, I’m Skriware 2
Thank you for choosing Skriware 2! Our team has poured countless hours and sleepless nights
into making it the most feature-packed, user-friendly 3D printing device on the planet.
Whether you are a tinkerer, a hobbyist, an educator, a student, an industry professional, a
designer, an architect, or you simply want to print that cool stuff you saw on the internet we
believe that Skriware 2 is the right choice for you.
Please keep in mind that your 3D printer is a part of a bigger ecosystem of Skriware products.
That means that you can do more with it than possibly with any other 3D printer currently on
the market. Want to design and print robots while learning how they work? We got you
covered! Don’t know how to use slicing software to prepare your 3D prints? No worries! Are
you a teacher looking to engage your students on a whole new level? Skriware has something
special for you! Go visit www.skriware.com for all the details on those and other exciting
features we have prepared. Our team is constantly working on adding more and more to our
software and hardware solutions. If you would like to make a suggestion or simply say hi, write
to us at info@skriware.com or send us a Facebook message!
You can read up on all the features and innovations we added and how to use them in the
following manual but if something is unclear do not hesitate to write us at
support@skriware.com.
Without further ado, welcome to Skriware. Enjoy your experience!
Head of Hardware Development

SKRIWARE 2
Components overview
Doors
Touchscreen
Printing bed
ON/OFF touch button
Bed regulation knobs
Printing bed clips
Camera
Print head
Filament proximity sensor
Adjustable feet
USB port
Filament chamber
Filament chamber
Power supply socket
Switch I/0
Ethernet port
Filament input hole
07 Skriware 2 | User manual

SKRIWARE 2
Setting up the 3D printer
Whats in the toolbox?
To securely take your new Skriware 2 3D printer
out of the box, remove the top securing panel
first (1) and then both front securing panels (2).
Your 3D printer comes in a foil bag. Open it by
removing the sticker on the top. You will find
handles on both sides (3) by which you can lift
Skriware 2. Place it on the designated working
surface. Make sure it is stable and level. Use the
adjustable feet on the bottom of the printer to
adjust its level. Remove the stickers securing the
moving parts.
Plug the power cable into the 3D printer’s power
socket on its back and into a grounded power
socket, and then set the power switch on the
back to 1 (ON) position. Optionally plug ethernet
cable in the ethernet port.
Power
cable
2 Filaments 2 spare
nozzles
Spatula Hex keys 2mm,
2,5mm, 4mm &
7mm spanner
Tweezers 2 zipper bags
with dessicant
Gently push the front see-through panel of your
Skriware 2 3D printer to open it, and start
removing securing elements:
4) gantry system’s securing foam
5) extruders’ securing foam
6) toolbox
7) printing platform’s securing foam
Raise the printing platform gently by pulling up
by the platform's back edge (not the front one!).
8) bottom printing platform’s securing foam
9) Z leading screw's securing foram
Skriware 2 | User manual 08

LET’S START
First set up
Touch the Power button on the front of your Skriware 2 3D printer to turn it on. If this is your first time,
you will be guided through the set up wizard to:
connect to a network,
pair your 3D printer with your existing or new Skriware account,
learn about the functionalities of the dashboard.
CALIBRATION
Levelling the printing platform
The printing platform comes pre-levelled.
However, it is possible that it has moved during the
delivery and needs alignment. Go to SETTINGS –>
Maintenance, press CALIBRATE, and follow the
on-screen instructions.
Filament detection
Proximity sensor
Power button
Touch panel
Calibration Card
Use this card to check if the
distance between nozzles and
the printing bed is correctly
adjusted.
Please do not throw
away this card.
09 Skriware 2 | User manual

PRINTING MATERIALS
Filaments
Skriware 2 has been created with Skriware branded filaments in mind. This way we can assure the best
possible print quality. Our filament spools are equipped with Automatic Filament Detection System that
allows Skriware 2 to recognize the material and color of the filament currently in use.
As a part of our effort to reduce ecological footprint we are proud to be able to say that
all our filament spools are made of fully recyclable cardboard instead of
industry-standard hard-to-recycle polystyrene. Additionally, starting with PET, we are
making an effort to offer some of our filaments in a variant made from high-quality
recycled material. Keep an ear out for more environmental-friendly announcements!
An overview of Skriware filaments:
PLA
Tough, easy to use high grade filament. Ideal for everyday printing. PLA is
biodegradable plastic made from renewable natural resources.
PET-G
Strong, high clarity, odor neutral and easy to print filament. Its high impact
strength, excellent flexibility and practically no shrinkage makes PET-G an
excellent material which combines the advantages of both PLA and ABS.
ABS+
Extra strong impact-resistant filament with zero warp. Advantages over normal ABS
include improved interlayer and bed adhesion. Used for more technical applications.
PLA+
Industrial, high performance PLA. Matching mechanical properties of ABS.
It is highly advised to store all unboxed filaments in attached bags with desiccants to
improve their shelf life time.
Skriware 2 | User manual 10

TPU
Flexible filament that features an exceptionally high heat resistance and can
be stretched as far as 450% before reaching its breaking point.
WOOD
Modified PLA-based type of filament, that smells and feels like wood.
NYLON
High-performance nylon filament with a broad range of mechanical and
chemical properties. These properties include, but are not limited to, high
impact, crack & scratch resistance, water contact acceptable, superior
chemical & weathering resistance.
PC-ABS
Incredibly strong filament with polycarbonate additive and an even higher impact
resistance than regular ABS.
CARBON
Carbon fiber reinforced PET-G based filament.
GLASSBEND
Crystal clear, strong, flexible and easy to print filament. High degree of gloss,
very low water absorption, practically no shrinkage or warping and great
interlayer adhesion.
PVA+
Water-soluble, supporting material. Allows to print support material in hard to reach
places. Bonds well with PLA, ABS+ and PET-G filaments.
11 Skriware 2 | User manual

USING SKRIWARE 2
Dashboard
Change
Lets you start the process of changing
filaments from a chosen filament chamber
(Change L - left chamber, Change R - right
chamber). The process of changing filament
consists of heating up a chosen print head
and following the on-screen directions.
When loading a new Skriware filament, you
will be asked to scan the tag placed under
the sticker on the filament spool. To perform
the scan you have to place the sticker on
the spool close to the Filament proximity
sensor placed about 5cm to the left from
the screen.
Browse models
Before an .stl file is ready to print, it has to be prepared. When prompted, choose a model orientation and
scale. In the next window you can choose to print with or without Supports.
Skrimarket – models from the Skrimarket, displayed are only featured models. Other available
models can be browsed through the search window located in the top right corner of the
screen
Creator – models created by the logged-in user, created in the Playground 3D available here:
https://skrimarket.com/my/playground/new
Recent – 10 recently printed models
My Models – personalised list of models
Models printed by the user from the Skrimarket.com
Models uploaded to the Skrimarket.com by the user
Models saved from a pendrive
USB - activated when a pendrive is inserted. Displays .gcode and .stl files found on the inserted
pendrive
Skriware 2 | User manual 12

Settings
Network – lets you turn WiFi connection on and off. When turned on, a list of available networks is
shown. CONNECT button is used to connect to a selected network. STATS displays a status of the
established connection with a network
Profile – lets you pair your Skriware 2 with your Skrimarket.com account. You can do that
in two ways:
Use a 4-digit SkriCode generated through Skrimarket.com
Use your Skrimarket.com login credentials
Screen saver – lets you change screen saver settings and set up a screen lock code. The screen lock
allows to block access to the printers screen after set time
Filaments – lets you change print parameters of loaded filaments
Manual control – allows you to move the printhead in order to clean it or perform maintenance actions.
CAUTION! Features available in this section should not be used by an inexperienced user as it can lead
to damaging the 3D printer
This section lets you manually
move the print head and home
their position
This section lets you set each
nozzle and bed temperature
Releases all motors allowing
you to move the print head and
printing bed by hand
Controls Left and Right
Extruder. The nozzle has to
heat up to at least 170°C for
the buttons to work
13 Skriware 2 | User manual

LED – lets you turn on and off LED illumination and change its colour
Maintenance – settings used during 3D printer calibration. CALIBRATE button starts the process of
levelling the print bed. Controls on the bottom of the page allow for manual calibration of the nozzle
offsets. CAUTION! Features available in this section should not be used by an inexperienced user as it
can lead to damaging the 3D printer
XY calibration is used for dual extruder prints. The value represents the distance from the
right nozzle to the left. Changing those values will adjust the offset of the right nozzle
Z calibration represents the distance between the nozzles and the printing platform.
Changing this value will adjust the distance of the printing bed from the nozzles. You can
modify this value to adjust the Z offset without the need of recalibrating the printing bed
Statistics – displays statistics of your printer and its unique identification number
Factory reset – lets you reset all settings to its default values. Removes profile info, disconnects with
wifi networks and removes the print history
Update – initializes the software update process
Skriware 2 | User manual 14

Cancel – Cancels your print.
Pause – Pauses your print.
Filament – Opens a menu to change filament during print.
Lock icon – Turns off the screen and PIN locks it (if set up), left top icon
Advanced – Menu to control some print parameters: temperature, speed, flow, cooling, and turn on/off
the Filament Sensor
USING SKRIWARE 2
Printing
USING SKRIWARE 2
Skrimarket
Operating Skriware 2 through Skrimarket online platform
The online platform is available at https://skrimarket.com. It is required to have internet connection on
both devices you are using – Skriware 2 and the one you are accessing Skrimarket on.
1. Login and registration on https://skrimarket.com.
Account registration / logging in
To fully benefit from all the features available on Skrimarket.com it is required to register an account on
the platform.
15 Skriware 2 | User manual

2. While registering it is required to confirm the creation of the account by clicking on the
link that will be sent to the entered email.
1. To start the pairing process, select a printer icon located in the top right corner.
2. You will be presented with an option to choose Skriware 1 or Skriware 2. To connect with
Skriware 2, select the Generate button which will generate a 4-digit Skricode.
3. Input this code in SETTINGS -> Profile -> SKRICODE on your Skriware 2 on-screen menu.
Confirm the code with LOG IN button.
4. An icon representing a status of your printer will change to green. This means that your
printer is properly paired with your account. As long as your printer is paired the icon will
inform you of its status (online, offline, printing).
Pairing the printer with an account
Printing features available on https://skrimarket.com require a printer paired with an account. You can
pair only one printer at the same time with one account. You can always switch an account to which a
printer is connected.
Online platform https://skrimarket.com allows you to:
print any available model from the library of more than 60,000 models
add new 3D models to the library
store your own 3D models and other print files on your profile page
create simple 3D models through 3D Playground (https://skrimarket.com/my/playground/new)
Skriware 2 | User manual 16

Printing any available model from the library
On the left side of the online platform https://skrimarket.com there is a list of available categories. On
the top you will find a search box. When you are satisfied with your 3D model choice, select Print.
You will be presented with an online slicer where you can change print parameters:
placement of the model (up to four positions)
dimensions in X, Y, and Z axis in millimeters
scale of the whole model
support structures which are necessary in models that have elements that would print mid-air
After selecting Print, your settings will be confirmed, sent to your Skriware 2 and the print will begin.
17 Skriware 2 | User manual

MAINTENANCE
Taking care of your
Skriware 2
Here’s a list of maintenance tasks we
recommend you perform to keep your
Skriware 2 in the best shape possible.
Every print Weekly
For more information regarding maintenance, go to www.skriware.com/support
Keep your printer in
a dust free, dry and
cool environment.
Check out our maintenance videos
over at skriware.com/support
Clean the top side
of the printing bed
with clean cloth
and rubbing
alcohol.
Remove any
filament left from
previous prints
from the printing
bed and the
chamber. Supplied
spatula can help to
remove it from the
bed.
Level the printing
platform (also
every time you
move the printer to
a new location or
remove the printing
bed).
Remove any
material stuck on
the nozzles. Heat
the nozzles to
160oC and using
tweezers carefully
remove the
material.
Quarterly
Dust off the
extruder fans
carefully (hold the
fan blades while
dusting them).
Dust off the
whole printer.
Lubricate the X/Y
axis with
Molybdenum
Grease.
Lubricate the Z axis
screw with
Graphite Grease.
Skriware 2 | User manual 18

Printer control
Full Color 7”Touchscreen
Supported material
PLA, PET-G, ABS+, PLA+, TPU,
WOOD, NYLON, PC-ABS, CARBON,
GLASSBEND, PVA+ and more
File transfer
USB & Skrimarket
(via WiFi or Ethernet)
Dimensions
410 mm x 470 mm x 630 mm
16,1 in x 18,5 in x 24,8 in
Operating temperatures
10-30°C
50-86°F
Power requirements
100 - 230 V
50/60 Hz
90 W (at peak)
Printer
Printing area
210 mm x 260 mm x 210 mm
8,3 in x 10,2 in x 8,3 in
Material diameter
1,75 mm
0,07 in
Layer height
0,05 - 0,3 mm
0,002 - 0,012 in
Nozzle size
0,4 mm
0,016 in
Maximum nozzle temperature
270°C
518°F
Maximum bed temperature
90°C
194°F
Print properties
SKRIWARE 2
Technical Specification
19 Skriware 2 | User manual
Other manuals for 2
1
Table of contents
Other Skriware 3D Printer manuals
