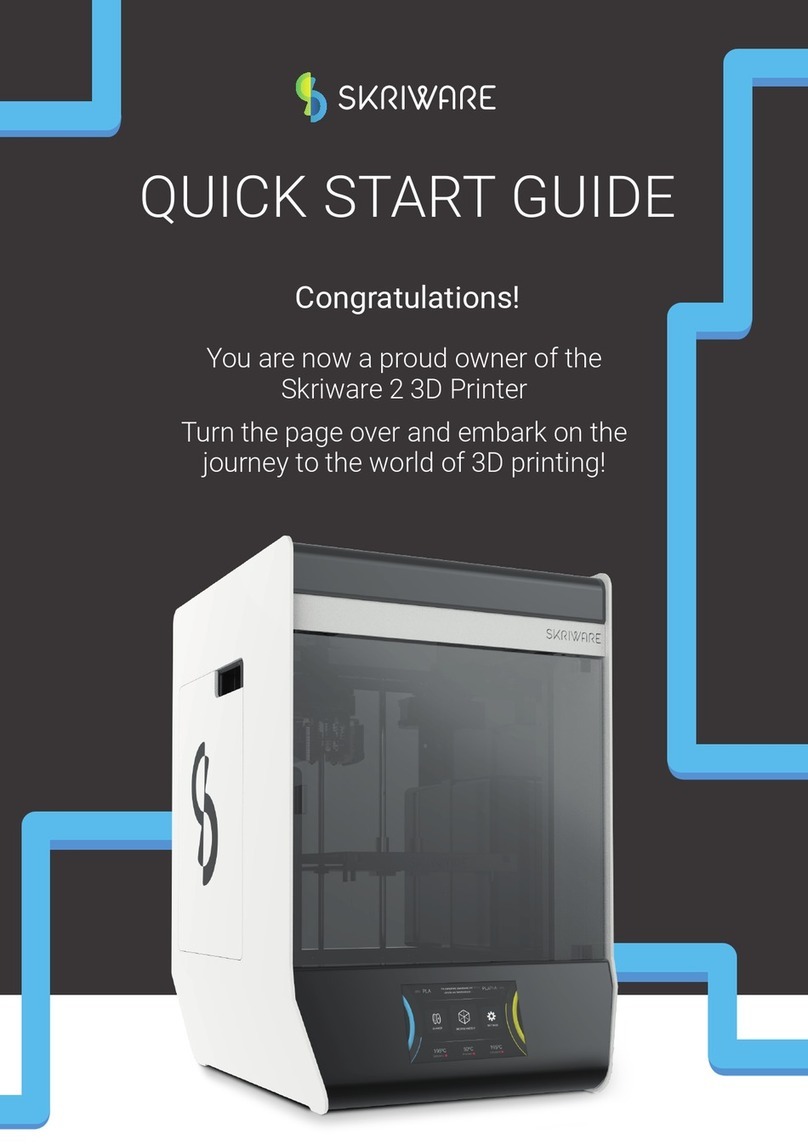
Skriware Skriware 1 User manual

User Manual

2
Table of contents
1. Safety & Compliance
2. Printing Materials
3. Overview
4. First Set Up
5. Main Menu
6. 3D Printing
7. Changing A Filament
8. Settings
9. Setting Up A Network Connection
10. Levelling The Printing Platform
11. Maintenance
12. Specications
13. Troubleshooting
14. Contact
4
5
6
7
10
11
13
15
16
17
18
18
19
20

3
WELCOME
Hello!
Thank you for choosing the Skriware 3D Printer. You are now the proud
owner of a product that took countless hours of our loving labour, dedication
and passion. Hopefully using it will be as fullling for you, as building it, was
for us. To make it possible we packed your Skriware 3D Printer full of advanced
features and functions. We also strived to make it as user-friendly as possible
but in order for you to seamlessly enjoy all that your Skriware 3D Printer has
to offer, we strongly advise that you acquaint yourself with this manual.

4
1. Safety & compliance
Chlidren supervision
We made Skriware 3D Printer easily accessible but due to the possible hazards listed below children
should only use it under adult’s supervision.
Risk of burns
Skriware 3D Printer itself operates in a safe temperature spectrum but some of its parts can get
extremely hot (up to 235°C/ 455°F). Never touch the hotend or extruder and its vicinities while you can
see the HOT! symbol on the display. These parts can stay hot up to 30 minutes after the Skriware 3D
Printer nishes operating.
Moving mechanical elements
Never reach into the Skriware 3D Printer’s work area and be careful around it, while it operates.
Extruder’s gantry system uses mighty engine that may pull in a piece of clothing or clip a body part.
Risk of electrocution
Skriware 3D Printer requires electric power to operate. Always connect the power cable to a grounded
power socket. Never perform any maintenance while it is connected to a power socket unless
it is specically stated otherwise in this manual.
Dangerous vapours
Skriware 3D Printer has been designed to print with PLA laments which are considered safe. However,
it is still advised to use your Skriware 3D Printer in a well ventilated area. Depending on a type of lament,
some dangerous vapours can still be released during a print process. Use other than ofcially supported
laments at own risk.
Electromagnetic and radio interference
Skriware 3D Printer is an electronic device and may cause radio and television interference. It also
utilizes Wi-Fi radio which may cause disruptions in certain environments.

5
2. Printing materials
Skriware 3D Printer utilizes environment-friendly and safe 1.75 mm PLA laments. Supported temperatures
of printing for this materials range from 180°C (356°F) to 210°C (410°F). At this moment ABS laments are not
supported due to the non-heated magnetic bed of the Skriware 3D Printer so your results with this kind of material
may vary.
Although Skriware 3D Printer supports other PLA 1.75 mm laments, for best effects we suggest using the highest
quality laments provided by us. You can buy them directly from us at [email protected].
1.75 mmPLA

6
3. Overview
8
6
5
4
7
1
1
2
3
4
5
6
7
2
3
1. Display
2. Side panel
3. Printing platform
4. USB port
5.Power button
6. Extruder’s gantry system
7. Hotend
8.Magnetic bed
1. Ethernet port
2. Printer’s power socket
3. Power cable
4. Filament spool
5. Spool holder
6. Side panel
7. Power switch

7
We know you are eager to get right to the 3D printing so here is a step by step
guide to get you started. If you are as excited as we are, we encourage you to lm
your unboxing, setting up or rst print and to upload the video to the YouTube,
live-Tweet it with #Skriware or show it off to your Facebook friends. Go nuts! We
will surely appreciate it.
Inside the opened box, on the top, you will nd a small box containing quick start
guide, 2 magnetic beds, the power cable and an additional hotend. If you are
an advanced user or have previous experiences with 3D printing you can refer
to the quick start guide to get you started immediately.
Carefully take out your Skriware 3D Printer from the box (do not pull the black cord
with the yellow warning sticker - it is not a handle!) and place it on the designated
working surface. Make sure it is stable and level.
Remove the foams securing the extruder’s gantry system in place and another
preventing the printing platform from moving. The foams may come in handy
in the future if you plan to move your Skriware 3D Printer around.
Place one of the magnetic beds evenly on the printing platform and wipe
it with a clean cloth and a rubbing alcohol.
Plug the power cable into the printer’s power socket and into a grounded
power socket near the Skriware 3D Printer’s workplace and then set the pow-
er switch on the back of the printer to 1 (ON) position.
Press the power button on the Skriware 3D Printer’s front.
Your Skriware 3D Printer will now turn on. Wait until the Skriware logo disappears from the display and you will
see the main menu screen.
4. First set up

8
Connect your Skriware 3D Printer to a network
First thing you will want to do is to connect your Skriware 3D Printer to a network. You can do it by plugging
ethernet cable in the ethernet port on the back of your Skriware 3D Printer or by joining a wireless network.
To do so press SETTINGS in the main menu on the display, then NETWORK and CONNECT TO WI-FI. Skriware
3D Printer will now scan for your Wi-Fi network. Choose the one you want to connect to from the displayed
list and input your Wi-Fi password. Skriware 3D Printer will conrm the successful connection via blue Wi-Fi
or ethernet icon in the the top right corner of the display.
Pair with Skrimarket
To pair your Skriware 3D Printer with the Skrimarket go to www.skrimarket.com and create a new account.
After you log in click a printer icon on the top of the page and input a serial code that you will nd in SETTINGS ->
ABOUT on your Skriware 3D Printer.
Level the printing platform
The printing platform comes pre-levelled. However, it is possible that it has moved during the delivery and it needs
an alignment. Go to SETTINGS, then LEVEL and follow the instructions on the display.

9
Press < DONE after you make sure that all the 3 dials are adjusted correctly. (in case of doubts refer to section 10.
Levelling The Printing Platform on page 17)
Levelling dials are located under the printing platform. They may seem dicult to turn at rst.
Run a test
Your Skriware 3D Printer comes preloaded with a lament of your choice. Run a test print to ensure everything
was set up correctly. To do it press PRINT in the main menu and then REPRINT LAST MODEL.
Voila! You are now ready to start an adventure with your very own Skriware 3D Printer.

10
5. Main menu
DOCK
Docks the printing platform in the front of the Skriware 3D Printer and extruder’s gantry
system in the bottom right position.
PRE-HEAT
Preheats the extruder to 190°C / 374°F and maintains this temperature for about 5 min-
utes unless you press CANCEL (be careful! Make sure the HOT! sign disappears before
doing anything in the extruder’s vicinity).
FULL UP
Docks the printing platform in the front of the Skriware 3D Printer and extruder’s gantry
system in the top right position.
PRINT
Main USB drive 3D printing menu. More on p. 11.
CHANGE
Follow the on-screen instructions to change a lament. More on p. 13.
SETTINGS (more on p. 15)
Network settings (p. 16), levelling the printing platform (p. 17), about and update (p. 15).

11
6. 3D printing
If it has been a while since the last time you used your Skriware 3D Printer or you have moved it around, you
may want to level the printing platform (follow the instructions in the section 10. Levelling The Printing Platform
on page 17) and wipe the magnetic bed with a rubbing alcohol and a clean cloth.
PRINTING FROM THE SKRIMARKET
For hassle-free 3D printing experience you will need a Skrimarket account and a Skriware 3D Printer paired with
it. To do it go to www.skrimarket.com and create a new account. Follow the instructions online to register via
e-mail or Facebook. After you log in click a printer icon on the top of the page and input a serial code that you will
nd in SETTINGS -> ABOUT on your Skriware 3D Printer. Conrm the pairing on the display.
You can now browse the Skrimarket and print any model available simply by pressing Print on the model’s page.
You will see a progress of your print next to the printer icon on Skrimarket and a pop-up prompt after it has
nished.
After a nished print you will need to remove the printed model from the magnetic bed and conrm
it with OK prompt on your Skriware 3D Printer’s display before printing another model.
If you are planning to print remotely remember to place the magnetic bed evenly on the printing platform
and to check if there is enough lament left for your chosen model!

12
PRINTING FROM USB
Insert a USB drive into the USB port in front of your Skriware 3D Printer and press PRINT in the main menu. Choose
your desired model from the list of the les and conrm with the PRINT prompt on the bottom of the display
(make sure the le is in the gcode format).
The Skriware 3D Printer is now heating up. Current and target temperature and the name of your model’s le will
be shown on the display. Switch the displayed temperature units between Celsius and Fahrenheit by pressing
on the Current temperature or Target temperature). You can cancel the process anytime by clicking the <
CANCEL prompt in the top left of the display.
After the heating process nishes, your Skriware 3D Printer will start printing the model. You will see current
temperature, time elapsed and the progress bar with a percentage reading (press each for an alternative
information). You can < CANCEL the print anytime or PAUSE it. If you PAUSE wait a little for the Skriware 3D
Printer to come to a full stop. Press CONTINUE to resume printing.
Be aware that pausing mid-print may cause your model to have a visible mark in the place that
the extruder has paused and resumed printing.
PRINT FINISHED IN: prompt will be displayed after your model has nished printing. Wait until the extruder has
cooled down (HOT! will no longer be seen on the display) before removing the magnetic bed with your model
on it from the printing platform. Your model should come off the magnetic bed easily (you can bend the magnetic
bed slightly to help it come off).
Press OK to conrm that you have taken a model off the magnetic bed and your Skriware 3D Printer is ready
for another print.

13
7. Changing a lament
UNLOADING A FILAMENT
To unload a lament press CHANGE in the main menu. Conrm on the prompt. Wait until the extruder heats up.
You can <CANCEL the process anytime.
Filament loading tube
Spool holder
Filament spool
Do not touch the extruder and its vicinities while HOT! warning is displayed!
The lament will now unload. It should take about a minute. When it has nished
open the side panel and pull out the remaining lament out from the lament
loading tube, take off the lament spool from the spool holder and press
CONTINUE on the display.
You will now be asked if you want to load a new lament. Click YES if you do
and follow the instructions.

14
LOADING A FILAMENT
Cut the end of a new lament at an angle. It will be easier to insert if it has a sharp
tip. Press CONTINUE.
Put a lament spool on the spool holder as shown on the diagram on the display
and push the cut end into the lament loading tube for about 10 cm (4 in) until you
feel it won’t go in anymore. Press CONTINUE. Keep pushing the lament lightly until
you feel it being pulled into the lament loading tube.
Do not push lament forcefully! Once you feel that the motor is pulling in the lament by itself do not
push anymore!
Wait until you see the new lament coming out of the hotend and press CONTINUE. Conrm with CONTINUE
again. Wait until HOT! Icon disappears from the display before removing the extruded lament.

15
10. Settings
WI-FI
Set up your Wi-Fi network connection and see network information. More on p. 16
LEVEL
Follow the on-screen instructions to level the printing platform. More on p. 17
ABOUT
Your Skriware 3D Printer’s unique code needed to pair with the Skrimarket is here. Also
a little bit more about us and how to contact us!
UPDATE
Your satisfaction is paramount to us so we will be adding new features and squashing
bugs via updates. Your Skriware 3D Printer checks for them every time it turns
on but in case you missed it you will be able to nd them in this menu. Simply press
SETTINGS -> UPDATE and if an update is available press YES to download and install it.
Wait until the Skriware 3D Printer reboots and you are ready to resume your hassle-free 3D
printing experience.

16
11. Setting up a network connection
Your Skriware 3D Printer needs an Internet connection to connect to the Skrimarket for your hassles 3D printing
experience. It offers both wired and wireless connection. Current type of connection is indicated by the icon
in the top right of the display.
To establish a wired connection simply plug an ethernet cable into the ethernet port on the back of your Skriware
3D Printer.
To connect wirelessly press SETTINGS in the main menu, then NETWORK and CONNECT TO WI-FI after that.
Your Skriware 3D Printer will scan for available networks. Choose a desired one from the list and press CONNECT.
Input your Wi-Fi network password and conrm with CONNECT. You should see the You have been successfully
connected to the network prompt. Conrm with OK.
In the NETWORK menu you can also see your NETWORK STATS (type of connection, IP address, SSID, signal
strength and bitrate) and status of connection to the Skrimarket in NETWORK TEST.

17
12. Levelling the printing platform
In order for your models to turn out exactly the way you want them to, it is important that the printing platform
is levelled. Before you follow the instruction of the levelling process you will need a standard piece of paper.
Levelling dials are located under the printing platform. They may seem difcult to turn at rst.
In the main menu go to SETTINGS, then press LEVEL. Read the prompt and click CONTINUE.
All three dials need to be adjusted in the way shown on the display so that the piece of paper can slide between
the magnetic bed and the hotend with a little bit of resistance. Keep pressing CONTINUE and adjusting the di-
als until you are sure they are set up correctly. Press < DONE when you are nished.

18
13. Maintenance
Action
Printer control Print area
File transfer
Material diameter
Material type
Dimensions Maximum nozzle temperature
Operating temperature Supports
Frequency Detailed explanation
Cleaning the magnetic bed
Full Color Touchscreen 150 mm (w) x 150 mm (d) x 130 mm (h)
5,9 in (w) x 5,9 in (d) x 5,1 in (h)
Wi, Ethernet, USB port and Skrimarket
1,75 mm
0,007 in
PLA
330 mm (w) x 345 mm (d) x 425 mm (h)
13,0 in (w) x 14,8 in (d) x 16,7 in (h)
235°C
455°F
10-30°C
50-86°F
Automatically generated, easily removable
Before every print Clean the top white side
of the magnetic bed with a clean
cloth and rubbing alcohol
Leveling the printing platform Every couple of prints
/ each time you have
moved the printer
page 17
14. Specication
Printer Print properties

19
15. Troubleshooting
Run a lament unloading process again. Cut a la-
ment at the end and make sure it is not bent
Symptom
I can’t nd my
Wi-Fi network
Check if your router is working and your other
devices can connect to it. Skriware 3D Printer
does not support 5GHz networks
Make sure the power cable is connected,
the power switch is in “1” position and press
the power button
Clean the magnetic bed with a clean cloth
and rubbing alcohol. Reattach it evenly
on the printing platform
My Skriware 3D Printer
isn’t working
My model doesn’t stick
to the magnetic bed
I can’t load a lament.
Possible solution

20
16. Contact
If you need to contact us in regard to technical or any matter do not hesitate!
You can reach us by mail on info@skriware.com or message us on Facebook facebook.com/skriware
For all the technical issues write to support@skriware.com .
Enjoy your Skriware 3D Printer!
Yours,
Skriware Team
Table of contents
Other Skriware 3D Printer manuals
