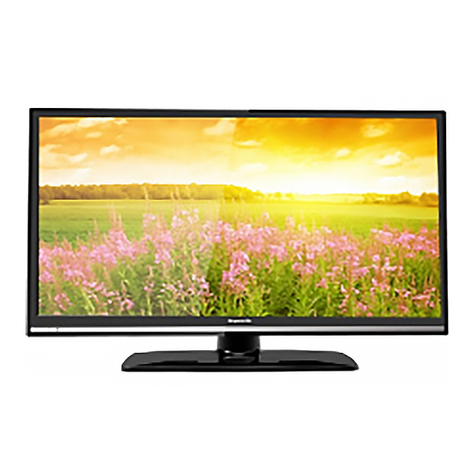
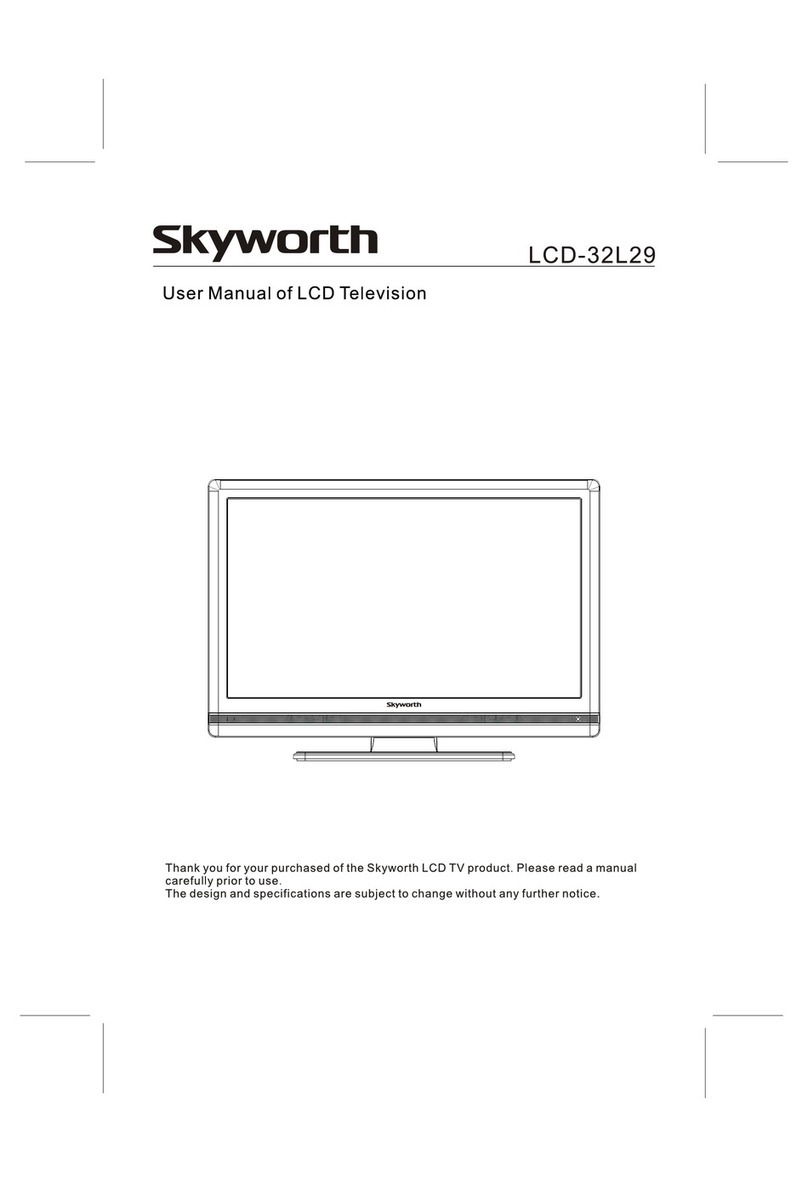
Skyworth LCD-42L29-FHD User manual

LCD-42L29-FHD
User Manualof LCDTelevision
Thank you foryour purchased ofthe Skyworth LCDTV product.Please read amanual
carefully prior touse.
The design andspecifications are subjectto change withoutany further notice.

Introduction
Safety Precaution
Toensure safety andbest performance ofyour product, thismanual introduces ofusing,
setting and otherimportant information. Pleaseread the manualcarefully before using
this product.
Cleaning Unplug theAC cord fromthe wall outletbefore
cleaning.Do not useliquid cleaners oraerosol cleaners.
Use a drycloth for cleaning.Do not usecorrosive cloth.
Do not usesharp object scratchthis LCD boardand shell.
Heat sources- Do notinstall the productnear any heat
sources such asradiators; heaters, stovesand other heat-
generating products (includingamplifiers).
Do not insertforeign objects. Placingobjects into thevent holes (rearcabinet) may
cause an electricshock and electricshort circuit.
Wall mountinstallation - Please complywith manufacturer's instructionsto install the
product on thewall and ceilinginstallation. Use onlythe mounting hardware
recommended by themanufacturer.
Water andmoisture - Do notuse the productnear water,such as bathtub,washbasin,
laundry tub, ina wet basementand swimming pool,etc.
Electrical source- Do notconnect too manyelectrical items tothe same socket
outlet, it maycause in fireor electric shock.
Servicing - Do notattempt to repairthe product yourself.Removing covers can
expose you tohigh voltage andother dangerous conditions.Request our qualified
repairer to performservicing
Product protection- To prevent damagedue to lightningstorm, please unplug
it from thewall outlet anddisconnect the antennaor cable system.
Wire protection- Please protectthe electrical wireand do notstomp, twist and
squeeze it. Carefulto inspect theplug and electricalwire.
Earthing device- Make sureconnect the earthwire to preventpossible electric shock.
If grounding methodsare not possible,have a qualifiedelectrician install aseparate
circuit breaker.
Toavoid still picturefor a longtime
Do not displaya still picturefor a longtime; this maycause an afterimageto remain.
Suggestion:
Do not stillpicture exceeding halfhour, thismay cause an
afterimage.
Do not stillpicture for along time whenplay theTV game or
see a movies.
Please reduce thebrightness and contrastratio before stillpicture.
The warrantyservice doses notcontain the problemof afterimage.
Connection andBasic Operations
Standard Accessories
Host Panel
Rear ConnectionDiagram
Installation andConnection
Remote Controller
Batteries Installation
Power ON/OFF
Standby Mode
Picture Setting
Sound Setting
Channel Setting
Time Setting
Option Setting
PC Setting
Install PCSoftware
Display Mode
Troubleshooting
Technical Specifications
42" WideScreen LCDTV
Contents

P.M S.M MUTE
SLEEP ASPECT FREEZE EPG
FAV TV/RADIO SUBTITLE
LIST
PROG VOL
INFO
SOURCE
MENU TV/AV ON/OFF
MENU TV/AV ON/OFF
-
+ VOL
-
+ VOL+ PROG
5
2
4
3
2
1
67
8
+-
+
-
Basic Operations
Standard Accessories
Remote Controller Batteries User Manual AV Cable
Host Panel
1. Press thiskey to poweron TV orenter standby state.
2. Video Signal
Video input mode.DTV,TV,Component, PC, HDMI1,
HDMI2, HDMI3, Video1,Video2, S-Video.
3. Menu
Display the mainmenu on thescreen.
4. Volume
Adjust thevolume.
5. Channel
Select TV channels.
6. Power Indicator
The indicator turnsred when theTV is instandby mode.
7. Remote ControlSensor
Receive signal fromthe remote controller.
8. Sound Speaker

1 2 3 4 5 6 7 8 9 10 11 12
13 14
Rear ConnectionDiagram
Head Phone OutputInterface
Coaxial Output Interface(S/PDIF)
USB Interface forsoftware update
HDMI 1/HDMI 2/HDMI3
-Support to connectHDMI output devices.(STB, DVD Player, AV device andDigital TV)
-HDMI connects with HDMI, video and audio signal are transmitted by one cable.
PC AudioInput Interface (VGAAUDIO)
-Connect one end of the stereo audio cable into the plug of "personal computer
audio output (VGAAUDIO)" atthe back ofTV.
Connect to PC
-Connect this VGAinterface to theVGA interfaceof personal computer.
Video Output Interface
S-Video Output Interface
- S-Video, Video1 and YPbPruse the samegroup audio interface.
Connect withAntenna and CableTV Network
- To correct watchTV channels, itmust receive signalswith one ofthe bellow signal
source: outdoor antenna/cableTV broadcast/satellite broadcast.
YPBPR- Make upEquipment Connection
- Connect an end of component to an interface of the back of TV. (Y, Pb, Pr), and
another end tothe corresponded outputinterface of componentvideo of DVD
- Combine YPBPRof the equipment(DTV or DVD)AVconnector, ormarked as Y, B-
Y,R-Y,or Y, Cb, Cr.
- Connect RCA audio to left audio "AUDIO (L)" and right audio "AUDIO (R)"
interfaces in the back of TV, and another end to the corresponded audio output
interface "AUDIO OUT"of DTV orDVD.
Video Output Interface
S/PDIF VGA 75 ANT
HDMI1 VGA AUDIO
Pb PrY
L - AUDIO - RVIDEO S-VIDEO
HDMI2
AV2
L - AUDIO - RVIDEO
L - AUDIO - RVIDEO
AV1 AV OUT
HDMI3
USB

Installation andConnection
Connect VHF/UHFAntenna
UHF/VHF
antenna
300/75-ohm adapter (except)
300-ohm power cable
Power Connection
Press ON/OFF keyon the remotecontroller to poweron TV orenter Standby state.
Please disconnect thepower when theTV is goingnot to usefor a longtime.
Press ON/OFF keyto power onTV or enterStandby state cannot cut off
the power supply.
Please pull outthe power plugif need tocut of thepower.

Use VideoCable toConnectAVDevice
AV cable
Game machine Camera
DVD player
Satellite signal receiver
TV box
Use the videocable to connectAVdevice to thismachine
Please check theconnection of allsignal cables beforepress ON/OFF key
Press ON/OFF keyon the remotecontroller to poweron TV
Press Video Signalkey on theremote controller toenter the functionlist
and then press key to selectAVoption, press OKkey to confirm
S/PDIF VGA 75 ANT
HDMI1 VGA AUDIO
Pb PrY
L - AUDIO - RVIDEO S-VIDEO
HDMI2
AV2
L - AUDIO - RVIDEO
L - AUDIO - RVIDEO
AV1 AV OUT
HDMI3
USB

Use S-VideoCable toConnectAVDevice
S-video cable
Camera Game machine
DVD player
Satellite signal receiver
TV box
Audio cable
Use S-video cableto connectAV deviceto this machineand then useaudio cable to
connect the audiooutput and inputterminals
Please check theconnection of allsignal cables beforepress ON/OFF key
Press ON/OFF keyon the remotecontroller to poweron TV
Press Video Signalkey on theremote controller toenter the functionlist and then
press key toselect S-VIDEO option,press OK keyto confirm
S/PDIF VGA 75 ANT
HDMI1 VGA AUDIO
Pb PrY
L - AUDIO - RVIDEO S-VIDEO
HDMI2
AV2
L - AUDIO - RVIDEO
L - AUDIO - RVIDEO
AV1 AV OUT
HDMI3
USB

Use ChromaticCable (YPbPr)to ConnectAV Device
Charomatic cable
Audio cable Game machine Camera
Satellite signal receiver
Not allAV devicesmay be connectedto TV, please referto the manual
for more informationwhen connect.
Use chromatic cableto connectAV deviceto this machineand then useaudio cable toconnect
the audio outputand input terminals
Please check theconnection of allsignal cables beforepress ON/OFF key
Press ON/OFF keyon the remotecontroller to poweron TV
Press Video Signalkey on theremote controller toenter the functionlist and then
press key toselect YPbPr option,press OK keyto confirm
The surface of some AV devices is marked YPbPr or YCbCr. Please
refer to themanual for moreinformation.
S/PDIF VGA 75 ANT
HDMI1 VGA AUDIO
Pb PrY
L - AUDIO - RVIDEO S-VIDEO
HDMI2
AV2
L - AUDIO - RVIDEO
L - AUDIO - RVIDEO
AV1 AV OUT
HDMI3
USB

Use HDMI cableto connectAV deviceto this machine
Please check theconnection of allsignal cables beforepress ON/OFF key
Press ON/OFF keyon the remotecontroller to poweron TV
Press Video Signalkey on theremote controller toenter the functionlist and then
press key toselect HDMI option,press OK keyto confirm
HDMI cable maytransfer audio andvideo signals synchronously, it's
unnecessary to useaudio cable.
Use HDMICable toConnectAVDevice
HDMI cable
AV device
S/PDIF VGA 75 ANT
HDMI1 VGA AUDIO
Pb PrY
L - AUDIO - RVIDEO S-VIDEO
HDMI2
AV2
L - AUDIO - RVIDEO
L - AUDIO - RVIDEO
AV1 AV OUT
HDMI3
USB

Use VGAConnector toConnectAVDevice
Audio cable
PC input cable
Use VGAcable to connectto PC andthen use audiocable to connectthe audio outputand
input terminals
Please check theconnection of allsignal cables beforepress ON/OFF key
Press ON/OFF keyon the remotecontroller to poweron TV
Press Video Signalkey on theremote controller toenter the functionlist and then
press key toselect PC (VGA)option, press OKkey to confirm
S/PDIF VGA 75 ANT
HDMI1 VGA AUDIO
Pb PrY
L - AUDIO - RVIDEO S-VIDEO
HDMI2
AV2
L - AUDIO - RVIDEO
L - AUDIO - RVIDEO
AV1 AV OUT
HDMI3
USB

P.M S.M MUTE
SLEEP ASPECT FREEZE EPG
FAV TV/RADIO SUBTITLE
LIST
PROG VOL
INFO
SOURCE
1
10
2
35
14
6
16
18
21
11
22
23
24
13
12
7
20
9
15
19
17
4
8
Remote Controller
Remote Controller
Power ON/OFF
Press this key to power on TV or enter
Standby state.
Picture Mode
Press this keyto switch thepicture mode.
Sound Mode
Press this keyto switch thesound mode.
I/II
When watch bilingual or stereo program,
press this key to select audio language or
sound output.
Mute
Press this key to make the sound mute or
restore the soundoutput.
Sleep
Press this keyto set upthe sleep timer.
Aspect Ratio
Press this keyto select theaspect ratio of
the picture.
Freeze
Press this key to freeze the picture or
restore the picturestate.
EPG
Press this key to enter the electronic
program menu.
Digital Keys
Press the keysto select thechannels.
Channel List
Press this keyto list thechannel list.
Return
Press this key to return to the previously-
watched channel.
Color Keys
Press the keysto operate MHEG5.
Program
Press this keyto select TVchannel.
Volume
Press this keyto adjust thevolume.
Menu
Press this keyto display thecurrent menu.
Information
Press this keyto display theinformation of
the current program such as program
number, nameand sound system.
OK
Press this keyto confirm theselection.
Up/Down/Left/Right
Signal Source
Press this keyto select thesignal source.
Exit
Press this keyto exit themenu.
Favorite
Press this key to watch the favorite
programs.
DTV/RADIO
Press this keyto switch betweenDTV and
Radio signals.
DTV Subtitle
Press this keyto select DTVsubtitle.

Battery Installation
1. Open thebattery cover
2. Load twoAAAbatteries according tothe
indications
3. Move backthe cover andlock
Note: please takeout the batteriesif the controlleris
going not touse for along time.
Power ON/OFF
Power ON
Press Power keyon the panelor remote controllerto power onTV set.
Standby Mode
It may reducethe power consumptionin Standby mode.
This mode isvery useful whenyou want toleave and suspendTV set (havedinner).
1. Press Powerkey
Note: TV setis turned offand LED lampturns red.
2. Further pressPower key torestore
Note: it's advisednot to keepTV in standbymode for toolong time, ifyou go out
for a holiday, please pullout the powerplug and antenna.

Picture
Picture
The functions areto adjust thepicture quality.
1. Press Menukey to enterOSD menu and
then press keyto select Pictureoption.
2. Press keyto select theoption.
3. Press keyto adjust thefunction.
4. Press Menukey to returnto the previousmenu.
1. Picture Mode:press key toselect picture
mode, four optionsare available including:
standard, mild, userand dynamic.
2. Contrast: adjustthe brightness ofthe bright part
but keep thedeep color.
3. Brightness: adjustthe brightness ofthe picture.
4. Color: adjustthe saturation.
5. Sharpness: adjustthe sharpness ofsome
details.
6. Tint:adjust the tintof the picture.
7. Color Temperature: select thecolor temperature
as you like.
User: the usermay customize thecolor
temperature.
Medium: keep theoriginal white
Warm: red
Cold: blue.
Note: in Customizemode, the changewill be
stored automatically.
8.Aspect Ratio: press key to select,five
modes are availableincluding 16:9, Zoom1,
Zoom2, Out and4:3
9.Noise Reduction: press key to select,five
modes are availableincluding OFF, Auto,High,
Standard and Low.
PICTURE
Picture Mode Standard
Contrast
Brightness
Color
Sharpness
Tint
Color Temperature Medium
R
G
B
Aspect Ratio
Noise Reduction Auto
PICTURE

PC MenuSetting
The user may set up PC menu after select and
enter PC signal.
1. Press Menukey to enterOSD menu andthen
press key toselect Picture option.
2. Press keyto select theScreen Setting.
3. Press keyto adjust thefunction.
4. Press Menukey to returnto the previousmenu.
5. Refer tothe manual ifnecessary.
Auto Adjust:press key onthe remote controller
to adjust thehorizontal position, verticalposition to
make the pictureget the bestdisplay.
Horizontal Position: adjust the horizontal position
of the PCscreen.
Vertical Position:adjust the verticalposition of the
PC screen.
Size: adjust thesize of thescreen.
Phase: adjust thephase of pixelsto avoid
interruption when need.
Sound Setting
Sound
The user maycustomize different soundmodes to
realize the bestsound effect.
1. Press Menukey to enterOSD menu andthen
press key toselect Sound option.
2. Press keyto select theoption.
3. Press keyto adjust thefunction.
4. Press Menukey to returnto the previousmenu.
Sound Mode: press key to select,five modes
are available including user, movie, music,
standard and sport.
Balance: adjust thebalance of sound
Auto volume: ifthis function isused, when theuser
powers on TVset, it shalladjust the volumeto the
level of lastwatch automatically.This function may
be set asON or OFF.
Surround Sound: press this option to enter to set
ON/OFF.
SPDIF Output: press key to select, three
modes area available including PCM, AC3 and
OFF.(only for digitaltelevision in HDMIstate)
SOUND
Sound Mode Standard
EQ
Balance
Auto Volume Off
Surround Sound Off
SPDIF Output PCM
PICTURE
Auto Adjust
Horizontal Pos.
Vertical Pos.
Size
Phase

Channel Setting
Digital Television
1. Press Menukey to enterOSD menu andthen
press key toselect Channel Settingoption.
2. Press keyto select theoption.
3. Press keyto adjust thefunction.
4. Press Menukey to returnto the previousmenu.
Auto Tuning:
Tune and memorize the local channels (subject to
the actual conditions of the place), and then
automatically distribute thechannels, some ofthem
are not in compliance with the user's requirements;
however the user may cancel them through manual
tuning.
DTV Manual Tuning/ATV ManualTuning:
The television shall display the frequencies of all
channels and theuser may manuallytune them.
Program Edit: enterthe interface ofprogram edit.
Press the red/green/yellow/blue key to make the
corresponding settings, pressOK key toconfirm.
Press Menu keyto return tothe previous menu.
Time Setting
The user may set up the time in this interface. And set up
ON/OFF time accordingto the livinghabit.
1. Press Menukey to enterOSD menu and
then press keyto select Time option.
2. Press keyto select theoption.
3. Press keyto adjust thefunction.
4. Press Menukey to returnto the previous
menu.
Sleep Timer: press key to select, the
following options areavailable including OFF,
10min, 20min, 30min, 60min, 90min, 120min,
180min and 240min.
Auto Tuning
DTV Manual Tuning
ATV ManualTuning
Programe Edit
CHANNEL
Programe Edit
TIME
Clock
Off Time
On Time
Sleep Timer
Off
Off

Clock
Close
ON Time
1. Press Menukey to enterOSD menu andthen
press key toselect Timeoption.
2. Press keyto select Clockoption and press
OK key toenter and thenpress key toselect
the option.
3. Press keyto set up.
4. Press Menukey to returnto the previousmenu.
1. Press Menukey to enterOSD menu andthen
press key toselect Timeoption.
2. Press keyto select Closeoption and press
OK key toenter and thenpress key toselect
the option.
3. Press keyto set up.
4. Press Menukey to returnto the previousmenu.
1. Press Menukey to enterOSD menu andthen
press key toselect Timeoption.
2. Press keyto select ONTime optionand
press OK keyto enter andthen press keyto
select the option.
3. Press keyto set up.
4. Press Menukey to returnto the previousmenu.
Repeat
Hour
Minute
Close
Off
Date
Month
Year
Hour
Minute
Close
Activate
Hour
Minute
Volume
Mode DTV
Close
Off

Option Setting
Option Setting
1. Press Menukey to enterOSD menu and
then press keyto select option.
2. Press keyto select theoption.
3. Press keyto adjust thefunction.
4. Press Menukey to returnto the previous
menu.
Language: press keyto select thelanguage.
OSD Time Out: the following options are
available including OFF, 10s, 15s, 30s, 45s and
60s.
OSD Transparency:adjust the brightnessof OSD
menu background: OFF, 25%, 50%, 75% and
100%.
Restore Factory Default: restore the defaulted
value of thetelevision.
Software Update: updatethe software inside.
OPTION
Language English
OSD TimeOut Off
OSD Transparency Off
Restore Factory Default
Software Update

PC Setting
Install PCSoftware (WindowsXP)
The picture belowdescribes the typicalPC display settings. The actual screenoperation
may vary with different Windows systems or displays; however the basic installation is
same.
1. Click Startbutton to selectand enter "ontrolPanel";
2. Click Displayoption on thecontrol panel topop up a
dialog window;
3. Click Settingoption at theupper side ofthe dialog
window.Advised resolution: 1360*768
Display Mode
If the signal from the system is standard, the screen shall make adjustment
automatically. Ifthe signal isnot standard, pleaseadjust according tothe instructions.
The list of display modes isdescribed as follow:the screen hasbeen optimal bythe
maker when leavethe factory.
Resolution Frequency Mode

Troubleshooting
If you havethe following troubleswhen use thisproduct, please usethe method wetell you
to solve, if the trouble couldn't be solved through the following methods, please contact
our company orthe authorized servicecenter; do nottry to dismantlethe product torepair
by yourself, oraccident might occur.
No sound andpicture
Have picture butno sound
No image orblack/white screen
Picture/sound is disturbed
Blurred/snow screen withnoise
Remote controller failsto work
In PC mode,display NO SIGNAL
In PC mode, display NOT SUPPORT
Check the connectionof power supply
Press Power key to power on TV
Check whether mutefunction is used
Check whether thevolume is 0
Check the connectionof all cables
Adjust the color
Check whether thebroadcasting settings arecorrect
Check whether thetelevision is tooclose to otherelectronic
product, move itaway or changea power socket
Check the connection,direction and positionof antenna
Generally it's causedby the indoorantenna
Replace new batteries
Clear the upperedge of thecontroller (IR receivingwindow)
Check whether thebatteries are installedcorrectly
Check whether thesignal cable isconnected to PC
Check whether thePC is poweredon
Check the maximumresolution and fieldfrequency of the
video card andthen make comparisonwith the displaymode.
Table of contents
Other Skyworth LCD TV manuals

Skyworth
Skyworth SLTV-1551A-1 User manual

Skyworth
Skyworth 39e36 User manual

Skyworth
Skyworth SLTV-2632A-2 User manual

Skyworth
Skyworth SLTV-1963A-1 User manual

Skyworth
Skyworth SLTV-1963A User manual

Skyworth
Skyworth 6M61S User manual

Skyworth
Skyworth 19E57 User manual

Skyworth
Skyworth 42E38 User manual

Skyworth
Skyworth 42E68 User manual

Skyworth
Skyworth SKYWORTH SLTV-32L29A-2 User manual