manuals.online logo
Brands
  1. Home
  2. •
  3. Brands
  4. •
  5. Sloan
  6. •
  7. Plumbing Product
  8. •
  9. Sloan ESD Series User manual

Sloan ESD Series User manual

SLOAN DECK MOUNTED SOAP DISPENSER (ESD-SERIES) INSTALLATION INSTRUCTIONS
Touchfree Counter Mounted System Installation Guide
If there is a dispenser currently installed
• Remove the existing unit, both the above and below counter assemblies
• Clean the counter area where the previous dispenser was located
• Verify the size of the existing counter hole is 15/16” to 1-1/4” in diameter
If there is no hole in the counter
• Maximum counter thickness is 2”
• Prior to drilling, examine below the counter to ensure adequate clearance for the new unit
• Drill a 1” diameter hole in the counter top
• The hole can be drilled to either the right or left of the faucet, ensuring adequate clearance for the below counter assembly
• Clean the counter area where the new hole is located
Code no. 0816203
Rev3 (05/22)
Prior To Installation
New Soap Dispenser Installation:
• Ensure that dispenser does not interfere with anything
above or below the lavatory/counter top area
• Drill a 1” diameter hole in counter top
• Clean area around hole
To Order Replacement Soap Cartridges
800.321.9647
GOJO Industries
Refills are also available through your local plumbing or janitorial supply
distributor.
When the soap bottle is empty, a new bottle must be used. The bottle
furnished with the unit is not designed to be refilled. Altering the bottle and
refilling it with soap will void the warranty of the product.
SLOAN • 10500 SEYMOUR AVENUE • FRANKLIN PARK, IL 60131
Phone: 1-800-9-VALVE-9 or 1-847-671-4300 • Fax: 1-800-447-8329 or 1-847-671-4380 • www.sloan.com
Improper installation of the
Counter Mounted Dispenser
could result in
breakage.
Dispenser must hang freely
underneath the sink.
Proper installation allows
the unit to vertically hang
beneath the sink.
ESD-1500
ESD-2000
ESD-500 ESD-600 ESD-700 ESD-800
ESD-2100
ESD-410 ESD-420
SLOAN LIMITED WARRANTY SUMMARY
Sloan Valve Company (“Sloan”), warrants its products against defects in materials and workmanship, excluding damage caused by matters beyond Sloan’s
reasonable control. Instructions for filing claims can be found in the Limited Warranty which can be obtained at www.Sloan.com or by requesting a free
copy by telephone at 888.756.2614. Sloan will repair or replace your defective product, or provide a refund, as your exclusive remedy.This is only a general
summary of Sloan’s Limited Warranty so it is important to note that the specific terms, conditions, limitations and exclusions, including the duration of
warranty coverage for your particular Sloan product, are contained in the actual Sloan Limited Warranty. The Limited Warranty is subject to applicable laws
in your country, state, province or other jurisdiction—and disputes arising under the Limited Warranty are to be resolved by binding arbitration unless you
provide Sloan with an opt-out notice no later than 30 days after your purchase date. In case of a conflict with this summary, the terms and conditions set
forth in the complete Limited Warranty will prevail.
CLARK STREET RUSH STREET
2
Soap Dispenser Installation
NOTE: ESD-2100 Shown, instructions applicable for all Sloan soap dispensers
Installing the Touchfree Counter Mounted System
Prior to beginning installation, study the exploded view of the Touchfree Counter-Mounted System and locate all the
pieces. Also, look beneath the countertop to and a suitable place for mounting of the Battery Box so that it will not
interfere with system components or plumbing.
Feed the cable and the shank of
the Dispenser Assembly through
the hole in the countertop. Point
the spout of the Dispenser into the
sink bowl.
From underneath counter, feed
retaining washer and nut over
spout cable onto threaded shank
of spout. Tighten the nut securely.
Align the indent inside the top of
the Motor Assembly/Bottle
Support with the indent on the
shank of the Dispenser Assembly
and firmly push the Motor
Assembly/Bottle Support up, onto
the shank.
NOTE: Hold the Cable firmly
out of the way as you push up on
the Motor Assembly/Bottle
Support. Continue pushing
upward until the vertical slots in
the Dispenser shank and the
Motor Assembly/Bottle Support
line up.
Secure the Motor Assembly/Bottle
Support to the Dispenser
shank by pushing the
Retaining Clip into place
through the vertical slots, until it
goes all the way through the Motor
Assembly.
NOTE: Motor Assembly Bottle
Support will rotate 360° to avoid
any obstruction.
Remove the cover from the
Battery Box by loosening the
two captive screws on the Battery
Box cover. Position the Box on a
convenient (vertical or horizontal)
surface under the counter top that
will allow access for battery
changing. Attach the Box to the
surface using the two screws
and anchors (if attaching to a
plaster or masonry surface).
Use the Wall Clip to secure the
Power Cable to a wall or other
under-counter surface if desired.
Place four alkaline “D” Cell
batteries into the Battery Box
cover. The batteries must be
positioned according to the
diagrams shown on the inside of
the cover.
NOTE: If the batteries are not
properly installed or the cover is
not properly positioned on the
Box, the System will not work.
Position the cover (with batteries
installed) on the Battery Box and
tighten the two captive screws.
IMPORTANT: Connect the two
halves of the Cable and by visually
lining up the white stripes on each
half and gently pushing the cable
connectors together until the stripes
touch.
Improperly assembled
connectors can cause unit to
not function as intended.
After the batteries are installed in
the battery box, connect the two
halves of the power cable and
allow 20 seconds before the
system is ready to dispense soap.
3
Soap Rell Bottle Installation and Removal
Rell Installation
(rell separately)
Feed the dispense tube on the
Refill Bottle up through the
Motor Assembly/Bottle Support
and Dispenser Assembly,
aligning the two indents in the
Bottle and the Support. Slide the
Bottle upward until it snaps into
place.
NOTE: The refill is not properly
installed until you hear the “snap”
(as the Green release latch on the
Motor Assembly/Bottle Support
engages).
Test the
System by
placing your
hand under
the spout of
the Dispenser
Assembly (in front of the sensor
window) at least three or four
times, until foam soap appears.
If the System does not dispense
soap after placing your hand in
front of the sensor several times,
repeat several more times. If no
sound heard from motor assembly
after placing hands in front of sen-
sor, check to see that the Cable
halves are firmly connected, that
the batteries are “good”, and that
the Battery Box cover is properly
positioned and fastened to the
Box. Check for bent contact pins
inside connector. If unit is
multi-activating, check for bent
contact pins inside connector.
Rell Removal
Grasp the empty Refill Bottle
with one hand and use the other
hand to push the Green release
latch on the Motor Assembly/
Bottle Support to the right
(counterclockwise as seen from
above).
Grasp the empty Refill Bottle with
one hand and use the other
hand to push the Green release
latch on the Motor Assembly/
Bottle Support to the right (coun-
terclockwise as seen from above).
Cleaning the Counter Mounted System
Use only mild soap and water to clean the Touchfree Counter Mounted
System spout. Cover the sensor window with your thumb while cleaning the
spout so that you do not continue to dispense soap.
DO NOT use abrasives to clean the TouchFree Counter-Mounted System
(as this may damage the finish or the sensor window).
4
Parts Breakdown
SLOAN • 10500 SEYMOUR AVENUE • FRANKLIN PARK, IL 60131
Phone: 1-800-9-VALVE-9 or 1-847-671-4300 • Fax: 1-800-447-8329 or 1-847-671-4380 • www.sloan.com
ITEM DESCRIPTION QTY.
1 DISPENSER ASSEMBLY (SEE SPOUT LIST BELOW) 1
2FLAT WASHER 1
3 SPOUT MOUNTING NUT 1
4 MOTOR ASSEMBLY (BOTTLE SUPPORT) 1
5 BATTERY BOX (USES 4 “D” CELL BATTERIES) 1
6 SOAP BOTTLE (2 BOTTLES SHIP WITH DISPENSER/ADDITIONAL
SOLD SEPARATELY)
1 BOX
(2 BOTTLES)
7 SCREWS & ANCHORS FOR BATTERY BOX MOUNTING 1
8 RETAINER CLIP 1
9 “D” CELL BATTERIES (PROVIDED) 4
10 SOAP BOTTLE TUBE 1
11
NOT
SHOWN
ESD324 - 6 VDC PLUG-IN ADAPTER KIT (100-240 VAC), FOR 1
OR 2 DISPENSERS / SOLD SEPARATELY
1
ITEM DESCRIPTION QTY.
1 ESD-1502A CP SPOUT ASSEMBLY-EAF100/150 STYLE 1
1 ESD-2002A CP SPOUT ASSEMBLY-EAF200/250/275 STYLE 1
1 ESD-2102A CP SPOUT ASSEMBLY-SF-2100/2150 STYLE 1
1 ESD502A CP SPOUT ASSEMBLY BASYS STYLE 1
ESD412A CP SPOUT ASSEMBLY 410 STYLE 1
ESD422A CP SPOUT ASSEMBLY 420 STYLE 1
1 ESD-602A CP SPOUT ASSEMBLY ETF-600/650 STYLE
(610/615)
1
1 ESD702A CP SPOUT ASSEMBLY EAF-700/750 STYLE 1
1 EAF802A CP SPOUT ASSEMBLY ETF80/EBF-85 1
REPLACEMENT SPOUTS ONLY (INCLUDES NUT & WASHER)
ITEM REPAIR PARTS
AVAILABLE TO ORDER
DESCRIPTION MATERIAL NUMBER
2 & 3 ESD218 SPOUT MOUNTING HARDWARE (INCLUDED WITH
SPOUT) *ALTERNATE MOUNTING FLANGE NUT *0346002
4 & 5 ESD320A SOAP DISPENSING MOTOR (INCLUDES BATTERY
BOX #8)
0346081
6 ESD325 GREEN CERTIFIED FOAM SOAP REFILLS 1500 ML
(4 PER BOX)
03460004
ESD324 6 VDC PLUG-IN ADAPTER KIT (100-240 VAC), FOR 1
OR 2 DISPENSERS
0346090
10 ESD340A STRAW ASM FOR SOAP BOTTLE 0346102
REPAIR PARTS
(IN KIT FORM- TAKEN FROM ITEM NUMBERS ABOVE)

This manual suits for next models

9

Other Sloan Plumbing Product manuals

Sloan 0344067 Use and care manual

Sloan

Sloan 0344067 Use and care manual
Sloan TruFlush TRF1036-N Use and care manual
Sloan

Sloan TruFlush TRF1036-N Use and care manual

Sloan EL-485-A User manual

Sloan

Sloan EL-485-A User manual
Sloan FLUSHMATE III 503 Series Application guide

Sloan

Sloan FLUSHMATE III 503 Series Application guide

Sloan SENSO EAF-900 Manual

Sloan

Sloan SENSO EAF-900 Manual

Sloan VBF-72-A1 User manual

Sloan

Sloan VBF-72-A1 User manual
Sloan Solis EAF-275 Series User manual

Sloan

Sloan Solis EAF-275 Series User manual

Sloan BASYS EFX-300 Use and care manual

Sloan

Sloan BASYS EFX-300 Use and care manual

Sloan TRF 156-1.1 User manual

Sloan

Sloan TRF 156-1.1 User manual
Sloan ELGR-81000 Use and care manual

Sloan

Sloan ELGR-81000 Use and care manual
Sloan SMOOTH EL-600-A Assembly instructions
Sloan

Sloan SMOOTH EL-600-A Assembly instructions

Sloan ECOS HET 8100 Series User manual

Sloan

Sloan ECOS HET 8100 Series User manual

Sloan Optima ETF-600 User manual

Sloan

Sloan Optima ETF-600 User manual

Sloan AER-DEC 81000 Use and care manual
Sloan

Sloan AER-DEC 81000 Use and care manual

Sloan Optima EBF-550 Use and care manual
Sloan

Sloan Optima EBF-550 Use and care manual

Sloan Optima EBF-425 Guide

Sloan

Sloan Optima EBF-425 Guide

Sloan SF-2100 Operating manual

Sloan

Sloan SF-2100 Operating manual

Sloan Optima ETF-600 User manual

Sloan

Sloan Optima ETF-600 User manual
Sloan Optima EBF-750 Use and care manual

Sloan

Sloan Optima EBF-750 Use and care manual

Sloan OPTIMA plus ERF-885 User manual

Sloan

Sloan OPTIMA plus ERF-885 User manual

Sloan EAF-3X0 Series User manual

Sloan

Sloan EAF-3X0 Series User manual

Sloan OPTIMA plus Series User manual

Sloan

Sloan OPTIMA plus Series User manual

Sloan Optima EAF-275 Series Use and care manual

Sloan

Sloan Optima EAF-275 Series Use and care manual

Sloan 150 ES-SM User manual

Sloan

Sloan 150 ES-SM User manual

Popular Plumbing Product manuals by other brands
Master MAS-I252 user manual

Master

Master MAS-I252 user manual

Moen 84666 Series manual

Moen

Moen 84666 Series manual

Signature Hardware COOPER Installation

Signature Hardware

Signature Hardware COOPER Installation

Mira Sport 7.5 Installation and user guide

Mira

Mira Sport 7.5 Installation and user guide

Excellent AXEL ARAX.8501CR Instructions for Assembling and Installing

Excellent

Excellent AXEL ARAX.8501CR Instructions for Assembling and Installing

Kohler K-T10277 Installation and care guide

Kohler

Kohler K-T10277 Installation and care guide

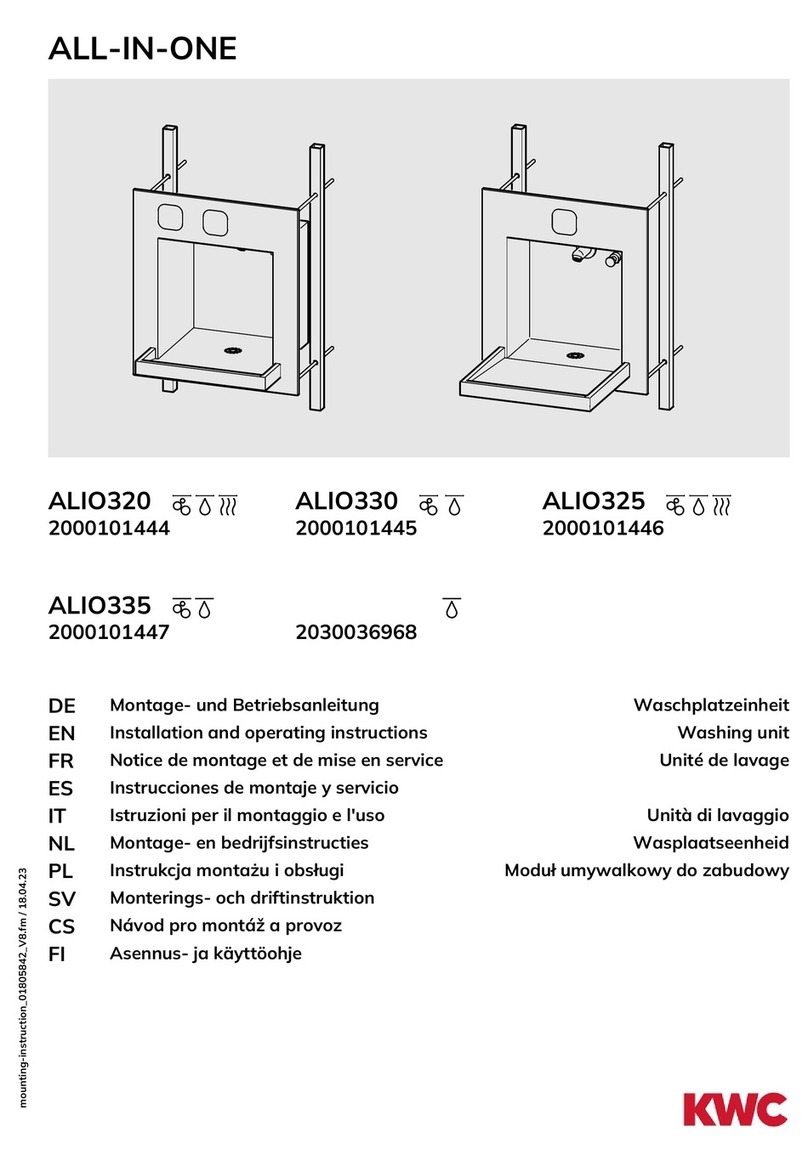
BELLOSTA Mini-B 4400 Installation instruction
BELLOSTA

BELLOSTA Mini-B 4400 Installation instruction

KWC ALL-IN-ONE ALIO320 Installation and operating instructions

KWC

KWC ALL-IN-ONE ALIO320 Installation and operating instructions

Franke SlimTop Series quick guide

Franke

Franke SlimTop Series quick guide
Sanela SLPN 03 Mounting instructions

Sanela

Sanela SLPN 03 Mounting instructions

Dundalk LeisureCraft Cedar Pod Sauna Assembly instructions

Dundalk LeisureCraft

Dundalk LeisureCraft Cedar Pod Sauna Assembly instructions

Elkay Vivo LKS6265 Specifications

Elkay

Elkay Vivo LKS6265 Specifications
Toto PLANO TX474SPN quick start guide

Toto

Toto PLANO TX474SPN quick start guide

Bristan PM2 SHCDIV C Installation instructions & user guide
Bristan

Bristan PM2 SHCDIV C Installation instructions & user guide

Franke Make it Wonderful HDTX816L 2000100968 Installation and operating instructions
Franke

Franke Make it Wonderful HDTX816L 2000100968 Installation and operating instructions

Grohe ATRIO 21 046 installation instructions
Grohe

Grohe ATRIO 21 046 installation instructions

Kohler Sterling 7613 Series installation guide

Kohler

Kohler Sterling 7613 Series installation guide

Kohler PURIST Series installation instructions

Kohler

Kohler PURIST Series installation instructions

manuals.online logo
manuals.online logoBrands
  • About & Mission
  • Contact us
  • Privacy Policy
  • Terms and Conditions

Copyright 2025 Manuals.Online. All Rights Reserved.