Smart Technologies SMART Room System SRS-LYNC-XS Operating manual

-
SMARTRoomSystem™
for Microsoft®Lync®
SETUP AND MAINTENANCE GUIDE
FOR MODELS SRS-LYNC-XS, SRS-LYNC-S, SRS-LYNC-M, SRS-LYNC-M-DUAL, SRS-LYNC-LANDSRS-LYNC-XL

-
smarttech.com/kb/170450
Product registration
If you register your SMART product, we’ll notify you of new features and software upgrades.
Register online at smarttech.com/registration.
FCC warning
This equipment has been tested and found to comply with the limits for a Class A digital device, pursuant to Part 15 of the FCC Rules. These limits are designed to
provide reasonable protection against harmful interference when the equipment is operated in a commercial environment. This equipment generates, uses and
can radiate radio frequency energy and, if not installed and used in accordance with the manufacturer’s instructions, may cause harmful interference to radio
communications. Operation of this equipment in a residential area is likely to cause harmful interference in which case the user will be required to correct the
interference at his own expense.
Trademark notice
SMARTRoomSystem, SMARTBoard, DViT, smarttech, the SMART logo and all SMART taglines are trademarks or registered trademarks of
SMARTTechnologiesULC in the U.S. and/or other countries. Microsoft, Windows, Lync, Outlook, PowerPoint and Office365 are either registered trademarks or
trademarks of Microsoft Corporation in the U.S. and/or other countries. All other third-party product and company names may be trademarks of their respective
owners.
Copyright notice
© 2013–2014SMARTTechnologiesULC. All rights reserved. No part of this publication may be reproduced, transmitted, transcribed, stored in a retrieval system
or translated into any language in any form by any means without the prior written consent of SMARTTechnologiesULC. Information in this manual is subject to
change without notice and does not represent a commitment on the part of SMART.
This product and/or use thereof covered by one or more of the following U.S. patents.
www.smarttech.com/patents
03/2014

i smarttech.com/kb/170450
-
Important information
IMPORTANT
If you were directed to this guide from your room system’s quick start guide, proceed to
Configuring your room system’s software
on page17.
WARNING
lFailure to follow the installation instructions shipped with your SMART product could result in
personal injury and product damage which may not be covered by your warranty.
lEnsure your installation complies with local building and electrical codes.
lDo not open or disassemble the SMART product. You risk electrical shock from the high
voltage inside the casing. Opening the casing also voids your warranty.
lDo not stand (or allow children to stand) on a chair to touch the surface of your SMART
product. Rather, mount the product at the appropriate height.
lTo reduce the risk of fire or electric shock, do not expose your SMART product to rain or
moisture.
lIf your SMART product requires replacement parts, make sure the service technician uses
replacement parts specified by SMARTTechnologies or parts with the same characteristics
as the original.
lEnsure that any cables extending across the floor to your SMART product are properly
bundled and marked to avoid a trip hazard.
lDo not insert objects inside the cabinet ventilation holes, because they could touch
dangerous voltage points and cause electric shock, fire or product damage which may not
be covered by your warranty.
lDo not place any heavy objects on the power cable. Damage to the cable could cause
shock, fire or product damage which may not be covered by your warranty.
lUseonly extension cords and outlets into which this product’s polarized plug can be fully
inserted.
lUse the power cable provided with this product. If a power cable is not supplied with this
product, please contact your supplier. Use only power cables that match the AC voltage of
the power outlet and that comply with your country’s safety standards.

IMPORTANT INFORMATION -
ii smarttech.com/kb/170450
lIf the glass is broken, do not touch the liquid crystal. To prevent injury, handle glass
fragments with care when disposing of them.
lDo not move or mount the interactive flat panel by connecting rope or wire to its handles.
Because the interactive flat panel is heavy, rope, wire or handle failure could lead to
personal injury.
lUse SMART supplied mounting hardware or hardware that is designed to properly support
the weight of your product.
lDisconnect all power cables for your interactive flat panel from the wall outlet and seek
assistance from qualified service personnel when any of the following occurs:
oThe power cable or plug is damaged
oLiquid is spilled into the interactive flat panel
oObjects fall into the interactive flat panel
oThe interactive flat panel is dropped
oStructural damage such as cracking occurs
oThe interactive flat panel behaves unexpectedly when you follow operating
instructions

iii smarttech.com/kb/170450
-
Contents
Important information i
Chapter 1: Welcome 1
About your room system 2
About this guide 8
Other documentation and resources 8
Chapter 2: Preparing for your room system 11
Chapter 3: Installing your room system’s hardware 13
Chapter 4: Configuring your room system’s software 17
Before configuring your room system’s software 18
Starting your room system for the first time 18
Logging on and configuring the displays 28
Configuring SMARTSettings 30
Configuring Lync Room System software 33
Checking the status of the Lync Room System software productkey 34
Testing your room system 35
Chapter 5: Using your room system 37
Scheduling meetings 37
Turning on your room system 38
Starting meetings and whiteboard sessions 39
Managing meetings using the console 40
Presenting content during meetings 43
Supporting users with special needs 45
Ending meetings 46
Chapter 6: Maintaining your room system 47
Recommended tools 48
Remotely monitoring your room system 49
Updating software and firmware 52
Turning off your room system 53
Maintaining the interactive flat panels 55
Maintaining the console 63
Maintaining the camera 63
Maintaining the microphones 64
Maintaining the speakers 64
Checking your room system cable connections 64

CONTENTS -
iv smarttech.com/kb/170450
Checking your room system installation 64
Removing and transporting your room system 65
Chapter 7: Troubleshooting your roomsystem 67
Resolving hardware issues 67
Resolving software issues 76
Testing your room system 78
Appendix A: Using the Lync Admin Console and SMARTSettings 79
Accessing the Lync Admin Console and SMARTSettings 79
Lync Admin Console controls 80
SMARTSettings controls 84
Appendix B: Using the interactive flat panel on-screen display menu 87
Accessing the on-screen display menu 87
Changing settings in the on-screen display menu 88
SMARTBoard8055i interactive flat panel on-screen display menu 89
SMARTBoard8070i-G4 interactive flat panel on-screen display menu 94
SMARTBoard8084i-G4 interactive flat panel on-screen display menu 100
Appendix C: Resetting the room system to factory defaults 109
Appendix D: Hardware environmental compliance 113
Waste Electrical and Electronic Equipment and Battery regulations (WEEE and Battery
Directives) 113
Batteries 113
More information 113
Index 115

Chapter 1
1 smarttech.com/kb/170450
-
Chapter 1: Welcome
About your room system 2
Features 2
Integration with Lync 2
Simple startup 2
Automatic sharing of video and audio 2
Collaboration 2
Presence detection 3
Components 3
SMARTBoard interactive flat panels 4
Lync appliance 4
Console 4
Camera 5
Table microphones and audio processor 5
Speakers 5
Video connection harness for guest laptops 5
Accessories 5
Wall stand kit 6
Additional table microphones 6
Comparing room sizes 6
About this guide 8
Other documentation and resources 8
Specifications 8
Preparation information 9
Installation instructions 9
User documentation and training 10
Knowledge base 10
This chapter introduces you to your SMARTRoomSystems™ for Microsoft®Lync® and this guide.

CHAPTER 1 -
WELCOME
2 smarttech.com/kb/170450
About your room system
Your SMARTRoomSystem features one or two SMARTBoard® interactive flat panels, a Lync
appliance, a tabletop console, a high-definition camera, microphones, speakers and a video
connection harness for use with an optional guest laptop.
Using the installed Lync Room System software, you can start a meeting and connect with other
individuals or meeting rooms with a single tap on the console or the interactive flat panels. You can
write or draw on the interactive flat panels using the whiteboard feature, connect an optional guest
laptop to share its screen and share files with connected individuals and meeting rooms in real
time.
Features
Your room system includes the following features.
Integration with Lync
The SMARTRoomSystem integrates with your organization’s existing Lync infrastructure, enabling
users to schedule meetings, remotely join meetings, and share MicrosoftPowerPoint® files using
the Lync client software already installed on their computers.
Simple startup
After the room system turns on, the console and the interactive flat panels show the meeting
room’s schedule, including when the meeting room is booked and when it’s available. Users can
start a scheduled meeting by pressing the meeting’s block in the schedule on either the console or
the interactive flat panels. Lync Room System software enables users to connect to remote
participants and shares video and audio.
Alternatively, users can start ad hoc meetings or whiteboard sessions with a single press of the
console or interactive flat panels.
Automatic sharing of video and audio
When users start or join meetings, the room system shares video and audio automatically without
requiring any manual setup on the users’ part. The room system’s high definition camera,
microphones and speakers facilitate users’ communication during the meeting.
Collaboration
Using Lync Room System software’s whiteboard feature, users can write or draw notes on the
interactive flat panels, automatically sharing with remote participants. Users can also write or draw
over PowerPoint files attached to the scheduled meeting as well as connect their laptops to share
the laptop screens.
CHAPTER 1 -
WELCOME
3 smarttech.com/kb/170450
Presence detection
Each interactive flat panel has two presence detection sensors on its frame that can detect people
up to 16' (5 m) away. When the sensors detect people in the meeting room, the room system turns
on. When the sensors no longer detect people in the meeting room, the room system enters
Standby mode.
Components
Your room system consists of the following major components:
Part no. Description Room sizes
SBID 8055i SMARTBoard 8055i interactive flat panel Extra small
Medium with dual panels (×2)
SBID 8070i-G4 SMARTBoard 8070i-G4 interactive flat panel Small
Large (×2)
SBID 8084i-G4 SMARTBoard 8084i-G4 interactive flat panel Medium
Extra large (×2)
AM70-L Lync appliance All
CP311 Console All
CAM301 Camera All
MIC500 Table microphones All
MIX500 Audio processor All
CSR500 Speakers All
1019403 Video connection harness for guest laptops All
NOTE
Other, minor components are documented elsewhere in this guide.
CHAPTER 1 -
WELCOME
4 smarttech.com/kb/170450
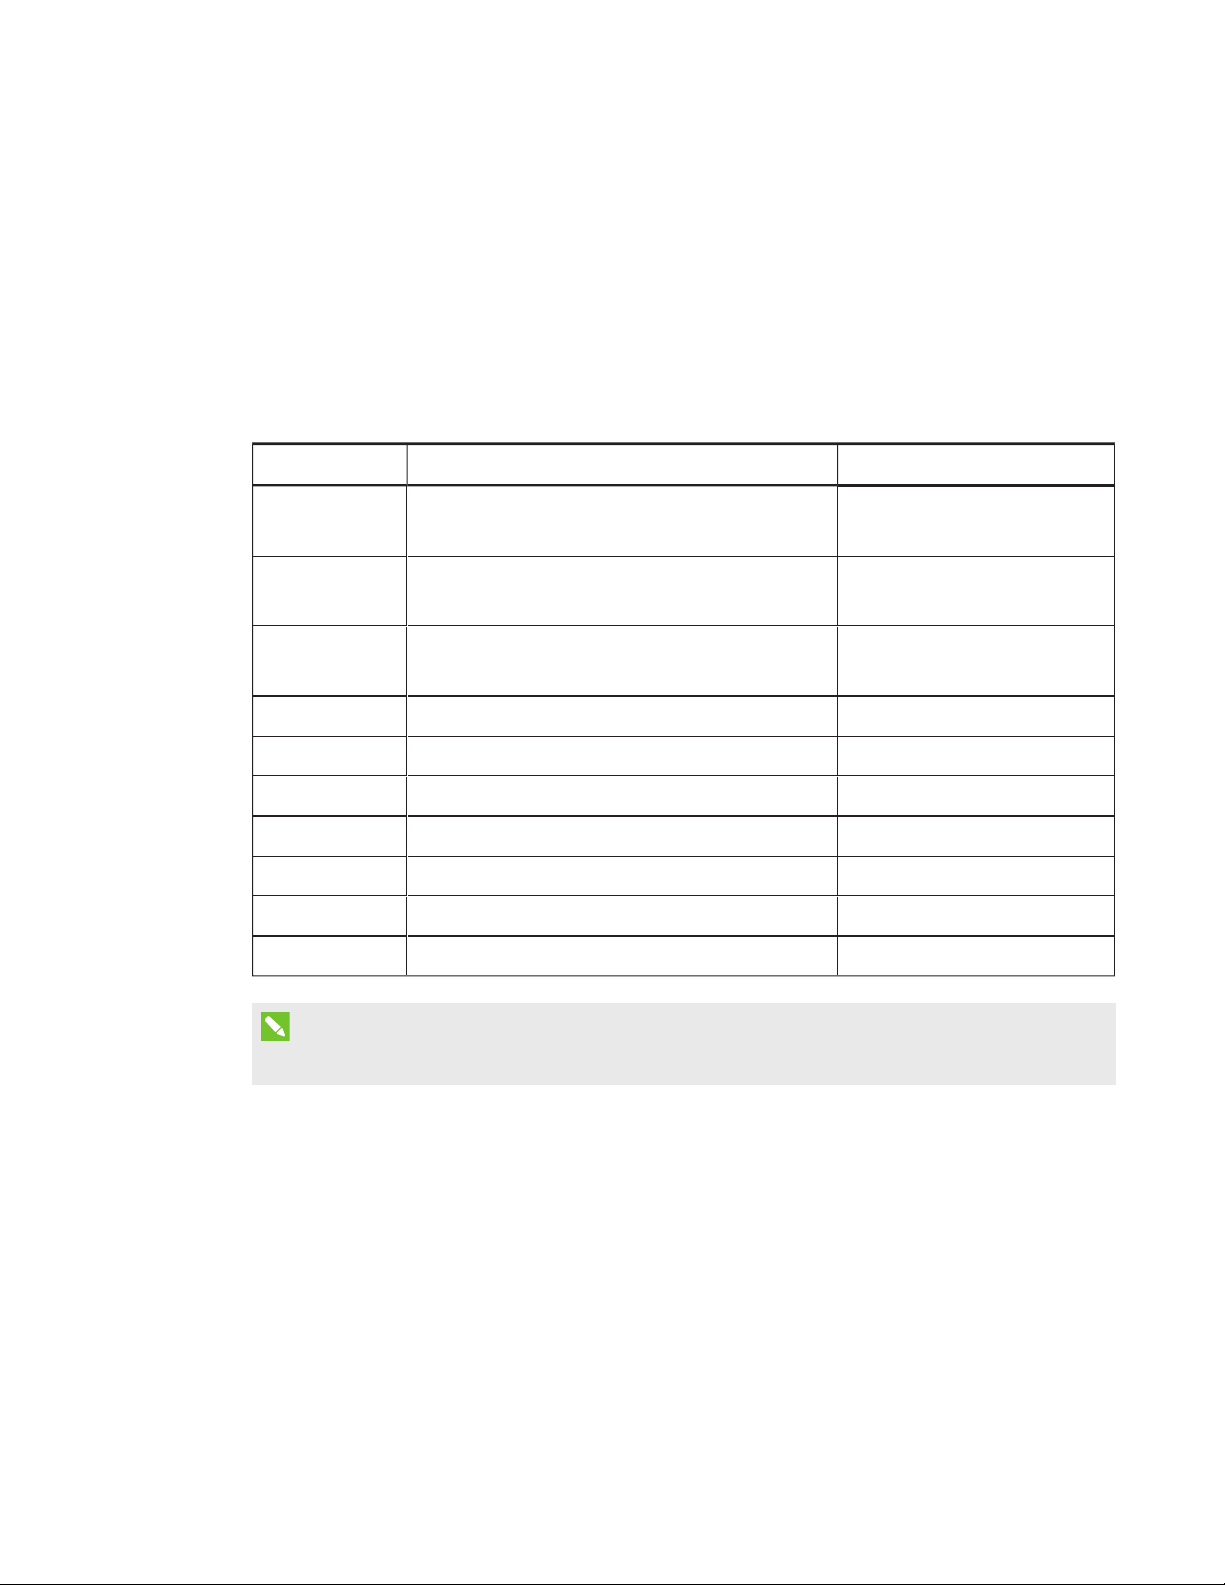
SMARTBoard interactive flat panels
SMARTBoard interactive flat panels feature SMART’s proprietary
DViT® (DigitalVisionTouch) technology on a 16:9 LCD screen
with e-LED backlight. DViT technology enables users to do the
following:
lInteract with content by pressing it with their fingers
lWrite digital ink on the digital whiteboard or on a shared
PowerPoint file using their fingers or one of the provided
pens
lErase digital ink using their fists, their palms or the provided eraser
During a meeting, the interactive flat panels show video, shared PowerPoint files, and video input
from optionally connected laptops. In addition, users can use the whiteboard feature to record
notes and share them with others.
For information on which interactive flat panel model is included with your room system and the
differences between these models, see
Comparing room sizes
on page6.
Lync appliance
The Lync appliance includes Lync Room System software as well as SMARTProductDrivers. Lync
Room System software enables users to start, join and facilitate meetings and connect with others
through your organization’s Lync infrastructure. SMARTProductDrivers enables the touch features
of the interactive flat panels and the operation of the all components in the room system.
In room systems with SMARTBoard 8055i interactive flat panels, the Lync appliance is installed in
an enclosure behind the left interactive flat panel.
In room systems with SMARTBoard 8070i-G4 and 8084i-G4 interactive flat panels, the Lync
appliance is installed in a slot on the bottom of the left interactive flat panel.
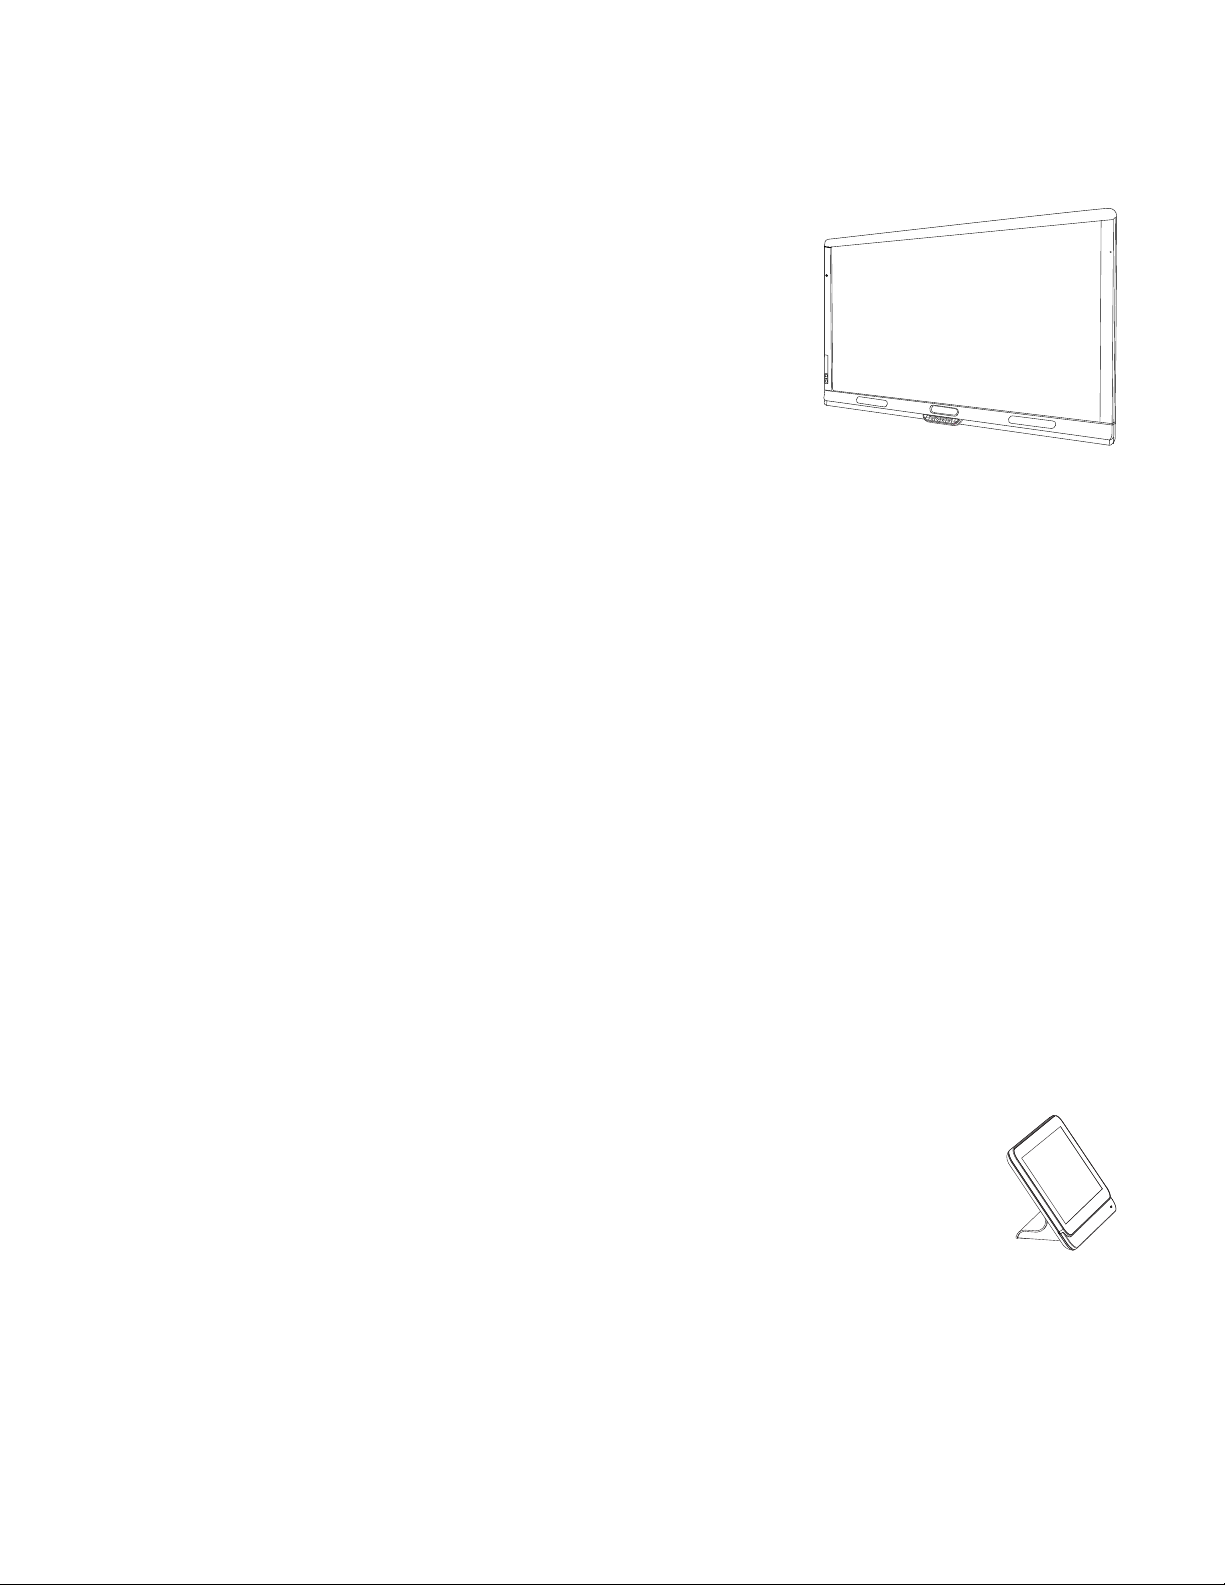
Console
The console is the room system’s primary display. It enables users to access and
control the features of Lync Room System software during their meetings.
The console is typically located on the meeting room table. Like the interactive flat
panels, the console features a 16:9 LCD screen with touch technology, enabling users
to interact with buttons and other controls by pressing them.
CHAPTER 1 -
WELCOME
5 smarttech.com/kb/170450
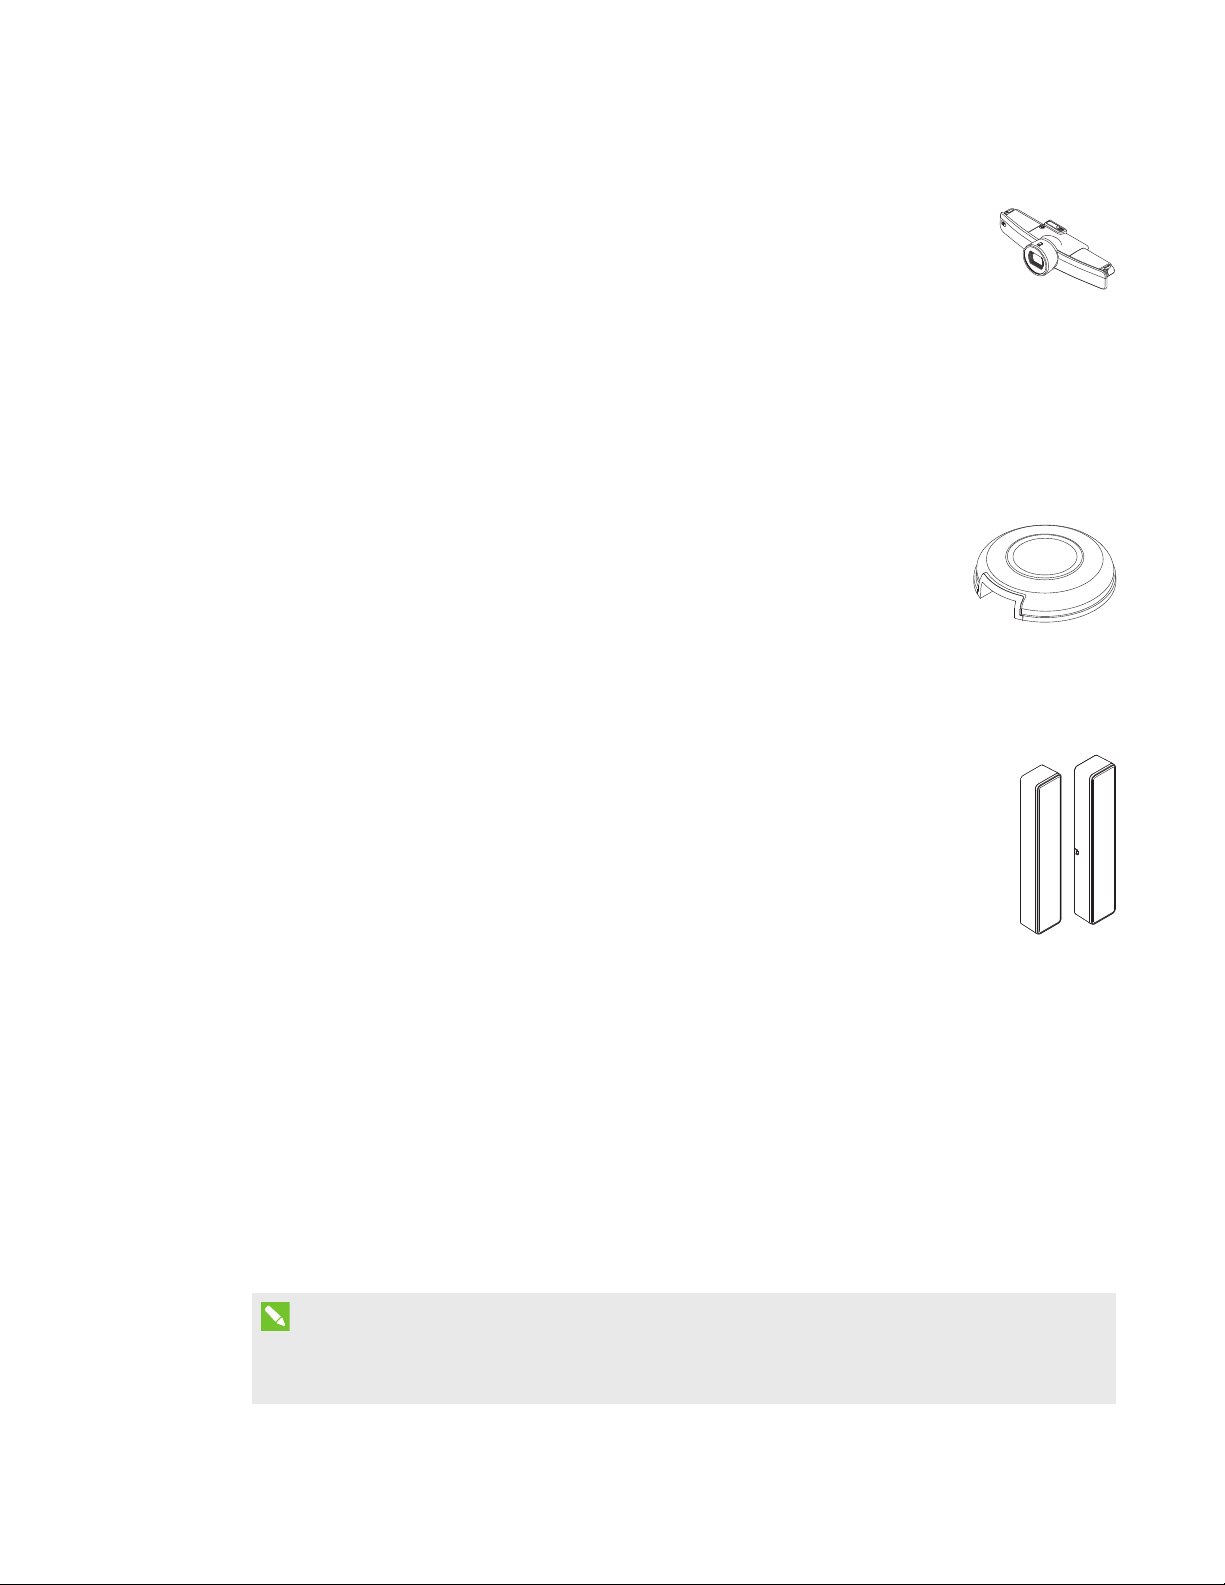
Camera
The high definition camera automatically captures room video during meetings.
Users can temporarily stop the video or shutter the camera for privacy purposes.
In most meeting rooms, digital pan, tilt and zoom (DPTZ) and the camera’s 109° field
of view ensure all meeting participants are captured regardless of where they are in the meeting
room.
The camera is installed on the top of the interactive flat panel in rooms with one interactive flat
panel or between the interactive flat panels in rooms with two interactive flat panels.
Table microphones and audio processor
The table microphones automatically capture audio during meetings. Users can
temporarily mute the microphones for privacy purposes.
Your room system comes with two table microphones. You can purchase
additional table microphones (see
Additional table microphones
on the next
page).
Speakers
The speakers transmit audio from remote participants during a meeting. The room
system’s audio-processing features eliminate echos and in-room audio feedback.
The speakers are installed on either side of the interactive flat panels.
Video connection harness for guest laptops
The video connection harness enables users to connect their laptops to the room system using
either VGA or HDMI connectors. When a user connects his or her laptop, the laptop’s video output
appears on an interactive flat panel and is shared with remote participants.
The video connection harness’s connectors are typically located on the meeting room table.
Accessories
Accessories for the SMARTRoomSystem include the wall stand kit and additional table
microphones.
NOTE
For accessory part numbers and ordering information, refer to the specifications (see
Specifications
on page8).

CHAPTER 1 -
WELCOME
6 smarttech.com/kb/170450
Wall stand kit
The wall stand kit includes a wall stand for each interactive flat panel in
your room system and the cable raceway. The wall stand transfers some
of the weight from the wall to the floor and is required for metal stud walls
that can’t support the full weight of the interactive flat panel. The cable
raceway covers cables running across the floor from the interactive flat
panels to the meeting room table.
Additional table microphones
Your room system comes with two table microphones. You can purchase and
connect up to three additional table microphones if needed for a total of up to five
table microphones.
Comparing room sizes
The SMARTRoomSystem comes in six sizes. This section presents the key differences between
these sizes.
Extra small room (SRS-LYNC-XS)
Intended use Extra small meeting rooms
(approximately four people)
75 sq. ft. (7 m²)
Display type One SMARTBoard 8055i
interactive flat panel
Display size (diagonal) 54 5/8" (139 cm)
Optional wall stand kit WSK-SINGLE
Small room (SRS-LYNC-S)
Intended use Small meeting rooms
(approximately six people)
100 sq. ft. (9 m²)
Display type One SMARTBoard 8070i-G4
interactive flat panel
Display size (diagonal) 70" (178 cm)
Optional wall stand kit WSK-SINGLE

CHAPTER 1 -
WELCOME
7 smarttech.com/kb/170450
Medium room (SRS-LYNC-M)
Intended use Medium meeting rooms
(approximately 12 people)
180 sq. ft. (17 m²)
Display type One SMARTBoard 8084i-G4
interactive flat panel
Display size (diagonal) 84" (213.4 cm)
Optional wall stand kit WSK-SINGLE
Medium room with dual panels (SRS-LYNC-M-DUAL)
Intended use Medium meeting rooms
(approximately 12 people)
180 sq. ft. (17 m²)
Display type Two SMARTBoard 8055i
interactive flat panels
Display size (diagonal) 2 × 54 5/8" (2 × 139 cm)
Optional wall stand kit WSK-DUAL
Large room (SRS-LYNC-L)
Intended use Large meeting rooms
(approximately 16 people)
300 sq. ft. (28 m²)
Display type Two SMARTBoard 8070i-G4
interactive flat panels
Display size (diagonal) 2 × 70" (2 × 178 cm)
Optional wall stand kit WSK-DUAL
Extra large room (SRS-LYNC-XL)
Intended use Extra large meeting rooms
(approximately 18 people)
400 sq. ft. (37 m²)
Display type Two SMARTBoard 8084i-G4
interactive flat panels
Display size (diagonal) 2 × 84" (2 × 213.4 cm)
Optional wall stand kit WSK-DUAL
NOTE
Other, minor differences are noted throughout this guide.

CHAPTER 1 -
WELCOME
8 smarttech.com/kb/170450
About this guide
This guide explains how to set up and maintain your room system. It includes the following
information:
lHow to install and configure your room system
lHow to use your room system’s basic features
lHow to maintain your room system for years of use
lHow to troubleshoot issues with your room system
lHow to remotely manage your room system
This guide in intended for individuals who are responsible for installing and maintaining room
systems in their organizations. Other documentation and resources are available for individuals
who use room systems.
Other documentation and resources
In addition to this guide, there are resources for individuals who install, maintain and use room
systems.
Specifications
Your room system’s specifications define the product’s dimensions, weights, recommended
operating and storage temperatures, power requirements and consumption and other important
information for installation and maintenance.
Document Link
SMARTRoomSystem for Lync for extra small rooms specifications
smarttech.com/kb/170633
SMARTRoomSystem for Lync for small rooms specifications
smarttech.com/kb/170449
SMARTRoomSystem for Lync for medium rooms specifications
smarttech.com/kb/170448
SMARTRoomSystem for Lync for medium rooms with dual panels
specifications
smarttech.com/kb/170634
SMARTRoomSystem for Lync for large rooms specifications
smarttech.com/kb/170447
SMARTRoomSystem for Lync for extra large rooms specifications
smarttech.com/kb/170659
SMART wall stand kits for SMARTBoard interactive flat panels
specifications
smarttech.com/kb/170526

CHAPTER 1 -
WELCOME
9 smarttech.com/kb/170450
Preparation information
Refer to the
SMARTRoomSystem for MicrosoftLync installation and service preparedness
checklists
(knowledgebase.force.com/?q=000014425) for a comprehensive list of tools and items
you need before you install your room system.
Refer to the
MicrosoftLync Room System Deployment Guide
(microsoft.com/download/confirmation.aspx?id=39274) for detailed information on provisioning the
Lync room account in your organization’s Lync Server and MicrosoftExchange server.
Installation instructions
Your room system comes with a hardware selection guide that explains which mounting hardware
to use for your room’s wall type, a quick start guide that explains how to install the room system
hardware and a software configuration guide that explains how to configure the room system
software. In addition, the optional wall stand and raceway include their own installation guides.
If you misplaced any of these installation instructions, you can download PDF versions.
Document Link
SMARTRoomSystem for Lync hardware selection guide
smarttech.com/kb/170464
SMARTRoomSystem for Lync for extra small rooms
quickstartguide
smarttech.com/kb/170630
SMARTRoomSystem for Lync for small rooms quick start guide
smarttech.com/kb/170470
SMARTRoomSystem for Lync for medium rooms quick start guide
smarttech.com/kb/170467
SMARTRoomSystem for Lync for medium rooms with dual panels
quickstartguide
smarttech.com/kb/170631
SMARTRoomSystem for Lync for large rooms quick start guide
smarttech.com/kb/170468
SMARTRoomSystem for Lync for extra large rooms
quickstartguide
smarttech.com/kb/170658
SMARTRoomSystem for Lync software configuration guide
smarttech.com/kb/170608
SMART wall stand for SMARTBoard interactive flat panels
installation guide
smarttech.com/kb/170466
SMART cable raceway for SMARTRoomSystems
installationguide
smarttech.com/kb/170465
SMARTRoomSystem for Lync table microphone upgrade kit
installation guide
smarttech.com/kb/170560

CHAPTER 1 -
WELCOME
10 smarttech.com/kb/170450
NOTE
The software configuration guide contains the same information as
Preparing for your room
system
on page11 and
Configuring your room system’s software
on page17.
User documentation and training
Lync Meeting Room software includes a tutorial that explains how to use the software. To open the
tutorial, press the OpenTutorial button on the interactive flat panels.
The SMART training website (smarttech.com/trainingforbusiness) includes an extensive library of
training resources you can refer to when learning how to use your room system.
Knowledge base
The Support center (smarttech.com/support) includes a knowledge base that you can refer to
when performing maintenance on your room system or troubleshooting issues with your room
system.
The knowledge base includes the
SMARTRoomSystem for MicrosoftLync troubleshooting
decision tree
(knowledgebase.force.com/?q=000014411), which you can refer to when
troubleshooting the room system.
Chapter 2
11 smarttech.com/kb/170450
-
Chapter 2: Preparing for your room system
Several weeks before installing your room system’s hardware and configuring its software,
complete the following tasks.
Task
Ensure you have all items documented in the
SMARTRoomSystem for MicrosoftLync
installation and service preparedness checklists
(see
Preparation information
on
page9).
Ensure your organization has implemented Lync 2013 and the Lync infrastructure is
functioning.
Download and follow the instructions in the
MicrosoftLync Room System Deployment
Guide
(see
Preparation information
on page9).
This guide explains how to provision the Lync account in the Lync Server and the
MicrosoftExchange server.
Use a test computer to confirm that the Lync account is functioning.
Determine if your Lync infrastructure includes a key management service (KMS) server
and if the KMS server is configured to provide Lync 2013 product keys.
A KMS server automatically provides a product key to the Lync Room System software. If
your Lync infrastructure doesn’t include a KMS server, you can use the multiple activation
key (MAK) provided by Microsoft during the configuration of the software.


Chapter 3
13 smarttech.com/kb/170450
-
Chapter 3: Installing your room system’s
hardware
This chapter is intended for installers. Before they install the room system’s hardware, installers
should read this chapter along with the hardware installation instructions (see
Installation
instructions
on page9) included with the room system.
WARNING
Improper installation of your room system’s hardware can result in personal injury and product
damage.
Before installing your room system’s hardware, do the following.
Task
Review the room temperature and humidity requirements in the room system’s
specifications (see
Specifications
on page8).
Save all product packaging so that it’s available if you need to transport the room system
at a later date.
NOTE
If the original packaging isn’t available, you can purchase new product packaging from
your authorized SMART reseller (smarttech.com/where).
CHAPTER 3 -
INSTALLING YOUR ROOM SYSTEM’S HARDWARE
14 smarttech.com/kb/170450
Task
Ensure the wall can support the weight of the room system.
Room Weight (lb.) Weight (kg)
Extra small 151 68.5
Small 254 115.6
Medium 326 148.5
Medium with dual panels 273 124
Large 487 221
Extra large 615 279
NOTES
lRefer to local building codes to confirm that the wall can support the above
weights.
lRefer to the hardware selection guide for the recommended hardware for your wall
type (see
Installation instructions
on page9).
Choose an appropriate location for the room system:
lDo not install the room system in a location where a door or gate could hit it.
lDo not install the room system in an area where it will be subjected to strong
vibrations or dust.
lDo not install the room system where the main power supply enters the building.
lEnsure adequate ventilation or provide air conditioning around the room system so
that heat can flow away from the unit and the mounting equipment.
lIf you mount the room system in a recessed area, leave at least 4" (10 cm) of space
between the room system and the recessed walls to enable ventilation and cooling.
lEnsure the room lighting is adequate for the camera to capture video. To prevent
participants from appearing darkened or shadowed in video, ensure they aren’t
backlit.
Install the room system so that its center aligns with the center of the meeting room table.
This ensures the meeting room table appears in the center of the camera’s field of view.
This manual suits for next models
14
Table of contents
Other Smart Technologies Conference System manuals


Popular Conference System manuals by other brands


AT&T
AT&T MERLIN LEGEND Calling Group Supervizor's guide

Microsoft
Microsoft Surface Unpacking guide

Mitel
Mitel MiVOICE BUSINESS Voice Quality and Troubleshooting Guide

Codec
Codec Tieline Gateway user manual

Sarabec
Sarabec chimeflashv2 quick start guide

Konexx
Konexx Konference Konnector operating instructions