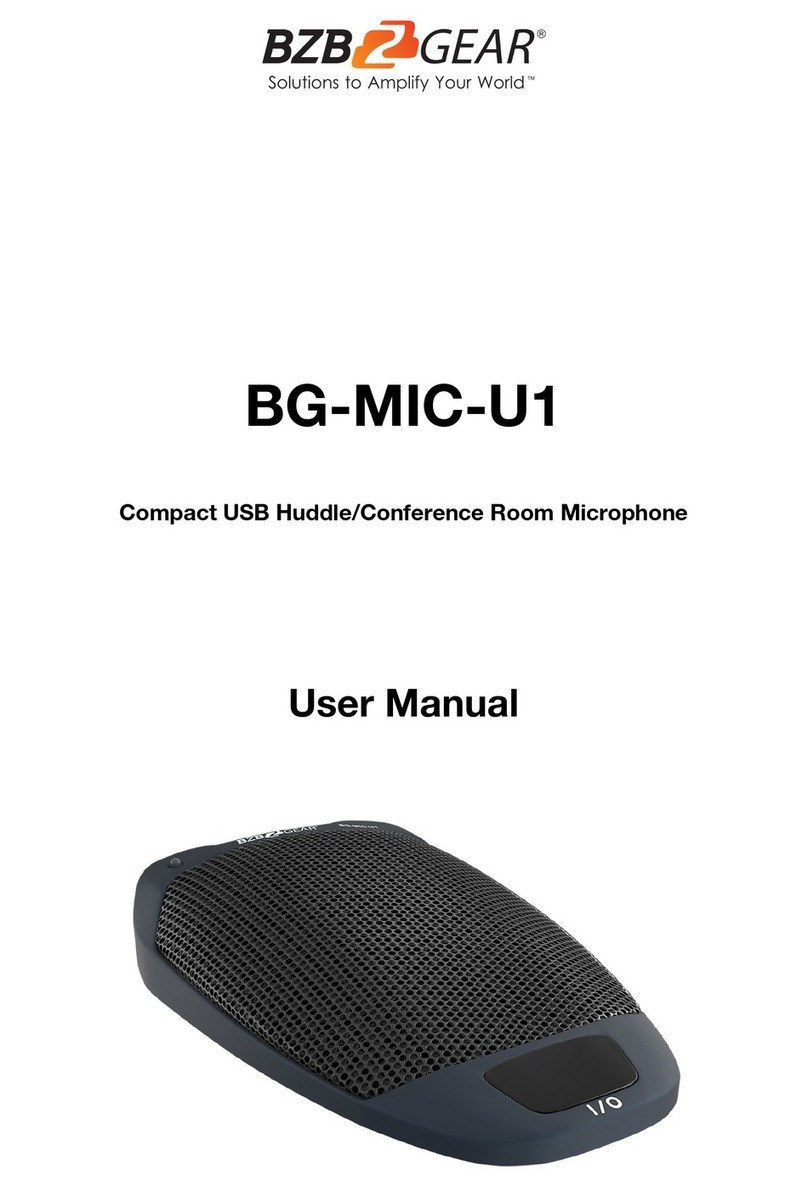
BZB Gear BG-AIOE-KIT User manual

ALL IN ONE
Video Conference System
BG-AIOE-KIT
3C
12

Attention
This manual introduces the functions, installation and
operations for BG-AIOE-KIT video conferencing room solution in
details. Please read this manual carefully before installation and
use.
1.How to Use
1.1 Do not expose the product to rain or moisture.
1.2 To prevent the risk of electric shock, do not open the case.
Installation and maintenance should only be carried out by
qualified technicians.
1.3 Do not use the product beyond the specified temperature,
humidity or power supply specifications.
1.4 Wipe it with a soft, dry cloth when cleaning the camera le-
ns. Wipe it gently with a mild detergent if needed. Do not use
strong or corrosive detergents to avoid scratching the lens and
affecting the image.
2.Electrical Safety
Installation and use of this product must strictly comply with
local electrical safety standards.
3.Handle with care
Avoid damage to the product caused by heavy pressure,
strong vibration or immersion during transportation, storage and
installation.
4.Install with Caution
4.1 Do not rotate the camera head violently, otherwise it may
cause mechanical failure;
4.2 This product should be placed on a stable desktop or
other horizontal surface. Do not install the product obliquely,
otherwise it may display inclined image;
4.3 Housing of this product is made of organic materials. Do
not expose it to any liquid, gas or solids which may corrode the shell;
4.4 Ensure there are no obstacles within rotation range of the
holder;
4.5 Do not power on before completing installation.

Contents
Packing Contents
..............................
1
Product Overview
..............................
2
2.1 Speakerphone
..............................
2
2.2 HD PTZ Camera
..............................
2
2.3 Hub
..............................
3
Keys Description
..............................
3
3.1 About Remote Control
..............................
3
3.2 About Speakerphone
..............................
4
Connection Description
..............................
5
About Bluetooth Pairing
..............................
6
Expansion Mics
..............................
7
Technical Specifications
.............................
8
Warranty
.............................
11
Mission Statement
.............................
11

1
1.Packing Contents
1 2
3 4
5 6
1.Speakerphone
2.HD ptz camera
3.Hub
4.Remote control
5.5m din6 cable * 2 pcs
6. 3m usb cable *1 pcs
7. Power supply
7

2
1 2
3 C
6
2.Product Overview
2.1 Speakerphone
7
4
1 2 3
5
1.Optional expansion microphone port 1
2.Optional expansion microphone port 2
3.Din6 cable port
4.Led Status indicator
5.Bluetooth/power indicator
6.Function keys
7.Volume indicator
1. LAN(Upgrade and maintenance)2. DIN6 Cable port
3. Power and infrared receiving indicator
4. Bracket mounting screw hole
5. Bracket mounting positioning hole
2.2 HD PTZ Camera
4
1 2
3
5

3
2.3 Hub
1. DIN6 Cable port 2. DIN6 Cable port
3. Mini USB port
5. Power switch
4. Power port
6. Power indicator
7. Screw holes 8. Wire slot
3.Keys Description
3.1 About Remote control
1: Power/standby
2: Zoom in
3: Zoom out
4: Volume up
5: Volume down
6: Pan/Tilt
7: HOME(Camera Zero position)
8: Mute microphone
9: Pick up
10: Hang up
11: 0-9 Camera presets
12: Reserved (for future functions)
1 2 3 4 5
6
7
8

4
3.2 About Speakerphone
Presets button
Those keys represent the camera’s
preset positions 1, 2 and 3 respectively
Remote control
button
The Camera Zero position
Zoom in/out
The camera zooms in/out
Camera pan/tilt
Control the direction of the camera:
up, down, left, right.
Volume button
Press to Volume up/down button
Bluetooth button
Bluetooth pairing
Answer call
Press to Answer call
End call
Press to End call
Mute microphone
Press to Mute microphone button
+
+
Echo
cancellation
Press the three buttons at the same
time to enter the echo cancellation
mode; blue led flash 3 times. Press
again while the blue light flashing 2
times to exit this mode
1 2
3 C

5
4.Connection Description
1 ••
DIN6 cable to camera
MINI USB to PC 4
5
DIN6 cable to microphone
2
3
Power Supply 12V DC ( AC power adaptor )
BG-AIOE-KIT can be connected to computer, hardware
video devices and system via the Hub USB.
Connection steps:
1.Connect the camera and hub with the original DIN6 data cable.
2.Connect the speakerphone and hub with the original DIN6 data cable.
3.Connect the power supply equipment with the original power adapter.
4.Connect the USB cable to the USB port of the computer and video
conference system, and connect the other end to the USB socket of
the hub.
5. Confirm the connection was confirmed correctly, and turn on the
power switch. Turn on the conference software till the speakerphone
and Camera complete self-checking. Select the corresponding
Camera, microphone and speaker driver
to start the audio and video conference with the device.
Set up references for PC and video devices in USB call mode:
1.Please adjust the volume of horns and microphones comprehensively
to ensure the communication is clear and smooth.
2.Don’t turn on automatic gain of the speaker and microphone.
3.Give priority to turning off the audio processing functions of the
computer software/video software (such as automatic gain, echo
cancellation, noise reduction etc.).
Please use higher quality speech coding as far as possible.

6
5.
About Bluetooth Pairing
Audio call with Bluetooth
1. Press . Y Bluetooth indicator flashes meaning the microphone
has entered Bluetooth pairing mode.
2. Place the mobile device in Bluetooth search mode and select “BG -AIOE-
KIT”. After the Bluetooth connected, the indicator is blue. Now you can use
the microphone for audio calls.
Note: If pairing fails, please restart Bluetooth and try again.
6.Indicator Status
Indicator Status
Blue LED light
USB connection
Red LED light
Microphone
mute status
Volume
indicator
Green LED on
The higher the volume,
the more lights on
Red LED on
horn mute
Bluetooth
indicator
Y type blue light
1.Turn on the
Bluetooth, the green
light flashes
2.Bluetooth
connection green
light is alwayson
7.About presets
How to save presets
Adjust the camera to desired position. Press and hold the preset
button for 5 seconds. The corresponding preset position is set
successfully.
Note: 10 preset positions (0-9) can be set on the remote control; 3
preset positions (1-3) available for the speakerphone. The preset 0
is the power-on preset position.
How to use preset position:
Short press the preset button to call the corresponding preset
position (Note: the number key is invalid if it’s not preset).

7
8.The installation and use of expansion mics (optional)
Used for important and larger conferences.
1.Connect one end of a 4p4c cable (2.5m) to the socket of the
expansion microphone, and the other end to the EXT1 of
the Omni directional microphone.
2.Connect one end of a 4p4c cable (2.5m) to the socket of the
expansion microphone, and the other end to the EXT2 of
the omnidirectional microphone.
3.There are mute key and status led indicator on the
expansion microphone. Green indicator means working
normally and red indicator mute key and status LED
indicator means microphone mute.
Note:
Please plug and unplug the expansion microphones without
power to protect them.
mute key and status indicator

8
6.Technical Specifications
Model NO.
HD PTZ Camera
Sensor
1/2.8-inch high quality HD CMOS sensor
Effective Pixels
2.07M, 16:9
Video Format
176x144/320x240/320x180/352x288/640x480/
720x480/720x576/640x360/800X600/960X540/
1024X576/1024X768/1280X720/
1920X1080P30/25/20/15/10/5
Optical zoom lens
10x optical zoom, f=4.7~47mm
Digital zoom
X10
View angle
20°(tele) 83.7°(wide)
Aperture value
F1.8 –F2.8
Minimum Illumination
0.5Lux(F1.8, AGC ON)
DNR
2D
﹠
3D DNR
White Balance
Auto / Manual/ One Push/3000K/3500K/4000K/
4500K/5000K/5500K/6000K/6500K/7000K
Focus
Auto/Manual/One Push
Aperture/Electronic
Shutter
Auto/Manual
BLC
ON/OFF
WDR
OFF/ Dynamic level adjustment
Video Adjustment
Brightness, Color, Saturation, Contrast,
Sharpness, B/W mode, Gamma curve
SNR
>55dB
Rotation angle
Pan: -125°~+125°, Tilt:-30°~+30°
Control speed
Pan: 0.1 ~65°/sec, Tilt:0.1~35°/sec
Preset speed
Pan: 65°/sec, Tilt: 35°/sec
Dimensions
151.64mm×131.25mm×154.5mm (L×W×H)

9
Model NO.
Speakerphone
Voice technical
parameters
Acoustic Echo cancellation (AEC):>65dB
Echo length cancellation: ≥500ms
Bidirectional noise compression(NC):<25dB
Automatic Direction finding Technology of
Intelligent microphone(EMI0
Automatic gain control (AGC)
Audio parameters
Microphone frequency response:100Hz-22KHz
Speaker frequency response:100Hz-22KHz
Speaker volume:95dB at the most
Microphone sound-pickup diameter:
6 meters, 360 degrees full range
Bluetooth
Bluetooth devices available
IR Reception
Angle: 360°
Distance: 10m IR Transparent
transmission available
Expansion Mics
(optional)
2 optional external microphones
makes the sound-pickup range up to 10 m(33ft)
Dimensions
180mm×180mm×42mm(L×W×H)
Model NO.
Hub
Interface
Mini DIN6 × 2
Power interface × 1
Power switch × 1
Mini USB interface × 1
Power supply
EC3800 plug (DC12V) Adapter input
AC110V-AC220V, output DC12V/1.5A
Connection Cable
Mini DIN6 data line × 2
Length: 5m(10m/15m for options)
USB cable
USB2.0 cable
Compatibility
Support Windows, Android, iOS and Linux
Compatible with Zoom, Lynch, Vidyo,
Skype for business and etc.
Dimensions
100mm×62mm×27mm(L×W×H)

10
Accessories
Power adapter, USB2.0 cable,
remote controller, 2 connection cables,
user manual

11
Warranty
BZBGEAR wants to assure you peace of mind. All BZBGEAR cameras and
camera-related products include our Stress-Free Three-Year Warranty.
For complete warranty information, please visit BZBGEAR.com/warranty.
Mission Statement
BZBGEAR manifests from the competitive nature of the audiovisual
industry to innovate while keeping the customer in mind. AV solutions
can cost a pretty penny, and new technology only adds to it. We believe
everyone deserves to see, hear, and feel the advancements made in
today’ s AV world without having to break the bank. BZBGEAR is the
solution for small to medium-sized applications requiring the latest
professional products in AV.
We live in a DIY era where resources are abundant on the internet.
With that in mind, our team offers system design consultation and
expert tech support seven days a week for the products in our
BZBGEAR catalog. You’ll notice comparably lower prices with
BZBGEAR solutions, but the quality of the products is on par with the
top brands in the industry. The unparalleled support from our team is
our way of showing we care for every one of our customers. Whether
you’re an integrator, home theater enthusiast, or a do-it-yourselfer,
BZBGEAR offers the solutions to allow you to focus on your project and
not your budget.

Copyright
All the contents in this manual and its copyright are owned by
BZBGEAR. No one is allowed to imitate, copy, or translate this manual
without BZBGEAR’ s permission. This manual contains no guarantee,
standpoint expression or other implies in any form. Product
specification and information in this manual is for reference only and
subject to change without notice.
All rights reserved. No reproducing is allowed without
acknowledgement.
BZBGEAR®
www.bzbgear.com
830 National Drive
Sacramento, CA 95834
Phone: 1.888.499.9906
E-mail: support@bzbgear.com
Table of contents
Other BZB Gear Conference System manuals
Popular Conference System manuals by other brands

Cisco
Cisco EX90 Quick reference guide

Uniphone
Uniphone UD-60 Basic Installation & programming manual

Sony
Sony PCS-P160 Quick reference guide

Sennheiser
Sennheiser ADN C1 quick guide

VIS-A-VIS
VIS-A-VIS Vitalinq 94A-07 MM Operation and installation manual

Grandstream Networks
Grandstream Networks GVC3200 Quick user guide