manuals.online logo
Brands
  1. Home
  2. •
  3. Brands
  4. •
  5. Smart temp
  6. •
  7. Thermostat
  8. •
  9. Smart temp SMT-200 User manual

Smart temp SMT-200 User manual

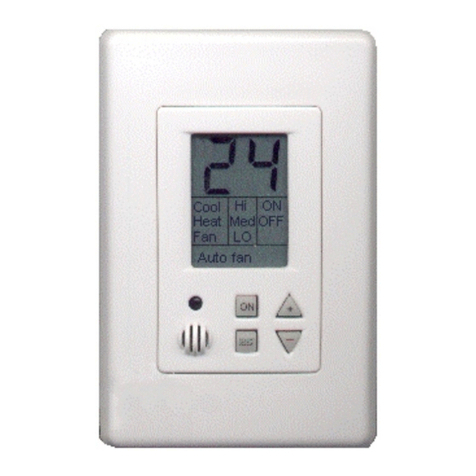
Operating Instructions
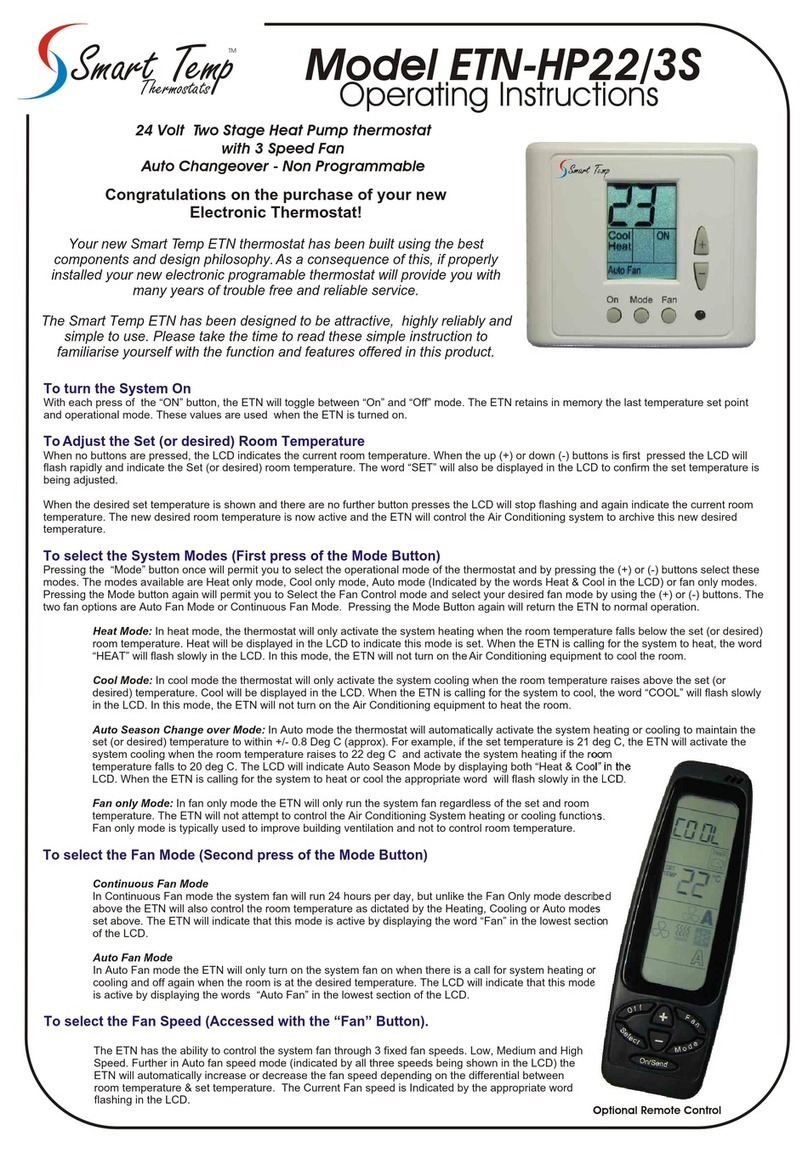
To turn the System On
To Adjust the Set (or desired) Room Temperature
To select the System Modes
To select the Fan Mode (Accessed with the “Fan” Button).
With each press of the “ON” button, the SMT will toggle between “On” and “Off” mode. The SMT retains in memory the last temperature set point
and operational mode. These values are used when the SMT is turned on.
When no buttons are pressed, the LCD indicates the current room temperature. When the up (+) or down (-) buttons is first pressed the LCD will
flash rapidly and indicate the Set (or desired) room temperature. The word “SET” will also be displayed in the LCD to confirm the set temperature is
being adjusted.
When the desired set temperature is shown and there are no further button presses the LCD will stop flashing and again indicate the current room
temperature. The new desired room temperature is now active and the SMT will control the Air Conditioning system to archive this new desired
temperature.
Pressing the “Mode” button will permit you to select the operational mode of the thermostat. Each press of the mode button cycles between Heat
only mode, Cool only mode, Auto mode (Indicated by the words Heat & Cool in the LCD) or fan only modes.
Heat Mode: In heat mode, the thermostat will only activate the system heating when the room temperature falls below the set (or desired)
room temperature. Heat will be displayed in the LCD to indicate this mode is set. When the SMT is calling for the system to heat, the word
“HEAT” will flash slowly in the LCD. In this mode, the SMT will not turn on the Air Conditioning equipment to cool the room.
Cool Mode: In cool mode the thermostat will only activate the system cooling when the room temperature raises above the set (or
desired) temperature. Cool will be displayed in the LCD. When the SMT is calling for the system to cool, the word “COOL” will flash slowly
in the LCD. In this mode, the SMT will not turn on the Air Conditioning equipment to heat the room.
Auto Season Change over Mode: In Auto mode the thermostat will automatically activate the system heating or cooling to maintain the
set (or desired) temperature to within +/- 0.8 Deg C (approx). For example, if the set temperature is 21 deg C, the SMT will activate the
system cooling when the room temperature raises to 22 deg C and activate the system heating if the room temperature falls to 20 deg C.
The LCD will indicate Auto Season Mode by displaying both “Heat & Cool” in the LCD. When the SMT is calling for the system to heat or
cool the appropriate word will flash slowly in the LCD.
Fan only Mode: In fan only mode the SMT will only run the system fan regardless of the set and room temperature. The SMT will not
attempt to control the Air Conditioning System heating or cooling functions.
Fan only mode is typically used to improve building ventilation and not to control room temperature.
Continuous Fan Mode
In Continuous Fan mode the system fan will run 24 hours per day, but unlike the Fan Only mode described above the SMT will also
control the room temperature as dictated by the Heating, Cooling or Auto modes set above. The SMT will indicate that this mode is active
by displaying the word “Fan” in the lowest section of the LCD.
Auto Fan Mode
In Auto Fan mode the SMT will only turn on the system fan on when there is a call for system heating or cooling and off again when the
room is at the desired temperature. The LCD will indicate that this mode is active by displaying the words “Auto Fan” in the lowest
section of the LCD.
Emergency Heat Mode ( EH )
Selecting this mode disables the use of compressors in heating when in Heat Pump mode. Heating is controlled only via W2 (AUX Heat ) terminal .
To select this mode Press and Hold the Fan button for 5 Second, the Display will show “H”using the Up or Down button you can toggle between “H”
or “EH” modes. ( Default is” H” normal heating operation with use of compressors, Y1 & Y2 )
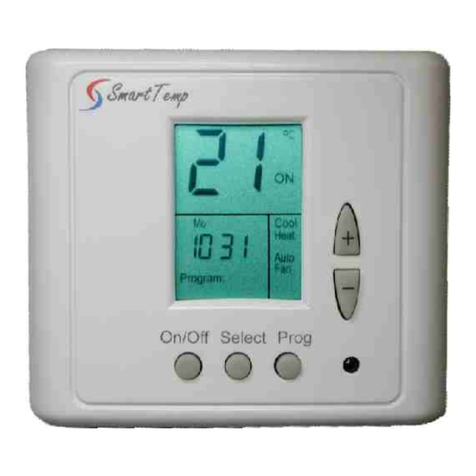
Model SMT-200
24 Volt Two Stage Heat Pump / Heat Cool thermostat
Auto Changeover - Non Programmable
Congratulations on the purchase of your new
Electronic Thermostat!
Your new Smart Temp SMT thermostat has been built using the best
components and design philosophy. As a consequence of this, if properly
installed your new electronic programable thermostat will provide you with
many years of trouble free and reliable service.
The Smart Temp SMT has been designed to be attractive, highly reliably and
simple to use. Please take the time to read these simple instruction to
familiarise yourself with the function and features offered in this product.
Smart Temp
Thermostats
TM
Smart Temp
Australia
Making Life Comfortable
Mode
Indication
IR Remote
Receiver
(If Fitted)
Thermostat
ON / OFF
Button
Thermostat
Mode Select
Button
Auto or Cont
Fan Status
Display
Thermostat
Fan Mode
Button
Thermostat
Status
Indication
Room & Set
Temperature
Display
+
-
On Mode Fan
22
Heat
Cool
Fan
On
Off
Auto Fan
Set
Temperature
Down Button
Temperature
Up Button
Specifications
Range: 5° to 30° c.
Resolution: 1.0°c
Accuracy: 0.3°c
Dead Band: 0.8°c
Stage Delay: 1.2° c
EC Settings: 10°c & 30°c
Load rating: 2Amps.
Voltage: 24VAC.
Connectors: Screw type.
Material: PC/ABS
Size: 80 x 90 x 22mm
Flammability: UL 94V-0
Weight: 145g
Warranty: 1 years
I.R. Receiver: Optional
S.W rev ESLC17 8D28
To access the Service Mode
When commissioning the SMT thermostat ensure the following setting match the
requirements of the Air Conditioning equipment being used.
To enter the service mode and make adjustments follow the steps below
1. Adjust the set temperature to 10 deg C using the Temp (-) button.
2. Press and hold the mode button for 5~8 seconds, the LCD will display the word
“Cool” and a numeric value in the display (Default is 10). Using the Temp (+) or Temp (-) adjust
this value (if required) to indicate the Minimum permitted temperature you wish the user to be
able to select.
3. Press the mode button again, now the LCD will display the word “Heat” and a numeric value in
the display (Default is 30). Using the Temp (+) or Temp (-) adjust this value (if required) to
indicate the Maximum permitted temperature you wish the user to be able to select.
4. Press the mode button again, now the LCD will display the letters “C” or “F”. Using the Temp
(+) or Temp (-) adjust this value (if required) to indicate the desired temperature display format.
Deg Centigrade (C) or Fahrenheit (F).
5. Press the mode button again, now the LCD will display the letters “EO”. One letter will be
flashing (Selected). Using the Temp (+) or Temp (-) adjust the flashing value to the required
parameter (if required). “E” Electric mode if you wish the thermostat to call the equipment fan
in Heat Mode. In “O” Oil / Gas mode the thermostat will let the equipment call its own fan in
heat mode.
6. If the Heat Pump / Heat Cool hardware selector jumper is in Heat Pump mode these additional
parameters can be set by pressing the mode button again. The letters “HC” will appear in the
display. One letter will be flashing (Selected). Using the Temp (+) or Temp (-) adjust the
flashing value to the required parameter (if required). “H” Reversing valve will be energised in
Heat mode, “C” indicates the reversing valve will be energised in Cool mode.
7. Pressing the mode button again. The numbers “30” will appear in the display. One number will
be flashing (Selected). Using the Temp (+) or Temp (-) adjust the flashing value to the required
parameter (if required). “3” indicates a 3 minute time delay between compressor calls is active,
“0” indicates there will be no time delay period between compressor calls and assumes the
equipment has its own short cycle protection.
Note, this value resets to “3” if the power fails.
Note: Please return the thermostat temperature settings to normal (i.e. Not 10 deg C)
Note: even though you may have set a Minimum & Maximum control temperature to values other
than the default 10 and 30 deg respectively, the user can still select a desired temperature outside
of the controlled range, however the SMT 200 will stop the air conditioning system at your control
limits
Key Board Lock
Your SMT has the ability to lock the keyboard from un authorised tampering. Pressing and holding
the mode button for 15~20 seconds will lock the thermostat. Repeat this procedure to unlock the
thermostat. “LC” will be displayed when the keyboard is locked and a button has been pressed.
Note - this function will NOT work if the set temperature is 10Deg C (Service mode).
Alarm output
The SMT has an Alarm terminal that will activate if the room temperature falls below 6C. The Alarm
output will automatically reset above 8 deg C.
(Service Personnel only)
“EC” or Economy Comfort Mode.
Your SMT thermostat is fitted with a unique
Economy Comfort or Holiday Function
The EC function sets the thermostat mode to Auto
changeover mode and limits fan speed to low (Auto
fan mode). In EC mode the thermostat will activate
the system heating when the room temperature
falls below 10°c and system cooling when the room
temperature is above 30°c.
The EC mode is ideal for situations where you do
not with the home to overheat or freeze during
holidays or long periods of un attendance.
To activate EC mode simply press and hold the
On/Off button for 5 seconds. The letters “EC” will be
displayed on the thermostat to confirm this function
is active.
To turn the EC mode off simply press and hold the
On/Off button for 5 seconds. The thermostat
display will return to normal.
Wiring Diagrams and Dip Switch Configuration
G
G
Y1
Y1
Y2
Y2
W1
W1
W2
W2
C
C
Rh
Rh
Rc
Rc
24Vac
Supply
24Vac
Supply
T
T
T
T
Remote
Sensor
Remote
Sensor
Heat 1
Reversing Valve
Active
Active
Neutral
Neutral
Fan
Fan
Cool 1
Compressor 1
Cool 2
Compressor 2
Heat 2
Aux Heat
Heat Cool Connection
Heat Pump Connection
On On
1 2 3 1 2 3
Sensor Configuration
AL
AL
O/B
O/B
Alarm
Alarm
Internal Sensor Remote Sensor
Black Denotes Switch Position
1
2
3
1
2
3
Mode SelectJumper
Mode SelectJumper
*Default
*Default
Smart Temp Australia Pty Ltd
19 Indra Road Blackburn South 3130
Phone:(03) 9899 6455 Fax (03) 9899 6454
www.thermostat.com.au RevC 28-04-2006
Smart Temp
Australia
Making Life Comfortable
JMP5
JMP5
Other Smart temp Thermostat manuals

Smart temp SMT-310 User manual

Smart temp

Smart temp SMT-310 User manual

Smart temp SMT-24 User manual

Smart temp

Smart temp SMT-24 User manual

Smart temp 42-159 User manual

Smart temp

Smart temp 42-159 User manual

Smart temp SMT?770 User guide

Smart temp

Smart temp SMT?770 User guide

Smart temp Microstat User manual

Smart temp

Smart temp Microstat User manual

Smart temp ERT-100HP11/3S User manual

Smart temp

Smart temp ERT-100HP11/3S User manual

Smart temp SMT-710 User manual

Smart temp

Smart temp SMT-710 User manual

Smart temp 44-850 Apollo User manual

Smart temp

Smart temp 44-850 Apollo User manual

Smart temp 44-400 User manual

Smart temp

Smart temp 44-400 User manual

Smart temp SMT?770 User guide

Smart temp

Smart temp SMT?770 User guide

Smart temp ISIS User manual

Smart temp

Smart temp ISIS User manual

Smart temp SMT-101 User manual

Smart temp

Smart temp SMT-101 User manual

Smart temp SMT-110 User manual

Smart temp

Smart temp SMT-110 User manual

Smart temp 42158 User manual

Smart temp

Smart temp 42158 User manual

Smart temp SMT - 131 User manual

Smart temp

Smart temp SMT - 131 User manual

Smart temp SMT-80ж SMT-80RF User manual

Smart temp

Smart temp SMT-80ж SMT-80RF User manual

Smart temp 44-233 User manual

Smart temp

Smart temp 44-233 User manual

Smart temp FMT24-HC113S User manual

Smart temp

Smart temp FMT24-HC113S User manual

Smart temp SMT-400 Instruction Manual

Smart temp

Smart temp SMT-400 Instruction Manual

Smart temp Inspire Touch Use and care manual

Smart temp

Smart temp Inspire Touch Use and care manual

Smart temp SMT?770 User manual

Smart temp

Smart temp SMT?770 User manual

Smart temp SMT - 131 User manual

Smart temp

Smart temp SMT - 131 User manual

Smart temp 44-101 User manual

Smart temp

Smart temp 44-101 User manual

Smart temp 42 157 User manual

Smart temp

Smart temp 42 157 User manual

Popular Thermostat manuals by other brands

Siemens RDG400 quick start guide

Siemens

Siemens RDG400 quick start guide

LUX SMART TEMP TX9100U user manual

LUX

LUX SMART TEMP TX9100U user manual

Danfoss DEVIreg 233 installation guide

Danfoss

Danfoss DEVIreg 233 installation guide

Honeywell RTH2520 Installation and user guide

Honeywell

Honeywell RTH2520 Installation and user guide

iO HVAC Controls Titan UT32 installation manual

iO HVAC Controls

iO HVAC Controls Titan UT32 installation manual

Salus OPTIMA ZigBee quick start guide

Salus

Salus OPTIMA ZigBee quick start guide

Amana DSA01NM installation instructions

Amana

Amana DSA01NM installation instructions

Toptech TT-S-755 installation manual
Toptech

Toptech TT-S-755 installation manual

Pro1 Technologies T771 Operation manual

Pro1 Technologies

Pro1 Technologies T771 Operation manual

Saswell T19 Series manual

Saswell

Saswell T19 Series manual

Danfoss 103E5 Installation and user guide

Danfoss

Danfoss 103E5 Installation and user guide

Coronado CCRC30F-KIT owner's manual

Coronado

Coronado CCRC30F-KIT owner's manual

Eurotronic Spirit Z-Wave Plus quick start guide

Eurotronic

Eurotronic Spirit Z-Wave Plus quick start guide

INTERTECHNO ITH-610 operating instructions

INTERTECHNO

INTERTECHNO ITH-610 operating instructions

INSTEON TempLinc 2441TH owner's manual

INSTEON

INSTEON TempLinc 2441TH owner's manual

Siemens RDY2000BN installation instructions

Siemens

Siemens RDY2000BN installation instructions

Danfoss RAS-D2 Combi instructions

Danfoss

Danfoss RAS-D2 Combi instructions

Hunter 44459 owner's manual

Hunter

Hunter 44459 owner's manual

manuals.online logo
manuals.online logoBrands
  • About & Mission
  • Contact us
  • Privacy Policy
  • Terms and Conditions

Copyright 2025 Manuals.Online. All Rights Reserved.