SmartMan BLS CPR User manual

www.SmartMan.biz
BLS Manikin Manual
Products
BLS CPR

SmartMan BLS Manikin Training Systems - pg. 1
Contents
Safety and Regulatory Notices........................................................................................................................ 2
FCC Statement.................................................................................................................................................. 2
1. Introduction .................................................................................................................................................... 2
1.1. SmartMan BLS Models .............................................................................................................................. 2
2. Specifications................................................................................................................................................. 3
2.1 Weight........................................................................................................................................................ 3
2.2 Dimension .................................................................................................................................................. 3
2.3 Usage and Storage...................................................................................................................................... 3
3. Preparation for Training ............................................................................................................................... 3
3.1 The PopUp Component.............................................................................................................................. 4
3.2 USB Connector ........................................................................................................................................... 4
3.3 Carry Bag/Training Mat or Travel Duffle .................................................................................................... 4
3.4 Mounting the Legs on the Torso ................................................................................................................ 4
3.5 Connecting the Manikin to the Computer ................................................................................................. 5
3.6 Starting the Software ................................................................................................................................. 5
3.7 Using the Software..................................................................................................................................... 5
3.8 Updating the Software ............................................................................................................................... 5
3.9 Carotid Pulse .............................................................................................................................................. 6
3.10 Adjusting Chest Resistance ...................................................................................................................... 6
3.10.1 How to Adjust Chest Resistance ...................................................................................6
4. Using the Manikin Training System............................................................................................................ 7
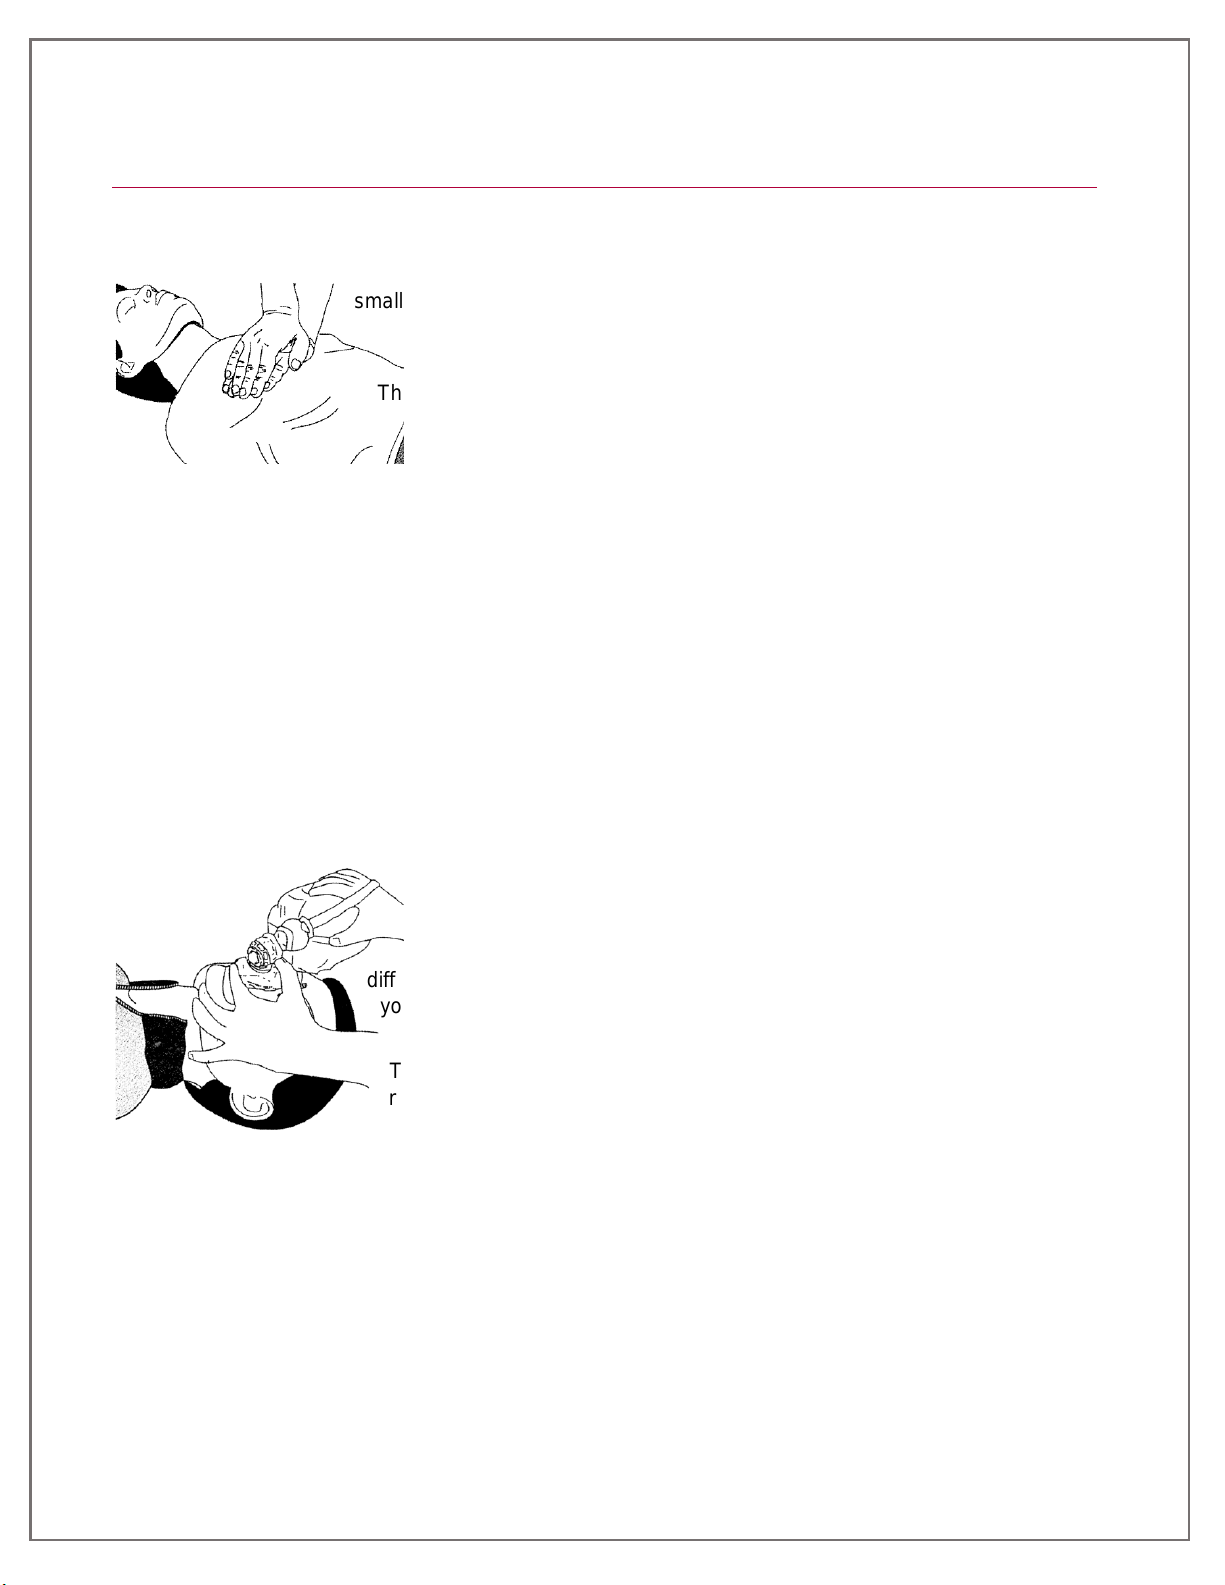
4.1 Compressions ............................................................................................................................................. 7
4.2 Ventilations ................................................................................................................................................ 7
4.3 Jaw Thrust .................................................................................................................................................. 7
4.4 CPR ............................................................................................................................................................. 8
4.5 Checking Pulse............................................................................................................................................ 8
5. Mouth-to-Mouth and the Hygiene System................................................................................................. 8
5.1 Secondary Air System Principles ................................................................................................................ 8
5.2 Correct Hygienic Practice ........................................................................................................................... 8
5.3 How to Replace the Air Bag........................................................................................................................ 8
6. Cleaning.......................................................................................................................................................... 9
6.1 Cleaning of Face and Face Piece ................................................................................................................ 9
6.2 Cleaning of the Skull, Neck and Body......................................................................................................... 9
6.3 Cleaning of Clothing ................................................................................................................................. 10
6.4 Cleaning of Carrying Bag and Wheeled Duffle ......................................................................................... 10

SmartMan BLS Manikin Training Systems - pg. 2
Safety and Regulatory Notices
FCC Statement
(Regarding wireless option ONLY)
SmartMan uses an off the shelf FCC approved wireless router.
(Regarding computer)
SmartMan uses a standard computer, which in most cases is a laptop computer which is approved and
meets on requirements.
1. Introduction
The SmartMan BLS Manikins are advanced instructional and training devices. They are designed to
simulate realistic conditions during cardiopulmonary resuscitation. They are designed to be connected to
a PC computer running under the windows operating system. Each of these manikins provide for physical
as well as digital feedback on the computer when performing chest compressions, ventilations, CPR and
other related procedures required during cardiopulmonary resuscitation. The combination of the physical
and digital components are referred to as SmartMan Training Systems. These systems come in various
hardware and software configurations to emphasize training on particular aspects of cardiopulmonary
resuscitation.
These manikins simulate a normal adult and provides an excellent lifelike representation of the human
anatomy, particularly those features important to training in modern resuscitation techniques.
These manikin training systems are suitable for most aspects of Basic Life Support (BLS) training.
1.1. SmartMan BLS Models
SmartMan is available in several configurations. All BLS systems feature adjustable chest resistance, the
ability to practice jaw thrust and a hygiene system which makes these systems appropriate for training in
mouth-to-mouth resuscitation techniques. The manikins are equipped with a mechanical instrument,
digital sensors and a USB connector.
The popup contains the connector to the USB cable and it contains a view port. The view port provides a
general indication that the physical components for chest compressions and ventilations are working
correctly and they give a rough indication of depth of chest compression, volume of ventilation, and
stomach inflation. There is a blind on the popup on the side facing to the head of the manikin to obstruct
the view of these indicators. This can slide to the up or down positions.
These manikin models are fitted with electronic sensors. These do not require batteries. They utilize the
power from the computer when attached via USB cable.
When used in wireless mode, the sensors are powered by the battery from the router. The wireless is
connected to the USB port in the popup.
When connected to the computer, the SmartMan software appropriate to your particular model will record
the digital data produced as skills are performed. It will display the information related to parameters
important to improving performance skills for CPR. The data is stored on the local hard drive and can be
examined later.

SmartMan BLS Manikin Training Systems - pg. 3
2. Specifications
2.1 Weight
Weights vary depending on which product. Below are approximate weights.
Torso with carrying case/mat: approximately. 12kg / 27lbs
Torso with wheeled duffle: approximately 15kg / 32lbs
Torso: approximately 9kg / 19lbs
2.2 Dimension
Torso: approx. 80 cm
Part/ Material
Basic Unit
Polyethylene
Instrument part
ABS plastic
Skull
PVC, hard
Chest skin
PVC, soft
Face piece
PVC, soft
Head bag, disposable
Polyethylene
Training suit
50% cotton and 50% polyester
Carrying bag/training mat
PVC coated nylon material
2.3 Usage and Storage
Storage temperature (non-condensing): -18 °C (-0,4 °F) to 40 °C (105 °F)
Usage temperature (non-condensing): -5 °C (23 °F) to 40 °C (105 °F)
3. Preparation for Training
The manikin is supplied either in
1) a special carry bag which, when opened, folds out to provide a mat for the trainee during training. To
open, undo the three clips and unfold. If desired, the outer folds can be folded under the central part.
When repacking, these manikins should foam put over the body. The hole goes over the nose to protect
it from being flattened; or
2) a wheeled protective duffle. To open, unzip the duffle, open the top and undo the harness straps which
secure the manikin. A separate kneeling pad is included. When repacking, place the waist of the manikin
towards the wheels, then reattach the harness. Place the kneeling mat at the end over the popup so that
it is not covering the face.
When supplied as a full body model, the arms and legs will be in separate carry bag.
When supplied with an IV arm, the IV arm will be in a separate carry case.

SmartMan BLS Manikin Training Systems - pg. 4
3.1 The PopUp Component
To pull out the popup, depress the catch in the middle of the black housing at the waist of the manikin
(see picture right). Allow the instrument to pop out. It is on springs and will push upward when released.
Allow it to come fully up.
The USB connector is on the side and there
are markings on each side of the
popup. The side facing the head has a
blind which can be pulled up to
obscure that side (see picture above
left).
An indication that a ventilation has been put into the lungs will be
indicated on the left side of the popup. As you inflate the lungs,
the marker will rise. The correct natural setting before air is put
into the lungs should be at the base of the popup so that very
little of it is visible when at rest. The Line at V1 is only an
indication marker. It does not
represent a specific volume.
Stomach inflation is indicated in the middle. When air goes into the stomach you will hear the indicator
move. If quite a lot of air goes into the stomach, red markers will rise in this area.
Chest compressions are indicated on the right side of the panel. The correct natural setting should be
with this marker up at the top. As you press on the chest the indicator will move downward.
With the popup not pulled out, no damage is done if the chest is compressed.
3.2 USB Connector
To connect the manikin to a computer use the USB-Plug, which is placed on
the left side of the popup. The popup must be in the up position to connect
the USB.
3.3 Carry Bag/Training Mat or Travel Duffle
Carry Bag. Unfold the bag. The manikin can be steadied by
inserting the back of the manikin onto the plastic holder on the back
of the mat.
Travel Duffle. Unzip the top half of the duffle. Release the harness and pull the manikin out from the
plastic molded shell.
3.4 Mounting the Legs on the Torso
Pull down the trousers from the legs a little to around the top of the hips.
Place the legs in a position so that the 2 dowels on the hip part can slide
into the corresponding dents at the bottom of the manikin’s body.

SmartMan BLS Manikin Training Systems - pg. 5
Press the two Velcro straps firmly to the body.
To remove legs pull off the Velcro straps and the legs will be
disengaged.
3.5 Connecting the Manikin to the Computer
Bring the popup to the up position by depressing the catch. Plug the USB cable into the popup and the
other end into the computer. Allow a minute for the driver of the manikin to be loaded into the operating
system. Start the software by double clicking on the icon on your computer screen.
3.6 Starting the Software
Double click the icon on the screen. The program will verify the connection. If the connection is not able
to be established the software will display an error. If this happens unplug the USB cable at both ends,
wait for 5 seconds, and plug both ends in again.
The software can be used without connecting to the manikin for specific functions such as creating
logins, reviewing results and printing reports.
NOTE: The first time the software is installed on a computer, the system must be connected to the
manikin.
3.7 Using the Software
When the software verifies the connection, you will see the LOGIN MENU. In order to perform any
activity on the system, you must login. You can click on the Practice Session login to go directly to the
Main Menu. You can quickly create your own logins or use an existing login. You do not require an
internet connection to create logins and you do not require a key code to create logins.
MAIN MENU. Once you login you will be at the main menu. Here you will see the Skills Set Menu. Click
on one of the skill areas (Compressions, Ventilations, CPR, Tutor). When you click on each of these, the
activities which you can perform are displayed. When you select an activity, click the large green start
button to begin performing the skill. Feedback will appear as soon as you perform any skill.
TRAINER TOOLS. The trainer is able to view all results at any time. To view results there is no need to
be connected to the manikin or to the internet. There is a special Trainer Tools Menu which allows the
trainer to create classes and logins, to copy a list from Word or a txt file, to quickly produce charts from
results, and to create a zip file from results and send them to an email address. To access the Trainer
Tools Menu, login with any login such as Practice Sessions. At the Main Menu click on the Trainer Tools
Button at the right side of the window. To exit the Trainer Tools Menu, click the Trainer Tools button a
second time.
3.8 Updating the Software
You do not need to be connected to the manikin to update the software.
You must be connected to the internet to update the software.
To update the software, start the software by double clicking on the icon. When you are at the Login
Menu, click the Update button on the right side of the main window. You will be given the option to
update the software or not. If you have not updated the software for a while, there may be several

SmartMan BLS Manikin Training Systems - pg. 6
updates. When one update has finished, it will indicate whether there is another update available or not.
If so repeat the procedure.
3.9 Carotid Pulse
Fit the tube with the bellows onto the tube connector located on the
right side of the black waist housing. The carotid pulse can be created
manually by compressing the bellows.
3.10 Adjusting Chest Resistance
The stiffness of the chest can be adjusted as required by loosening
the thumb screw on the back of the manikin. With the device moved
towards the head, resistance is decreased. With the device moved
towards the waist the resistance in increased.
Approximately 6 N/mm (0.7 kg/mm) and 11 N/mm (1.2 kg/mm), indicate
the force at least resistance and maximum resistance which must be
applied to compress the chest by 1 mm.
Example: Compressing the chest by 40 mm at the lightest setting,
a force of approximately 240 Newton (24 kg) must be applied.
The normal setting is in the middle which corresponds to
approximately 8.5 N/mm (0.85 kg/mm).
3.10.1 How to Adjust Chest Resistance
To move the chest resistance mechanism, it is important to turn the manikin on its side and press down
on the side of the chest to reduce the pressure on the center of the chest. If you fail to take pressure from
the chest, the main spring may not move correctly.
1) Put manikin on its side
2) Press one side of the chest to reduce pressure on the center of the chest
3) Loosen the wing nut
4) Slide the mechanism to the position you want
5) Tighten the nut
When you have finished try a couple of compressions to see that the main spring is a) positioned
correctly and b) the movement mechanism is not sliding. If you feel that the mechanism is moving the
resistance is not correct, perform the following procedure to correct it. Repeat the process but move the
mechanism rapidly toward the head and waist several times to put the main spring back into the correct
position. Then tighten the nut sufficient to secure it from moving when compressions are performed.

SmartMan BLS Manikin Training Systems - pg. 7
4. Using the Manikin Training System
4.1 Compressions
Your manikin is designed for practicing external chest compressions. It provides for full depth and gives
you the ability to change the chest resistance to simulate from a youth or
smaller person to an adult or larger person. See instructions above.
The digital sensors provide for more accurate recording of key parameters
than a person can perceive. It is designed to provide for optimal training.
The software feedback will indicate depth, rate and release, as well as the
degree of non-release, whether it is deeper than recommended and
whether you have hit the bottom.
On the right side of the back panel, the slider will move up and down as you perform compressions. This
will indicate that the chest is connected and is thus moving up and down.
The software will provide a score on the performance which can be considered to be the value of the
performance to the patient. The score and a full analysis are provided as soon as the activity has
completed.
It is possible to turn off the feedback on the screen. This permits a truly objective scoring of the
performance. When the performance has been completed the score and full analysis will be displayed on
the screen.
4.2 Ventilations
The Manikin System is supplied with a hygienic system and this can be used for mouth-to-mouth or
mouth-to-nose ventilation must therefore not be performed. It is also suitable for ventilating with a bag
valve mask.
When the head is correctly tilted or a jaw thrust is performed the
ventilation fills the lungs with air. The manikin’s chest will expand; you
will also notice that the sound of the air going into the manikin is
different than if you have a leak; the volume and rate of flow is displayed on
your computer screen.
There are several activities for practicing ventilations in your software.
There is one activity which is designed to improve how you control both the
rate and volume of air from the BVM.
When performing bag/mask ventilation there is a possibility for stomach inflation,
which causes the manikin’s stomach to rise. This happens if the ventilation is too fast, the volume is too
high or if the head is not tilted correctly.
These manikins also provide feedback on chest compressions and the ventilations and their related
timings.
For ventilations, the colored bars will also indicate the volume and rate of air flow as well as the length of
the interval between breaths.
4.3 Jaw Thrust
These manikin system provide for training in how to perform a jaw thrust. Position yourself at the patient’s
head. Without moving the head, place your fingers behind the angles of the lower jaw. Carefully move the

SmartMan BLS Manikin Training Systems - pg. 8
jaw in and upward. Remember do not tilt the head back. This will lift the tongue off the palate and open
the airway. You can then perform ventilations in the normal way.
4.4 CPR
These manikin training systems simulate the feel of a patient’s body during CPR. They are designed with
sensors to provide digital feedback on the interaction between the chest compressions and the
ventilations. The performance of chest compressions and ventilations will be recorded and displayed on
the computer screen as they are performed and in the summary when the activity has finished.
The feedback and data will record the relative timing of the ventilations with the compressions as well.
One and Two person CPR can be performed as well as compressions only CPR. You can manually
change the number of cycles of CPR which you wish to perform.
4.5 Checking Pulse
The carotid pulse can be felt on both sides of the neck if
simulated manually by the instructor.
The bulb and tube are connected to the waist of the manikin.
5. Mouth-to-Mouth and the Hygiene System
The BLS systems come with a secondary air system to prevent contamination of the stomach when mouth-to-
mouth resuscitation techniques are performed.
5.1 Secondary Air System Principles
When the head is in the correct position with head tilt-chin lift or with the jaw thrust maneuver the airway
is open. Air enters through the mouth into a bag inside of the head. The expansion of the bag in the head
pushes secondary air into either the lungs or stomach.
This means that the air from mouth-to-mouth is not entering the lungs or the stomach. All air provided by
the person is contained within the bag in the head.
Warning: See the section on cleaning for proper cleaning of face pieces. The face pieces must not be
boiled, autoclaved or gas sterilized.
5.2 Correct Hygienic Practice
For complete security, each person should have their own face piece and be responsible for cleaning it.
Before each person uses the manikin for mouth-to-mouth, the head bag should be replaced.
5.3 How to Replace the Air Bag
The face is held in place with a clip on each ear. Remove the face piece by gently forcing the ear over
each clip. Then pull the face up and off the head. The head bag has a ring around the top of it. Lift it and
pull the bag out.
To install a new bag it is important that you DO NOT twist the bag. Hold the bag by the ring, with your
other hand squeeze the length of the bag so all of the air is removed. It will look like a long thin strip.
Push the bag into the hole in the head beginning with the tip of the bag. Push until it is all in the hole and
the ring is resting against the top of the hole. Verify that the ring fits evenly down against the top when
you push on it.

SmartMan BLS Manikin Training Systems - pg. 9
To replace the face piece, pull the chin part of the face skin up so that you can clearly see the plastic
piece that goes onto the ring. Put it into the hole in the head. Make sure the plastic piece is firmly on the
ring, then while holding it in place connect the ear clips. When you give a ventilation no air should leak
around the ring or the plastic piece which you inserted into the hole. If air leaks or if air does not flow
smoothly, repeat the above process to reseat the bag and head piece.
6. Cleaning
6.1 Cleaning of Face and Face Piece
No internal cleaning and disinfecting is necessary.
Warning: The face pieces must not be boiled, autoclaved or gas sterilized.
Cleaning of Face Piece
The face pieces can be reused after cleaning and disinfecting. Wash with soap and water. Wash
items in warm water, max. 65°C, using a mild detergent. Rinse thoroughly in clean water to
remove all traces of detergent and allow to dry before storing.
Warning: This must NOT be cleaned with anything except soap and water.
Manual Washing of Face
Rinse the face piece in clean water. Wash items in warm water, max. 65°C, using a mild
detergent. Rinse thoroughly in clean water to remove all traces of detergent and allow to dry
before storing.
Machine Washing of Face
The face pieces can be washed automatically. Apply a normal amount of detergent and choose a
washing program with a maximum temperature of 65°C. Allow items to dry before storing.
Disinfecting the Face
If the face becomes infected, the face piece can be cleaned (do NOT do this with the HOLDER)
Place the items in a sodium hypochlorite solution with minimum 500 ppm freely accessible
chlorine (1/4 of a cup of liquid household bleach per gallon (approx. 4 litres) of tap water for 10
minutes). This solution must be fresh and should be discarded after use.
Place the items in a 70% ethyl alcohol solution for minimum 30 minutes.
Chemical disinfection can also be performed using recognized disinfectants suitable for use with
polyvinylchloride (PVC). The supplier's directions on dosage and disinfection period should be
closely followed. Always rinse the face pieces in clean water after disinfection and allow to dry
before storing.
6.2 Cleaning of the Skull, Neck and Body
The skull, face piece, neck and body can be wiped with a cloth moistened in a mild detergent and then
wiped once more using a cloth moistened in clean water. When washing never allow detergent or water
to enter the skull, body or instrument unit. If necessary, cover the connection between body and
instrument unit with a cloth.
Marks on the manikin left by lipstick or ball pen can penetrate the material and should therefore be
removed as quickly as possible using alcohol. Ink marks will remain.

SmartMan BLS Manikin Training Systems - pg. 10
To remove grease marks, use a degreaser which is suitable for use on the hands (not those for use
directly on engines or floors). Put a small amount of the degreaser on a cloth and rub the grease spot.
Immediately wipe clean with a moist cloth.
6.3 Cleaning of Clothing
The tracksuit is made of 50% cotton and 50% polyester and is washable at max. 40 °C (104 °F).
6.4 Cleaning of Carrying Bag and Wheeled Duffle
Both the carry bag/mat and the wheeled duffle can be washed in a mild detergent using a cloth or soft
brush, rinsed in clean water, and then dried.
Table of contents
Popular Medical Equipment manuals by other brands

Mercado Medic
Mercado Medic REAL 9200 TWIN Instructions for use and care

Hitachi
Hitachi S3ESEL instruction manual

Atmos
Atmos Scope operating instructions

Hydrogen For Health
Hydrogen For Health PEM+ instruction manual

LogicMark
LogicMark CaretakerSentry Cell Accessory Quick install guide

3M
3M Ranger quick start guide

Ossur
Ossur PROPRIO FOOT PSX01 Instructions for use

Storz
Storz 11272 V Series instruction manual

AAT
AAT c-max U1 C1414 Translation of the original user manual

FujiFilm
FujiFilm Revoria Press SC180 reference guide

VISIOMED
VISIOMED OXYcheck VM-300C18 user manual

Drive Medical
Drive Medical 13221L instructions