Smartpond WGK200 User manual
1
Water Garden Kit
MODEL/MODELO #WGK200
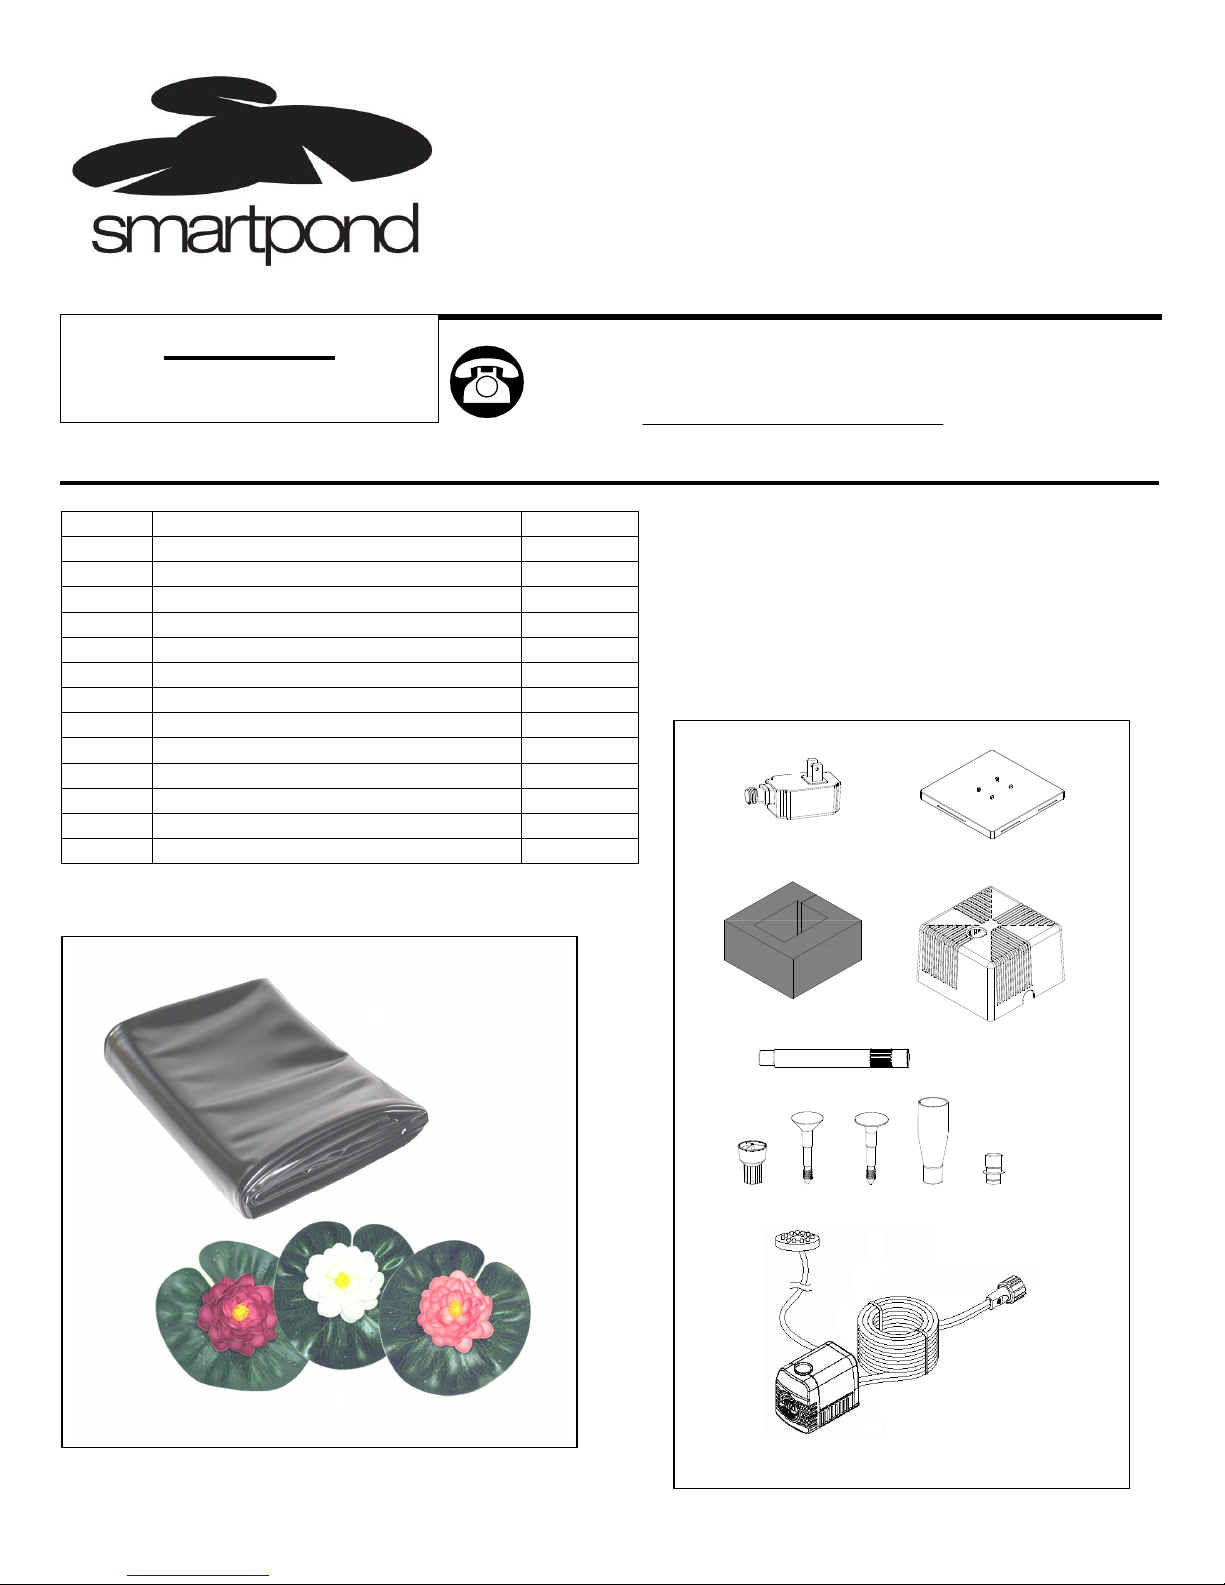
PACKAGE CONTENTS
Part Description Quantity
A Floating Lilies 3
B Extension tube 1
C Waterspray nozzle 1
D Trumpet fountain head 1
E Waterbell fountain head 1
F PVC pond liner (7 ft. x10 ft.) 1
G Pump withlight assembly 1
H Filter block 1
I Filter cover 1
J Base plate 1
K Lower fountain headnozzle 1
L Adapter 1
M Transformer 1
Questions, problems, missing parts? Before returning
to your retailer, call our customer service department at
1-866-869-5300, 8 a.m.-6 p.m., EST, Monday-Friday, or
email us at customercare@smart-pond.com.
REMINDER
CALL 1-866-869-5300
BEFORE RETURNING TO STORE.
A
B
C
D
E
F
G
H
I
J
K
L
M
2
WARNINGS AND CAUTIONS
WARNING
•Risk of electrical shock. Thispump is supplied with agrounding conductor and grounding type
attachmentplug. Toreduce the risk ofelectric shock, be certainthat itis connectedonly to aproperly
grounded, grounding-type receptacle (GFCI).
•Do not exceed the voltage shown on the pump.
•Always disconnect pump from the power sourcebefore beginning any maintenance or work on the
pump.
•Inspect cord for damage beforeinstallationand/or maintenance. Replacethe entire pump assembly if
damage isfound.
•Do not remove the grounding pin from the power cord plug.
•Risk of electrical shock This pump has not been investigatedfor use in swimmingpools ormarine
areas.
CAUTION
•This pumphas been evaluated for use with water only.
•Use a proper power source as indicated on the pump label.
•Keep the cord away from high temperatures or other heat sources.
•Avoid using the pump when water temperatures fall below 41°F.
•Do not use the pump in water exceeding 86°F.
•Do not pump heatedliquids.
•Do not let the pump run dry. Pump must be completely submerged for proper operation and cooling.
•Operate infreshwater only. Avoid heavily chlorinated water and water with high pH levels.
•Do not lift the pump by its power cord.
PREPARATION LINER
Before installing your pond liner, make sure it is in good condition with no tears or holes. Ifyou find any
damage, do not attempt to install the liner. Contact customer service for a replacement.
•Estimated Assembly Time: 2 hours
•Tools Required for Assembly: Sand, Shovel.
NOTES LINER
Calculate the dimensions of your pond. Your pond should be at least 18 in. deep at the deepest point.
Allow for a10 in. overlap around the perimeter of the pond. The 7 ft.x10 ft.liner will create a pond that is
approximately 3 ft.x6 ft.x18 in. deep. It will hold approximately 200 gal. of water.
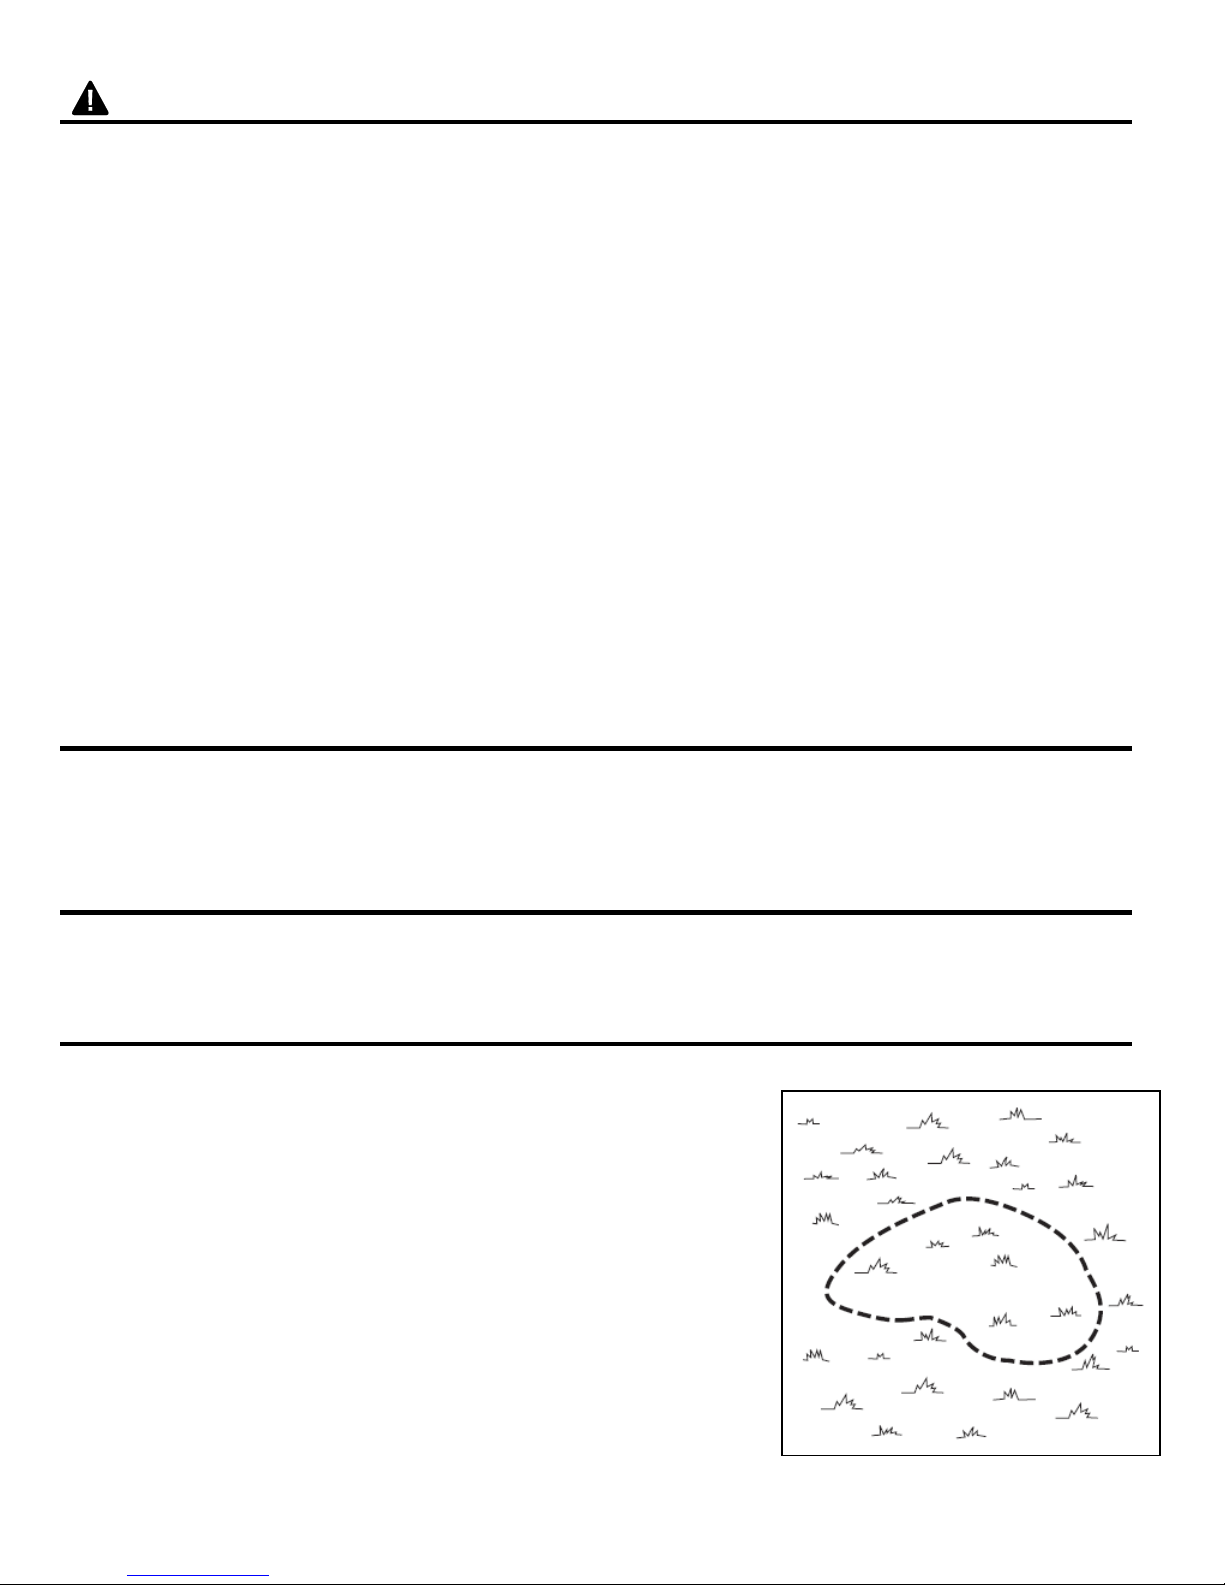
INSTALLATION INSTRUCTIONS LINER
1. Use sand to mark the outline of your pond.Fig. 1
Fig.1

3
2. Dig out your pond and remove any debrisor rocks that might
damage your liner. Add approximately 2 in. of sand to the
pond area.The sand functions as a cushion beneath your
pond liner.Spread the sand over the entire area and
compact it. Fig. 2
Fig.2
3. Open the liner and drape it across the pond area, making
sure to leave at least 10 in. of overlap around the perimeter of
the hole. Begin to fill the pond with water, smoothing out any
wrinkles as you do this. Fig. 3
Fig.3
4. When the pond is full, bury the excess liner in a small trench
around your pond with stones and rocks, accordingto your
landscape design. Fig. 4
Fig.4

4
ASSEMBLY INSTRUCTIONS FOUNTAIN HEADKIT
1. Assemble the LED ring and extension tubes. Connect the
extension tubes to the pump using the adapter. Fig.5
Fig.5
2. Choose a fountain head for the desired water effect, and
assemble your choice as shown in Fig. 6
Fig.6
3. Connect the pump to the transformer. Screw on the locking
nut. Fig. 7
Fig. 7
4. Connect the pump to a proper power source. Fig. 8
Fig.8
C
E
D
K
K
B
B
B
B
L
GFCI
Transformer
Plug from
pump

5
CARE AND MAINTENANCE
•Keep water clean to prolong the life of the pump. Use of distilled water will reduce mineral deposits.
•Regular cleaningof the pump may be necessary dependingupon the environment in which it is
operated. Clean the pump when it is visibly soiled or when a drop in performance is detected.
•Before cleaning, always disconnect the pump from the power source.
•Remove all parts from the pump and clean in warm,soapy water.
•Disassemble the pump housingand remove the impellerhousing to expose the impeller assembly.
Remove the impellerassemblyby gentlypulling onthe impeller blades.Use asoft cloth or brush
to clean the impeller assembly and the inside of the impeller housing.
TROUBLESHOOTING
If the pump fails to operate:
•Check to make surethe powercord is plugged in and the pump is getting power.
•Check the pump outlet and any tubing, fountains, spitters etc. for kinks or obstructions.
•Remove theinlet screen and/orpump cover, and impellerhousing to expose the impeller. Turn
the impeller to ensure that it is not broken or jammed.
If the performance of the pump is not satisfactory or the pump does not flow evenly:
•Check to make surethe pump is completely submerged in water.
•Check to make surethe impeller and the housing are clean.
•Adjust flowcontrol.
REPLACEMENT PARTS LIST
For replacement parts, call our customer service department
at 1-866-869-5300, 8 a.m.-6 p.m., EST, Monday-Friday.
Printed in China
Part Description
B Extension tube
C Waterspray nozzle
D Trumpet fountain head
E Waterbell fountain head
F PVC pond liner (7 ft. x10 ft.)
G Pump withlight assembly
H Filter block
I Filter cover
J Base plate
K Lower fountain headnozzle
L Adapter
M Transformer
N Flow control knob
O Front cover
P Impeller cover
Q Impeller assembly
F
G
L
H
I
K
B
C
D
E
M
J
N
O
P
Q
Table of contents
Other Smartpond Lawn And Garden Equipment manuals


Popular Lawn And Garden Equipment manuals by other brands

Sunforce
Sunforce SOLAR user manual

GARDEN OF EDEN
GARDEN OF EDEN 55627 user manual

Goizper Group
Goizper Group MATABI POLMINOR instruction manual

Rain Bird
Rain Bird 11000 Series Operation & maintenance manual

Cub Cadet
Cub Cadet BB 230 brochure

EXTOL PREMIUM
EXTOL PREMIUM 8891590 Translation of the original user manual


Vertex
Vertex 1/3 HP Maintenance instructions

GHE
GHE AeroFlo 80 manual

Land Pride
Land Pride Post Hole Diggers HD25 Operator's manual

Yazoo/Kees
Yazoo/Kees Z9 Commercial Collection System Z9A Operator's & parts manual

Premier designs
Premier designs WindGarden 26829 Assembly instructions

Snapper
Snapper 1691351 installation instructions