Product description
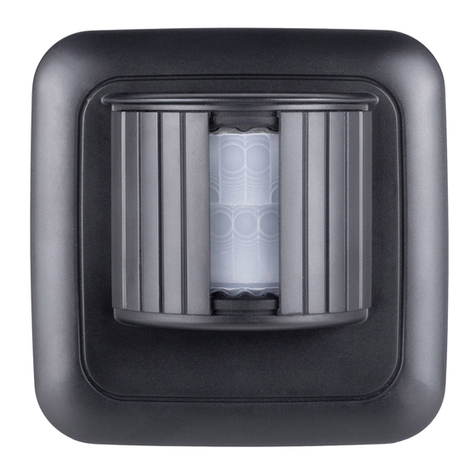
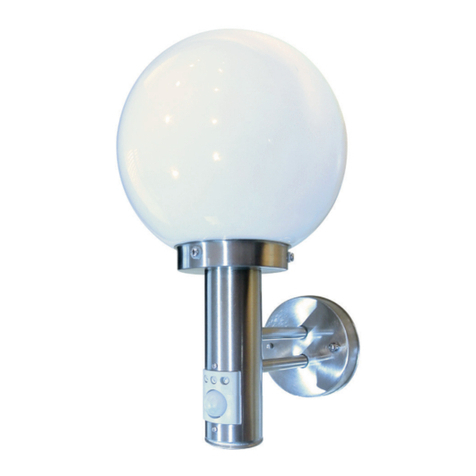
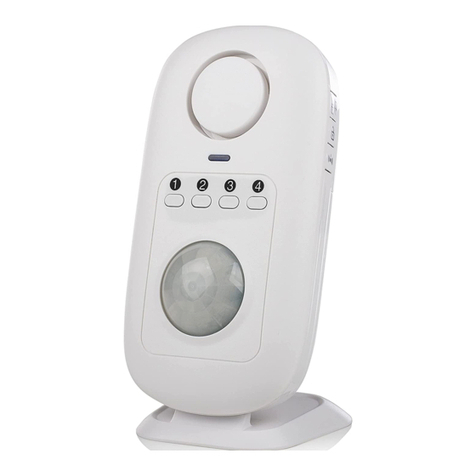
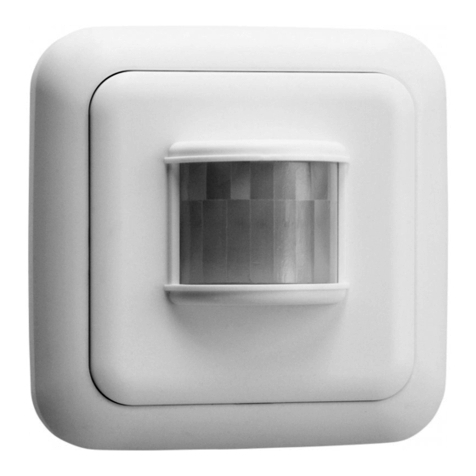
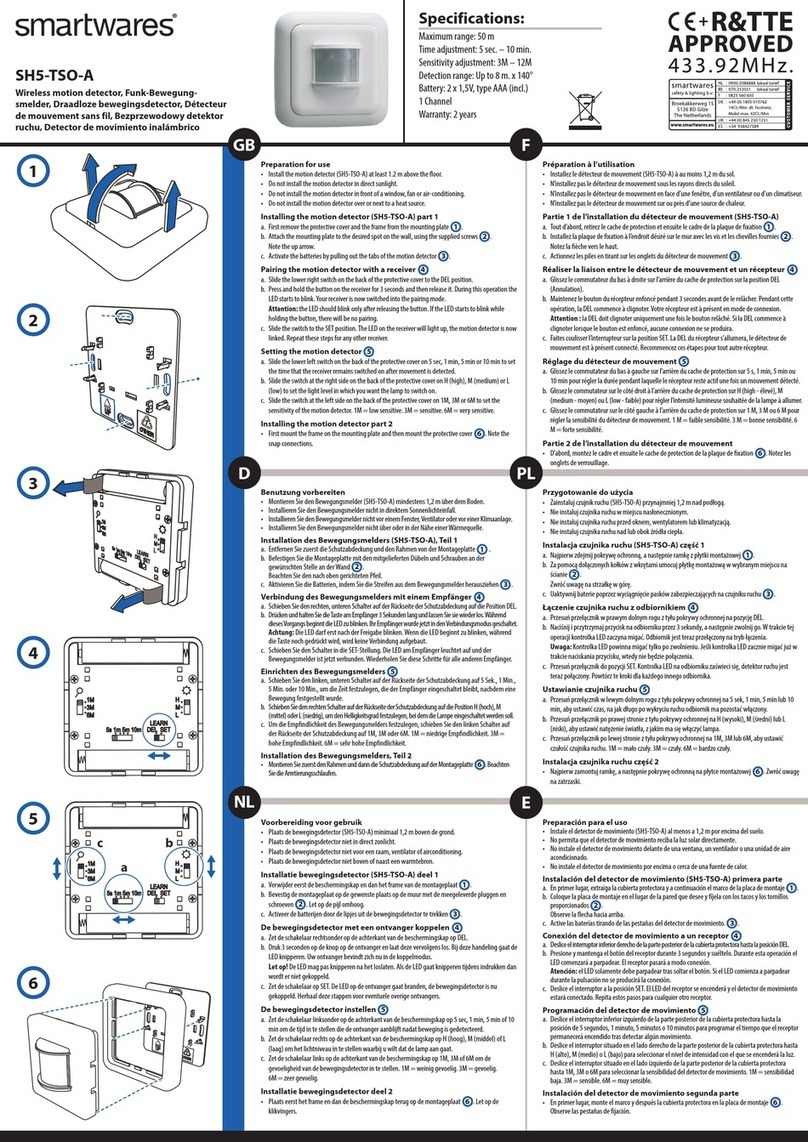
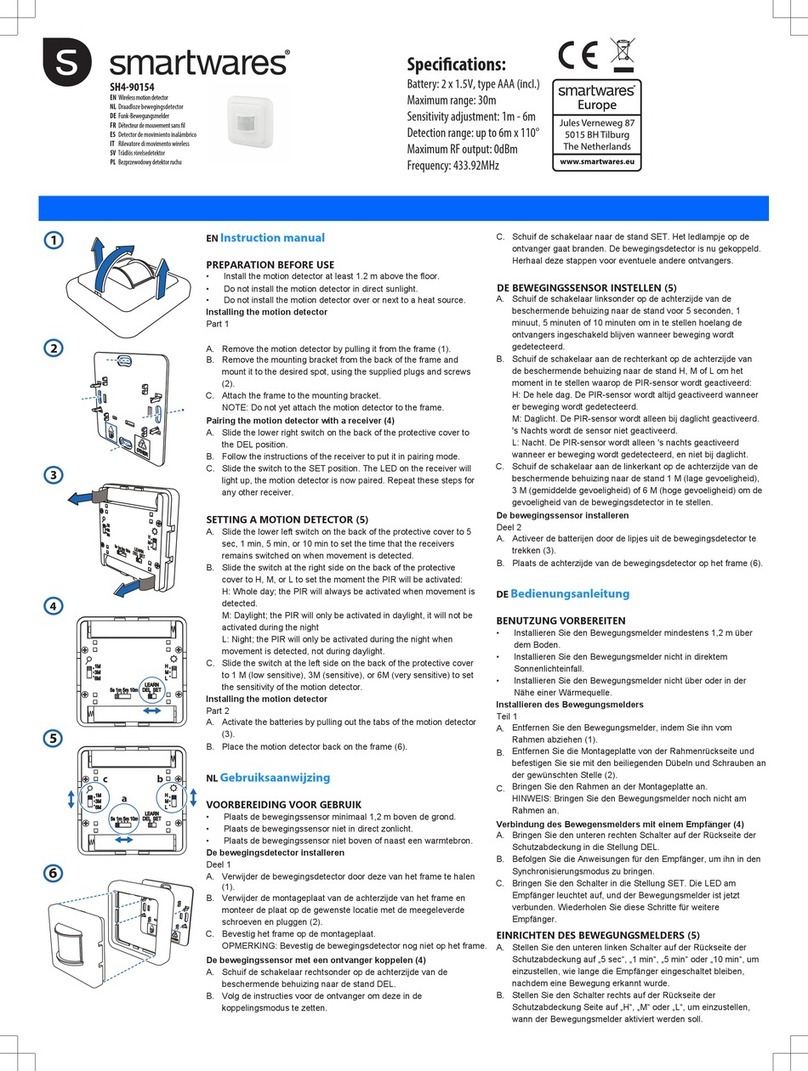
The ES46 motion detector operates using infrared motion detection. When motion is detected, the
motion detector turns on a light. The motion detector has a range of 12metres in a 160° radius.
Preparation for use
•
• 1.
Set the time for how long the lig ht will remain on
• Turn the time-setting knob 2 to the desired position. The time the light remains on can be set
from 10 seconds to 7 minutes.
Set the lig ht intensity
• Turn the light intensity knob 3 to the desired position. The light intensity can be set from 3 to
2000 LUX.
Set the fun ction swi tch
The motion detector has three settings:
1. OFF: In this setting, the motion detector will not turn a light on when motion is detected.
2. Automatic (PIR): In this setting, the motion detector will turn a light on when motion is detected.
3. ON: In this setting, the light is continually on.
• Push the function switch to the desired position 4
Connect the motion de tector to a power sou rce 5
• Connect the phase wire (brown) to L.
• Connect the neutral wire (blue) to (N).
• Connect the wire of the light (black) to .
• Connect the wire of the light (blue) to (N).
Install the motion de tector
• Fasten the motion detector to the desired place (electrical box or socket) using screws 6.
• Press the motion detector cap back on the housing 7.
• Turn on the power via the mains switch in your meter box.
Produkt beschreibung
Der ES46 Bewegungsmelder arbeitet mit Infrarot-Bewegungserkennung. Wenn eine Bewegung erkannt
wird, schaltet der Bewegungsmelder eine Lampe ein. Der Bewegungsmelder hat eine Reichweite von 12
m bei einem Radius von 160°.
Vorbereitung für die Verwendung
• Schalten Sie den Strom mithilfe des Hauptschalters in Ihrem Messgerät aus.
• Nehmen Sie die Abdeckung des Bewegungsmelders vom Gehäuse 1 ab.
Stellen Sie ein, wie lange die Lampe leuc hten soll
• Drehen Sie den Zeitregler 2 auf die gewünschte Position. Die Zeit kann zwischen 10 Sekunden und
7 Minuten eingestellt werden.
Stellen Sie ein, mit welcher Lic htstä rke sich die Lampe einschal tet
• Drehen Sie den Helligkeitsregler 3 auf die gewünschte Position. Die Helligkeit lässt sich zwischen
3 und 2000 LUX einstellen.
Stellen Sie den Funktionsschal ter ein
Der Bewegungsmelder hat drei Einstellungen:
1. Aus (OFF): In dieser Einstellung schaltet der Bewegungsmelder keine Lampe an, wenn eine Bewegung
erkannt wird.
2. Automatik (PIR): In dieser Einstellung schaltet der Bewegungsmelder eine Lampe ein, wenn eine
Bewegung erkannt wird.
3. Ein (ON): In dieser Einstellung ist die Lampe ständig eingeschaltet.
• Schieben Sie den Funktionsschalter auf die gewünschte Position 4 (aus, automatisch oder ein).
Schließen Sie den Bewegungsmelder an die Stromverso rgung an 5
• Verbinden Sie den stromführenden Leiter (braun) mit L.
• Verbinden Sie den Nullleiter (blau) mit (N).
• Verbinden Sie das Lampenkabel (schwarz) mit .
• Verbinden Sie das Lampenkabel (blau) mit (N).
Bringen Sie den Bewegungsmelder an
• Schrauben Sie den Bewegungsmelder an der gewünschten Stelle 6 (Abzweigdose oder
Elektroschaltkasten) fest.
• Setzen Sie die Abdeckung des Bewegungsmelders wieder auf das Gehäuse 7.
• Schalten Sie den Strom mithilfe des Hauptschalters in Ihrem Messgerät ein.
Omschrijving p roduct
De ES46 bewegingsdetector werkt door middel van infrarood bewegingsdetectie. Wanneer beweging
wordt gedetecteerd schakelt de bewegingsdetector een lamp in. De bewegingsdetector heeft een
bereik van 12 meter met een hoek van 160°.
Voorbereiding voor geb ruik
• Schakel de stroom uit met de hoofdschakelaar in uw meterkast.
• Duw de kap van de bewegingsdetector van de behuizing 1.
De tijd ins tellen waarin de lamp blij ft branden
• Draai de knop voor de tijd 2 naar de gewenste positie. De tijd kan ingesteld worden tussen 10
seconden en 7 minuten.
Instellen bij welke lichtsterkte de lamp inscha kelt
• Draai de knop voor de lichtsterkte 3 naar de gewenste positie. De lichtsterkte kan ingesteld
worden tussen 3 en 2000 LUX.
De fun ctiescha kelaar ins tellen
De bewegingsdetector heeft drie standen:
1. Uit (OFF): In deze stand schakelt de bewegingsdetector geen lamp in wanneer beweging wordt
gedetecteerd.
2. Automatisch (PIR): In deze stand schakelt de bewegingsdetector een lamp in wanneer beweging
wordt getecteerd.
3. Aan (ON): In deze stand is de lamp continue ingeschakeld.
• Duw de functieschakelaar naar de gewenste positie 4 (uit, automatisch of aan).
De bewegingsde tector aanslui ten op de st roomtoevoer 5
• Verbind de fasedraad (bruin) met L.
• Verbind de nuldraad (blauw) met (N).
• Verbind de draad van de lamp (zwart) met .
• Verbind de draad van de lamp (blauw) met (N).
De bewegingsde tector pla atsen
• Schroef de bewegingsdetector vast op de gewenste plek 6 (inbouwdoos of elektrische doos).
• Duw de kap van de bewegingsdetector weer op de behuizing 7.
• Schakel de stroom in met de hoofdschakelaar in uw meterkast.
Description du p roduit
Le détecteur de mouvements ES46 fonctionne à l’aide d’un module infrarouge. Lorsque l’appareil
détecte un mouvement, il allume une lampe. Le détecteur de mouvements a une portée de12 mètres et
couvre un angle de 160°.
Préparation avant l’utilis ation
• Coupez le courant avec le disjoncteur principal dans votre armoire de compteur électrique.
• Ôtez le couvercle du boîtier du détecteur de mouvements 1.
Régler le temps du rant lequel la lam pe reste allumée
• Tournez le bouton du temps 2 sur la position souhaitée. Le temps peut être réglé entre 10
secondes et 7 minutes.
Régler la luminosi té à pa rtir de laquelle la lam pe s’allume
• Tournez le bouton de la luminosité 3 sur la position souhaitée. La luminosité peut être réglée
entre 3 et 2000 LUX.
Régler l’interrupteur de fonction
Le détecteur de mouvements possède trois positions:
1. Éteint (OFF) : Sur cette position, le détecteur de mouvements n’allume pas de lampe lorsqu’il détecte
un mouvement.
2. Automatique (PRI) : Sur cette position, le détecteur de mouvements allume une lampe lorsqu’il
détecte un mouvement.
3. Allumé (ON) : Sur cette position, la lampe est allumée en permanence.
• Poussez l’interrupteur de fonction sur la position souhaitée 4 (éteint, automatique ou allumé).
Brancher le dé tecteur de mou vements au boîtier d’alime ntation 5
•
•
• .
•
Installer le dé tecteur de mou vements
• Vissez le détecteur de mouvements à l’endroit souhaité 6 (boîte encastrable ou boîte électrique).
• Replacez le couvercle du détecteur de mouvements sur le boîtier 7.
• Branchez le courant avec le disjoncteur principal dans votre armoire de compteur électrique.
Opis p roduktu
•
• 1.
• 2
sekundami i 7 minutami.
• 3
Czujnik ruchu ma trzy pozycje:
1.
2.
3.
• 4
5
•
•
• .
•
Umies zczenie czujni ka ruchu
• 6
• 7.
•
Descri pción del p roducto
El detector de movimiento ES46 funciona mediante infrarrojos. Si detecta movimiento, el detector
enciende una bombilla. El detector de movimiento tiene un radio de acción de 12 metros con un ángulo
de 160°.
Preparación pa ra el uso
• Corte la corriente eléctrica desde el interruptor principal del contador.
• Retire la tapa de la carcasa del detector de movimiento 1.
• Gire el botón que regula el tiempo 2
10 segundos y 7 minutos.
• Gire el botón que regula la luminancia 3 hasta la posición deseada. La luminancia puede ajustarse
entre 3 y 2.000 LUX.
El detector de movimiento tiene tres posiciones:
1. Apagado (OFF): En esta posición, el detector de movimiento no se enciende aunque se detecte
movimiento.
2. Automático (PIR): En esta posición, el detector de movimiento se enciende si se detecta movimiento.
3. Encendido (ON): En esta posición, la bombilla permanece siempre encendida.
• Coloque el selector de función en la posición deseada 4 (apagado, automático o encendido).
Conexión del de tector de m ovimie nto a la corrie nte elé ctri ca 5
• Conecte el cable de fase (marrón) a L.
• Conecte el cable neutro (azul) a (N).
• Conecte el cable de la bombilla (negro) a .
• Conecte el cable de la bombilla (azul) a (N).
Colocación del de tector de m ovimie nto
• Atornille el detector de movimiento en el lugar deseado 6 (caja de conexiones o eléctrica).
• Coloque la tapa de la carcasa del detector de movimiento 7.
• Conecte la corriente eléctrica en el interruptor principal del contador.
EN
DE
NL
FR
PL
ES
ES46
10.017.20
220-240V/AC
1
2
3
4
5
6
7
Motion detector
Bewegungsmelder
Bewegingsdetector
Détecteur de mouvement
Czujnik ruchu
Detector de movimento
Detection range : 160°
Power source : 220-240V~, 50Hz
Rated load : 200W energy-saving
: 500W incandescent
Detection distance : 12 meters
Time delay : 10 sec. - 7 min.
Ambient light : 3 - 2000 LUX
Installation Height : 1 - 1,8 meters
12
