SMARTWINGS INS-C035 Operating instructions

INS-C035
A-01 Feb 2023


.......................................................11.Button Instructions
..............................................................................22.Pairing
.......................33.Switch Rotating Direction (Optional)
..................................44.Setting Open and Close Limits
.........................................................55.Favorite Positions
...................................................................66.Adjust Limits
................................77.Pair / Unpair Additional Emitter
........................................................88.Deleting All Limits
...............99.Weak-current Switch Modes (Optional)
....................................1110.Run/Stop by Pulling Fabric
.....................................................1211.Speed Regulation
............................................1312.Reset to Factory Mode

Button Instructions
OPEN
CLOSE
(Optional)
1
Black=DOWN
Green=UP
Red=STOP
White=COM
RJ11-6P6C

Pairing
1 flash and 1 beep
Note: 1 flash and 1 beep
5 flashes and 3 beeps
Press & HOLD
Motor Button(2sec)
2

Switch Rotating Direction (Optional)
IF PRESS OPEN AND MOTOR IS CLOSED-Press
and hold down the OPEN and CLOSE button
simultaneously until the motor 5 flashes and 3
beeps.
To check motor direction, quickly press the
OPEN or CLOSE button to move the shade
initially. Press STOP to pause the shade
operation.
Press and Hold OPEN + CLOSE (2sec)
Press CLOSE botton once
IF PRESS OPEN AND MOTOR IS CLOSED-Press and hold motor button for 10S (3 flashes), release button
and beeps 3 times, press CLOSE (5 flashes and 3 beeps), the direction has been switched successfully.
Press & Hold motor button (10sec)
Note: the motor 5 flashes and 3 beeps
Note: the motor 5 flashes and 3 beeps
Method one:
Method two:
3 flashes, release button
and 3 beeps
3

Setting Open and Close Limits
Note: the motor 5 flashes and 3 beeps
(To SET Open limit)
Press OPEN once. the
curtain will open until stop
against obstacle.
Press CLOSE once. the
curtain will close until stop
against obstacle.
Press OPEN once, the curtain will open until stop against obstacle, then press CLOSE once, the
curtain will close until stop against obstacle. The motor will flash 5times and beep 3 times, the limit
switch has been set successfully.
(To SET Close limit)
4

Favorite Positions
Note: 5 flashes and 3 beeps
Note: 1 flash and 1 beepposition Note: 1 flash and 1 beep
Note: 1 flash and 1 beep Note: 1 flash and 1 beep Note: slow flash once and long
beep once
Follow the below steps to set a favorite position . The favorite position is used to set a custom stopping
point between the OPEN and CLOSE limits. (1 favorite position per shade motor)
Press OPEN or CLOSE to
move shade to desired
favorite position
5

Adjust Limits
slow flash once and
long beep once
5 flashes and 3 beeps
slow flash once and
long beep once
5 flashes and 3 beeps
Follow the below steps to adjustthe OPEN and CLOSE limits if required.
Press OPEN & STOP (5sec)
Press CLOSE & STOP (5sec)
Press OPEN & STOP (2sec)
Press CLOSE & STOP (2sec)
(SET Open Limit)
(SET Close Limit)
6

Pair / Unpair Additional Emitter
Note: 1 flash and 1 beep Note: 1 flash and 1 beep Note: 5 flashes and 3 beeps
Select channel on existing remote to be copied
Select channel on new remote where existing channel will be copied
Note:
• Repeat the same process will activate the function.
7

Deleting All Limits
Press P (1 flash and 1 beep) , CLOSE (1 flash and 1 beep) , and P (5 flashes and 3 beeps) , all limits are
removed.
Note: 1 flash and 1 beep Note: 1 flash and 1 beep Note: 5 flashes and 3 beeps
Press CLOSE (1sec)
8

Weak-current Switch Modes (Optional)
1 Double button pushbutton switch mode (Factory default)
Com line connects
Up line
Motor up
Com
Down
Up
Loosen the Com line
and Up line, and then
connect
Motor stop
Com
Down
Up
Com line connects
Down line
Motor down
Com
Down
Up
Loosen the Com line
and Down line, and then
connect
Motor stop
Com
Down
Up
2 Mechanical switch mode
Com line connects
Up line
Motor up
Com
Down
Up
Up line and Down line
are not connected
Motor stop
Com
Down
Up
Com line connects
Down line
Motor down
Com
Down
Up
Press and hold motor button for 10S (3 flashes), release button and beeps 3 times, press P once (1 flash
and 1 beep), then press button for 2S (5 flashes and 3 beeps), the mode has been successfully switched.
Press and hold P1 button for 10S (3 flashes), release button and beeps 3 times, press P2 twice (2 flashes
and 2 beeps) then press P1 button for 2S (5 flashes and 3 beeps), the mode has been successfully
switched.
Note: 1 flash and 1 beep Note: 5 flashes and 3 beeps
Note: 3 flashes, release button and
3 beeps
Press & Hold motor button
(2sec)
Press P once
Press & Hold motor button
(10sec)
Note: 2 flash and 2 beep Note: 5 flashes and 3 beeps
Note: 3 flashes, release button and
3 beeps
Press & Hold motor button
(2sec)
Press P twice
Press & Hold motor button
(10sec)
9

3 Electronic switch mode
Com line connects
Up line
Motor up
Com
Down
Up
Com line connects
Down line
Motor down
Com
Down
Up
Com line connected to the
Up line and Down line
Motor stop
Com
Down
Up
Com line connects
Stop line
Motor stop
Com
Down
Up
Stop
4 Single channel pushbutton switch mode
Com line connects to Up
or Down lines first time
Motor up
Com
Up/Down
Com
Up/Down
Com
Up/Down
Com line connects to Up
or Down line second time
Motor stop
Com line connects to Up
or Down line third time
Motor down
Weak-current Switch Modes (Optional)
Press and hold P1 button for 10 S (3 flashes ) release button and beeps 3 times, press P2 for 3 times (3
flashes and 3 beeps), then press P1 button for 2S (5 flashes and 3 beeps), the mode has been successfully
switched.
Press and hold P1 button for 10S (3 flashes), release button and beeps 3 times, press P2 for 4 times (4
flashes and 4 beeps), then press P1 button for 2S (5 flashes and 3 beeps), the mode has been successfully
switched.
Note: 3 flash and 3 beep Note: 5 flashes and 3 beeps
Note: 3 flashes, release button and
3 beeps
Press & Hold motor button
(2sec)
Press P three times
Press & Hold motor button
(10sec)
Note: 4 flash and 4 beep Note: 5 flashes and 3 beeps
Note: 3 flashes, release button and
3 beeps
Press & Hold motor button
(2sec)
Press P four times
Press & Hold motor button
(10sec)
10

Run/Stop by Pulling Fabric
*The factory default mode is ON.
Do the following steps to manually open/close the shades if needed.
3 flashes, release button
and 3 beeps
Press &HOLD Motor
Button(10sec)
• Repeat the same process will activate the function.
Note: 5 flashes and 3 beeps
11

Speed Regulation
Note: 1 flash and 1 beep
1 flash and 1 beep
1 flash and 1 beep 5 flashes and long beep once
5 flashes and long beep once
If the motor beeps twice and the
indicator light flashes rapidly, its'
speed has reached the maximum
or minimum level.
If the motor beeps twice and the
indicator light flashes rapidly, its'
speed has reached the maximum
or minimum level.
Press OPEN:
Press CLOSE: Press CLOSE:
Press OPEN:
12

Reset to Factory Mode
1 flash 1 flash 1 flash & 4 beeps1 flash
The motor will 4 flash and 4 beeps times before the reset is complete . The vvvvv button must be
held the entire time . Red led light on confirm the factory reset is complete
To reset the shade motor to factory settings with no stored limits locate the P1 button on the
motor head . Hold the botton button for 14 seconds . ( 4 flash 4 beeps )
13
Table of contents
Other SMARTWINGS Window Blind manuals
Popular Window Blind manuals by other brands
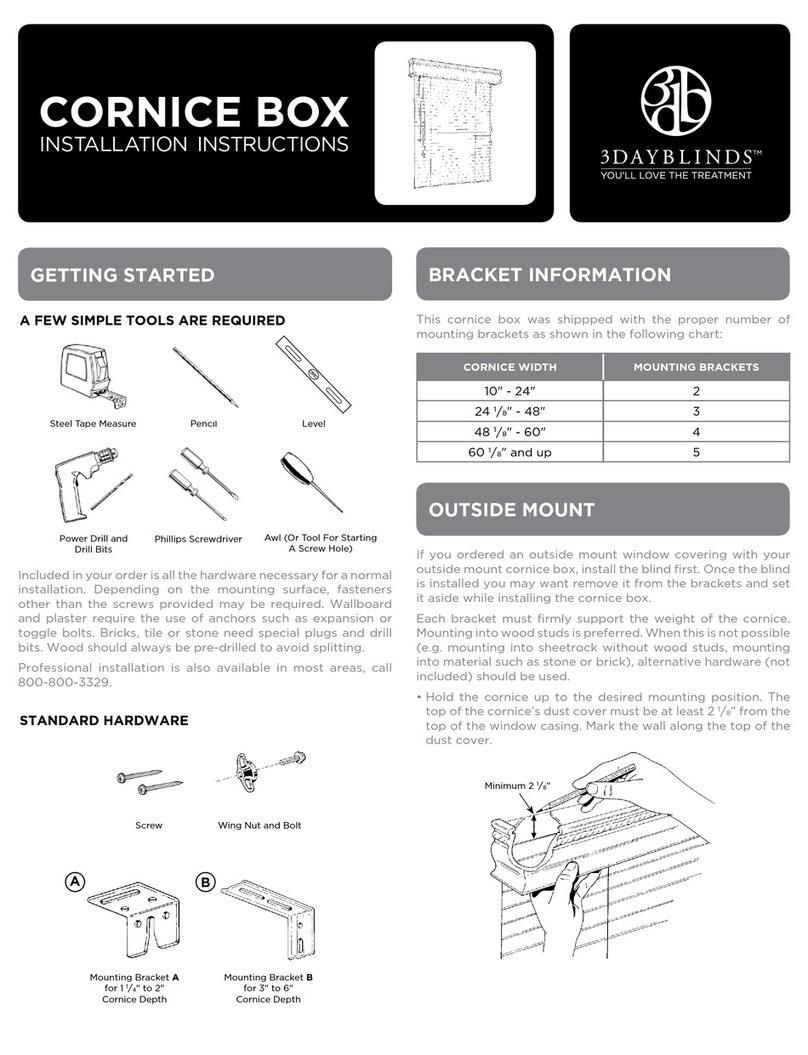
3 Day Blinds
3 Day Blinds Cornice Box Installation instructions manual
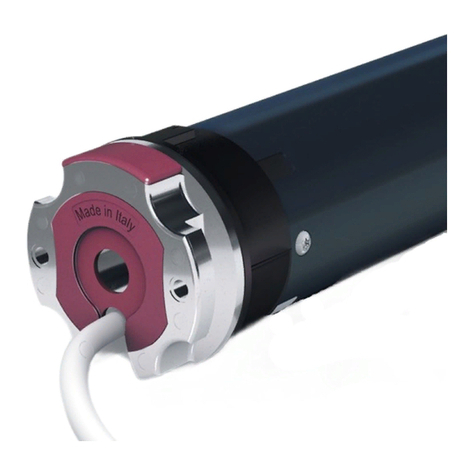
CHERUBINI
CHERUBINI Wave Wire instructions

Ziptrak
Ziptrak Sunscreen Mesh Blind user guide
Dometic
Dometic FlyTec FT100 Installation and operating manual

Isotra
Isotra LARRA 30 MEASUREMENT AND ASSEMBLY MANUAL
MHZ
MHZ 11-8110 Installation and operating instructions

