SMARTWINGS WR05-09CH Operating instructions

INS-C041-A
A-03 Dec 2023
Remote Programming Guide
Day/Night Shade
Levitate Shade


Each Smart battery motor is factory-preprogrammed. This ensures the motor
is paired with its remote, operational limits are preset, and the remote is
unlocked for use.
1. Remote Overview.............................................1
2. Sleep Mode.....................................................2
3. Adjusting Limits..............................................3
4. Favorite Positions............................................4
5. Motor Pairing..................................................5
6. Mirroring Remotes..........................................6
7. Group Control..................................................7
8. Hiding/Unhiding Remote Channels..................9
9. Adjusting Motor Speed...................................10
10. Reset to Factory Settings...............................11
11. Initial Setup Programming............................12
12. Reverse Motor Direction................................18
13. Tilt Mode......................................................19
14. Motor P Button Functions..............................20
15. Recharge the Battery ...................................21
16. Troubleshooting...........................................22

1
Remote Overview

To activate "Sleep Mode" when needed, press and hold the programming button for
10 seconds. Once the motor jogs three times, release the button. The motor is now in
"Sleep Mode."
To awaken the motor from "Sleep Mode" after ensuring its safe and secure installation,
press and hold the programming button on the motor head until the motor makes a
single jog. The motor is now active and prepared for further configuration.
To activate the motor from "Sleep Mode", ensure it's properly installed and secured
within the mounting hardware.
Each battery motor from SmartWings is factory-preprogrammed and set to "Sleep Mode"
before shipping to prevent any unintended operation. Before setup and operation, it's
essential to "Wake" the motor.
Exiting Sleep Mode
Enter Sleep Mode
10 SECS
2SECS
2
Sleep Mode

ADJUSTING UPPER LIMIT
ADJUSTING LOWER LIMIT
Every battery motor from SmartWings arrives preprogrammed.
This includes the remote synced with the motor, preset upper and lower operational limits and
an unlocked remote.
Should you need to modify the preset limits, refer to the following instructions.
Press the "H/L switch" button
to switch between control modes.
When the screen shows 'H', it is in
middle rail control mode. When it
displays 'L', it is in bottom rail
control mode.
Press the "H/L switch" button
to switch between control modes.
When the screen shows 'H', it is in
middle rail control mode. When it
displays 'L', it is in bottom rail
control mode.
Move both the middle rail
and the bottom rail to the
positions that you wish to
set as the upper limit.
Press UP & STOP (2 secs)
Press DOWN & STOP (2 secs)
Press UP & STOP (5 secs)
Press DOWN & STOP (5 secs)
Note: the motor jog once.
Note: the motor jog once.
Move both the middle rail
and the bottom rail to the
positions that you wish to
set as the lower limit.
Tips: If you hold the UP/DOWN button for more than 3 seconds, the shade will enter
running mode. As the shade approaches the desired limit, press the STOP button and
then fine-tune the limit.
3
Adjusting Limits

Move the middle railand and
bottom rail to the favorite position
To set a preferred position for your shade motor, move to the desired spot and press the
STOP button to halt its movement.
Press and hold STOP button for 2 seconds, the shade will stop at favorite position.
Every battery motor from SmartWings arrives preprogrammed.
This includes the remote synced with the motor, preset upper and lower operational limits and
an unlocked remote.
To set a favorite position, follow these steps. The favorite position allows you to designate a
custom stopping point between the upper and lower limits. Note: Each shade motor supports
one favorite position.
4
Favorite Positions

If you don't pair the remote within the timeframe, the motor's pairing sequence
will expire. In such cases, redo the previous steps, ensuring you press and hold
the STOP button within 10 seconds after the motor jog.
Every battery motor from SmartWings arrives preprogrammed.
This includes the remote synced with the motor, preset upper and lower operational limits
and an unlocked remote.
To select a different remote channel for pairing with the motor(s) later on, follow these steps:
Within 10 secs Press
Within 10 secs of
(2 secs)
(2 secs)
2SECS
5
Motor Pairing

Note: 1. Choose the desired channel on the current remote to duplicate.
2. On the new remote, pick the channel where you want the settings of the
existing channel to be mirrored.
Every battery motor from SmartWings arrives preprogrammed.
This includes the remote synced with the motor, preset upper and lower operational limits
and an unlocked remote.
Follow these steps to transfer settings from an existing remote to a new one.
Within 10 secs Press
6
Mirroring Remotes

If you don't pair the remote within the timeframe, the motor's pairing sequence
will expire. In such cases, redo the previous steps, ensuring you press and hold
the STOP button within 10 seconds after the motor jog.
To operate multiple motors simultaneously without switching channels, you can set up
grouped channels. Ensure each motor is individually paired with its own channel on the
remote before proceeding with grouping. This facilitates the synchronized operation of
selected motors.
Every battery motor from SmartWings arrives preprogrammed.
If you have multiple motors paired with a 15-channel remote, remember the '0' channel is
set to control all motors simultaneously by default.
To set specific motors for group control on a designated channel, follow these steps:
10 secs of
(2 secs)
(2 secs)
Within 10 secs Press
2SECS
7
Group Control

Note: The motor will jog three times.
After ensuring all other shades are in
sleep mode, proceed to adjust the
shade limits as detailed below:
When adjusting one of the shade limits, please ensure that other shades on this
channel are in sleep mode, follow the steps below:
(10 secs)
10 SECS
3. Adjust the limits to ensure that all the shades added to this channel are consistent.
ADJUSTING UPPER LIMIT
ADJUSTING LOWER LIMIT
Press the "H/L switch" button
to switch between control modes.
When the screen shows 'H', it is in
middle rail control mode. When it
displays 'L', it is in bottom rail
control mode.
Press the "H/L switch" button
to switch between control modes.
When the screen shows 'H', it is in
middle rail control mode. When it
displays 'L', it is in bottom rail
control mode.
Move both the middle rail
and the bottom rail to the
positions that you wish to
set as the upper limit.
Press UP & STOP (2 secs)
Press DOWN & STOP (2 secs)
Press UP & STOP (5 secs)
Press DOWN & STOP (5 secs)
Note: the motor jog once.
Note: the motor jog once.
Move both the middle rail
and the bottom rail to the
positions that you wish to
set as the lower limit.
Tips: If you hold the UP/DOWN button for more than 3 seconds, the shade will enter running mode.
As the shade approaches the desired limit, press the STOP button and then fine-tune the limit.
8
Group Control

Every battery motor from SmartWings arrives preprogrammed.
This includes the remote synced with the motor, preset upper and lower operational limits and an
unlocked remote.
Follow the steps below to hide or unhide channels on the remote.
(Note: This function is exclusive to the 15CH model).
for 2
9
Hide/Unhide Remote Channels

Note: two jogs indicate middle
speed, while one jog signals a
low speed.
To access speed adjustment settings: Remove the battery cover on the back of the
remote. Press the left "P" button.
Every battery motor from SmartWings arrives preprogrammed.
This includes the remote synced with the motor, preset upper and lower operational limits
and an unlocked remote.
To modify the motor speed: Ensure a remote is paired with the motor. Proceed with the
following instructions to adjust speed.
Note: If the motor jogs twice,
it indicates a middle speed.
If it jogs three times, it signals
a fast speed.
If the motor doesn't respond to
speed adjustments, it's already
at its max or min speed limit.
If the motor doesn't respond to
speed adjustments, it's already
at its max or min speed limit.
10
Adjusting Motor Speed

Hold the programming button until the motor jogs four times to complete the reset.
Ensure the button is pressed throughout. A red LED light confirms the reset is successful.
To factory reset the motor, find the P1 button on the motor head, press and hold
this button for 14 seconds until the motor jogs four times.
Every battery motor from SmartWings arrives preprogrammed.
This includes the remote synced with the motor, preset upper and lower operational limits
and an unlocked remote.
To reset the motor to factory settings and clear all pairings/limits, follow these steps:
For shade programming post-reset, refer to the Initial Setup Programming section.
(continue to page 13 - page 15)
14 SECS
11
Reset to Factory Settings

If you don't pair the remote within the timeframe, the motor's pairing sequence
will expire. In such cases, redo the previous steps, ensuring you press and hold
the STOP button within 10 seconds after the motor jog.
(2 secs)
(2 secs)
10 secs of
Within 10 secs Press
2SECS
12
Initial Setup Programming

If the direction doesn't match the
UP/DOWN buttons, press and hold both
buttons together until the motor jogs once
in each direction.
Note: This operation is only applicable when the shade limits have not been set.
To verify motor direction, briefly press the
UP or DOWN button. Pause the shade by
pressing STOP.
(2 secs)
13
Initial Setup Programming

*During the limit setting mode, press UP/DOWN once, the motor will jog
once, if you press and hold UP/DOWN for 2S, the motor will run
continuously.
14
Initial Setup Programming

Method one:
Automatic limit setting when encountering obstacles.
15
Initial Setup Programming

Method two:
Set the limit manually.
*Important!! As the shade approaches the desired limit,
press the Stop button and then fine-tune the limit.
*Important!! As the shade approaches the desired limit,
press the Stop button and then fine-tune the limit.
16
Initial Setup Programming

17
Initial Setup Programming
*Important!! As the shade approaches the desired limit,
press the Stop button and then fine-tune the limit.
*Important!! As the shade approaches the desired limit,
press the Stop button and then fine-tune the limit.
Table of contents
Other SMARTWINGS Window Blind manuals
Popular Window Blind manuals by other brands
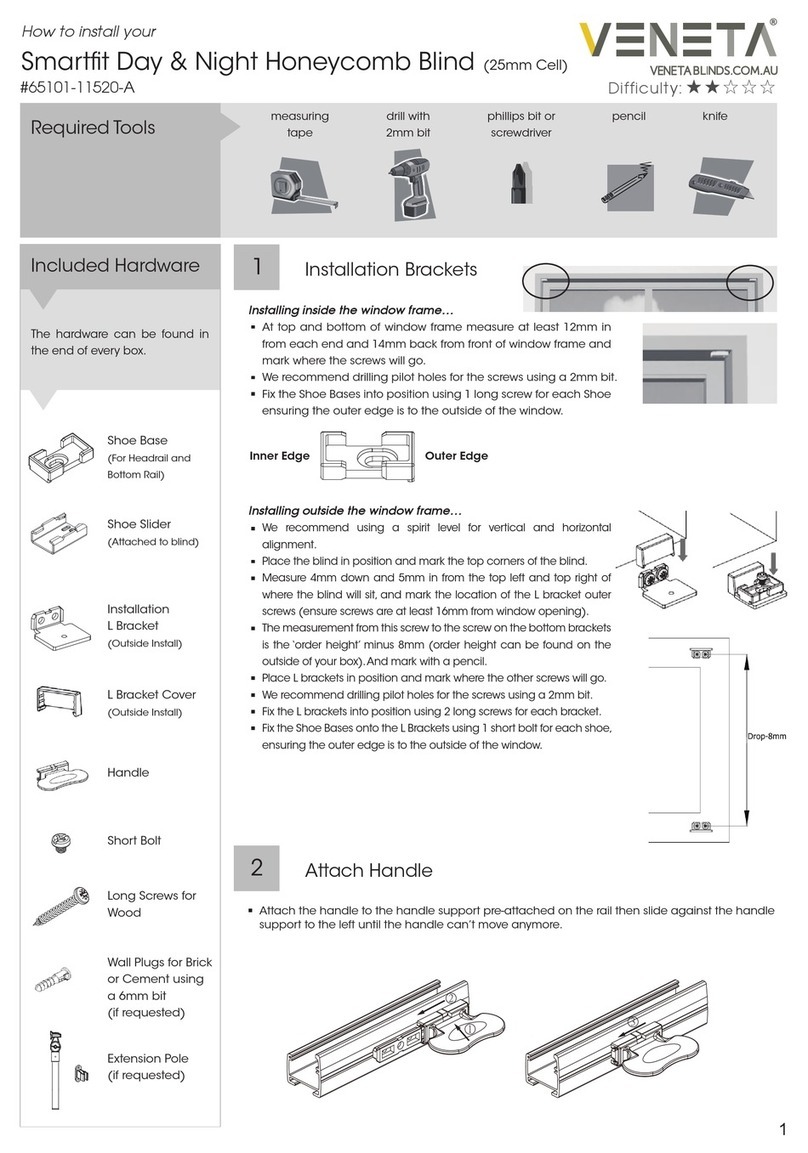
VENETA
VENETA Smartfit Day & Night Honeycomb quick start guide
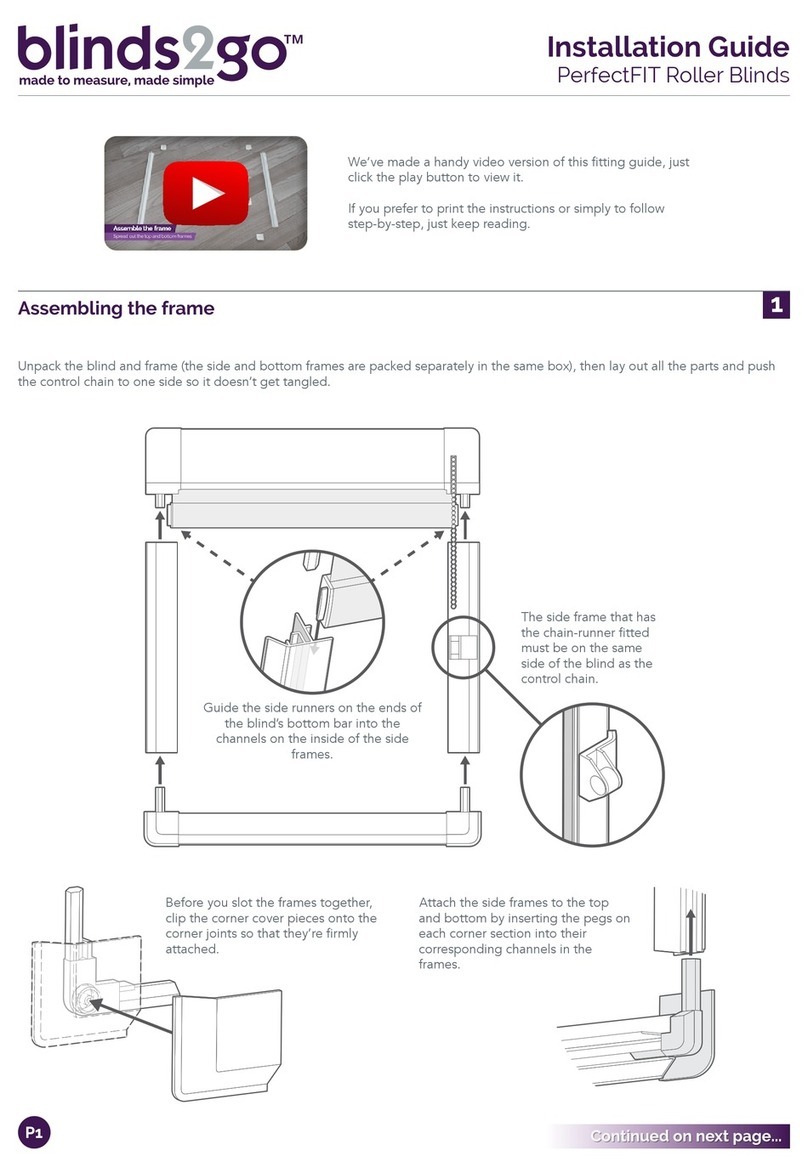
BLINDS2GO
BLINDS2GO PerfectFIT installation guide
gaviota
gaviota HERA Assembly instructions
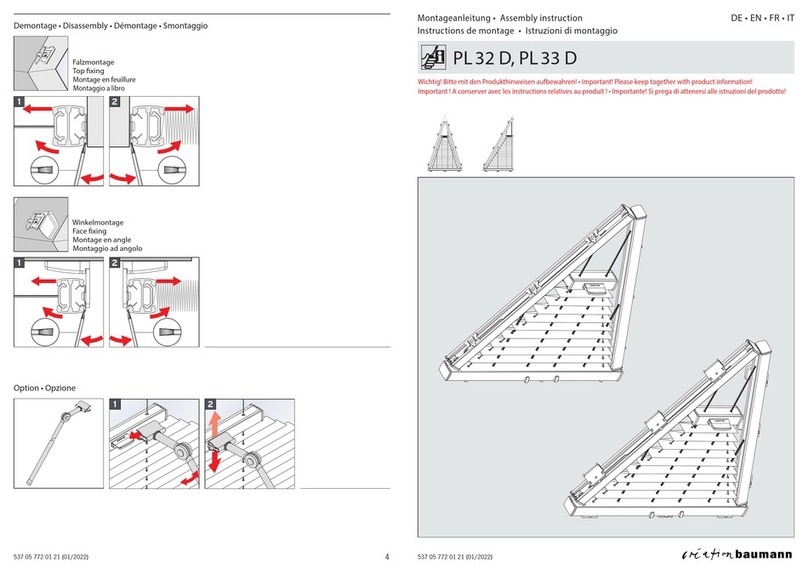
Creation Baumann
Creation Baumann PLITRIC PL 33 D Assembly instruction
BEST EXPERIENCE
BEST EXPERIENCE Springs Window Fashions Soft Vertical Blinds with a... How to install
debel
debel Touch quick start guide
Nien Made
Nien Made 10793478499762 instructions
Dometic
Dometic FP200 Installation and operating manual
IKEA
IKEA FYRTUR 120 instructions
HunterDouglas
HunterDouglas RB 500 Installation

HunterDouglas
HunterDouglas DecoFlex WireFree Telis Quick programming guide
HunterDouglas
HunterDouglas ZIP 100 Installation & maintenance
