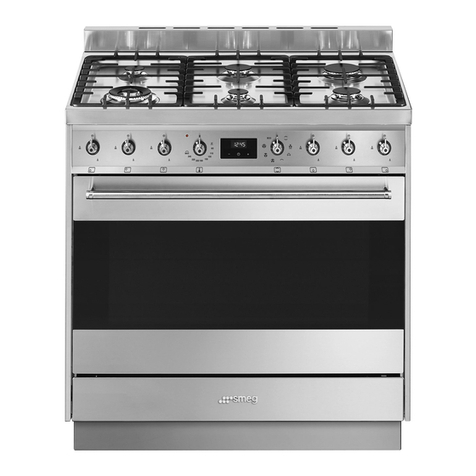
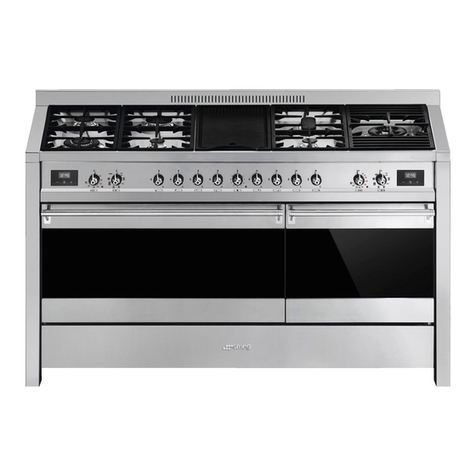
Smeg A1PYID-9 User manual

Contents
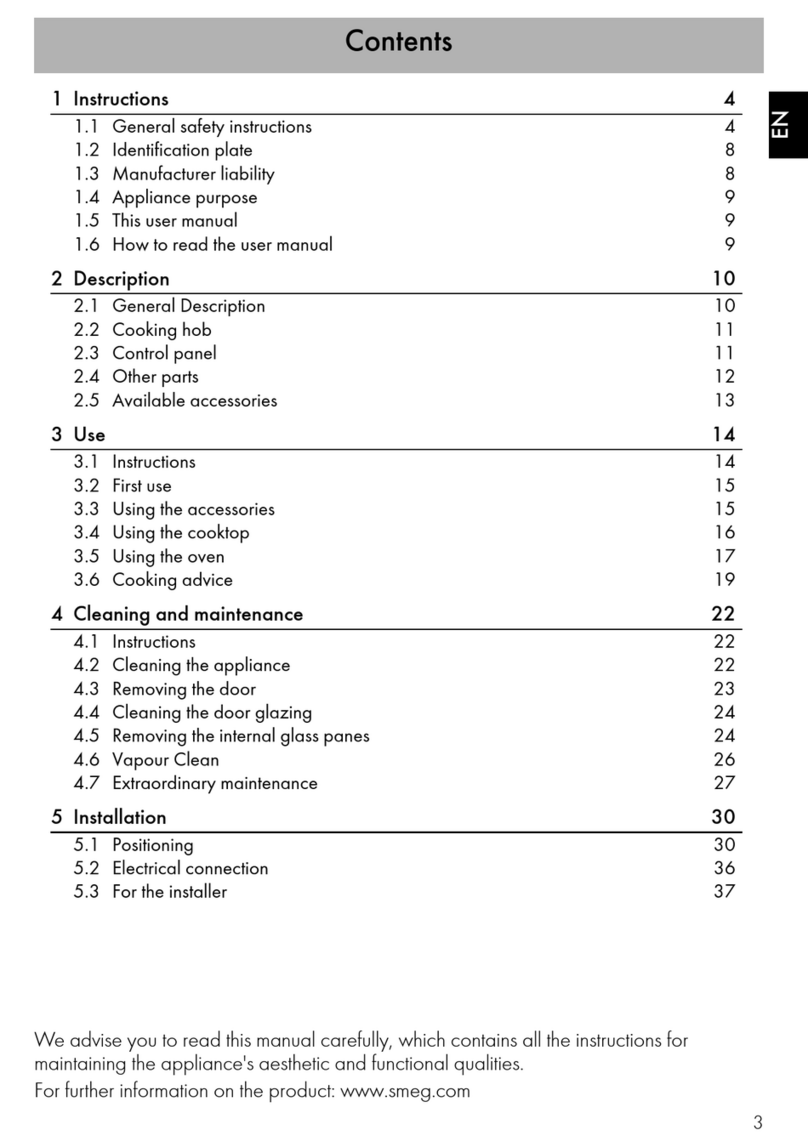
89
EN
1Instructions 91
1.1 General safety instructions 91
1.2 Appliance purpose 96
1.3 Manufacturer’s liability 96
1.4 This user manual 96
1.5 Identification plate 96
1.6 Disposal 96
1.7 How to read the user manual 97
2 Description 98
2.1 General Description 98
2.2 Control panel 99
2.3 Hob 100
2.4 Other parts 101
2.5 Available accessories 102
3 Use 103
3.1 Instructions 103
3.2 First use 104
3.3 Using the accessories 104
3.4 Using the hob 107
3.5 Using the oven 113
3.6 Cooking advice 122
3.7 Special functions 123
3.8 Preset recipes 132
3.9 Personal recipes 142
3.10Settings 148
4 Cleaning and maintenance 154
4.1 Instructions 154
4.2 Cleaning the glass ceramic hob 154
4.3 Cleaning the oven cavity 155
4.4 Pyrolytic cycle 157
4.5 Cleaning the door 161
4.6 Extraordinary maintenance 163
We advise you to read this manual carefully, which contains all the instructions for
maintaining the appliance’s aesthetic and functional qualities.
For further information on the product: www.smeg.com
TRANSLATION OF THE ORIGINAL INSTRUCTIONS

Contents
90
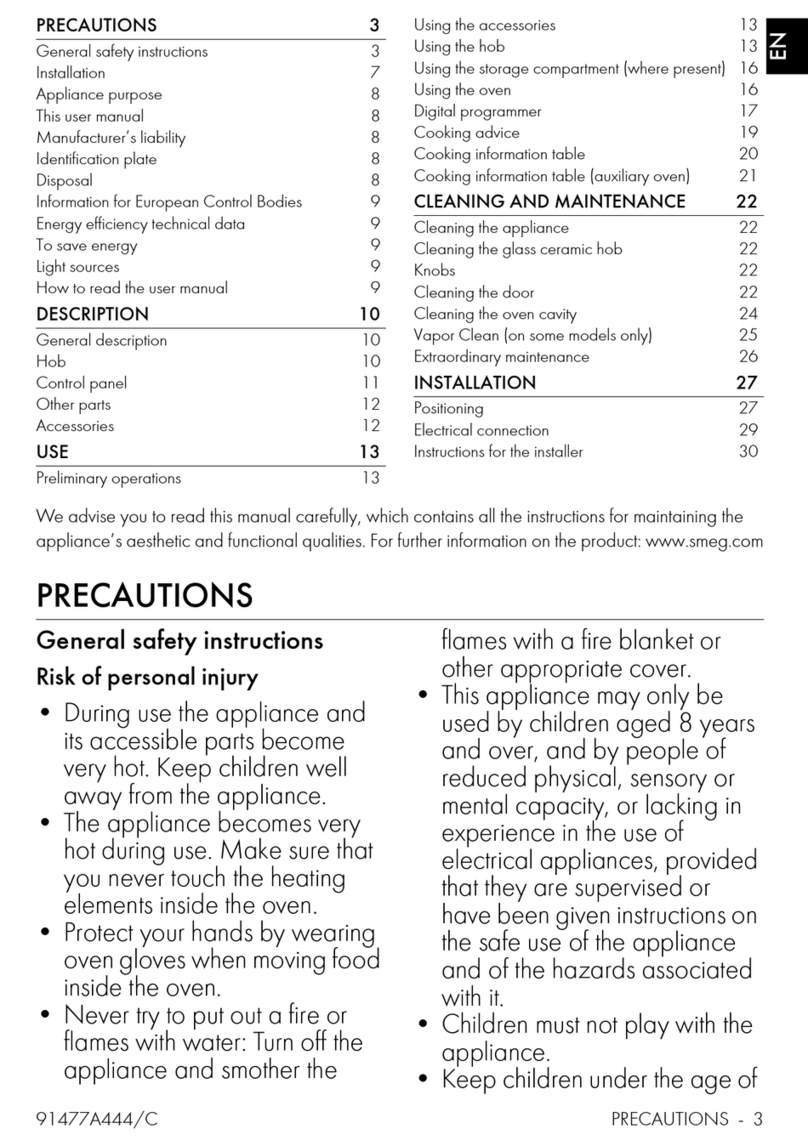
5 Installation 166
5.1 Positioning 166
5.2 Positioning 167
5.3 Electrical connection 171
5.4 Instructions for the installer 174
5Installation 80
5.1 Positioning 80
5.2 Positioning 81
5.3 Electrical connection 85
5.4 Instructions for the installer 88
We advise you to read this manual carefully, which contains all the instructions for
maintaining the appliance’s aesthetic and functional qualities.
For further information on the product: www.smeg.com

Instructions
91
EN
1 Instructions
1.1 General safety instructions
Risk of personal injury
• During use the appliance and its
accessible parts become very hot.
Never touch the heating elements
during use.
• Protect your hands by wearing
oven gloves when moving food
inside the oven.
• Never try to put out a fire or
flames with water: Turn off the
appliance and smother the flames
with a fire blanket or other
appropriate cover.
• This appliance may be used by
children aged at least 8 and by
people of reduced physical,
sensory or mental capacity, or
lacking in experience in the use of
electrical appliances, provided
that they are supervised or
instructed by adults who are
responsible for their safety.
• Children must not play with the
appliance.
• Keep children under the age of
eight at a safe distance unless they
are constantly supervised.
• Keep children under the age of 8
away from the appliance when it
is in use.
• Cleaning and maintenance must
not be carried out by
unsupervised children.
• Be aware of how rapidly the
cooking zones heat up. Do not
place empty pans on the heat.
Danger of overheating.
• Fats and oils can catch fire if they
overheat. Do not leave the
appliance unattended while
preparing foods containing oils or
fats. If fats or oils catch fire, never
put water on them. Place the lid on
the pan and turn off the relevant
cooking zone.
• The cooking process must always
be monitored. A short cooking
process must be continuously
monitored.
• Switch off the appliance
immediately after use.

Instructions
92
• Do not place metal objects, such
as dishes or cutlery, on the hob
surface during use as they may
overheat.
• Do not insert pointed metal
objects (cutlery or utensils) into the
slots in the appliance.
• Do not pour water directly onto
very hot trays.
• Keep the oven door closed during
cooking.
• If you need to move food or at the
end of cooking, open the door 5 cm
for a few seconds, let the steam
come out, then open it fully.
• Do not open the storage
compartment (where present)
when the oven is on and still hot.
• The items inside the storage
compartment could be very hot
after using the oven.
• DO NOT USE OR STORE
FLAMMABLE MATERIALS IN THE
STORAGE COMPARTMENT (IF
PRESENT) OR NEAR THE
APPLIANCE.
• DO NOT USE AEROSOLS IN
THE VICINITY OF THIS
APPLIANCE WHILST IT IS IN
USE.
• DO NOT MODIFY THIS
APPLIANCE.
• Always use any necessary/
required personal protective
equipment (PPE) before
performing any work on the
appliance (installation,
maintenance, positioning or
movement).
• Before performing any work on
the appliance, switch off the
power supply.
• Have qualified personnel carry
out installation and assistance
interventions according to the
standards in force.
• Do not try to repair the appliance
yourself or without the intervention
of a qualified technician.
• Do not pull the cable to remove
the plug.
• If the power supply cable is
damaged, contact technical
support immediately and they will
replace it.

Instructions
93
EN
Risk of damaging the appliance
• Do not use abrasive or corrosive
detergents (e.g. scouring
powders, stain removers and
metallic sponges) on glass parts.
• Use wooden or plastic utensils.
• Racks and trays should be
inserted as far as they will go into
the side guides. The mechanical
safety locks that prevent them from
being removed must face
downwards and towards the
back of the oven cavity.
• Do not seat on the appliance.
• Do not use steam jets to clean the
appliance.
• Do not obstruct ventilation
openings and heat dispersal slots.
• Never leave the appliance
unattended during cooking
operations where fats or oils could
be released, as these could then
heat up and catch fire. Be very
careful.
• Never leave objects on the
cooking surface.
• DO NOT FOR ANY REASON
USE THE APPLIANCE AS A
SPACE HEATER.
• Do not spray any spray products
near the oven.
• Do not use plastic cookware or
containers when cooking food.
• Do not put sealed tins or
containers in the oven.
• Remove all trays and racks which
are not required during cooking.
• Do not cover the bottom of the
oven cavity with aluminium or tin
foil sheets.
• Do not place pans or trays directly
on the bottom of the oven cavity.
• If you wish to use greaseproof
paper, place it so that it will not
interfere with the hot air circulation
inside the oven.
• Do not use the open door to rest
pans or trays on the internal glass
pane.
• Cooking vessels or griddle plates
should be placed inside the
perimeter of the hob.
• All pans must have smooth, flat
bottoms.

Instructions
94
• If any liquid does boil over or spill,
remove the excess from the hob.
• Take care not to spill acid
substances such as lemon juice or
vinegar on the hob.
• Do not put empty pans or frying
pans on switched on cooking
zones.
• Do not use steam jets to clean the
appliance.
• Do not use rough or abrasive
materials or sharp metal scrapers.
• Do not use cleaning products
containing chlorine, ammonia or
bleach on parts made of steel or
that have metallic surface finishes
(e.g. anodizing, nickel- or
chromium-plating).
• Do not use abrasive or corrosive
detergents (e.g. scouring
powders, stain removers and
metallic sponges) on glass parts.
• Do not wash removable parts
such as the hob pan support grids,
flame-spreader crowns and
burner caps in the dishwasher.
Installation and maintenance
• THIS APPLIANCE MUST NOT BE
INSTALLED IN BOATS OR
CARAVANS.
• The appliance must not be
installed on a pedestal.
• Position the appliance into the
cabinet cut-out with the help of a
second person.
• Never use the oven door to lever
the appliance into place when
fitting.
• Avoid exerting too much pressure
on the oven door when open.
• Do not use the handle to lift or
move the appliance.
• To avoid potential overheating,
the appliance must not be
installed behind a decorative
door or a panel.
• Have the electrical connection
performed by authorised technical
personnel.
• The appliance must be connected
to earth in compliance with
electrical system safety standards.

Instructions
95
EN
• Use cables withstanding a
temperature of at least 90°C.
• The tightening torque of the
screws of the terminal supply wires
must be 1.5 - 2 Nm.
For this appliance
• After use, switch off the plates.
Never rely solely on the
cookware detector.
• Supervise children carefully as
they cannot readily see the
residual heat indication. After use
the cooking zones remain hot for
a certain period of time even if
they have been turned off. Keep
children away from the cooking
zones.
• The glass ceramic surface is highly
resistant to impact. However,
prevent hard, solid objects from
falling on the cooking surface as
they may cause it to break if they
are sharp.
• Do not use the glass ceramic
cooking surface as a support
surface.
• This appliance can be used up to
a maximum altitude of 4,000
metres above sea level.
• If cracks or fissures form, or if the
glass ceramic cooking surface
breaks, turn off the appliance
immediately. Disconnect the
power supply and call Technical
Support.
• Ensure that the appliance is
switched off before replacing the
bulb.
• Do not rest any weight or sit on the
open door of the appliance.
• Take care that no objects are
stuck in the doors.
• People who have pacemakers or
other similar devices fitted must
make sure that the operation of
these devices is not jeopardised
by the inductive field, whose
frequency range is between 20
and 50 kHz.
• In conformity with the provisions
regarding electromagnetic
compatibility, the electromagnetic
induction cooking hob comes
under group 2 and class B (EN
55011).

Instructions
96
1.2 Appliance purpose
• This appliance is intended for
cooking food in the home
environment. Every other use is
considered improper.
• The appliance is not designed to
operate with external timers or
with remote-control systems.
1.3 Manufacturer’s liability
The manufacturer declines all liability
for damage to persons or property
caused by:
• Use of the appliance other than
that specified
• Failure to comply with the
instructions in the user manual
• Tampering with any part of the
appliance
• The use of non-original spare
parts.
1.4 This user manual
This user manual is an integral part of
the appliance and must therefore be
kept in its entirety and within the
user’s reach for the whole working
life of the appliance.
Read this user manual carefully
before using the appliance.
1.5 Identification plate
The identification plate bears the technical
data, serial number and brand name of the
appliance. Do not remove the identification
plate for any reason.
1.6 Disposal
This appliance must be disposed of
separately from other waste
(Directives 2002/95/EC, 2002/
96/EC, 2003/108/EC). The appliance
does not contain substances in quantities
sufficient to be considered hazardous to
health and the environment, in accordance
with current European directives.
To dispose of the appliance:
• Cut the power supply cable and remove
it along with the plug.
Power voltage
Danger of electrocution
• Disconnect the mains power supply.
• Unplug the appliance.

Instructions
97
EN
• Deliver the appliance to the appropriate
recycling centre for electrical and
electronic equipment waste, or return it
to the retailer when purchasing an
equivalent product, on a one for one
basis.
Our appliances are packaged in non-
polluting and recyclable materials.
• Deliver the packing materials to the
appropriate recycling centre.
1.7 How to read the user manual
This user manual uses the following reading
conventions:
1. Sequence of instructions for use.
• Standalone instruction.
Plastic packaging
Danger of suffocation
• Do not leave the packaging or any part
of it unattended.
• Do not let children play with the plastic
bags.
Instructions
General information on this user
manual, on safety and final
disposal.
Description
Description of the appliance and its
accessories.
Use
Information on the use of the
appliance and its accessories,
cooking advice.
Cleaning and maintenance
Information for proper cleaning and
maintenance of the appliance.
Installation
Information for the qualified
technician: Installation, operation
and inspection.
Safety instructions
Information
Advice

Description
98
2 Description
2.1 General Description
1 Upstand
2 Hob
3 Control panel
4 Oven light
5 Seal
6 Door
7 Fan
8 Storage compartment
Rack/tray support frames

Description
99
EN
2.2 Control panel
1 Hob cooking zone knobs
Useful for controlling the cooking zones of
the induction hob.
Turn the knobs clockwise to adjust the
operating power of the hot plate from a
minimum of 1to a maximum of 9.
The working power is indicated on the
display on the hob.
2 Return knob
This knob allows you to return to the
previous item in the appliance’s menu. It
also lets you manually turn the oven light on
and off.
3 Display
Displays the current time, the selected
cooking temperature and function and any
time set.
4 Control knob
This knob allows you to turn the appliance
on and off and select the various available
functions.
Turn the knob right or left to change/select
the required item.
Press to confirm.
Keep the knob pressed in for at
least 5 seconds to immediately
complete any cooking operation.

Description
100
2.3 Hob
* Power levels are approximate and can vary according to the pan used or the settings made.
Advantages of induction cooking • Energy saving thanks to the direct
transmission of energy to the pan
(suitable magnetisable cookware is
required) compared to traditional
electric cooking.
• Improved safety as the energy is only
transmitted to the pan placed on the
hob.
• High level of energy transmitted from the
induction cooking zone to the base of
the pan.
• Rapid heating speed.
• Reduced danger of burns as the cooking
surface is only heated under the base of
the pan; foods which overflow do not
stick.
Zone Outer diameter
(mm)
Max. power draw
(W)*
Power draw
in Booster function
(W)*
1145 1400 2200
2180 1850 3000
3210 2300 3700
4270 2600 3700
The hob is equipped with an
induction generator for each
cooking zone. Each generator
located under the glass ceramic
cooking surface creates an
electromagnetic field which
induces a thermal current in the
base of the pan. This means the
heat is no longer transmitted from
the hob to the pan but created
directly inside the pan by the
inductive current.

Description
101
EN
2.4 Other parts
Shelves
The appliance features shelves to position
trays and racks at different heights. The
insertion heights are indicated from the
bottom upwards (see 2.1, “General
Description”).
Cooling fan
The fan cools the oven and comes into
operation during cooking.
The fan causes a steady outflow of air that
exits from the rear of the appliance and
which may continue for a brief period of
time even after the appliance has been
turned off.
Interior lighting
The appliance’s interior lighting comes on:
• When the door is opened.
• When any function is started up, with the
exception of Vapor Clean , ECO
Pyrolytic and Pyrolytic
(depending on the model) functions.
• When the temperature knob is briefly
turned to the right (manual activation
and deactivation).
Do not obstruct ventilation
openings and heat dispersal slots.
When the door is open, it is not
possible to turn off the interior
lighting.

Description
102
2.5 Available accessories
Tray rack
To be placed over the top of the oven tray;
for cooking foods which may drip.
Deep tray
Useful for collecting fat from foods placed
on the rack above and for cooking pies,
pizzas and baked desserts.
Rack
Useful for supporting containers with food
during cooking.
Rotisserie (on some models only)
Useful for cooking chicken and all foods
which require uniform cooking over their
entire surface.
Some models are not provided
with all accessories.
The accessories intended to come
into contact with food are made of
materials that comply with the
provisions of current legislation.
Supplied and optional accessories
can be requested to Authorised
Assistance Centres. Use only
original accessories supplied by
the manufacturer.

Use
103
EN
3 Use
3.1 Instructions
High temperatures during use
Danger of burns
• Keep the oven door closed during
cooking.
• Protect your hands by wearing oven
gloves when moving food inside the
oven.
• Do not touch the heating elements inside
the oven.
• Do not pour water directly onto very hot
trays.
• Keep children under the age of 8 away
from the appliance when it is in use.
• If you need to move food or at the end
of cooking, open the door 5 cm for a
few seconds, let the steam come out,
then open it fully.
High temperature inside the
storage compartment
Danger of burns
• Do not open the storage compartment
when the appliance is on and still hot.
• The items inside the storage
compartment could be very hot after
using the appliance.
Improper use
Risk of damage to surfaces
• Do not cover the bottom of the oven
cavity with aluminium or tin foil sheets.
• If you wish to use greaseproof paper,
place it so that it will not interfere with the
hot air circulation inside the oven.
• Do not place pans or trays directly on
the bottom of the oven cavity.
• Do not use the open door to rest pans or
trays on the internal glass pane.
• Do not pour water directly onto very hot
trays.
• Cooking vessels or griddle plates
should be placed inside the perimeter of
the hob.
• All pans must have smooth, flat bottoms.
• If any liquid does boil over or spill,
remove the excess from the hob.
• Never place pans with bases which are
not perfectly flat and smooth.
• Avoid hard, solid objects falling on the
surface of the hob.
• In case you notice cracks or fissures, turn
off the appliance immediately,
disconnect the power supply and
contact Technical Support.
• Do not use the hob as a support surface.

Use
104
3.2 First use
1. Remove any protective film from the
outside or inside of the appliance,
including accessories.
2. Remove any labels (apart from the
technical data plate) from the
accessories and from the oven cavity.
3. Remove and wash all the appliance
accessories (see 4, “Cleaning and
maintenance”).
4. Heat the empty appliance to the
maximum temperature to burn off any
residues left by the manufacturing
process.
3.3 Using the accessories
Tray rack
The tray rack has to be inserted into the tray.
In this way fat can be collected separately
from the food which is being cooked.
Improper use
Danger of burns
• Do not touch or clean the hob surface
during operation or when the residual
heat indicator lights are still on.
• Activate the controls lock when you
have children or pets which could reach
the hob.
• After use the cooking zones remain hot
for a certain period of time after they
have been turned off. Do not touch the
hob surfaces.
• Oils and fats could catch fire if
overheated. Be very careful.
High temperatures during use
Danger of fire or explosion
• Do not spray any spray products near
the appliance.
• Do not use or leave flammable materials
near the appliance or the storage
compartment.
• Do not use plastic cookware or
containers when cooking food.
• Do not put sealed tins or containers in
the oven.
• Do not leave the appliance unattended
during cooking operations where fats or
oils could be released.
• Remove all trays and racks which are
not required during cooking.

Use
105
EN
Racks and trays
Racks and trays have to be inserted into the
side guides until they come to a complete
stop.
The mechanical safety locks that prevent the
rack from being removed accidentally must
face downwards and towards the back of
the oven cavity.
Rotisserie (on some models only)
1. Insert the 4 supplied bushings in the 4
corner holes of the deep tray and screw
them onto the ring nuts with a suitable
tool (such as a screwdriver).
2. Position the rotisserie supports in the
bushings as shown in the figure below.
Gently insert racks and trays into
the oven until they come to a stop.
Clean the trays before using them
for the first time to remove any
residues left by the manufacturing
process.

Use
106
3. Prepare the rotisserie rod with the food
using the clip forks provided. The clip
forks can be tightened using the
fastening screws.
4. Once you have prepared the rotisserie
rod, place it on the supports. Insert the tip
of the rod as far as it will go into the
housing of the mechanism on the left-
hand support.
5. Place the tray on the first runner (see
“General Description”).
6. Insert the tip of the rod in the rotisserie
motor housing on the left of the rear wall
of the oven.
These operations must be
performed with the oven off and
cold.

Use
107
EN
7. To activate the rotisserie, turn the function
knob to select the function and
use the temperature knob to set a
cooking temperature.
8. When cooking is complete, remove the
tray with the rotisserie.
9. Screw on the handle provided so that
you can handle the rotisserie rod more
easily.
3.4 Using the hob
All the appliance’s control and monitoring
devices are located together on the front
panel. The relevant cooking zone is
indicated next to each knob.
Just turn the knob clockwise to the required
power setting.
Cookware suitable for use in induction
cooking
Cookware used on the induction cooking
surface must be made of metal, with
magnetic properties and a sufficiently large
base.
Pour a little water into the tray to
prevent smoke from forming.
On first connection to the electrical
mains, an automatic check will be
carried out that will switch on all
indicator lights for a few seconds.
After use, turn off the hot plates
used by returning the appropriate
knob to the Oposition. Never rely
solely on the cookware detector.
Improper use
Danger of burns
• WARNING: The pyrolysis cycle
deactivates the hob.
• WARNING: If a pyrolysis cycle is
carried out when the cooking zones are
still hot, the indications on the hob
display are deactivated.

Use
108
Suitable cookware:
• Enamelled steel cookware with thick
bases.
• Cast iron cookware with an enamelled
base.
• Cookware in multilayer stainless steel,
ferritic stainless steel and aluminium with
a special base.
Unsuitable cookware:
• Copper, stainless steel, aluminium,
fireproof glass, wood, ceramic and
terracotta cookware.
To see whether the pan is suitable, bring a
magnet close to the bottom: if it is attracted,
the pan is suitable for induction cooking. If
you do not have a magnet, you can put a
small amount of water in the pan, place it
on a cooking zone and start the hot plate. If
the symbol appears on the display, it
means the pan is not suitable.
Cookware recognition
When there is no saucepan on a cooking
zone or if the saucepan is too small, no
energy will be transmitted and the
symbol will appear on the display.
If there is a suitable saucepan on the
cooking zone, the recognition system
detects it and switches on the hob to the
power level set using the knob. Energy
transmission is also interrupted when the
saucepan is removed from the cooking
zone (the symbol will be shown on the
display).
If the cookware recognition function is
activated in spite of the saucepan or frying
pan on the cooking zone being smaller
than the zone itself, only the necessary
energy will be transmitted.
Cookware recognition limits: The minimum
diameter of the pan base is indicated by a
cross inside the cooking zone. Pans with
smaller diameters risk not being detected
and therefore not activating the inductor.
Use only cookware with a
perfectly flat bottom which is
suitable for induction hot plates.
Using cookware with an irregular
bottom could jeopardise the
efficiency of the heating system
and prevent cookware from being
detected on the hot plate.
Table of contents
Other Smeg Cooker manuals
Popular Cooker manuals by other brands

Pronto
Pronto Lagostina Instructions for use and care

Belling
Belling G950 Installation and user instructions

Fisher & Paykel
Fisher & Paykel OR30SDPWIX2 Using

Tricity Bendix
Tricity Bendix CSE551 Operating & installation instructions

Airxcel
Airxcel Suburban SRNA3SBBE Service and training manual

Bosch
Bosch HCE744350R instruction manual

Electrolux
Electrolux EKG 603301 Instruction booklet

Bosch
Bosch HGD74W3 0Y Series instruction manual

Hotpoint Ariston
Hotpoint Ariston CP87SG1 /HA operating instructions

Parkinson Cowan
Parkinson Cowan SG 320 Operating and installation instructions

Amica
Amica AFG5100WH/1 instruction manual

Indesit
Indesit I6GS1 AG/NL operating instructions