Snooper DVR-1HD User manual

Vehicle Drive Recorder
DVR-1HD
mini
User manual
Benutzerhandbuch
Guide de l’utilisateur
Manuale per l’utente
Gebruikershandleiding
Manual del usuario

Vehicle Drive Recorder
DVR-1HD
mini
User manual

UK • 2
Warranty Registration
Please visit www.snooperneo.co.uk and click on the‘Registration’
button to register your unit for warranty.
Contents Page
Key product features 3
About your Snooper DVR-1HD Mini Vehicle Drive Recorder 4
What’s included? 5
Installing your Snooper DVR-1HD Mini 6
Powering your DVR-1HD Mini 8
Charging the internal battery back-up 10
Preparing a new micro SD card for use 11
Using your Snooper DVR-1HD 12
Reviewing video and audio recordings using the Snooper Player 14
Snooper Player explained 16
Changing your Snooper DVR-1HD’s hardware settings 19
Troubleshooting 22
Technical Specifications 23
Service under Warranty 24
Copyright
Copyright @2014 SNOOPER. All rights reserved. Product specifications and features are for reference only and are subject to change
without prior notice.

UK • 3
Key product features
1. Super compact ‘Mini’design. Can be discreetly mounted in any
vehicle.
2. 720P High Definition video with super-wide 120 degree viewing
angle.
3. Auto record. Never miss a thing as your DVR-1HD starts recording
automatically.
4. Built-in microphone.
5. Includes 8GB micro SD card and can support up to 32GB micro SD
card (DVR-1HD Mini requires speed class 6 and above)
6. GPS tracking provides accurate evidence of your route, recording
vehicle speed whilst confirming date and exact time of any incidents.
7. Built-in adjustable G-sensor constantly monitors for impacts and
sudden changes in speed or direction that could indicate you have
been involved in an incident.
8. Event and Incident lock down. Any sections of video footage that are
adjudged by the G-sensor to include an‘Event’ or ‘Incident’ will be
locked and saved so they cannot be automatically over written with
other footage.

UK • 4
About your Snooper DVR-1HD Mini Vehicle Drive
Recorder
REC >/M MIC
DC5V~12V / USB interface
Reset
GPS In
Mic
Power.
Illuminates red to indicate the
unit is powered on.
SOS.
Press to instantly save and lock a
video file.
MIC.
Press to turn the built-in
microphone on and off. The MIC
button will illuminate Orange
when set to record audio.
>/M.
Use to enter menu when device
connected to an appropriate
monitor.
REC.
Will flash blue to indicate that
the unit is recording video
footage and to confirm that the
unit is connected to GPS.
SOS
Power

UK • 5
Speaker
Bracket Interface
TOP VIEW
Camera Lens
Micro SD Card Slot
Infrared light
GPS Windscreen bracket
What’s included?
DVR-1HD Mini
GPS windscreen mount
5V USB car charger
12V Hard wire cable
USB data cable
USB to Video out cable
UK • 6
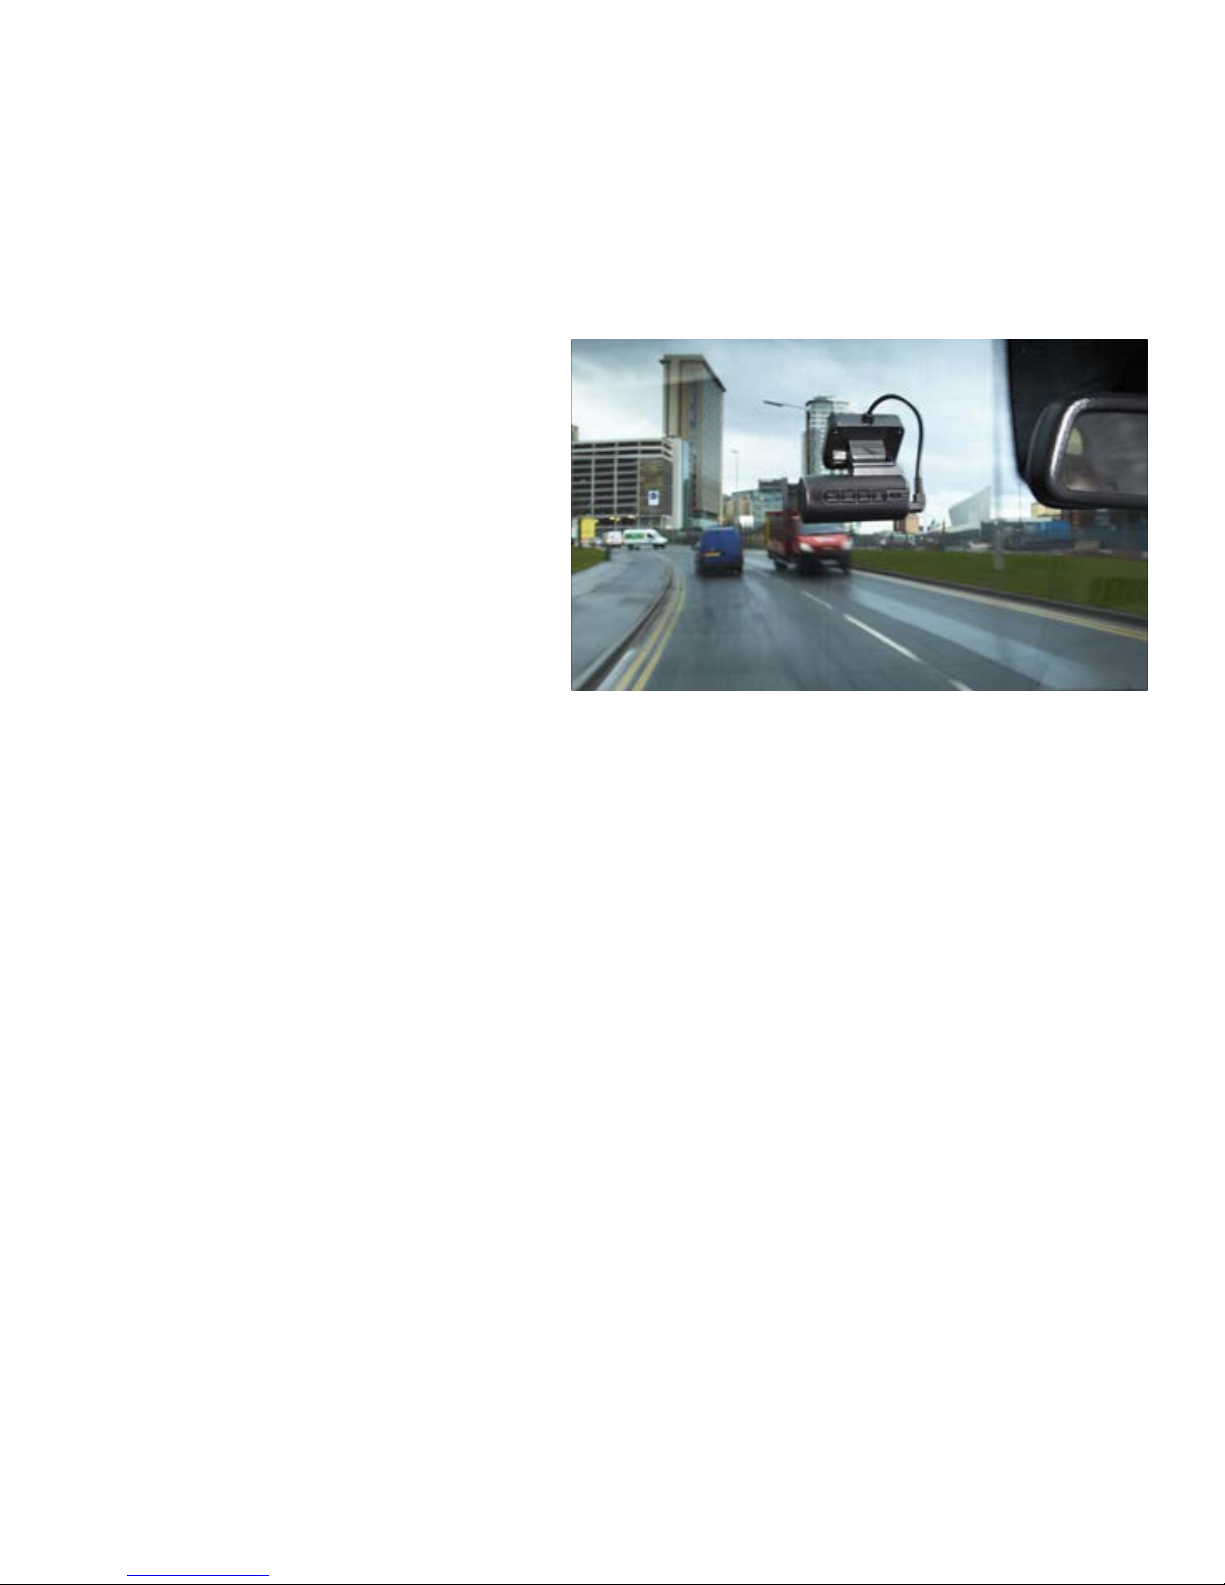
Installing your Snooper DVR-1HD Mini
DVR1HD Mini has been designed
to be mounted in the front
windscreen of your vehicle using
the GPS windscreen bracket
provided. For best results your
DVR should be mounted centrally,
behind or as near to the rear view
mirror as possible, giving it the
best view of the road ahead.
Follow these instructions to install your DVR1HD Mini.
1. Find a convenient location on your vehicle’s windscreen where you
can mount the GPS windscreen antenna without obscuring the
driver’s view or interfering with any of the vehicle’s controls. You need
to find a position where your DVR has a clear view of the road ahead
(normally behind or as close as possible to the rear view mirror).
User tip: Don’t forget that you need to get power to your DVR so keep
this in mind when choosing your location.
Please note that the GPS windscreen bracket needs to have a clear
view of the sky to obtain a good GPS connection. Do not position
the bracket where the built-in GPS antenna is obscured by metal. The

UK • 7
GPS antenna should operate through tinted glass and the blacked
out areas often seen around and behind the rear view mirror. The
GPS antenna should also operate through most heat reflective
windscreens, but please test before completing the final installation.
2. Clean the area of glass where you intend to mount the GPS
windscreen bracket with a good quality glass cleaner.
3. Remove the backing from the double sided tape on the GPS
windscreen bracket and carefully position it in the desired location on
the windscreen.
User Tip: It will take approximately 24hrs for the adhesive to ‘go off’ and
for the GPS windscreen bracket to become securely mounted.
4. Slide your DVR1HD Mini on to the windscreen bracket and adjust the
bracket as necessary so that the camera lens is pointing down the
road ahead.
User Tip: For best results your DVR1HD should be angled slightly
downwards away from the sky and towards the road ahead.

UK • 8
Powering your DVR-1HD Mini using the car charger
1. Connect the USB plug on the end of the car charger to the USB
DC5V~12V socket on the end of the DVR. Plug the car charger in to a
12V cigarette lighter socket in your vehicle, ensuring that the cable is
not obscuring the driver’s view or interfering with any of the driver’s
controls.
Caution: use only the car charger supplied with your Snooper DVR-
1HD Mini. Using a different car charger could cause the unit to operate
incorrectly and could damage the unit invalidating the warranty.
Powering your DVR-1HD Mini using the‘hard wire’
lead
You can power your DVR-1HD by wiring it directly to your vehicles 12V
electrical system using the‘Hard Wire’cable supplied as standard with
your unit.
1. Connect the positive side of the cable (marked with a red plus symbol)
to a 12V permanent live. This is a permanent live which has power if
the if ignition if On or Off.
2. Connect the negative side of the lead to a negative ground - any
metal portion of the vehicles frame.

UK • 9
Important: If you are unfamiliar with this procedure, please consult a
professional auto electrician.
User Tip: We recommend that you power the device to a permanent 12V
supply so that the ‘Parking Mode’ operates correctly. If you power your
DVR-1HD from a ‘switched’ 12V supply that powers off when you turn
the vehicle’s engine off, your DVR will power off shortly after when the
internal battery back-up has run out of power. With a permanent 12V
supply your DVR1 will remain powered on and can continue to monitor
the area around your vehicle whilst you are away from it.
However please note that if you do connect the device to a
permanent feed, and you are planning to leave your vehicle for an
extended period of time we recommend that your DVR-1HD is either
switched off or disconnected from the power source to avoid draining
your vehicle’s battery.
Caution: use only the hard wire cable supplied with your Snooper
DVR-1HD Mini. Using a different hard wire cable could cause the unit
to operate incorrectly and could damage the unit invalidating the
warranty.
Table of contents
Languages:
Other Snooper Dashcam manuals

Snooper
Snooper DVR-4HD User manual

Snooper
Snooper MY-SPEED DVR User manual

Snooper
Snooper DVR-PRO User manual

Snooper
Snooper DVR-4HD User manual

Snooper
Snooper Syrius Pro User manual

Snooper
Snooper My-Speeed DVR User manual

Snooper
Snooper DVR-5HD User manual

Snooper
Snooper DVR-4HD User manual

Snooper
Snooper DVR-2HD User manual


