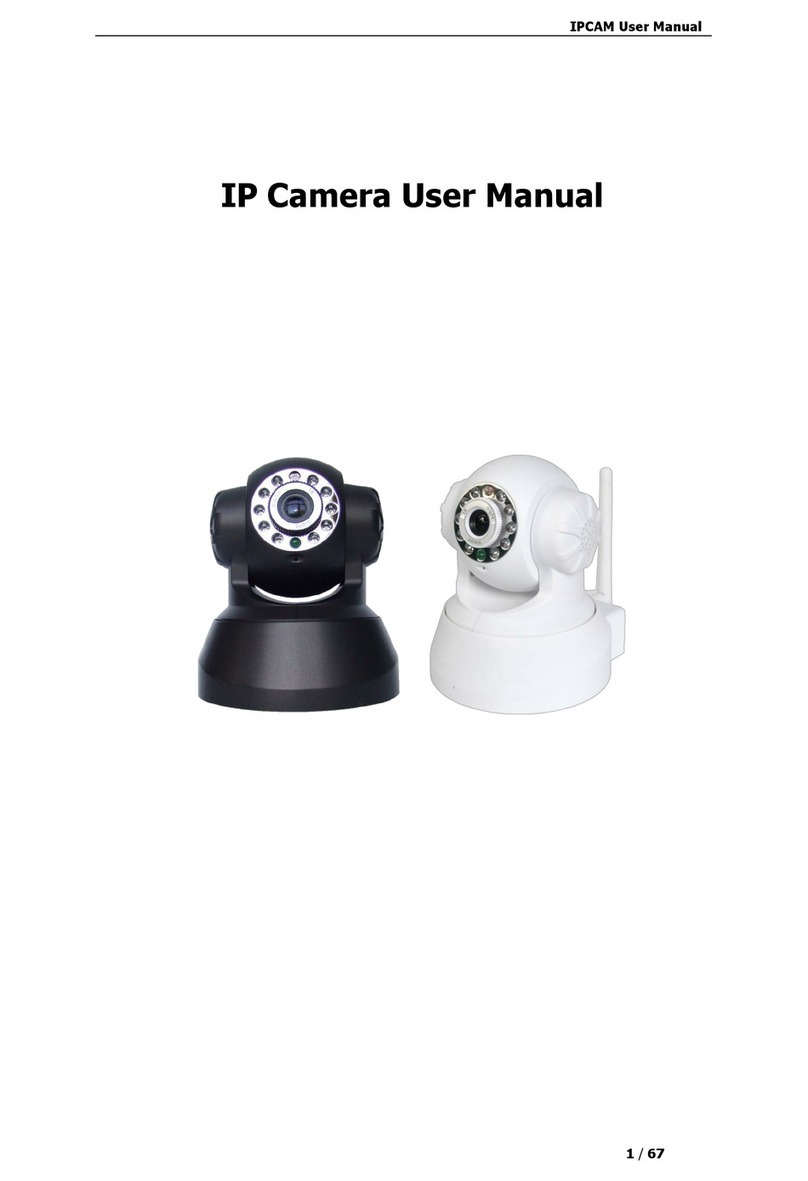
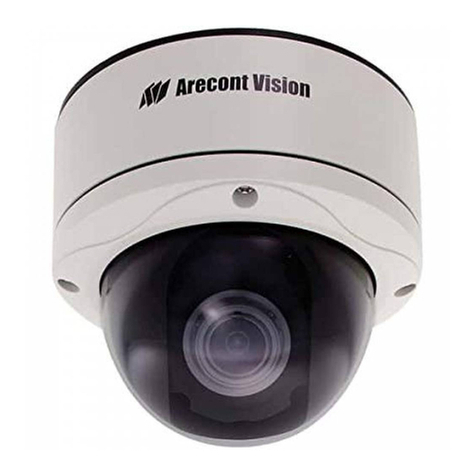
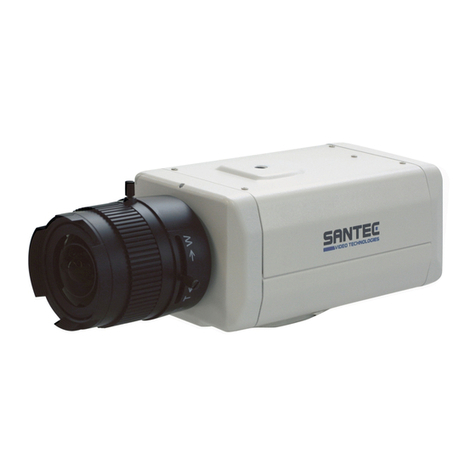
Snov IP3900 User manual

- 1 -
Economic Megapixel IP Camera
User Manual

- 2 -
CAUTION
RISK OF ELECTRIC SHOCK.
DO NOT OPEN!
CAUTION :
TO REDUCE THE RISK OF ELECTRICAL SHOCK,
DO NOT OPEN COVERS (OR BACK).
NO USER SERVICEABLE PARTS INSIDE.
REFER SERVICING TO QUALIFIED
SERVICE PERSONNEL.
WARNING: This symbol is intended to alert the user to the presence of un-insulated
“dangerous voltage”.
CAUTION: This symbol is intended to alert the user to presence of important operating and
maintenance (Servicing) instructions in the literature accompanying the
appliance.
Disposal of Old Electrical & Electronic Equipment (Applicable in the European Union
and other European countries with separate collection systems).
This symbol on the product or on its packaging indicates that this product shall not be treated as
household waste. Instead it shall be handed over to the applicable collection point for the recycling
of electrical and electronic equipment. By ensuring this product is disposed of correctly, you will
help prevent potential negative consequences for the environment and human health, which could
otherwise be caused by inappropriate waste handling of this product. The recycling of materials
will help to conserve natural resources. For more detailed information about recycling of this
product, please contact your local city office, your household waste disposal service or the shop
where you purchased the product. The power cord is the main power connection. Therefore,
constantly plug and unplug of the power cord might result in malfunction of the product.
CE / FCC Mark.
This apparatus is manufactured to comply with radio interference requirement.
Do not install the product in an environment where the humidity is high.
Unless the product is waterproof or weatherproof, otherwise it can cause the image quality to
be poor.
Do not drop the product or subject them to physical shocks.
Except for vandal-proof or shockproof product, otherwise it will result malfunctions to occur.
Never keep the product to direct strong light.
It can damage the product.
Do not spill liquid of any kind on the product.
If it gets wet, wipe it dry immediately. Alcohol or beverage can contain minerals that corrode
the electronic components.
Do not expose to extreme temperatures.
Use the product at temperatures within 0
℃
℃℃
℃
~ 50
℃
℃℃
℃
.
It is advised to read the Safety Precaution Guide through carefully before
operating the product, prevent any possible danger.

- 3 -
Table of Contents
1. Product Overview....................................................................................................................................... - 5 -
1.1 Product Feature .............................................................................................................................. - 5 -
2. Hardware Overview ................................................................................................................................... - 7 -
2.1 Hardware Description .................................................................................................................... - 7 -
3. Installation .................................................................................................................................................. - 9 -
3.1 Basic Installation............................................................................................................................. - 9 -
3.1.1 Hardware Connecting Diagram................................................................................................ - 9 -
3.1.2 Network Setting.......................................................................................................................... - 9 -
3.1.3 SecuUtility................................................................................................................................... - 9 -
3.1.4 Device Login ............................................................................................................................. - 10 -
3.2 Software Installation .................................................................................................................... - 13 -
3.2.1 Install SecuUtility..................................................................................................................... - 13 -
3.2.2 Install SecuConverter Tool ...................................................................................................... - 17 -
3.2.3 Install Secu Series Documents................................................................................................. - 20 -
3.3 Suggest Computer Equipment..................................................................................................... - 24 -
4. Main Page and Basic Setting ................................................................................................................... - 25 -
4.1 User Login ..................................................................................................................................... - 25 -
4.2 System Status ................................................................................................................................ - 26 -
4.2.1 Language................................................................................................................................... - 26 -
4.2.2 Serial Number .......................................................................................................................... - 26 -
4.2.3 Mac Address ............................................................................................................................. - 26 -
4.3 Live View Page .............................................................................................................................. - 26 -
4.3.1 Video Type ................................................................................................................................ - 27 -
4.3.2 Source........................................................................................................................................ - 27 -
4.3.3 Digital Zoom ............................................................................................................................. - 27 -
4.3.4 Utility......................................................................................................................................... - 27 -
4.3.5 Lighting Status ......................................................................................................................... - 28 -
4.3.6 PTZ Control Panel ................................................................................................................... - 29 -
4.3.7 Digital Zoom Panel .................................................................................................................. - 29 -
5. Setting........................................................................................................................................................ - 30 -
5.1 Network Setting ............................................................................................................................ - 30 -
5.1.1 Basic Setting ............................................................................................................................. - 31 -
5.1.1.1 IP Address Setting ................................................................................................... - 31 -
5.1.1.2 PPPoE Setting.......................................................................................................... - 32 -
5.1.1.3 Web Port Setting ..................................................................................................... - 32 -
5.1.2 Advanced Setting ..................................................................................................................... - 32 -
5.1.2.1 Port ........................................................................................................................... - 33 -
5.1.3 Service Setting .......................................................................................................................... - 33 -
5.1.3.1 DDNS Setting........................................................................................................... - 34 -
5.1.3.2 SMTP Setting........................................................................................................... - 34 -
5.1.3.3 RTSP Setting............................................................................................................ - 35 -
5.1.3.4 Mobile View Setting ................................................................................................ - 36 -
5.1.3.5 UPnP Setting............................................................................................................ - 36 -
5.1.3.6 FTP Setting .............................................................................................................. - 37 -
5.1.4 Wireless..................................................................................................................................... - 37 -
5.1.4.1 Wireless Network Setting ....................................................................................... - 38 -
5.2 Camera Setting ............................................................................................................................. - 40 -
5.2.1 Camera Setting......................................................................................................................... - 40 -
5.2.2 Streaming Setting ..................................................................................................................... - 46 -
5.2.3 Event Record ............................................................................................................................ - 47 -
5.3 Alarm ............................................................................................................................................. - 47 -
5.3.1 Alarm Setting ........................................................................................................................... - 47 -
5.4 User Management......................................................................................................................... - 48 -
5.5 Backup Device............................................................................................................................... - 50 -
5.6 System............................................................................................................................................ - 51 -
5.6.1 Basic Setting ............................................................................................................................. - 51 -

- 4 -
5.6.2 Advanced Setting ..................................................................................................................... - 52 -
5.6.3 Time Setting.............................................................................................................................. - 53 -
5.6.4 DST (Daylight Saving Time) ................................................................................................... - 55 -
5.7 Serial Port...................................................................................................................................... - 55 -
Appendix A –Web user interface guide....................................................................................................... - 57 -
Appendix B – Upgrade Firmware at local device....................................................................................... - 58 -
Appendix C – Install and Use Instant Messenger Video Module.............................................................. - 59 -
Appendix E – Time Zone .............................................................................................................................. - 74 -
Appendix E – Use Skype Module................................................................................................................. - 76 -

- 5 -
1. Product Overview
The system is used of IP camera, in order to achieve maximum mutual connectivity and
interoperability, all of this equipment according to leading-industry from front-end to
back-end monitoring structure, provides a variety of standard network protocols and
encryption algorithms. The goal is to expand the monitoring of regional, improve the
monitoring of security level and achieve high compatibility with integrated monitoring
environment.
The system is to use H.264/MJPEG’s video hardware compression chip, can simultaneously
output two kinds of image compression formats, according to different monitoring
environment to adjust to fit the suitable way. To provide high transmission quality, low
transfer rate, low delay, use a less of hard disk storage space and other features of the image,
moreover, support low delay of two-way voice.
1.1 Product Feature
Megapixel image; frame rate can be up to 25 at 1280x800.
Support H.264 / MJPEG codec, video quality is adjustable.
Support ADPCM codec, two way audio is supported.
Support high performance network transmission algorism, provide low-latency
video and audio stream.
Support event and schedule recording.
Support multiple event search (alarm, motion, video loss…) for basic and intelligent
playback.
Support motion detection; detection area and sensitivity are adjustable.
Support multiple alarm and event trigger.
Support RS485 interface, and PTZ control panel.
Video stream bit rate, frame rate and resolution are adjustable.
Multi-language supported.
Support multi-level password and protection in order to provide the highest security.
Support SD Card store pre-event and post-event recording and remotely backup
manually. (Bundled software supported)

- 6 -
Support remote setup, live view, recording, snapshot, ftp and firmware upgrade by
web page or bundled software.
Provide SecuUtility for device searching.
Network protocol supported: HTTP, UPnP, DNS, DDNS, RTSP, RTP, RTCP, TCP/IP,
UDP/IP, ICMP, DHCP, PPPoE, FTP, NTP, SMTP, Multi-Casting.
Support auto re-connecting after network or power shortage.
Support digital zoom on web page.
Free bundle 32 channel surveillance software. Support maximum 32 channels live
view and 16 channels playback.
Support hardware reset function.

- 7 -
2. Hardware Overview
2.1 Hardware Description
Figure2-1
LIGHT SENSOR
Detect incoming light sensor. While the incoming light is too low, image will display in
monochrome automatically.
MICROPHONE
Built-in microphone.
USB
External USB slot, user can use it for wireless module.
RESET
When system is frozen, please push the reset button with suitable object and keep it
depressed for 5 seconds, after the power light is blinking, then release the reset button,
the system will finish rebooting procedure in one minute. When the power light is on;
the device is booted up successfully.
AUDIO-OUT
Connect to external audio devices for audio output, like speaker. Remote audio will
output from this connector.
AUDIO-IN
Connect to external audio devices for audio input, like microphone.
SD CARD SLOT
Support SD card type SD1.1 to SD2.0. Device doesn’t support SD card hot swapping,
please insert or remove SD card while system is off.

- 8 -
12 DC/1A
Connect to 12V DC power adapter.
ETHERNET
Connect to Ethernet network.
RS485/ALARM
Connect external device or RS-485 to keyboard or PTZ camera with Mini Dim Cable,
which is an accessory in product package. Please refer to figure 2-2 for pin definition.
Figure 2-2
Pin definition in figure 2-2 as follows
a. COM —Connect point that corresponds to alarm out.
b. ALARM N.O. —Connect to N.O. alarm output device.
c. D- — Connect to external device, such as PTZ camera or PTZ control
keyboard.
d. D+ — Connect to external device, such as PTZ camera or PTZ control
keyboard.
e. G — Ground wire.
f. Sensor In — Connect to alarm input sensor.
Color wire definition of Mini Dim in product package as follows:
Black: ground wire
Red: sensor in wire
Orange: D+ wire
Gray: D- wire
Blue: COM wire
Brown: N.O.wire
COM
N.O.
D- D+
G
IN
SENSOR-IN
ALARM

- 9 -
3. Installation
3.1 Basic Installation
3.1.1 Hardware Connecting Diagram
Figure3-1
(1) Connect the 12V DC adaptor to the power jack on the rear panel of the IP camera.
(2) Use Ethernet cable to make connection from the Ethernet 10/100 RJ45 socket on
the IP camera to the PC.
3.1.2 Network Setting
After completing the basic hardware connection, make sure that the PC and the IP
camera IP address are both in the same network segment. Example: Setup preset IP
camera IP to 192.168.100.100 and configure your desktop IP address as the Figure
3-2 below.
Figure3-2
1
2
Setup format:
IP Address:192.168.100.xxx
Subnet Mask:255.255.255.0
Default Gateway:192.168.100.1
※Note
xxx address ranges from 1~254,
please avoid using “100” which
has been used by IP camera.

- 10 -
3.1.3 SecuUtility
(1) Please install SecuUtility from the product CD. (Please refer to chapter 3.3.1 for
installation procedures)
(2) Start SecuUtility.
(3) After starting SecuUtility, the program will automatically search and display
supportive devices in local LAN, please see the Figure 3-3.
Figure 3-3
(4) Choose which device you would like to access, the default IP address on the device
is 192.168.100.100
(5) Double click on the IP address, will automatically open the selected device web
image.
(6) Please select on the device you would like to modify its setting and click “Modify”.

- 11 -
A. Please fill in username and password. (Default username and password is admin/
admin)
B. User can manually modify system setting: connection type and web port. Please
click “Save” button before complete change.
C. SecuUtility provides firmware upgrade, please click on firmware upgrade
checkbox, and select new firmware (.bin and .crc) in pop-up window. System
will automatically start firmware upgrade.
Above system setting function only works in firmware version is later than
V1.x.x.x. If the firmware version of the device is not supportive, please notify your
system administrator for firmware upgrade.
(7) Click “Scan” to refresh searching supportive devices in local LAN.
3.1.4 Device Login
Once you have logged in, you will see a pop-up information bar requiring your attention for
installing ActiveX Control, use mouse right click to install ActiveX Control, please see
Figure3-4.Then a window will appear asking you to confirm whether or not you want to
install the ActiveX control. Select “Install”, please see Figure 3-5. After Active Control has
been successfully setup, website login page appears on the screen, please see Figure3-6.
Figure3-4
Figure3-5

- 12 -
Figure3-6
Figure3-7
(1) Figure 3-7, follow the steps below to login the device —
a. Enter the default username:admin。
b. Enter the default password:admin。
c. Click on the login button。
(2) Login complete, enter real-time video view page, please see Figure3-8.

- 13 -
Figure 3-8
Note:
::
:The default video format is MJPEG, if user cannot see video stream with H.264
format, please install FFDshow decode software from product CD.
3.2 Software Installation
Please install following software from product CD.
3.2.1 Install SecuUtility
(1) Click Install SecuUtility Tool

- 14 -
Figure 3-11
(2) Click Next.

- 15 -
Figure 3-12
(3) Select Installation Folder.
Figure3-13
(4) Confirm Installation, please click Next.

- 16 -
Figure 3-14
(5) Installation complete, please click Close to exit.
圖3-15

- 17 -
3.2.2 Install SecuConverter Tool
(1)Click Install SecuConverter tool
Figure 3-16
(2) Click Next

- 18 -
Figure 3-17
(3) Select Installation Folder.

- 19 -
Figure3-18
(4) Confirm Installation, please click Next.
Figure 3-19
(5) Installation complete, please click Close to exit.

- 20 -
Figure 3-20
3.2.3 Install Secu Series Documents
(1) Click Install Secu Series Documents.
Table of contents
