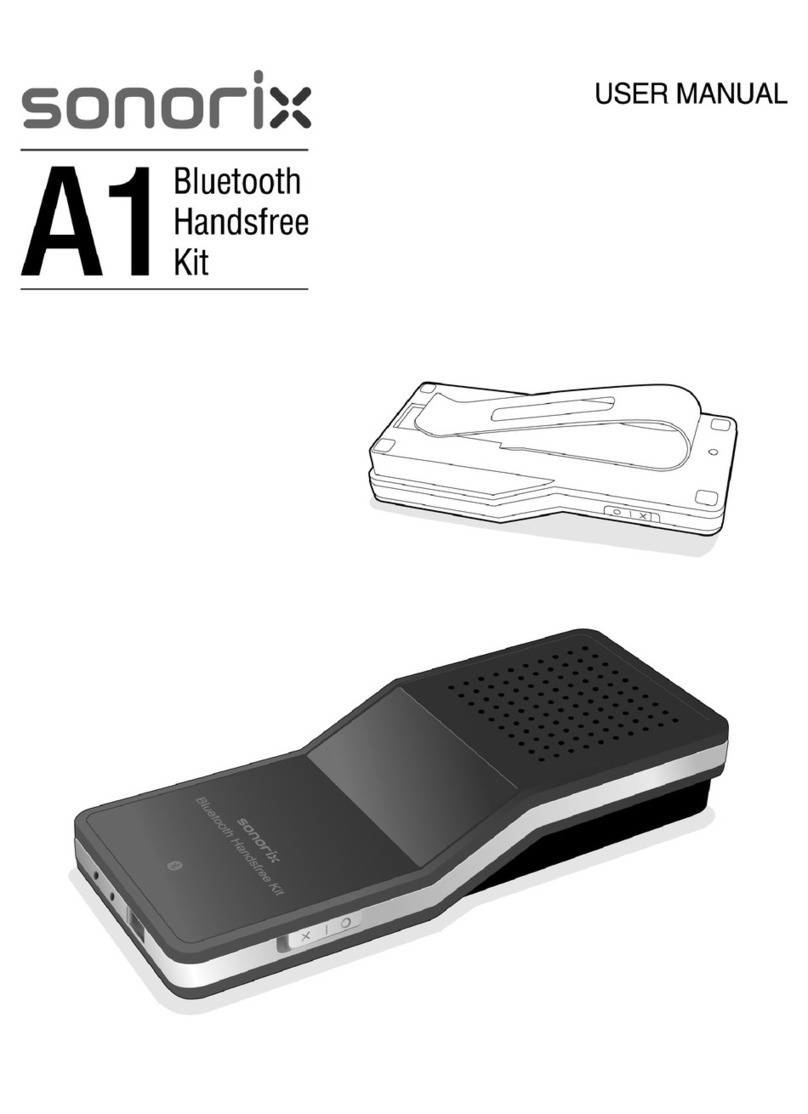
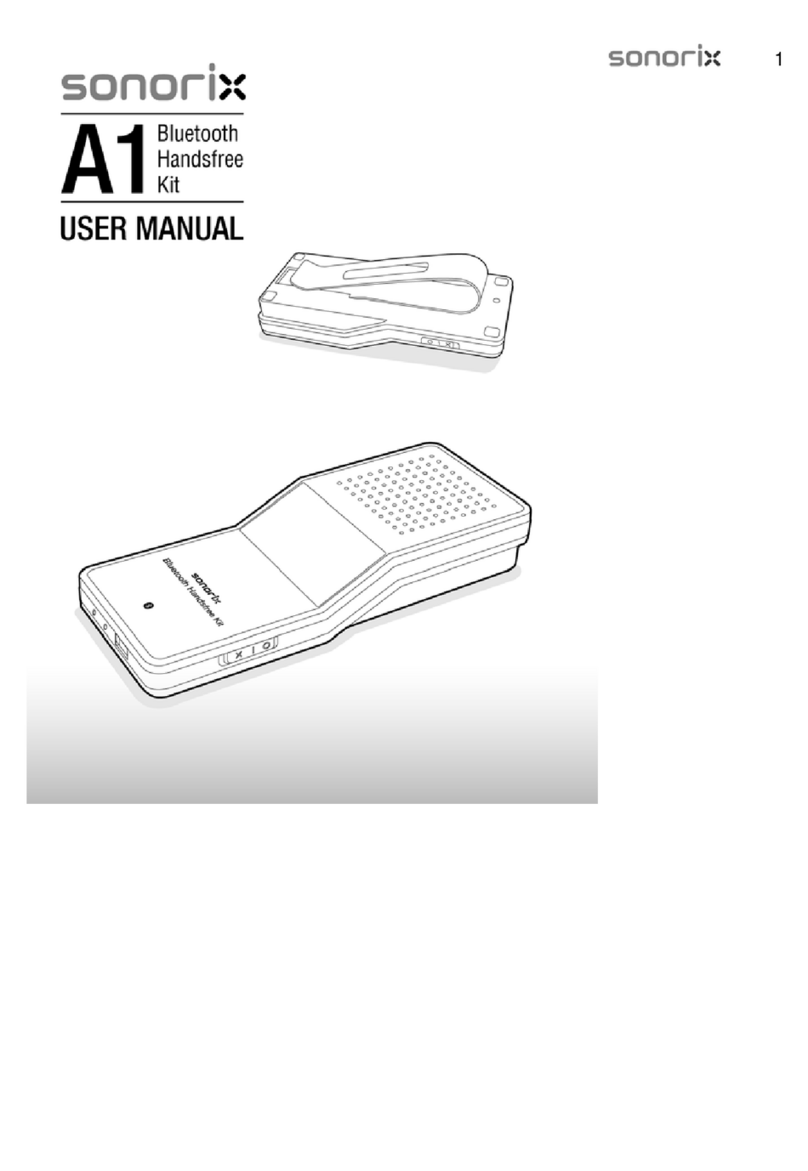
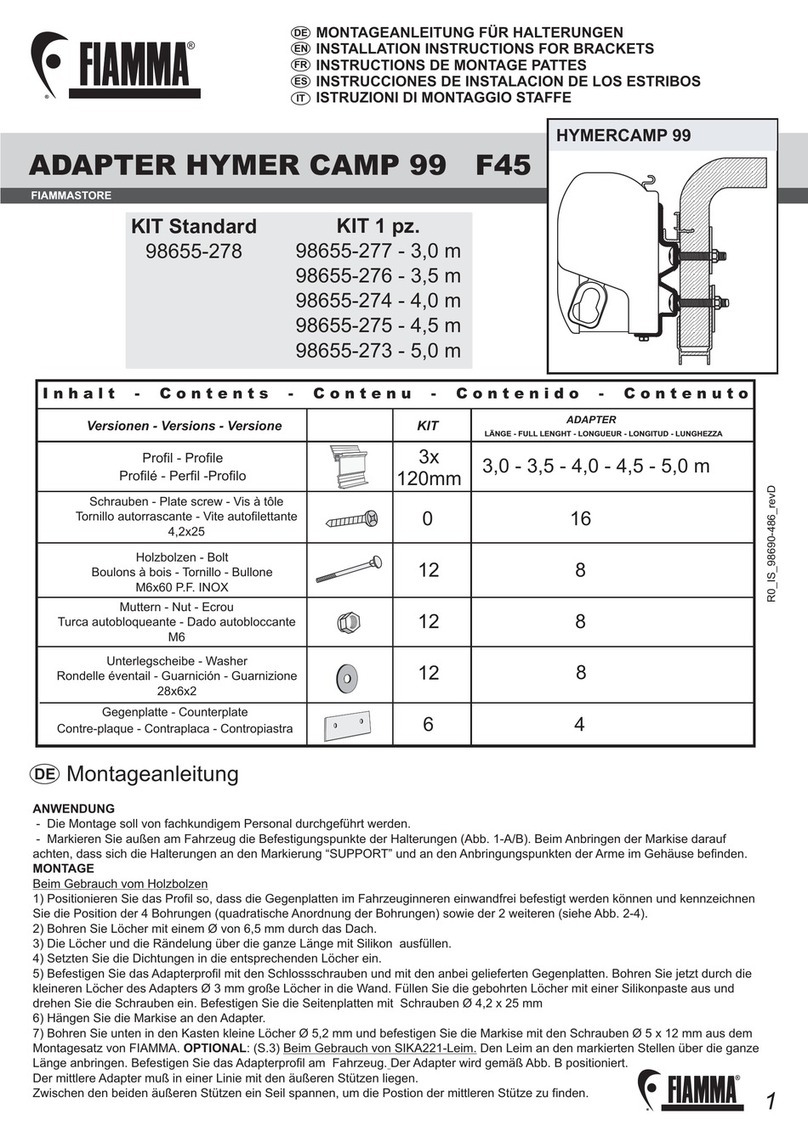
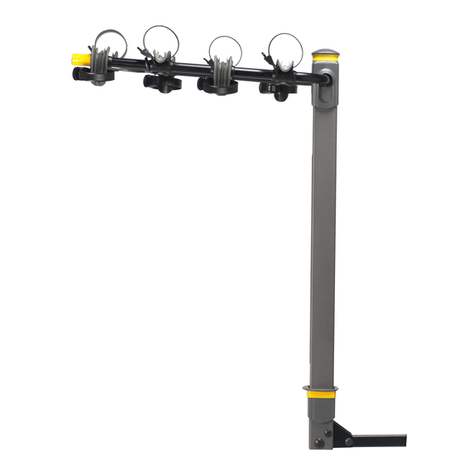
Sonorix A1 User manual

1

2

3
CONTENTS
Introduction 4
Product Functions & Features 4
What’s included in the Package 4
Description of Parts 5
Clipping the A1 onto Sun Visor 5
OLED Display 5
Charging the Battery 6
Switching the A1 ON/OFF 6
Pairing and Connecting A1 with Bluetooth Devices 7
Using A1 for Handsfree Operations 8
Specifications 9
Safety Instructions
zCheck the laws and regulations on the use of mobile phones and
handsfree equipments in areas you intend to use.
zAs much as possible, do not manipulate the buttons of the device
while driving.
zDo not expose the device to direct sunlight especially on the
dashboard of car in hot summer as it may cause product deformation
and even battery explosion. For safety, store the device in glove or
console box when not in use.
zWhen cleaning the device, do not use any type of abrasive pad,
scouring powder or solvents as these may render the finish dull
permanently.
zWhen charging the device using AC/DC adapter, please make sure
the correct input voltage is used.
zWhen using the device for the first time, charge the battery fully until
‘Charged’ is displayed.
zDo not use in places like hospitals, airplanes etc. where use of
electronic devices is prohibited.
zDo not expose the device to extremes of temperature, moisture and
vibrations.
zRisk of explosion if battery is replaced by an incorrect type. Dispose
of used battery according to the instructions.

4
Introduction
The sonorix Bluetooth Handsfree Kit A1 is a state-of-the-art device for handsfree
operations at its best. It functions as 'Car Handsfree Kit' or 'Portable
Speakerphone' when linked to Bluetooth phones supporting Headset or
Handsfree profiles.
Uniquely designed to be portable and versatile, A1 provides you with maximum
comfort and satisfaction for all of your handsfree needs whether you use the
device in car, outdoor or in office.
We hope you enjoy the unique features provided by sonorix.
Product Functions & Features
Caller ID & Name Enhanced Echo & Noise
Cancellation via DSP
Display Function
What’s included in the Package
zBluetooth Handsfree Kit A1
zSun Visor Clip
zCar Charger
zUSB Cable
zUser Manual
Car Movement Detection –
Automatic Link Connection
John
0315966400
Car Kit and Speakerphone Modes
(
Automatic Mode Switchin
g
& Invertible Dis
p
la
y
)

5
Description of Parts Speaker
Displa
y
Volume Control Mute/Hold
Microphone
USB Port Power Switch
MFB
Clipping the A1 onto Sun Visor
zMount the clip onto the back of A1 and slide the clip onto sun visor as
shown below.
OLED Display Bluetooth Connection Status
Car Handsfree Mode: Optimum voice
qualit
y
when mounted onto sun visor.
Speakerphone Mode: Optimum voice
qualit
y
when placed upri
g
ht.
Bluetooth Connected
Bluetooth Disconnected
Buttons locked
Buttons unlocked
Hold Indicato
r
Mode Indicato
r
Battery Indicato
r

6
Charging the Battery
zFor optimum battery calibration, when charging for the first time, slide the
power switch to O and then charge the battery fully until ‘Charged’ is
displayed on window.
zIf battery level is at its low, battery level indicator icon will be displayed as empty.
zTo charge the battery, connect the handsfree kit to car charger or toAC/DC
power adapter (optional item).
zDuring charging, the battery level indicator will
flash with ‘Charging’ displayed in static motion.
When charged, the text ‘Charged’ will be displayed
in flashing motion.
Charging…
Charged
Switching the A1 ON/OFF
zTo switch on A1, slide the power switch to O. With a boot tone, it will first
display the sonorix logo followed by connection state icons and battery level
indication. For battery power saving, display will turn off after 10 seconds.
zTo switch off A1, slide the power switch to X.
Except during talk mode, battery power consumption is very low and therefore, it is not
necessary to switch off power. And by keeping the A1 switched on, you can enjoy the special
feature of “Automatic Connection” with phone when car engine is started. Switch off power only
if device will not be used for more than 1 month.
A1 is equipped with ‘Automatic Mode Switching’ as
well as ‘Automatic Invertible OLED’ functions.
‘Automatic Mode Switching’ sets the best talk
environment for user depending on where the A1 is
used. If A1 is clipped onto sun visor, it automatically
enters into ‘Car Handsfree’ mode and when placed
on table, it enters into ‘Speakerphone’ mode.
(patent pending) Also, the OLED display will be
automatically inverted depending on whether the
A1 is placed upright or upside down.
For battery power saving, display automatically
switches off after 10 seconds. To view the display
a
g
ain, short click volume u
p
or down buttons.
Automatic Mode Switchin
g
& Invertible Dis
p
la
y
Function

7
Pairing and Connecting A1 with Bluetooth Devices
Charging…
Function Action Display
Pairing
Mode
To put A1 in pairing mode, first make sure it is in
power off mode. While pressing MFB, slide Power
Switch from x to o and keep pressing until you see
‘Wait for Pairing’, sonorix A1 and Bluetooth Device
Address. A1 is now ready to be paired. Pairing
mode lasts for 3 minutes, after this period A1
returns to standby mode.
Note: A1 can be paired with up to 3 devices. To
delete all pairing information, long click MFB while
A1 is in pairing mode.
00150E001A05
sonorix A1
Wait for Pairing
Pairing
Successful
&
Connection
State
From a Bluetooth phone or PC, search for sonorix
A1. When prompted for pinkey, enter ‘0000’ which
is the pinkey for A1. When paired, you will see
‘Pairing Success’ followed by display of
‘Connection States’ and ‘Battery Level Indicator.
Connection
State
In idle mode, short click volume up or volume
down buttons to check the connection status. If
Bluetooth icon is highlighted, it means A1 is in
connection state.
Pairing Success
Reconnect
Function
A1 can be automatically reconnected to the last
connected device in 2 ways, that is, when car
starts to move after engine is started or when A1 is
powered on.
Note: Connecting time depends on the number of
phones paired with A1 as A1 takes turn to connect
to each device starting from the last connected
device.
When A1 is disconnected as a result of getting out
of Bluetooth range, it will attempt reconnection to
last connected device for maximum 5 minutes.
To cancel reconnect function, simply click MFB
when ‘Connecting…’ is displayed.
A1 can also be reconnected manually by long
clicking MFB in idle mode. You will first hear the
beep tone followed by display of
Connecting...’image.
Button Hold
Function
To prevent accidental button activation while the
device is being carried around, lock the button
operations by long clicking ‘MUTE/HOLD’ button.
To unlock, long click ‘MUTE/HOLD’ button.
Connecting…

8
Using A1 for Handsfree Operations
Function Action Display
Answer Call
On an incoming call, ‘Ringing’ and ‘Caller ID’ will
be displayed alternately. If Caller ID function is not
supported by phone, then only ‘Ringing…’ will be
displayed. If your phone supports Caller Name
Display, only the caller name will be displayed. To
answer call, short click MFB.
Ringing…
0315966400
HOME
Make Call To make a call, first dial from phone and call will
be automatically transferred to A1.
Call Transfe
r
Redial
To redial, short click MFB. For some phones, when
MFB is short clicked, it first displays the numbers
last called or received. In this case, short click
MFB again to redial. Note: Some phones allow
direct redial by short clicking MFB just once.
Redialing…
To voice dial, make sure your phone supports
voice dialing function and that it is activated and
voice tags have been recorded. In idle mode, long
click MFB to initiate voice dial. Follow the rest of
the instructions from phone.
Voice Dial
V
oice Dialing…
End Call To end call first, short click MFB during ‘Talk
Mode’. If other party ends the call first, A1
automatically returns to handsfree standby mode.
After call is ended, talk time will also be displayed.
Call Ended
05:30
Reject Call To reject incoming call, long click MFB.
Call Rejected
Volume
Control Short click (+) or (-) to adjust volume. To adjust
volume in continuous increments, click and hold
(+) or (-) button.
Microphone
Volume
Adjustment
As mobile phones have varying microphone level
settings, you can calibrate the microphone settings
of your A1 for best talk quality. To be able to adjust
the microphone setting, A1 has to be in talk mode.
During talk mode long click [+] or [-] button.
Followed by a beep tone, the microphone icon will
be displayed. Short click [+] or [-] button to adjust
your microphone setting until the caller on the
other side hears your voice well. When display is
turned off after 10 seconds or if call is ended, the
desired microphone setting will be saved.

9
Function Action Display
Microphone
Mute
For privacy reasons, if you don’t want the party on
the other line to hear your voice, you can mute the
microphone by short clicking MUTE/HOLD button
during talk mode. To cancel mute function, short
click MUTE/HOLD button.
Mic. Muted
Call
Transfer During talk mode, to transfer call from A1 to phone
or vice versa, long click MUTE/HOLD button.
3 Way Call
During talk mode, if you receive another call, long
click MFB to hold the 1st call and answer 2nd call.
To toggle between calls, long click MFB. During
talk mode, by short clicking MFB, you can end the
current call to continue with the next call.
Call Transfe
r
Note: 3 Way Call function is only applicable if user
has subscribed for such service.
Call Waited
Specifications
Standards Bluetooth Specification V2.1
RF Frequency Range 2402 ~ 2480 MHz
Profiles Supported Headset, Handsfree
Transmission Power 0.25 ~ 2.5mW (Class 2)
Distance 10m (in open space)
Audio Output > 1W
Battery Life Standby > 400 hrs
Continuous Talk Time > 15 hrs
Charging Time < 3 hrs
Charging Voltage DC +5V
Buttons Power On/Off, Multi-Function Button,
Mute Button, Volume Up/Down
Display 128 X 32 dots OLED (white)
Weight 87.5g (Including Sun Visor Clip)
Operating Temp. & Humidity -10 ~ +50°C, Rel. Humidity 0 ~ 95%
Certification BQB, FCC, CE, MIC

10
Product Warranty
*OpenBrain Technologies warrants this
oduct against all defects in material
orkmanship for a period of one
ear from the date of purchase by end
. The conditions for warranty are
s follows :
* The warranty is valid only if the original
eceipt issued to the original purchaser
the dealer is presented with the
oduct to be repaired or replaced.
* The warranty is void if the serial
ber, date of purchase and product
abel had been removed.
* The warranty does not cover any
lure or damage of the product due to
mal wear and tear, physical abuse,
mproper installation, misuse,
fication or repairs by unauthorized
ird parties.
* OpenBrain Technologies does not
ssume responsibility for any loss or
age incurred during shipment and
esult of force majeure.
* OpenBrain Technologies is not liable
any incidental or consequential
ages arising from the use or
suse of the product.
* ll warranty claims are limited to repair
replacement of the defective
oduct at the sole discretion of
Brain Technologies.
* If OpenBrain Technologies repairs or
eplaces the product, the repaired or
eplaced product shall be warranted
the remaining time of the original
arranty period. Repair or
eplacement may involve the use of
onally equivalent reconditioned
ts. Replaced part or product
mes the property of OpenBrain
echnologies.
* Consumable components, such as
eries, are not included in the
arranty obligation.
Disclaimer Notice
The manufacturer shall not be liable for errors
contained herein or for incidental or
consequential damages in connection with
the furnishing, performance or use of this
material. This document contains proprietary
information, which is protected by
international patent applications and
copyright. All rights reserved. No part of this
document may be copied, reproduced or
translated without prior written consent of the
manufacturer. The manufacturer reserves the
right to revise this publication and to make
changes from time to time in the contents
hereof without obligation to notify any person
of such revisions or changes. The
manufacturer also reserves the right to
change the specifications without notice.
pr
and w
y
user
a
r
by
pr
num
l
fai
nor
i
modi
th European CE notice to users and product
statements
This product is CE marked according to the
provisions of the R & TTE Directive
(99/5/EC). Hereby, OPENBRAIN
Technologies Co., Ltd, declares that this
product is in compliance with the essential
requirements and other relevant provisions of
Directive 1999/5/EC. For further information,
please contact http://www.openbrain.co.kr
a
dam
as a r
for
dam
mi
A
or
pr
Open
r
r
for
w
r
functi
uni
beco
T
batt
w
WEEE Directive 2002/96/EC Art. 11(2)
The use of the symbol indicates that this product may not be treated as
household waste. By ensuring this product is disposed of correctly, you will
help prevent potential negative consequences for the environment and
human health, which could otherwise be caused by inappropriate waste
handling of this product. For more detailed information about recycling of this
product, please contact your local city office, your household waste disposal
service or the shop where you purchased the product.
FCC notice to users and product
statements
THIS DEVICE COMPLIES WITH PART 15
OF THE FCC RULES. Operation is subject to
the following two conditions; (1) this device
may not cause harmful interference, and (2)
this device must accept any interference
received, including interference that may
cause undesired operation. CAUTION:
Changes or modifications not expressly
approved by the party responsible for
compliance could void the user’s authority to
operate the equipment.

11

12
Other manuals for A1
2
Table of contents
Other Sonorix Automobile Accessories manuals
