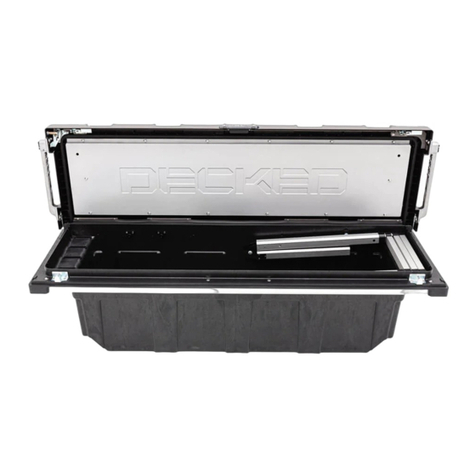
DECKED MG3 User manual

Installation Instructions:
MG3 MG4
CHEVY COLORADO/GMC CANYON
5'2" or 6' 2” BED LENGTH
NOTE: Most of the images in these instructions are of the short bed, but they apply to both length beds
2015-CURRENT
TOOLSREQUIRED
• Adjustable wrench (that opens to about 1”)
• 1/2” open end wrench
• #2 Phillips screwdriver,
• Short 7/32” hex wrench
• 7/16” deep socket
• 3/8” socket
• Electric drill
• 9/64" drill bit
• Drill stop

▼HEY! TORQUE BOY: READ BEFORE YOU INSTALL DECKED ▼
▼ ASSEMBLY OVERVIEW ▼
CENTER VERT
CABSIDE VERT
DRIVER SIDE DECK
(NARROW)
PASSENGER SIDE
DECK (WIDE)
DRIVER SIDE
AMMO CAN
PASSENGER SIDE
AMMO CAN
DRIVER SIDE
STUD "YUP"
PASSENGER SIDE
STUD "YUP"
DRIVER SIDE
AMMO CAN LID
PASSENGER SIDE
AMMO CAN LID
TORSION
BRACE
CCHANNEL
CCHANNEL
TAILGATE
1. DON'T over tightenbolts,getem'good 'olehand-tight.
2. DON'Tuse power tools.
3. Ifyoudon't follow directionsanddouse powertools:
1). Setclutchata very lowsetting.
2). Don'tblowit.
3). Ifyoublowit,seeNOTE.*
NOTE*Twoextra threadedinsertsareincludedinBAG
PREP-EXTRA. That'sall youget.
4). DON'T over tightenJ-hooks duringinstallation.
Make 'emgood andsnug enoughtokeepthe
systemfrommovinginthebed.
5). Doreadthese instructionsclosely.
NOTE: Most of the images in these instructions
depict the short CHEVY/GMC bed, but they apply to
both length beds.

A
MAKE SURE MARK SITS AT LEAST
14" HIGH (SO YOU CAN SEE IT)
DETAIL A
CAB
➡
MG3 & MG4 | V1 | Page 1
▼HEY! TORQUE BOY: READ BEFORE YOU INSTALL DECKED ▼
Need Help? Watch our installation videos or give us a call. We’re happy to help!
PREP BED: MARKCENTEROFBED
• Usea markingpen orwaxpencil tomarka centerline(blue)on the raisedcenterbead.

Alignshimto channelinfloor shown3”from
cabsidepanelof bed(red).
Alignshimto channelinfloor shown.Place
shim7" fromrearofbed (red).
3”
7 "
A
B
➡
CAB
DETAIL A
DETAIL B
MG3 & MG4 | V1 | Page 2
PREP BED: SHIMS
• 2 SHIMS thatlooklikethiscan befoundin yourhardwarekit.
• Usingthe informationbelow:
1) Cleanthe bedsurfacewherethe shims will belocated.Isopropylalcohol(donot drink)is recommended.
2)Removetapefilmand applyshim withthe strengthof1000men a.k.apush reallyhard.

FACTORY TIEDOWN
(GREEN)
PREP BED: CABSIDETIEDOWNS
• Sandwichthe factorydriversidetie-down(green)in betweenthecabsidetie-downbracket(yellow)andthe clamp
plate(red);BAGPREP-MG34
• Fasten securelythroughthecircularholes with1" boltand flangednut;BAGPREP-MG34
• Repeatpassengerside.
CABSIDE TIEDOWN
BRACKET (YELLOW)
CLAMP PLATE
(RED)
DETAIL A DETAIL A
INSTALLED
A
CAB
1" BOLT
FLANGED
NUT
➡
MG3 & MG4 | V1 | Page 3

MG3 & MG4 | V1 | Page 4
ASSEMBLY: CENTERVERT+CABSIDEVERT
NOTE: Perform the next few steps on a flat surface like a garage floor.
• Attach centervert tocabside vert with four bolts.Alternate to tighten; BAG S1.
CENTER VERT
CABSIDE VERT
S1
PLACEHOOK ONCENTERVERT
OVERNOTCHINCABSIDEVERT
HELPFUL TIP: BAG S1, a.k.a "BunkerHill," is required
for most of the steps, so keep it close! These bolts are
highlighted throughout instructions in RED.

MG3 & MG4 | V1 | Page 5
ASSEMBLY: LOOSELYATTACHSTUDS(YUP)
• LOOSELY attach studs to cabside vert with sixbolts;BAG S1.
CENTER VERT
PASSENGER
SIDE STUD
CABSIDE VERT
DRIVER
SIDE STUD
KEEP LOOSE
(YOGAHELPS)
S1 KEEP LOOSE
S1

MG3 & MG4 | V1 | Page 6
HELPFUL TIP: This step seems like a waste of time,
but Dr. DECKED says it's important...don't skip out.
ASSEMBLY: ALIGN&TIGHTENSTUDS(YUP)
NOTE: This step ensures the studs are properly located before tightening bolts. It's important.
• Placeammocanstosupporttailgateendofdeckpanels.
• Liftdeckpanelsoncentervert+stud+cabsidevertassembly.
• SlidestudsaroundL-Runtildeckpanelsareseated.
•DETAILA: Looselysecurefourboltstoholddecksontostuds; BAG S1.
• Nowyoucansecurelytightentheboltsthatholdthestudstothecabsidevert.
• Unboltdeckfromstuds,removedeckpanels,savebolts,removeammocansandsetasideforlaterassembly.
DETAIL A
S1
A
YOU WILL REMOVE AND SAVE THESE BOLTS
AFTER TIGHTENING CABSIDE VERT + SHIM
BOLTS
TIGHTEN AND SECURE

ASSEMBLY: STUDBRACKETS
• DETAIL A: Attach driver side stud bracket to driver side stud using three 3 1/2" bolts and three flanged nuts
into proper hole locations (green). Tighten securely; BAG PREP-MG34
•DETAIL B: Repeat steps in DETAIL A on passenger side.
DRIVER SIDE BRACKET PASSENGER SIDE
BRACKET
A
B
DETAIL A DETAIL B
➡
CAB
MG3 & MG4 | V1 | Page 7
➡
CAB
➡
CAB

FLANGED
NUT
ASSEMBLY: MOUNTASSEMBLY
• DETAIL A: While supporting both ends, lift center vert + stud + cabside vert assembly in truck bed.
NOTE: Make sure centerline arrows on cabside vert are aligned with your centerline marks (blue).
• DETAIL B:Place studbrackets cabside ofcabside brackets(yellow).Looselyfastenwith3/4" boltand flangednut;
BAG PREP-MG34.
• Repeatpassengerside.
• Make sureassemblyis stillon centerline,thensecurelytightenbothsides.
DETAIL B
B
A
DETAIL A
➡
CAB
➡
CAB
3/4" BOLT
MG3 & MG4 | V1 | Page 8

MG3 & MG4 | V1 | Page 9
INSTALL: CCHANNEL
• Looselyplacedriversideammo can at tailgate cornerofbed.
• Placedriverside C-channelon ledgeofstud andammo canwith endplatecabside.
• DETAIL A: Insert two bolts throughC-channelintoammocan and loosely fastenwithnut;BAGS2,BAG N1.
• DETAIL B: Tightly attach C-channel tostud;BAG S1.
• Repeatpassengerside.
DETAIL A DETAIL B
CCHANNEL
END PLATE
KEEP LOOSE TIGHTEN
A
B
S2 S1
N1
➡
CAB
➡
CAB
➡
CAB

S1
➡
CAB
MG3 & MG4 | V1 | Page 10
INSTALL: DECKHALVES
• Looselyplacedriversidedeck panel on driverside stud,centervertandammocan.
• Shiftammo canforward,rearward,L-R,asnecessarytoalignwith fully seateddeck panel.
• Looselyassemble:
• Five (5'2" bed) orsix (6'4"bed) bolts throughdeck panelintocentervert; BAG S1.
• Four boltswith O-rings through deck panelintostud;BAG S1, BAG O-RINGS.
• Eight bolts withO-rings through deck panel into ammo can;BAG S1, BAG O-RINGS.
• Tighten allS1 bolts.
• Securely tighten driver side C-Channel/ammo can nut and bolt.
• Repeatpassengerside (make sure you don't forget to securely tighten passenger side C-Channel/ammo can
nut and bolt).

INSTALL: JHOOKS
• Looselyassemble driver side J-hook assembly in order shown through second closest tailgate side hole in
ammo can as shown; BAG J5.
• Repeat passenger side.
TAILGATE
TAILGATE
DRIVER SIDE AMMO CAN PASSENGER SIDE AMMO CAN
KEEP LOOSE KEEP LOOSE
✕
✕
✕
✕
✕
✕
J5 J5
MG3 & MG4 | V1 | Page 11
HELPFUL TIP: Make sure the hooks
open toward tailgate.

MG3 & MG4 | V1 | Page 12
2" BOLT
CORNER
BRACKET
HELPFUL TIP: If you purchased drain
plugs, install now (instructions are
included with drain plugs).
TUBE BRACE
GOES HERE DRAWER1
DRAWER2
DRAWER1
➡
CAB
WHEELS
DRAWERS: BRACKETS+WHEELS
•Each drawerhasa leftand aright bracket. Boltbracketsintoplacevia bottom twoholesin bracket with3/4"
length bolts. Use the 2"length boltforthe uppercabside wall hole inbracket; BAG DRAWER 1.
• Install a tubebracein eachdrawerwith two 3/4" length bolts; BAG DRAWER 1, BAG DRAWER 2.
•Attach wheelsontodrawer brackets witha 7/32"hexwrench;BAG WHEELS.

MG3 & MG4 | V1 | Page 13
DETAIL B
DETAIL A
HELPFUL TIP: To make this step easier, jam a 2" piece of
material under drawer, or get your pal to pinch the drawer
up to the deck to give you better leverage.
HELPFUL TIP: Cut weatherstrips if they overhang.
➡
CAB
DRAWERS: AXLEWHEELS+WEATHERSTRIPS
• Slidenarrowdrawerintopassengerside drawercavity.NOTE: It is easier to fully install narrow drawer first.
•DETAIL A: Install two tailgate wheelsontonarrow draweraxles witha 7/32" hexwrench;BAG WHEELS.
• Repeatwithwide drawer.
•DETAIL B: Installweatherstripsontopofdraweredges
WITH WIPER BLADE POINTING TOWARD DRIVER.
IMPORTANT: Facing the weatherstrip the wrong way will funnel water into drawer: DUH!

MG3 & MG4 | V1 | Page 14
FINALSTEPS:TORSIONBRACE+BOTTLE
OPENER
•Slide torsion braceundercentervertandtailgateammocans.
NOTE: If you jumped the gun and tightened the J-hooks when installing, loosen them.
•Looselyinstall:
• Twoboltsthroughthe endholes intorsion brace into ammocans; BAG S1.
• Two bolts through the bottom bottleopenerholesandtorsion brace intocenter vert; BAGS1.
• Two1/2" lengthboltsthroughupper holesin bottle opener into centervert;BAG FINAL MID.
•Align bottleopenertoedges ofcentervertandtightenfourbottleopenerbolts.
•Tightenendboltsintotailgateammocans.
• Finally.....Tighten the J-hooks! DO NOT OVER TIGHTEN, just make snug. Make sure the gap between the
sidewall of the bed and the deck on the driver side is equal to gap on the passenger side.
TORSION BRACE
BOTTLE OPENER
1/2" LENGTH BOLTS
BAG FINAL MID
HELPFUL TIP: Bottle opener goes outside
of torsion brace.

MG3 & MG4 | V1 | Page 15
BAM BAM: THERULER
• Centerrulerin embossedareaand screw three1/2"length Phillipsscrews throughthetailgatesideholesdirectly
intodeckpanels;BAG FINAL MID.
NOTE: Thesearesmall gauge screws.Tightentoalight snuggle ONLY.
• For the three cabside ruler mounting holes, drill each with a 9/64" bit and a drill stop set to 1/2". There is a lateral
steel tube that runs on the underside of the deck at this location. (SEE UNDERSIDE VIEW OF DECK).
IMPORTANT: Only drill through TOP of steel tube; do not drill through bottom of tube, 'lest you want to pull a
Niagara Falls and funnel water into your drawers.
• Screw three 3/4" length Phillips screws into the cabside ruler holes you just drilled; BAG FINAL MID.
STEEL TUBE RUNS LATERALLY UNDER THESE 3 RULER
HOLES. THEY TAKE THE 3/4" SCREWS.
DO:Drillthroughthetop ofsteel
tubeONLY.
DO NOT: Drillthroughbothsides
ofsteeltube=YOU'RE FIRED!
UNDERSIDE VIEW OF DECK
DRILL STOP
1/2”
9/64" DRILL BIT

MG3 & MG4 | V1 | Page 16
FINAL STEPS: AMMOCANLIDS
•DETAIL A: Ammo canlids are driver (marked L)and passenger(marked R)side specific.
•DETAIL B: Holdinglid inorientationshown,insert tab ontailgateendof ammo canlidandpush thecabsideendoflid
downto secure.Don't beafraid togive'r the Fonzito close,it's rugged.
•Insert lock hole plugs, unless you ordered drawer locks! Install drawer locks now (instructions with locks); BAG
FINAL MID.
IMPORTANT: Grab your favorite beverage, crack 'er open in the bottle opener and christen this ship!You
did it. Immediately post a photo of your significant other, child or canine (in no order of significance)
appreciating your accomplishment.
DETAIL B
FINALMID
DETAIL A
DRIVER SIDE
AMMO CAN LID
PASSENGERSIDE
AMMO CAN LID

#DECKEDUSA | @DECKEDUSA
DECKED 3-YEAR LIMITED WARRANTY
(a.k.a LEGAL MUMBO JUMBO)
DECKEDLLC warrantstothe originalpurchaserof thisproduct thattheproductwillbefreefrommanufacturingdefectsin
workmanshipand materialsfor aperiodof three(3)yearsfrom thedate oftheoriginal purchase.Ifwithinthree(3)yearsfromthe
originaldate ofpurchase thisproductfailsdueto defect in materialsor workmanship,DECKED LLCwillreplace anydefectivepart at
itsoption.
Theoriginalpurchaser mustcontact theDECKEDLLCcustomerserviceteamand provide a descriptionofthe defectivepart, includ-
ingdigitalpicturesifrequested,with theoriginalpurchasedocumentationasvalidationof warranty coverageorhavepreviously
activatedtheirwarrantyonline.
ThiswarrantyDOESNOTcover orapplyto:
•Damageto theproduct duetomisuse, mishandling andabuse.
•Productsnotused in accordancewith the manufacturer’sinstructionsorrecommendations.
•Product notassembledor installedaccording tomanufacturer’sinstructions.
•Normalwear andtear.
•Undeclareddamage tothesystemduringshipping,actsofGod. Inaddition,consequentialdamage and incidental
damages(includinglost time)suchasdamage topersons orproperty arenot covered underthiswarranty.
Shop for other bed accessories on our website.
This manual suits for next models
1
Table of contents
Other DECKED Automobile Accessories manuals
DECKED
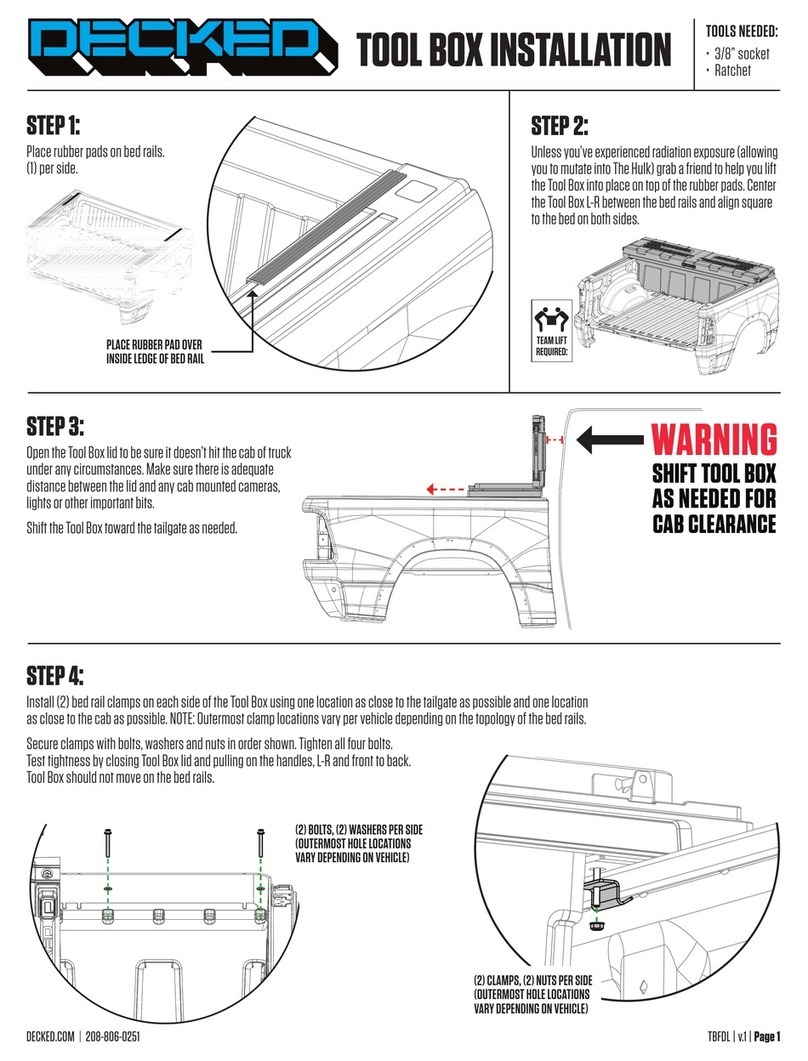
DECKED ToolBox Ladder Bracket User manual

DECKED
DECKED Slide Reference guide

DECKED
DECKED DS1 User manual

DECKED
DECKED VAN SHELVING User manual

DECKED
DECKED DS1 User manual

DECKED
DECKED MT5 User manual

DECKED
DECKED MT6 User manual

DECKED
DECKED DR6 User manual

DECKED
DECKED TOOL BOX User manual

DECKED
DECKED LADDER User manual

Popular Automobile Accessories manuals by other brands

Antec
Antec 15U 5690 Assembly instructions

Timberline
Timberline Binar-5B-Compact Service manual

Metra Electronics
Metra Electronics ACURA 99-7866 installation instructions

Whispbar
Whispbar K652W Fitting instructions

Hybrid Racing
Hybrid Racing K Series installation manual

Romik
Romik 2162 installation instructions