
If the motor parameters of the gimbal do not match due to the dierence in
weight when the camera is equipped with accessories (such as a hood, a filter,
etc.) or the individual dierences in the gimbal, you need to manually adjust
the motor parameters.
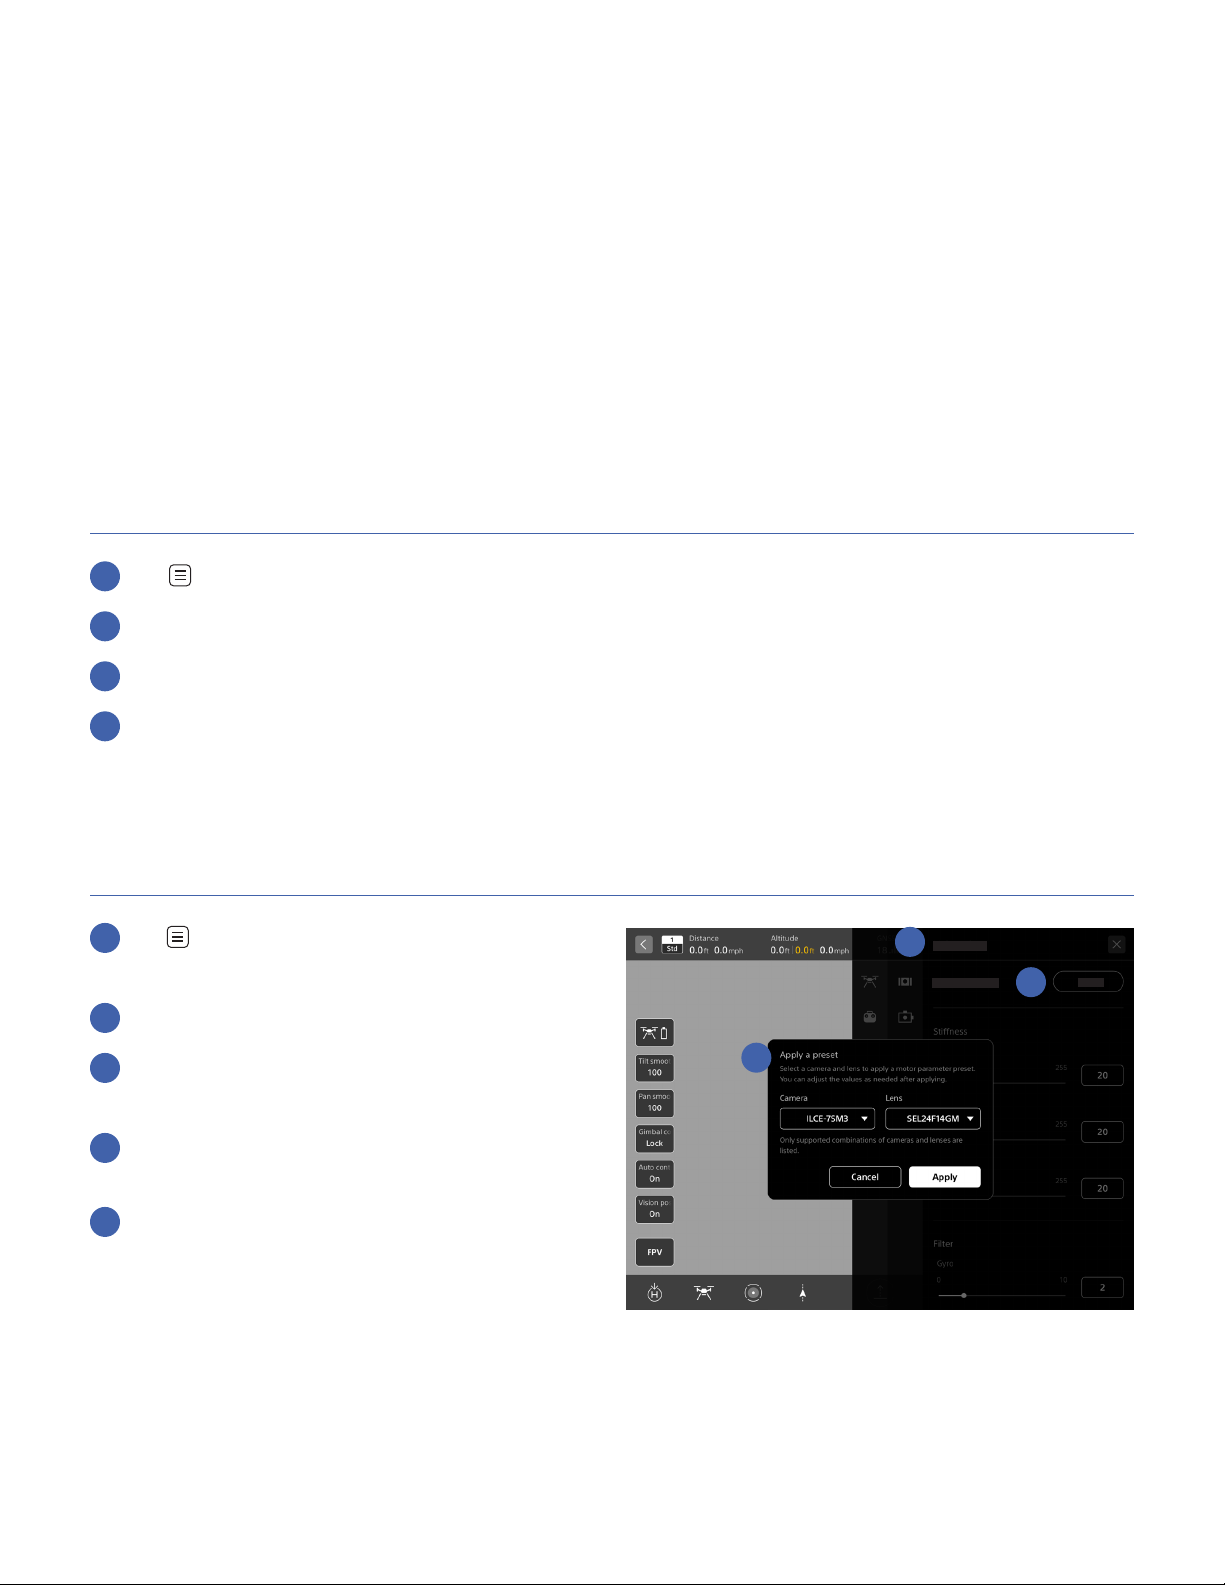
Please install PC software “gTuneDesktop” by Gremsy for motor parameters
adjustment.
Sections:
1. About motor parameters
2. Connect gimbal to PC
3. Start gTuneDesktop and input initial parameter
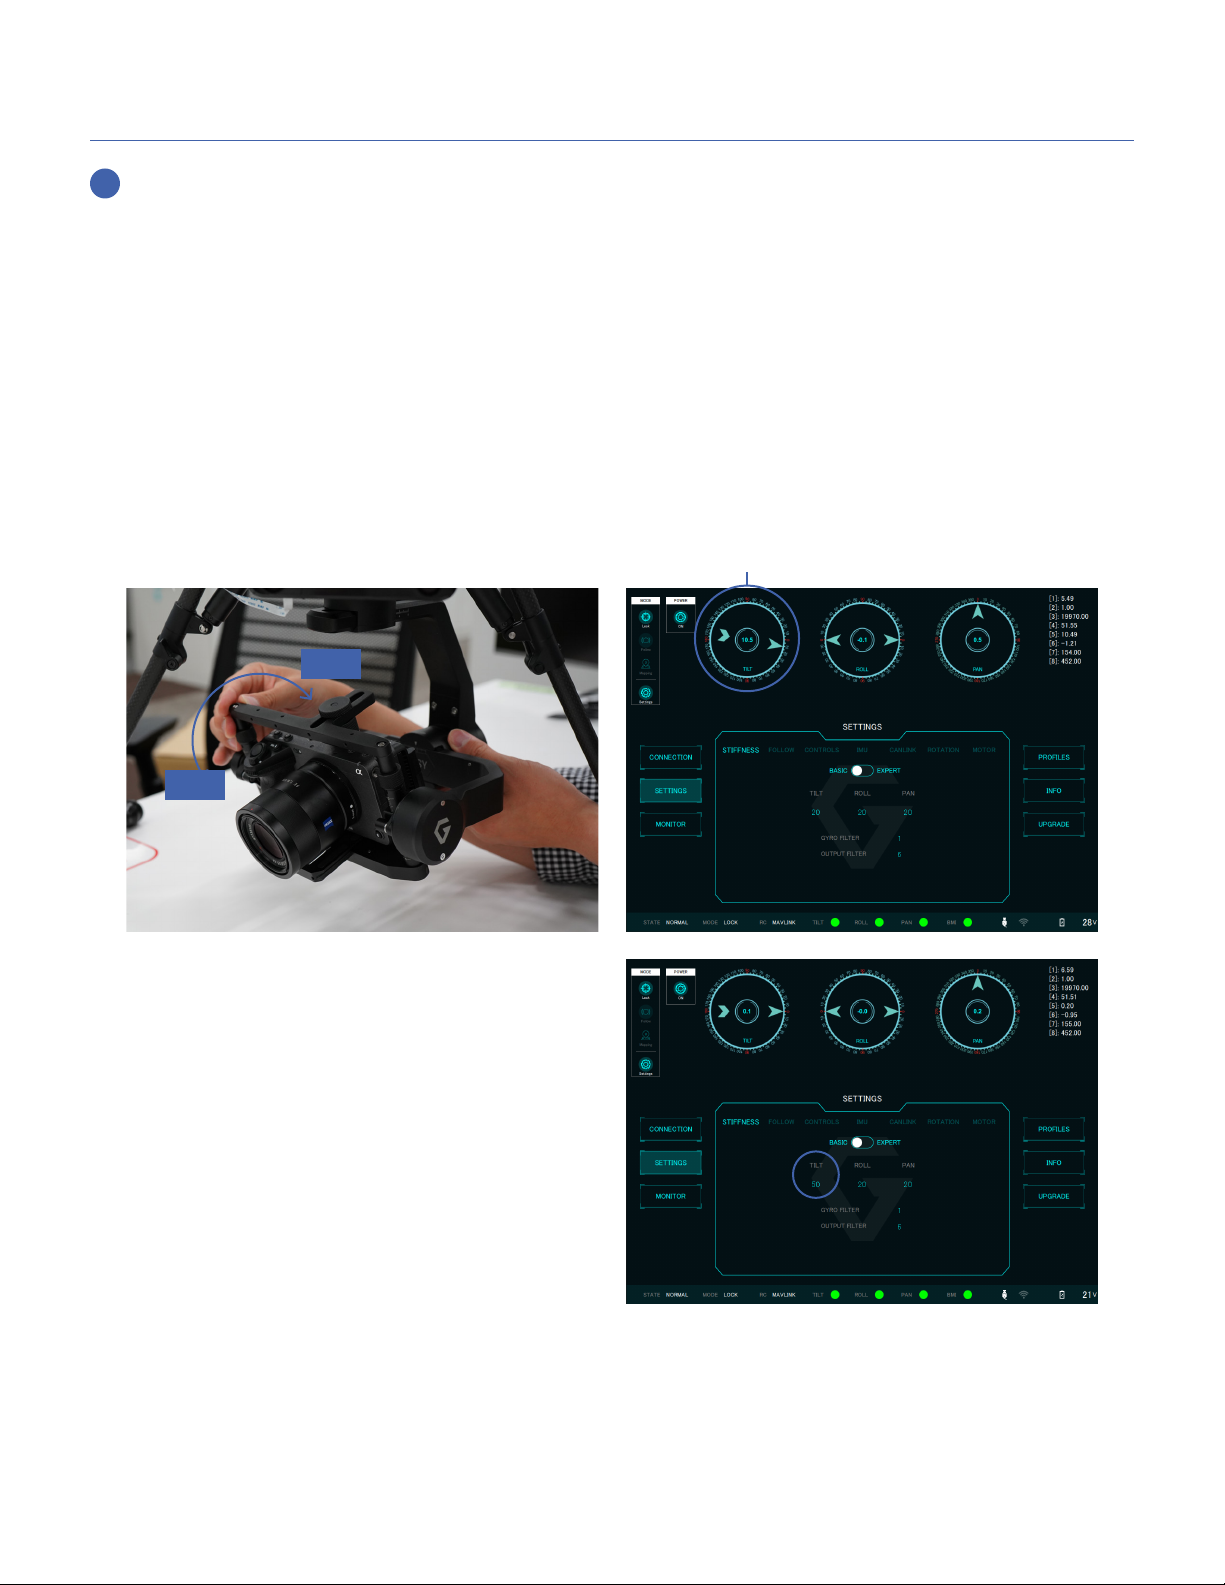
4. Adjust motor parameters on each axis
5. Check the image
6. Trouble shooting
Manual adjustment of
motor parameters
1. About motor parameters
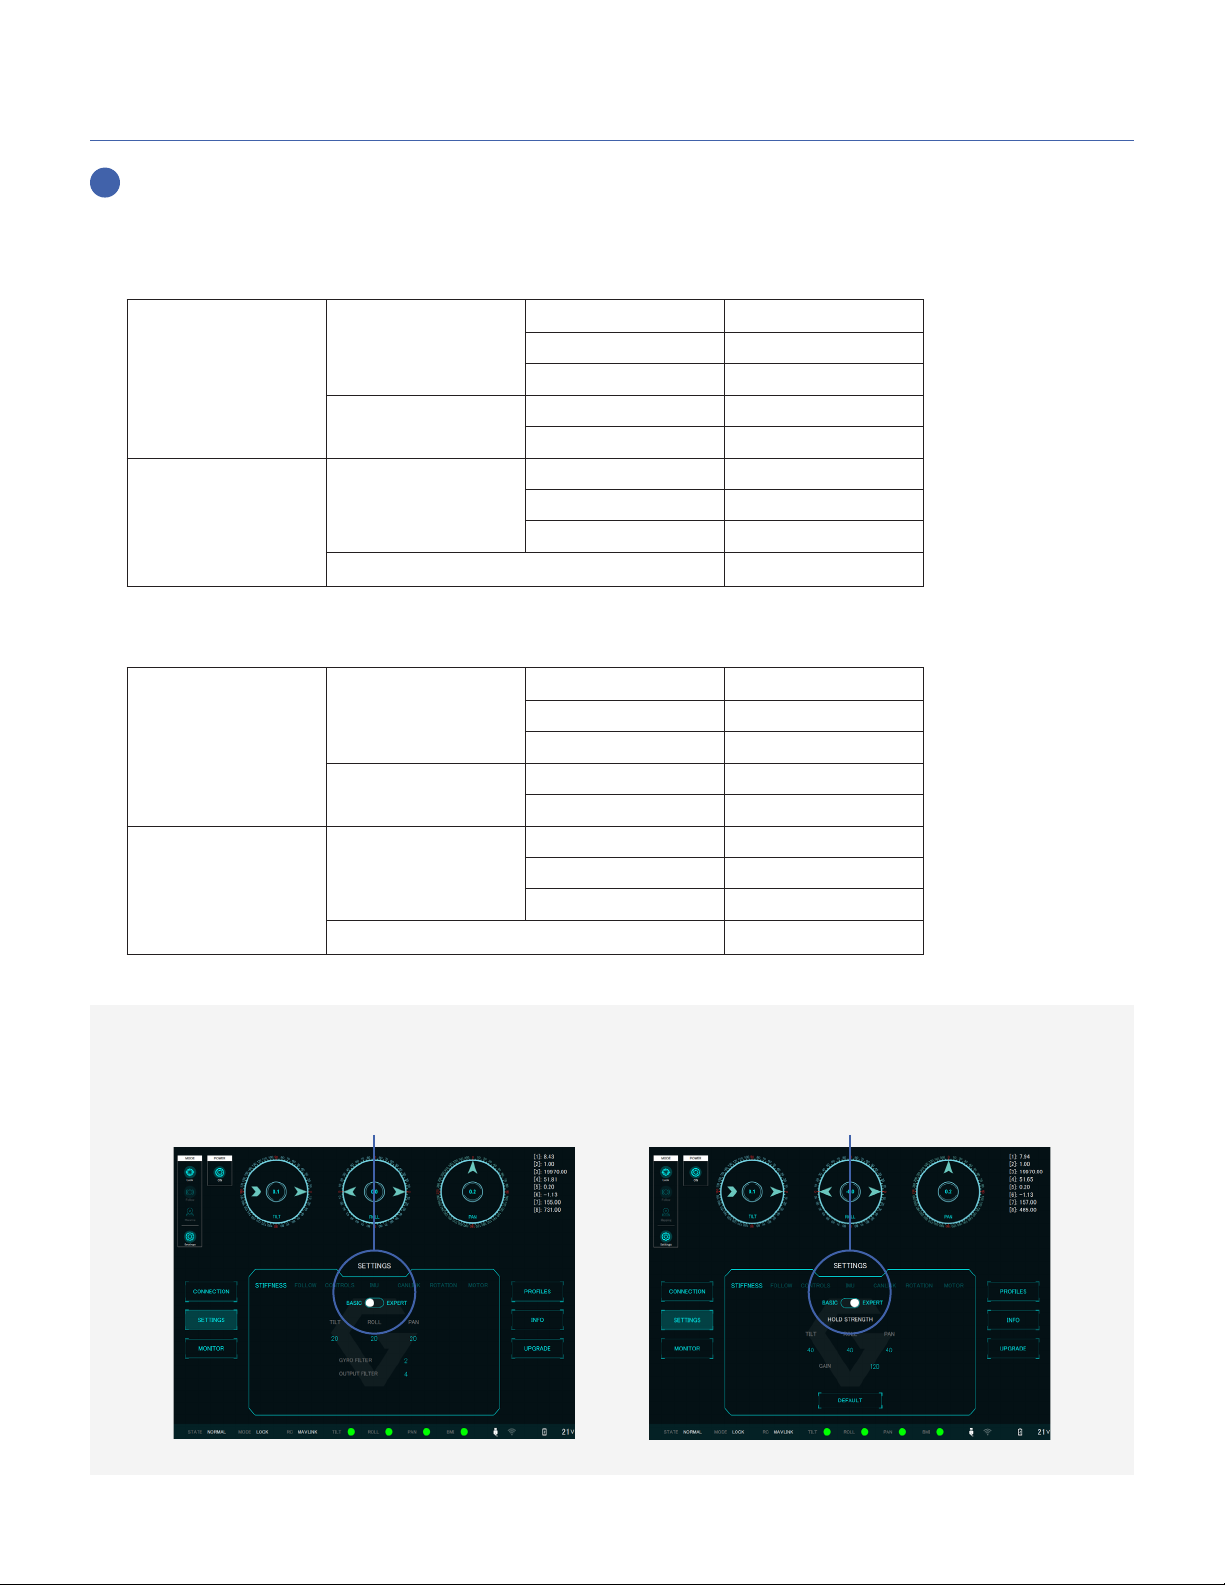
Stiffness
It is a parameter to control the horizontal stability
of gimbal. (Min: 0` Max: 255)
A higher value causes gimbal oscillation, while a
lower value causes decreased stability.
*This value varies depending on the model of
camera and lens used.
Gyro Filter, Output Filter
It is a parameter to control the eect on gimbal
oscillation control. (Min: 0` Max: 10)
A higher value can suppress oscillation but will
sacrifice horizontal stability.
Hold Strength
It is a parameter to control the holding strength
of gimbal position. (Min: 0` Max: 100)
The gimbal can hold the position with a higher
value, but oscillation will occur.
Gain
It is a parameter to control the speed of gimbal
returning to horizontal. (Min: 0` Max: 255)
The gimbal can be leveled quickly with a higher
value, but oscillation will occur.
Airpeak gimbal setting guide
I
Manual adjustment of motor parameters 3


 user manual")


