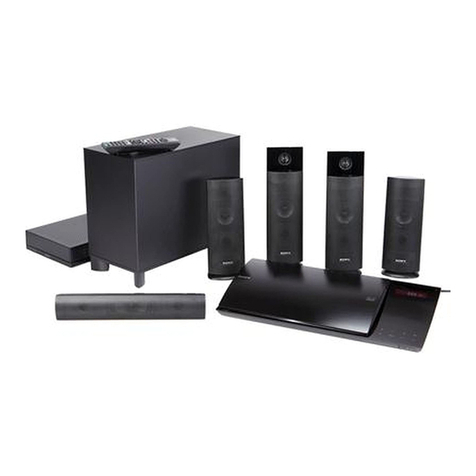
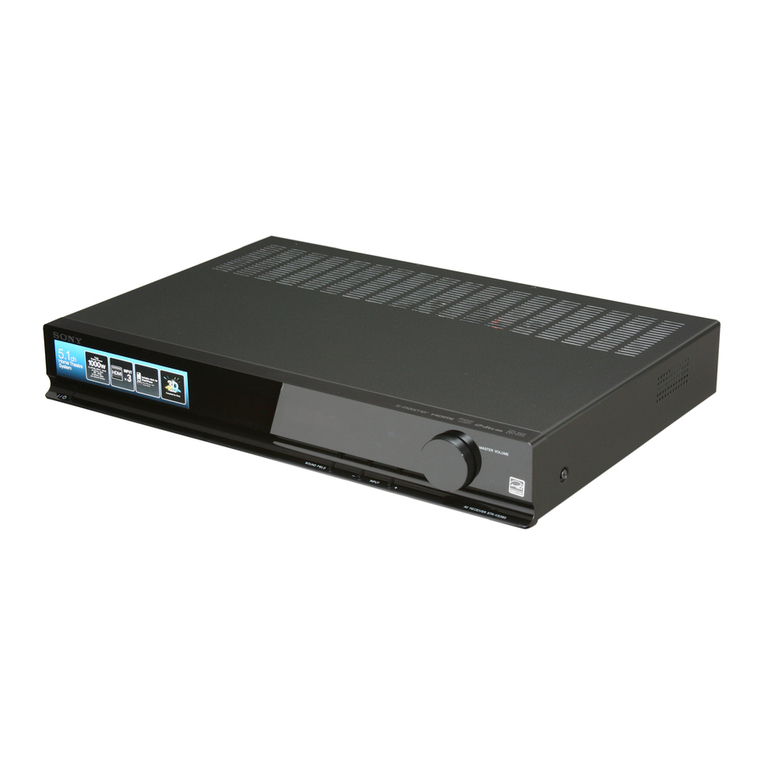
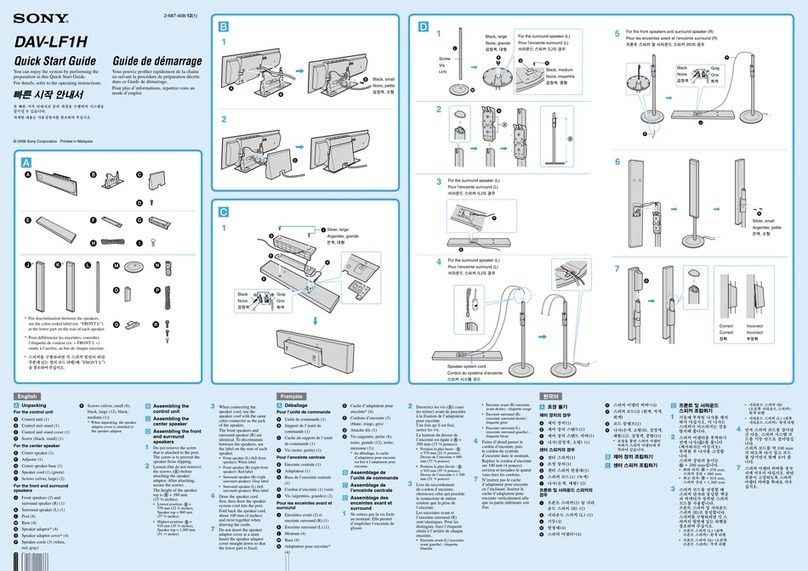
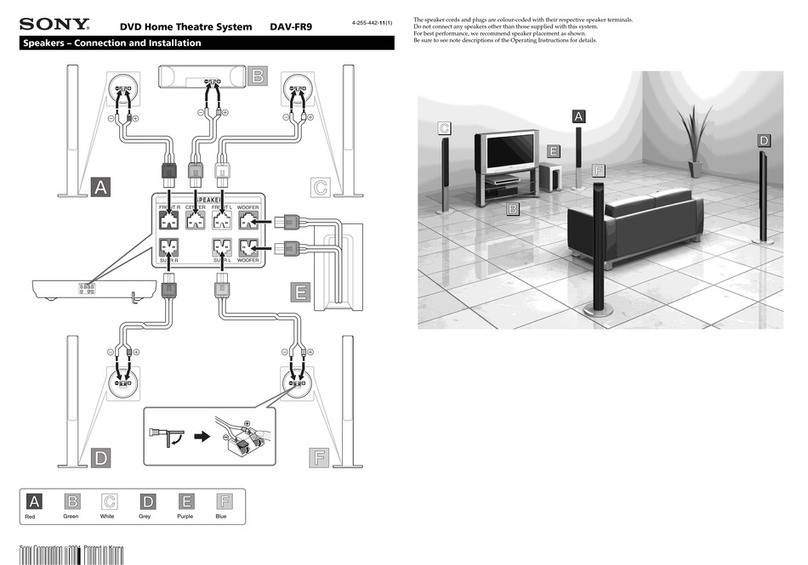
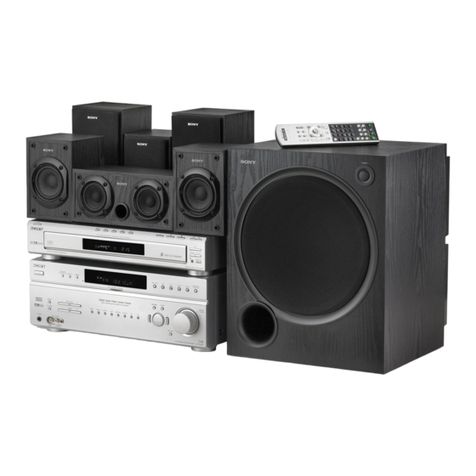
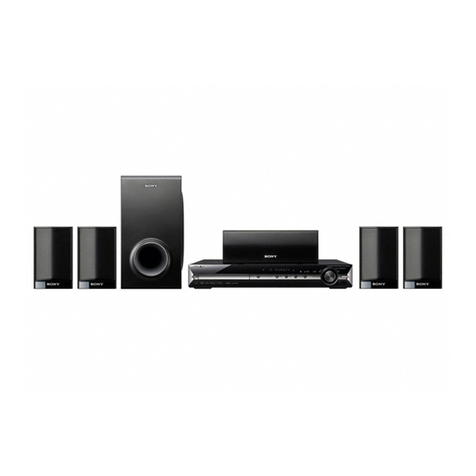
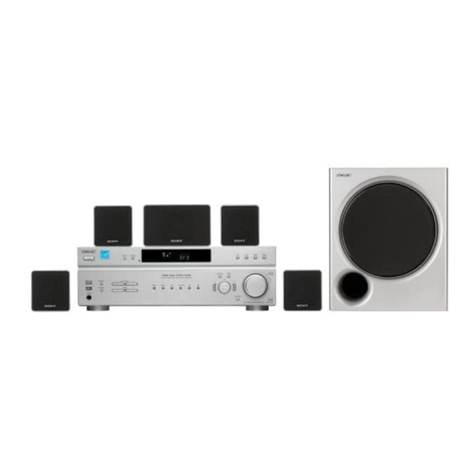
Sony HT-CT350 User manual

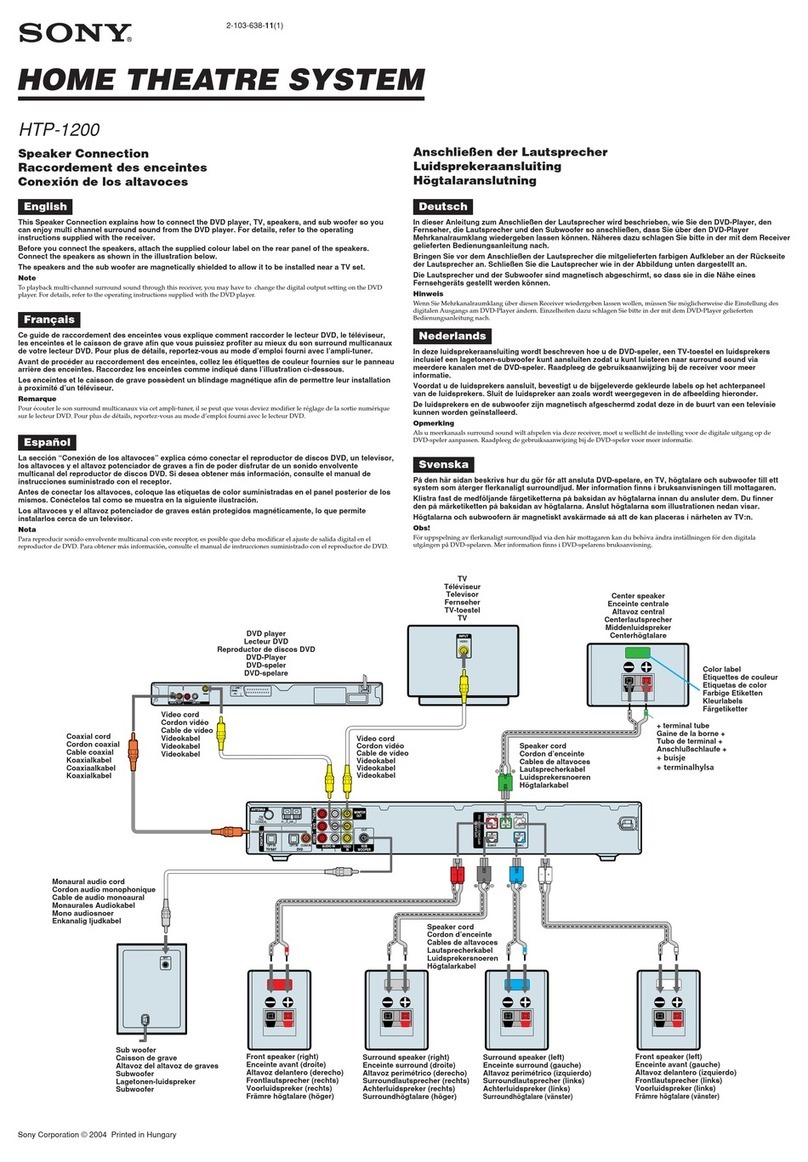
SON~
4-181-486-13(1)
Home
Theatre
System
Operating
Instructions_
Mode d'emploi _
Manual de instrucciones
__
HT-CT350
III
DOLBY.
~
.-a...-:
DIGITAL I
~u~
H~ml
PRD LOGIC II I
Digital
Surround
~
~::g~::
~;i~IE!~i~r:
•
x.v.Color
©2010
Sony Corporation
DIGITAL
M
ED
IA
PORT

WARNING
To reduce the risk of fire or electric
shock, do not expose this apparatus to
rain or moisture.
The unit is not disconnected from the AC power source
(mains) as long as it is connected to the wall outlet,
even
if
the unit itself has been turned off.
To
reduce the risk
of
fire, do not cover the ventilation
opening
of
the apparatus with newspapers, tablecloths,
curtains, etc.
Do not place the naked flame sources such as lighted
candles on the apparatus.
To reduce the risk
of
fire or electric shock, do not
expose this apparatus to dripping or splashing, and do
not place objects filled with liquids, such as vases, on
the apparatus.
As the main plug is used to disconnect the unit from the
mains, connect the unit to an easily accessible AC
outlet. Should you notice an abnormality in the unit,
disconnect the main plug from the AC outlet
immediately.
Do not install the appliance
in
aconfined space, such as
abookcase
or
built-in cabinet.
Do not expose batteries or apparatus with battery-
installed to excessive heat such as sunshine, fire
or
the
like.
For the customers
in
the U.S.A
~
This symbol is intended to alert the user to
~
the presence
of
uninsulated "dangerous
voltage" within the product's enclosure that
may be
of
sufficient magnitude to constitute arisk
of
electric shock to persons.
if' This symbol is intended to alert the user to
Ll.i
the presence
of
important operating and
maintenance (servicing) instructions
in
the
literature accompanying the appliance.
Owner's Record
The model and serial numbers are located at the rear ofthe
subwoofer. Record the serial numbers
in
the spaces
provided below. Refer
to
them whenever
you
call upon
your Sony dealer regarding this product.
Model No. HT-CT350
Serial No.
----------------
Important
Safety
Instructions
I) Read these instructions.
2) Keep these instructions.
3) Heed all warnings.
4) Follow all instructions.
5)
Do
not use this apparatus near water.
6) Clean only with dry cloth.
7)
Do
not block any ventilation openings. Install in
accordance with the manufacturer's instructions.
8)
Do
not install near any heat sources such as
radiators, heat registers, stoves,
or
other apparatus
(including amplifiers) that produce heat.
9)
Do
not defeat the safety purpose
of
the polarized
or
grounding-type plug. Apolarized plug has two
blades with one wider than the other. Agrounding
type plug has two blades and athird grounding
prong.
The
wide blade
or
the third prong are
provided for your safety. If the provided plug does
not fit into your outlet, consult an electrician for
replacement
of
the obsolete outlet.
10) Protect the power cord from being walked on
or
pinched particularly at plugs, convenience
receptacles, and the point where they exit from the
apparatus.
II) Only use attachments/accessories specified by the
manufacturer.
12) Use only with the cart, stand, tripod, bracket,
or
table specified by the manufacturer,
or
sold with the
apparatus. When acart is used, use caution when
moving the cart/apparatus combination to avoid
injury from tip-over.
13) Unplug this apparatus during lightning storms
or
when unused for long periods
of
time.

14)
Refer all servicing to qualified service personnel.
Servicing is required when the apparatus has been
damaged in any way, such as power-supply cord
or
plug is damaged, liquid has been spilled or objects
have fallen into the apparatus, the apparatus has
been exposed to rain or moisture, does not operate
normally, or has been dropped.
The following FCC statement applies only to the
version
of
this model manufactured for sale in the
U.S.A. Other versions may not comply with FCC
technical regulations.
NOTE:
This equipment has been tested and found to comply
with the limits for aClass Bdigital device, pursuant to
Part
15
of
the FCC Rules. These limits are designed to
provide reasonable protection against harmful
interference in aresidential installation. This
equipment generates, uses, and can radiate radio
frequency energy and,
if
not installed and used in
accordance with the instructions, may cause harmful
interference to radio communications. However, there
is
no
guarantee that interference will not occur in a
particular installation.
If
this equipment does cause
harmful interference to radio or television reception,
which can be determined by turning the equipment
off
and on, the user
is
encouraged to try to correct the
interference by one or more
of
the following measures:
-Reorient
or
relocate the receiving antenna.
-Increase the separation between the equipment and
receiver.
-Connect the equipment into an outlet on a circuit
different from that to which the receiver is
connected.
-Consult the dealer or an experienced radio/TV
technician for help.
CAUTION
You are cautioned that any changes or modifications
not expressly approved in this manual could void your
authority to operate this equipment.
On
safety
•Should any solid object
or
liquid fall into the system,
unplug the system and have it checked by qualified
personnel before operating it any further.
•Do not climb on the subwoofer, as you may fall down
and injure yourself, or system damage may result.
On
power
sources
•Before operating the system, check that the operating
voltage is identical to your local power supply. The
operating voltage is indicated on the nameplate at the
rear
of
the subwoofer.
•
If
you are not going to use the system for along time,
be sure to disconnect the system from the wall outlet
(mains). To disconnect the AC power cord (mains
lead), grasp the plug itself; never pull the cord.
•One blade
of
the plug is wider than the other for the
purpose
of
safety and will fit into the wall outlet
(mains) only one way.
If
you are unable to insert the
plug fully into the outlet, contact your dealer.
•AC power cord (mains lead) must be changed only at
the qualified service shop.
On
heat
buildup
Although the system heats up during operation, this is _
not amalfunction.
If
you continuously use this system
at alarge volume, the system temperature
of
the back
and bottom rises considerably. To avoid burning
yourself, do not touch the system.
On
placement
•Place the system in alocation with adequate
ventilation to prevent heat buildup and prolong the
life
of
the system.
•
Do
not place the system near heat sources, or in a
place subject to direct sunlight, excessive dust,
or
mechanical
shOCk.
•Do not place anything at the rear
of
the subwooferthat
might block the ventilation holes and cause
malfunctions.
•Do not place the system nearequipmentsuch as aTV,
VCR, or tape deck.
(If
the system is being used in
combination with aTV, VCR, or tape deck, and is
placed too close to that equipment, noise may result,
and picture quality may suffer. This is especially
likely when using an indoor antenna. Therefore, we
recommend using an outdoor antenna.)
•Use caution when placing the system on surfaces that
have been specially treated(withwax, oil, polish, etc.)
as staining
or
discoloration
of
the surface may result.
continued----
3
US
On
operation
Before connectingothercomponents, be sure to tum
off
and unplug the system.
If
you
encounter
color
irregularity
on
a
nearby
TV
screen
The system is magnetically shielded to allow it to be
installed near a
TV
set. However, color irregularities
may still
be
observed on certain types
of
TV sets.
If
color
irregularity
is
observed
•..
Tum
off
the TV set, then tum it on again after
15
to
30
minutes.
If
color
irregularity
is
observed
again
..•
Place the system further away from the TV set.
On
cleaning
Clean the system with asoft dry cloth.
Do
not use any
type
of
abrasive pad, scouring powder
or
solvent such
as alcohol or benzine.
If
you have any question or problem concerning your
system, please consult your nearest Sony dealer.
Copyrights
This system incorporates Dolby* Digital and Pro Logic
Surround and the DTS** Digital Surround System.
*Manufactured under license from Dolby Laboratories.
Dolby, Pro Logic, and the double-D symbol are
trademarks
of
Dolby Laboratories.
**
Manufactured under license under U.S. Patent #'s:
5,451,942; 5,956,674; 5,974,380; 5,978,762;
6,487,535 &other U.S. and worldwide patents
issued &pending. DTS and the Symbol are
registered trademarks &
DrS
Digital Surround and
the DTS logos are trademarks
of
DTS, Inc. Product
includes software. ©DTS, Inc. All Rights Reserved.
This system incorporates High-Definition Multimedia
Interface
(HDMITM)
technology.
HDMI, the HDMI Logo, and High-Definition
Multimedia Interface are trademarks
or
registered
trademarks
of
HDMI Licensing LLC in the United
States and other countries.
"BRAVIA Sync" is atrademark
of
Sony Corporation.
"PlayStation" is aregistered trademark
of
Sony
Computer Entertainment Inc.
"x.v.Color" and "x.v.Color" logo are trademarks
of
Sony Corporation.
ENERGY ST
AR®
is aU.S.
registered mark.
As an ENERGY STAR® partner,
SonyCorporationhasdetermined that
this product meets the ENERGY
STAR® guidelines for energy
efficiency.

Precautions 3
Getting
Started
Unpacking 6
Positioning the system 8
Warning about installing the system's
speaker
to
the TV stand or awall
10
Connecting the speaker 22
Connecting the TV and player, etc
23
Connecting other components
25
Connecting the antenna (aerial)
26
Connecting the AC power cord (mains
lead)
27
Setting up the sound output
of
the
connected component
27
Playback
Options
Index to parts and controls
28
Enjoying TV 30
Enjoying other components
31
Tuner
Functions
Direct tuning
33
Presetting radio stations 34
Listening to the radio 34
Naming preset stations
35
Viewing the station name or frequency
in
the front panel display 36
Surround
Function
Enjoying the surround effect.
37
"BRA
VIA"
Sync
Features
What is "BRAVIA" Sync?
38
Preparing for "BRAVIA" Sync 38
Enjoying Blu-ray Disc/DVD 39
(One-Touch Play)
Enjoying the TV sound from the
system 40
(System Audio Control)
Turning
off
the system, TV and the
connected components
41
(System Power Off)
Using the power saving function ..........
.41
(HDMI SIGNAL PASS THRU)
Setting the Audio Return Channel function
to off 42
Advanced
Settings
Controlling connected Sony components
with the remote 43
Changing the input button assignments
of
the remote 46
Settings and adjustments using the
amplifier menu 48
Additional
Information
Troubleshooting 52
Specifications 54
Index 57
5
US

•Subwoofer (SA-WCT350)
(I)
•Remote commander (RM-
AAU071)
(1)
•Screwsfor the extension bracket
(large, +PSW5 x
16
mm) (6)
•Speaker (SS-CT350) (1)
•AM loop antenna (aerial) (1)
•FM wire antenna (aerial) (1)
•Speaker cord (1)
•Digital optical cord for a
TV
(2.5 m)
(1)
C::;II~OO
DOD
DOD
DOD
DOD
=
=
=
o~o
oVl:!!lo
=
0=0
ClOCO
~o
o0
•R6 (size AA) batteries (2)
•WS-CT350EB
•Extension bracket
(I)
~
;
.
..
~
.
e
..•
8
•Rear cover A
(I)
•Rear cover B
(I)
•Rear cover C
(I)
•Cover for the TV
(I)
•Screws for the rear cover (small,
M3 x 8 mm) (1)
•Support belt (1)
•Screw for the support belt
(+PSW4 x20 mm) (1)
•Wood screw for the support belt
(M3.8 x20 mm)
(I)
•Clamp screw (2)
•Spacer (4)
•Screw for the Wall-Mount
Bracket (+PSW6 x22 mm) (4)
•Warranty
(I)
•Operating Instructions
(I)

Inserting
batteries
into
the
remote
Insert two R6 (size AA) batteries (supplied) by matching the ®and eends on the batteries to the
markings inside the compartment.
To
use the remote, point it at the remote sensor
lIB
in
the front panel
display
of
the subwoofer.
•Do not leave the remote in an extremely hot or humid place.
•Do not use anew battery with an old one.
•Do not drop any foreign object into the remote casing, particularly when replacing the batteries.
•Do not expose the remote sensor to direct sunlight or lighting apparatus. Doing so may cause amalfunction.
•
If
you do not intend to use the remote for an extended period
of
time, remove the batteries to avoid possible damage
from battery leakage and corrosion.
7
US

The illustrations below are examples
of
how to install the
subwoofer
and
speaker.
You can install the
speaker
with the following
TV
models (not supplied):
•XBR-40/46LX900, KDL-46NX800,
KDL-40/46NX700, KDL-40/46HX800.
KDL-40/46EX7l
0,
KDL-40/46EX70o,
KDL-40/46EX600
*
In
the actual model names, the
"0"
indicates
numbers and/or characters specific
to
each
model.
For details, see "Installing the speaker
on
the TV stand" (page 13).
Fordetails, see "Hanging the speakerand
TV on awall" (page 16).
Install the speaker
on
arack.
For details, see "Installing the speaker on
awall" (page 21).
•Do not block the heat ventilation on the rear panel
of
the subwoofer.
BUS

Green
Connecting
the
speaker
cord
to
the
speaker
The connectors
of
the speaker cord are color-coded depending on the type
of
speaker. Connect the
connectors
of
the speaker cord
to
match the color
of
the speakerjacks.
1Remove the screw of the cover at the rear of the speaker, and then remove the cover.
2Connect the speaker cord.
White
Rear of the speaker I .
U
O(Cj]I~~?
o
(Cj]~I+-
~
?0
°C!~l~:
13-
Red oSpeaker cord
(supplied)
3Guide the speaker cord through the square notch at the bottom of the cover, and then
reattach the cover to the speaker and secure it with the screw removed
in
step 1.
If
you install the speaker
to
the TV,
do
not reattach the cover. Perform the steps in "Installing the
speaker on the TV stand" (page 13), or "Hanging the speaker and TV on awall" (page 16).
•When you install the speaker
or
aTV on awall, be careful not to stumble over the cord connected to the speaker.
•Be careful not to pinch the speaker cord when you reattach the cover.
gus

To
Customers
Sufficient expertise is required for installing this
product.
Be
sure to subcontract the installation to
Sony dealers or licensed contractors and pay
special attention to safety during the installation.
Sony is not liable for any damages or injury
caused by mishandling or improper installation,
or installing anything other than the specified
product. Your statutory rights (if any) are not
affected.
On
Safety
Products by Sony are designed with safety
in
mind.
If
the products are used incorrectly,
however, it may result
in
aserious injury through
fire, electric shock, the product toppling over,
or
the product dropping. Be sure to observe the
precautions for safety to prevent such accidents.
•Do not handle
the
products with excessive
force during cleaning or maintenance.
•
If
you hang the SS-CT350 speaker or SS-
CT350 speaker-installed
TV
on
afragile wall
or
awall whose surface
is
not flat or
perpendicular, the product(s) may fall and
cause injury or property damage.
•
If
the SS-CT350 speaker
or
SS-CT350
speaker-installed TV
is
not installed firmly
on
the wall, the product(s) may fall and cause
injury
or
property damage.
(S)
~i
"
II
\l
jJ
(S)
11
/,
If
,
\l
Do
not
place
any
object
on
the
products.
•Do not put anything on the products.
If
you
do
so, the system may fall and cause injury or
property damage.
If
the following precautions are not observed,
serious injury or death through fire or electric
shock, the product toppling over or falling can
result.
WARNING
Do
not
drop
the
products
or
install
them
where
there
is
a
possibility
of
them
falling
down.
•
Be
sure to subcontract installing, moving or
dismounting the products to licensed
contractors and keep small children away
during the procedure.
•Unauthorized installation may result in serious
injury or property damage.
•Having an unauthorized dealer carry or
dismount the SS-CT350 speaker or SS-CT350
speaker-installed TV may lead
to
the products'
falling and result in serious injury
or
property
damage. Make sure that two or more persons
carry or dismount the product(s).
•Do not remove screws, etc., after mounting the
SS-CT350 speaker
or
SS-CT350 speaker-
installed TV.
10
US

Do
not
lean
or
hang
on
the
products.
•
Do
not lean or hang on the products, as they
may fall on you
and
cause serious injury.
Pay
attention
to
the
location.
•Do not install the products on wall surfaces
such as apillar, where the corners or the sides
of the products protrude away from the wall
surface.
If
aperson or object happens to hit the
protruded corner
or
side
of
the products, it may
cause injury or property damage.
•
Do
not expose the products to rain
or
moisture,
or spill liquid
of
any kind on them. It may cause
afire or electric shock.
•Never place the products
in
hot, humid or
excessively dusty places, or in aplace where
they are subject to mechanical vibrations.
Doing so may cause afire
or
electric shock.
•Keep flammable objects or open flames (e.g.,
candIes) away from the products.
•Do not install the products over or under
an
air-
conditioner.
If
the products are exposed
to
wind from the air conditioner for an extended
period
of
time, or get wet by water leakage
from the air conditioner, this may cause afire,
an
electric shock,
or
malfunctions.
Do
not
allow
the
cords
to
be
pinched.
•
If
the AC power cord (mains lead) or
connecting cords are pinched between the
products and the wall, floor, or other object, or
bent or twisted by force, the internal
conductors may become exposed and cause a
short circuit or an electrical break. This may
cause afire or an electric shock.
•Do not step on the AC powercord (mains lead)
or connecting cords when you carry the
products. The cord may be damaged, and this
may result in afire
or
electric shock.
D
Do
not
cover
the
ventilation
holes
of
the
products.
•
If
you cover the ventilation hoIes (with acloth,
etc.), heat may build up inside and cause afire.
Do
not
stumble
over
the
cords.
,. You may trip, or may cause the products to
topple over and cause injury.
D
continued-----
11
us

CAUTION
If the following precautions are not observed,
injury or property damage may occur.
Do
not
install
any
equipment
other
than
the
specified
product.
•The WS-CT350EB accessories (supplied) are
designed for use with the specified equipment
only. If you install equipment other than that
specified, it may fall
or
break, and cause injury.
•Do not modify the products.
•Do not place anything hot directly on the
products. The heat may cause discoloration or
deformation
of
the products.
Be
sure
to
secure
the
system's
speaker
and
TV.
•Secure the SS-CT350 speaker and TV firmly
when installing them together. Then, secure the
SS-CT350 speaker-installed TV firmly on the
stand
or
wall.
If
the SS-CT350 speaker and TV
are not installed securely, they may fall
or
topple over, and cause injury.
Do
not
apply
weight
to
the
products
or
subject
them
to
any
kind
of
impact.
•When installing the SS-CT350 speaker to aTV
stand or hanging the SS-CT350 speaker -
installed TV on awall, do not apply weight
to
the speaker or
TV
with your hand. Do not hit
the speaker
or
TV with hard objects, such as a
screwdriver, etc.
When
moving
the
SS-CT350
speaker-
installed
TV
If
you move the products forcefully, damage or
injury may result. Be sure to follow the proper
procedures and advice given below.
•Be sure that two or more persons carry the SS-
CT350 speaker-installed TV, and only after
unplugging and removing the connected
equipment.
•Be careful not to allow your hands
or
feet to be
pinched under the bottom
of
the SS-CT350
speaker-installed TV.
•When carrying the SS-CT350 speaker-
installed TV, do not hold it by the SS-CT350
speaker part. Doing so may cause damage or
lOJury.
12
US
•Do not drag the SS-CT350 speaker-installed
TV.
The
base part may
come
off and
damage
the floor.
Notes
on
installation
•When assembling, spread aclothon the floor to
avoid damaging the floor.
•Install the products on asolid and flat floor.
•Be sure that
two
or
more persons install the
products. Doing it alone may result in an
accident
or
injury.
•Be sure to keep children away during the
process.
Be
sure
to
install
the
products
securely
following
the
instructions.
•Tighten the screws securely.
If
the SS-CT350
speaker is not installed securely, it may fall and
cause damage
or
injury.
•
Be
careful not to pinch your fingers
or
hands
when assembling the products.
Notes
on
installation
on
a
wall
•
If
you use the products installed on awall for a
long time, the wall behind
or
above the
products may
become
discolored or the
wallpaper may
come
unstuck, depending on
the material
of
the wall.
•
If
the products
are
removed after installed on
the wall, the screw holes will remain.
•Consult your licensed contractor regarding an
appropriate location (free from radio noise,
etc.) before installing.

Installing
the
speaker
on
the
TV
stand
You can install the speaker with the following TV models (not supplied):
•XBR-40/46LX900, KDL-46NX800, KDL-40/46NX700, KDL-40/46HX800, KDL-40/46EX71
0,
KDL-40/46EX70D, KDL-40/46EX600
*
In
the actual model names, the
"0"
indicates numbers and/or characters specific to each model.
Although the shape
of
the TV stand base differs depending on the TV model, you can install the speaker
on
the TV stand following this procedure.
1Remove covers 1and 2from the rear of the TV.
For details on removing the covers, refer to the operating instructions
of
the TV.
•Some Sony TVs do not have cover
2.
""....,,,.,Hf--
Cover 2
"t---
Cover 1
2Remove the screws of the TV, and then detach the TV from the TV stand.
•Make sure to place the TV on asoft thick cloth with the screen side down to prevent damaging the surface
of
the LCD.
continued----
13
US

3
Secure the extension bracket(SUpp'j&d) to the TV stand With the large Screws
(+PSW5
)(
16
mm)
(SUPPlied).
Extension braCket
4Secure the speaker
to
theextension bracket
With
the large Screws
(+PSW5
x
16
mm)
(SUPPlied).
5
Reattach
the
TV.
I
~
E~--==--~->-""'-.,
-j
-"""""'~~~~~~-

6Secure the TV with the screws removed
in
step
2.
7Attach the rear covers
A,
B,
and C(supplied).
Secure the rear cover Ato the extension bracket with the small screw (M3 x 8 mm) (supplied).
Guide the speaker cord through the rectangular notch
of
the rear cover B, and insert the three
projecting parts
of
the rear cover Binto the holes on the extension bracket and the speaker.
Insert the three projecting parts
of
the rear cover Cinto the holes on the extension bracket and the
speaker.
IS
•When carrying the SS-CT350 speaker-installed TV, do not hold it by the SS-CT350 speaker part. Doing so
may cause damage or injury.
,.....-""'!'*- Rear cover A
Rear cover C
Rear cover B
continued----
15
US

8Attach the cover for the TV (supplied) and cover 1removed
in
step
1.
Insert the two projecting parts
of
the cover for the TV into the holes on the TV.
For details
on
attaching cover Lrefer to the operating instructions
of
the TV.
--Hil---
Cover for the
TV
---Cover
1
•As aprotective measure, secure the TV. For details, see "Preventing the TV from toppling over" (page 19).
Hanging
the
speaker
and
TV
on
a
wall
You can hang the speaker with the following TV models (not supplied):
•XBR-40/46LX900, KDL-46NX800, KDL-40/46NX700, KDL-40/46HX800, KDL-40/46EX7l
D.
KDL-40/46EX70D,
KDL-40/46EX600
*
In
the actual model names, the
"0"
indicates numbers and/or characters specific to each model.
•To hang the TV
on
the wall, refer to the operating instructions
of
the TV and the Wall-Mount Bracket.
1Remove covers 1and 2from the rear of the TV.
For details on removing the covers, refer to the operating instructions
of
the
TV
.
•Some Sony TVs do not have cover
2.
""....,,,.H+-
Cover 2
't----
Cover 1
16
US

2Remove the screws of the TV, and then detach the TV from the TV stand.
3Secure the speaker to the extension bracket with the large screws (+PSW5 x16 mm)
(supplied).
4Reattach the TV.
•Make sure to place the TV on asoft thick cloth with the screen side down to prevent damaging the surface
of
the LCD.
..
C)
~
:::J
(Q
CJ)
-
m
...
-
co
Q.
conNnued--------
17
us

5Secure the TV with the screws removed
in
step
2.
6Hang the TV on the wall.
For details on hanging the TV on the wall, refer to the operating instructions
of
the TV.
CD
•When hanging the SS-CT350 speaker-installed TV on the wall or taking
it
off
the wall, do not hold it
by
the SS-
CT350 speaker part. Doing so may cause damage or injury.
When
hanging
TV
model
KDL.40/46HXBOO,
KDL.40/46EX70D,
KDL-40/
46EX71
D,
KDL-40/46EX600
using
the
Wall-Mount
Bracket
(SU-WL500,
not
supplied)
You can only adjust the angle
of
the SS-CT350 speaker-installed TV to 00
or
50
downward.
If
you
want
to set the
TV's
angle to 100,J
50
or
20
0downward, install the SS-CT350 speaker directly on the wall.
When
hanging
TV
model
XBR-40/46LX900,
KDL-46NXBOO,
KDL-40/
46NX700
using
the
Wall-Mount
Bracket
(SU-WL
700,
not
supplied)
Place the Spacers (supplied) between the
TV
and the Wall-Mount Bracket, and then secure them using
the Screws for the Wall-Mount Bracket (supplied).
Use the Spacers and Screws for the Wall-Mount Bracket supplied with the system. Do not use spacers
supplied with certain TV
s.
r--~~----
Spacer
18
US

Preventing
the
TV
from
toppling
over
As
aprotective measure, secure the TV.
If
you fail to do so, the TV may topple over resulting in serious
injury.
•To avoid injury, place the SS-CT350 speaker-installed TV less than 25
cm
(9 7/8 inches) from the wall, and firmly
secure the TV to the wall.
•Be careful not to pinch your fingers when setting up the TV or rack.
•Install the TV after allowing for aspace
of
less than 25 cm
(97/8
inches) from the wall. The wall will prevent the
TV from falling even
if
the TV leans backward towards the wall.
When
installing
the
TV
on a
rack
Screw for the support belt
(+PSW4 x20 mm)
a
I
~··~
~t~::::~;;:::::::;;:::::::;;:::::::;;:::::::~-I
Wood screwforthe support belt
~
(M3.8 x20 mm)
a
1Place the TV on the center
of
the rack.
2Fit the support belt (supplied) to the TV, then firmly fasten with the screw for the support
belt (+PSW4 x
20
mm) (supplied) using ascrew driver.
3Fasten the support belt to the rack with the wood screw for the support belt (M3.8 x20
mm) (supplied).
conUnued--------
19
u5

Securing
the
TV
to
a
wall
Prepare strong string or chain (not supplied) and afastener (not supplied) for fastening
to
the wall.
Secure the fastener to areinforced wall.
Even
if
you have secured the TV
to
the rack,
be
sure
to
secure
it
to awall following this procedure.
1Fasten the clamp screws (supplied) to the rear of the TV.
.J:
Clamp screw
2Secure the fastener to the wall
(CD),
and then thread the string orchain through the holes
of the clamp screws and the fastener (@). Firmly tie both ends of the string or chain
together.
Less than 25 cm
(97/8
inches) Less than 25
cm
(97/8
inches)
20
US
~~;,;;;~~
TV installed on the floor
d~~b~
TV installed on arack
Other manuals for HT-CT350
2
Other Sony Home Theater System manuals

Sony
Sony DAV-DZ280 User manual

Sony
Sony DAR-RD100 User manual

Sony
Sony Esprit TAV-L1 User manual

Sony
Sony BDV-T79 User manual

Sony
Sony BDV-HZ970W (UWA-BR100) User manual

Sony
Sony HT-SF1000 User manual

Sony
Sony HT-6800DP - Dvd Home Theater Instruction manual

Sony
Sony BDV-NF720 User manual

Sony
Sony HT-DDW960 User manual

Sony
Sony SB-V55A User manual

Sony
Sony SAVA-D900 User manual

Sony
Sony DAV-DZ295K User manual

Sony
Sony BRAVIA DAV-DZ170 User manual

Sony
Sony HT-A9 Reference guide

Sony
Sony HT-C800DP User manual

Sony
Sony HT-C800DP User manual

Sony
Sony HT-DDW790 User manual

Sony
Sony HT-RT5 User manual

Sony
Sony RHT-G1000 - Home Theater Built-in Sound Rack... User manual

Sony
Sony DAV-D150E User manual