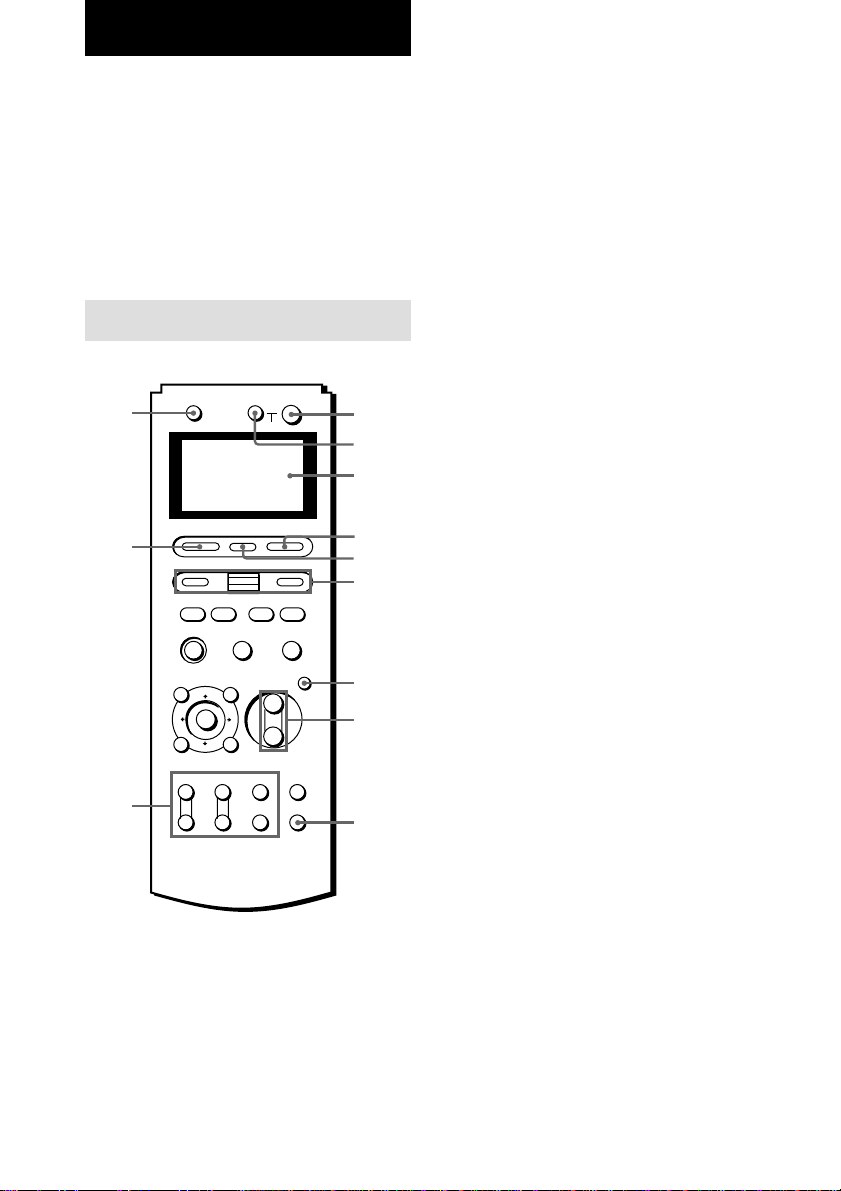
4
GB
1?/1 switch
Press to turn the receiver on or off.
2AV ?/1 switch
Press to turn on or off the components that
the remote is programmed to operate. For
details on programming procedure, see
“Programming the Remote” on page 15.
If you press the ?/1 switch (1) at the
same time, it will turn off the main
component and other Sony audio/video
components (SYSTEM STANDBY).
Note
The function of the AV ?/1 switch changes
automatically each time you press FUNCTION
(4). Depending on the component, the above
operation may not be possible or may operate
differently than described.
3Display window
The current status of the selected
component or a list of selectable items
appears here.
Note
Characters other than letters of the alphabet or
numbers may be displayed incorrectly on the
remote, even if they appear correctly in the
display window on the main unit.
4FUNCTION button
Press to display the function (component)
list.
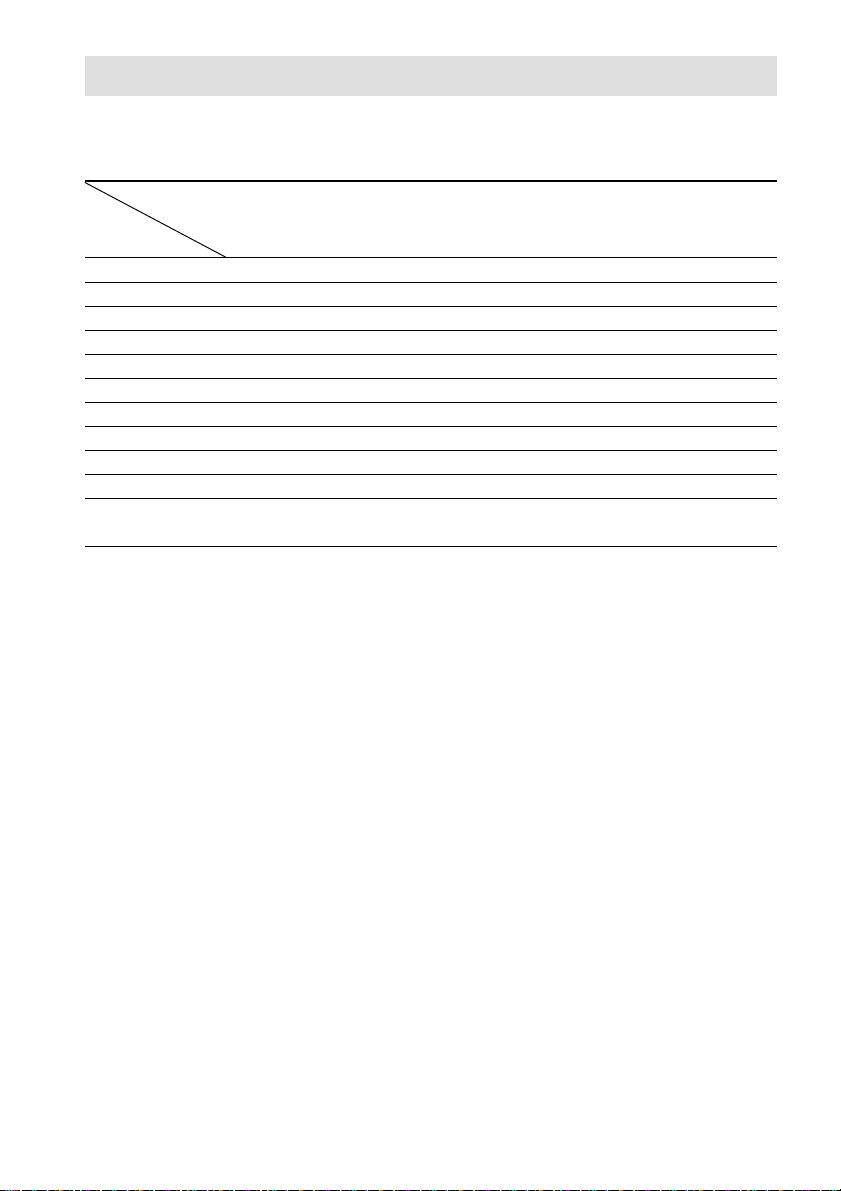
See the table on page 8 for information on
the buttons you can use to control each
component.
If you want to change the contents of the
function list to match your particular
components, do the procedure
“Programming the Remote” on page 15.
This chapter provides information on the
location of buttons and how to use them to
perform basic operations.
However, some functions explained in this
section may not operate depending on the
receiver.
For the functions of the receiver you purchased,
refer to the Operating Instructions supplied
with the receiver.
Parts description
Location of parts and basic remote
operations
+
–
+
–
+
–
O
AV ?/1TV ?/1
SOUND FIRLD
TOP MENU/GUIDE AV MENU
DISPLAY
TV VOL TV CH TV/VIDEO
WIDE
MAIN
MENU
ON SCREEN
RETURN/EXIT
MASTER
VOL
MUTING
FUNCTION
Ii
SYSTEM STANDBY
RM SET UP
?/1
HXx
.> m M
2
3
qs
qa 4
5
6
7
8
9
0
1