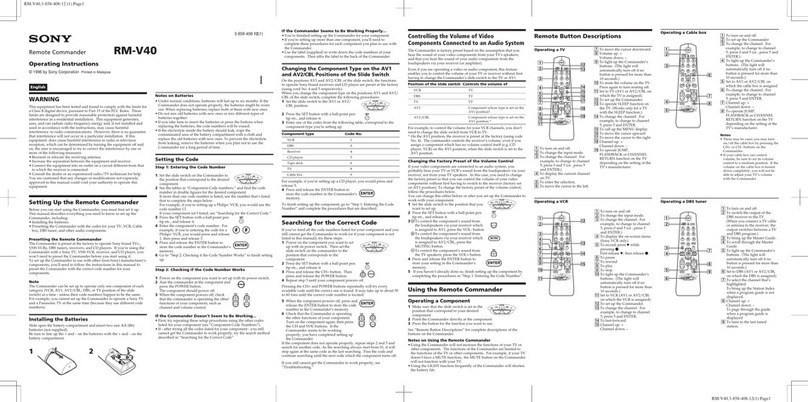
© 2005 Sony Corporation Printed in China
2-661-015-11(1)
Operating Instructions / Mode d’emploi /
Manual de instrucciones / /
Remote Control
RM-NWS1
English
Before Use
• NW-A1000 and NW-A3000 series Walkman units can be used. For
details on the models available for this product, visit:
USA: http://www.sony.com/walkmansupport/
Canada: http://www.sony.ca/ElectronicsSupport/
Europe: http://www.sonydigital-link.com/DNA/
China: http://service.sony.com.cn/KB/
Taiwan: http://www.twsupport.css.ap.sony.com/
Korea: http://scs.sony.co.kr/walkman/
Other countries or areas: http://www.css.ap.sony.com/
• When you connect this product to the Walkman, set "Audio Output"
to "Headphone" in the setup options of the Walkman. For how to do
this, refer to the Operation Guide of the Walkman.
Disposal of Old Electrical & Electronic Equipment
(Applicable in the European Union and other European
countries with separate collection systems)
This symbol on the product or on its packaging indicates that this
product shall not be treated as household waste. Instead it shall be
handed over to the applicable collection point for the recycling of
electrical and electronic equipment. By ensuring this product is disposed
of correctly, you will help prevent potential negative consequences for
the environment and human health, which could otherwise be caused by
inappropriate waste handling of this product. The recycling of materials will help to
conserve natural resources. For more detailed information about recycling of this
product, please contact your local Civic Office, your household waste disposal service
or the shop where you purchased the product.
The validity of the CE marking is restricted to only those countries where it
is legally enforced, mainly in the countries EEA (European Economic Area).
For customers in the USA
Use "LIMITED WARRANTY" card warranted by Sony Electronics Inc.
For customers in Canada
Use "Consumer 1 Year Warranty" card warranted by Sony of Canada Ltd.
Français
Avant la première utilisation
• Les Walkman des séries NW-A1000 et NW-A3000 peuvent être
utilisés. Pour plus d’informations sur les modèles disponibles pour ce
produit, visitez les sites :
Etats-Unis: http://www.sony.com/walkmansupport/
Canada: http://fr.sony.ca/ElectronicsSupport/
Europe: http://www.sonydigital-link.com/DNA/
Chine: http://service.sony.com.cn/KB/
Taïwan: http://www.twsupport.css.ap.sony.com/
Corée: http://scs.sony.co.kr/walkman/
Autres pays ou régions: http://www.css.ap.sony.com/
• Lorsque vous branchez ce produit sur le Walkman, réglez « Sortie
Audio » sur « Ecouteur » dans les options de réglages du Walkman.
Pour savoir comment procéder, reportez-vous au Guide d’utilisation
du Walkman.
Traitement des appareils électriques et électroniques en
fin de vie (Applicable dans les pays de l’Union
Européenne et aux autres pays européens disposant de
systèmes de collecte sélective)
Ce symbole, apposé sur le produit ou sur son emballage, indique que ce
produit ne doit pas être traité avec les déchets ménagers. Il doit être
remis à un point de collecte approprié pour le recyclage des équipements
électriques et électroniques. En s’assurant que ce produit est bien mis au
rebut de manière appropriée, vous aiderez à prévenir les conséquences
négatives potentielles pour l’environnement et la santé humaine. Le
recyclage des matériaux aidera à préserver les ressources naturelles. Pour
toute information supplémentaire au sujet du recyclage de ce produit, vous pouvez
contacter votre municipalité, votre déchetterie ou le magasin où vous avez acheté le
produit.
La validité de la marque CE est limitée aux pays où elle est légalement en
application, notamment dans les pays de l’EEE (Espace économique européen).
Pour les clients aux Etats-Unis
Utilisez la carte de garantie limitée garantie par Sony Electronics Inc.
Pour les clients au Canada
Utilisez la carte de garantie de 1 an garantie par Sony du Canada ltée.
Remarques concernant
l’utilisation
Ne placez pas l’appareil à des endroits :
– Extrêmement chauds ou froids
– Sales, poussiéreux, sablonneux
– Extrêmement humides
– Soumis à des vibrations
– Soumis à des champs magnétiques
– Soumis à des chocs mécaniques
– Exposés au rayonnement direct du soleil (pendant des durées prolongées)
Pièces et commandes
Reportez-vous aux illustrations à gauche.
1Touche de navigation à 3 positions (u/>/.)
Action Fonction
Appuyer sur u. Lecture/pause
Maintenir la touche uAjout d’une piste à la liste de signets par
enfoncée. défaut./Mise hors tension.
Remonter (>). Début de la piste suivante.
Balayage rapide vers l’avant d’une piste en
cours de lecture.*
Redescendre
(.).
Début de la piste en cours.
Retour rapide.*
* Appuyez sur le haut ou le bas de la touche en la maintenant enfoncée pour effectuer une
avance ou un retour rapide.
2Commutateur HOLD
Permet de désactiver les opérations en cours à l’aide de la télécommande
lorsque vous faites glisser le commutateur dans le sens de la flèche
jusqu’à ce que la marque jaune apparaisse. Faites-le glisser dans le sens
contraire pour réactiver les opérations.
1
2
3
4
Notes on use
Do not subject the unit to:
– Extreme heat or cold
– Dust, dirt, or sand
– High humidity
– Vibration
– Strong magnetic fields
– Mechanical shock
– Direct sunlight (for extended periods of time)
Parts and controls
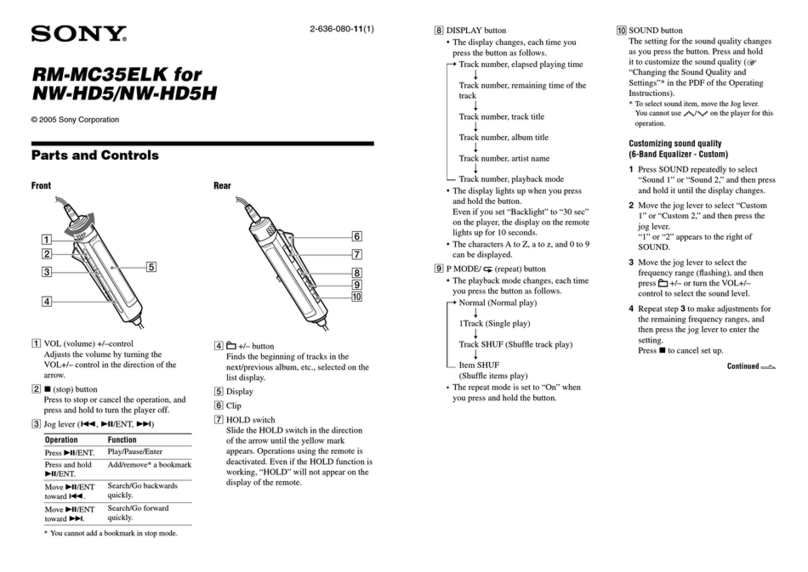
Refer to the illustrations on the left.
13-way button (u/>/.)
Operation Function
Press u. Play/Pause
Press and hold u. Add a track to a default Bookmark List.
/Turn off the power.
Move towards the top Go to the beginning of the next track.
(>). Scan a playing track forward quickly*.
Move towards the bottom Go to the beginning of the current track.
(.). Go backwards quickly*.
* Press and hold the top or the bottom of the button to go forwards or backwards quickly.
2HOLD switch
Deactivates operations using the remote when you slide the switch in the
direction of the arrow until the yellow mark appears. Slide it back to the
original position to reactivate operations.
3Clip
4VOL (volume) +/– switch
Adjusts the volume when you move the switch up and down.
Adding a track to Bookmark
list
1While playing back the track to be added to the Bookmark list, press
and hold the 3-way button (u).
The track is added to the default Bookmark List. "Added to Bookmark
List 1." etc., appears on the display of the Walkman, and the Bookmark
List icon ( ) lights up.
Notes
• You cannot remove a track from a Bookmark list using the remote.
• For details on changing the default Bookmark list, refer to the Operation Guide of
the Walkman.
• You cannot add a track to a Bookmark list in the following cases:
– while arranging the order of tracks of the default Bookmark list using the
Walkman.
– while displaying a track list of the default Bookmark list in the Walkman.
– when the track you are trying to add has already been in the default Bookmark
list.
– when you are trying to add more than 100 tracks to the default Bookmark list.
Turning off a Walkman
1Press and hold the 3-way button (u) while the current track is
paused.
The Walkman turns off.
Specifications
Jack Stereo mini-jack
Connector Stereo mini-plug, Quadrupole connector
Cord length Approx. 0.8 m
"WALKMAN" is a registered trademark of Sony Corporation to represent
Headphone Stereo products. is a trademark of Sony
Corporation.
3Pince
4Commutateur VOL (volume) +/–
Permet de régler le volume en déplaçant le commutateur vers le haut et
vers le bas.
Ajout d’une piste àune liste
de signets
1Lors de lecture de la piste à ajouter à la liste de signets, appuyez sur
la touche de navigation à 3 positions (u) et maintenez-la enfoncée.
La piste est ajoutée à la liste de signets par défaut. Le message « Ajoutée à
la Liste de Signets 1. » etc., s’affiche sur l’écran du Walkman, et l’icône de
la liste de signets ( ) s’allume.
Remarques
• Vous ne pouvez pas supprimer une piste d’une liste de signets à l’aide de la
télécommande.
• Pour plus d’informations sur le changement de liste de signets par défaut, reportez-
vous au Guide d’utilisation du Walkman.
• Vous ne pouvez pas ajouter de piste à une liste de signets dans les cas suivants :
– lorsque vous réorganisez l’ordre des pistes de la liste de signets par défaut à
l’aide du Walkman ;
– lorsque vous affichez une liste de pistes de la liste de signets par défaut sur le
Walkman ;
– lorsque la piste que vous essayez d’ajouter existe déjà dans la liste de signets par
défaut ;
– lorsque vous essayez d’ajouter plus de 100 pistes à la liste de signets par défaut.
Mise hors tension d’un
Walkman
1Appuyez sur la touche de navigation à3 positions (u) et maintenez-
la enfoncée, une fois la piste en cours arrêtée.
Le Walkman s’éteint.
Spécifications
Prise Mini-prise stéréo
Connecteur Mini-fiche stéréo, connecteur à quatre pôles
Longueur du cordon Environ 0,8 m
« WALKMAN » est une marque déposée de Sony Corporation pour
désigner des produits stéréo dotés d’écouteurs. est une
marque de Sony Corporation.
