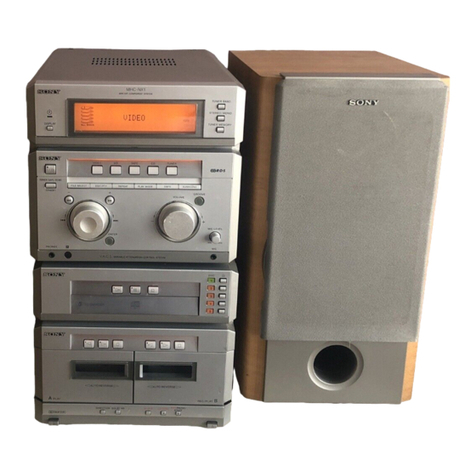
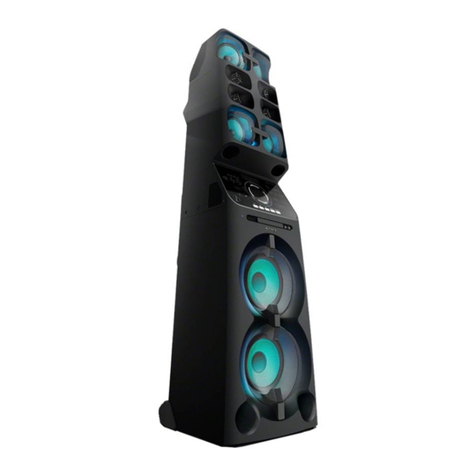
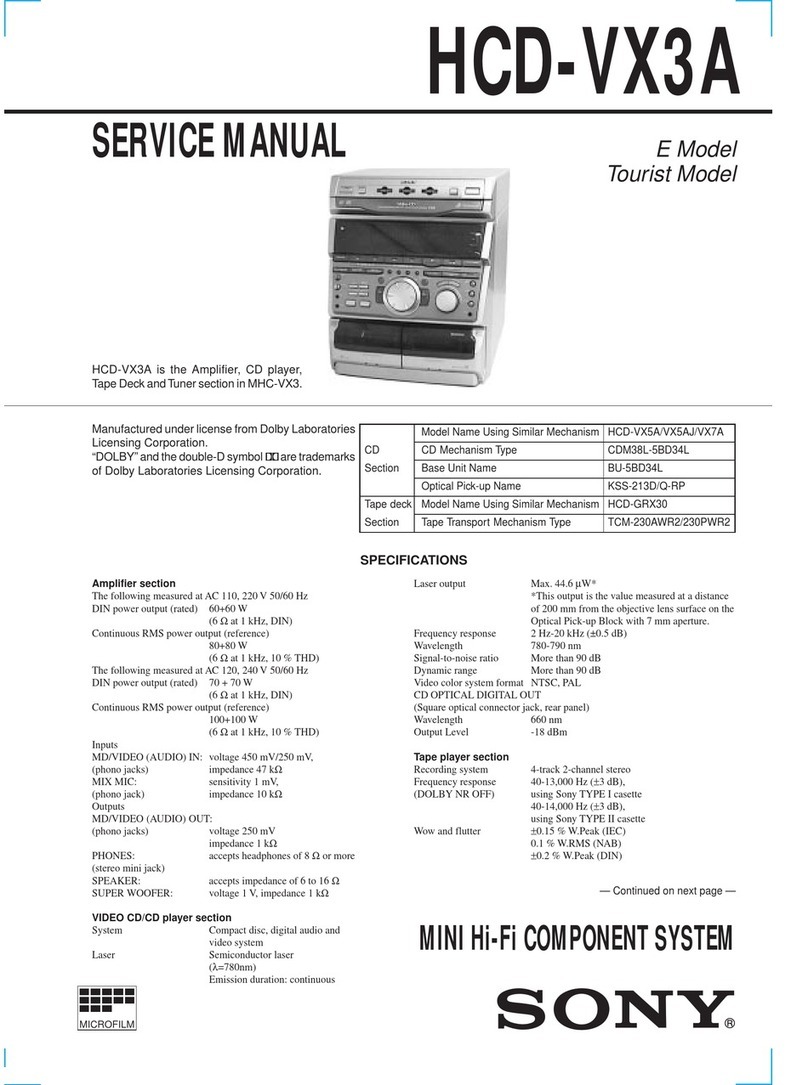
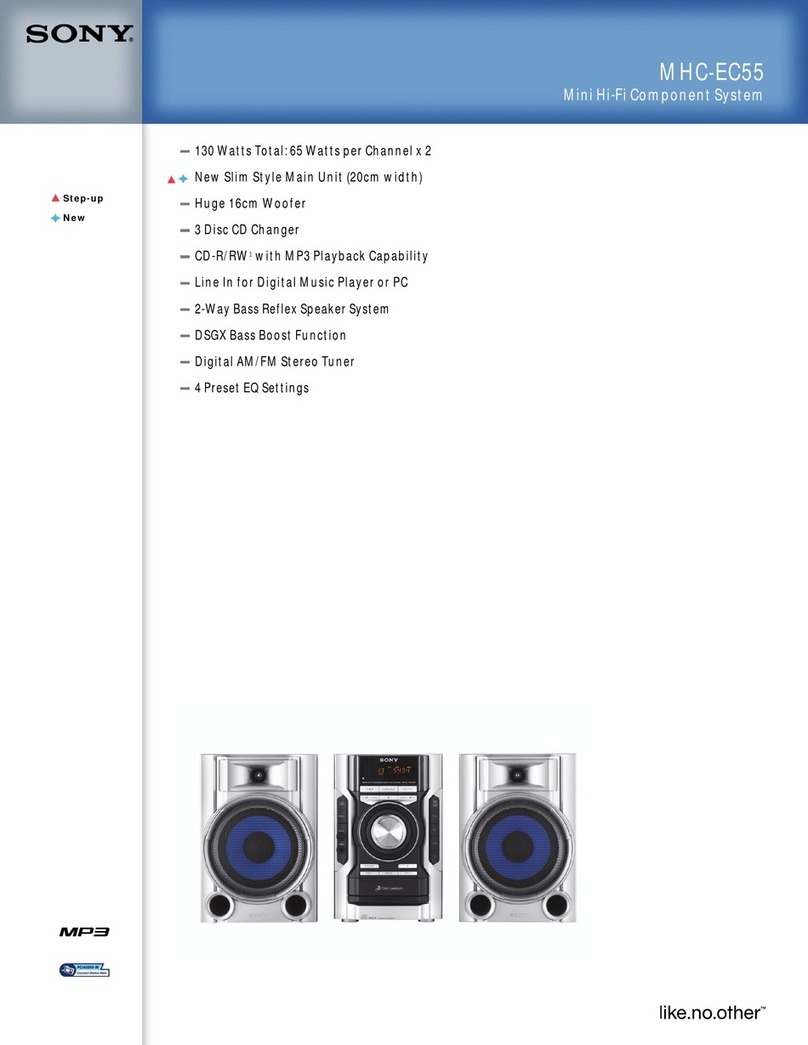
Sony LBT-ZUX9 - Mini Hifi Component User manual

©2007 Sony Corporation
3-100-770-71(3)
Mini Hi-Fi
Component
System
Operating Instructions
Owner’s Record
The model and serial numbers are located on the rear of the unit. Record the serial
number in the space provided below. Refer to them whenever you call upon your
Sony dealer regarding this product.
Model No. Serial No.
LBT-ZUX9

2US
To reduce the risk of fire or
electric shock, do not expose
this apparatus to rain or
moisture.
To prevent fire, do not cover the ventilation
of the apparatus with newspapers, table-
cloths, curtains, etc. And don’t place lighted
candles on the apparatus.
To prevent fire or shock hazard, do not place
objects filled with liquids, such as vases, on
the apparatus.
To avoid electrical shock, do not open the
cabinet. Refer servicing to qualified
personnel only.
Batteries or batteries installed apparatus
shall not be exposed to excessive heat such
as sunshine, fire or the like.
Do not install the appliance in a confined
space, such as a bookcase or built-in cabinet.
Install this system so that the power cord can
be unplugged from the wall socket
immediately in the event of trouble.
This appliance is classified as a CLASS 1
LASER product. This label is located on the
rear exterior.
NOTICE FOR THE CUSTOMERS IN
THE U.S.A.
This symbol is intended to
alert the user to the
presence of uninsulated
“dangerous voltage”
within the product’s
enclosure that may be of
sufficient magnitude to
constitute a risk of electric
shock to persons.
This symbol is intended to
alert the user to the
presence of important
operating and
maintenance (servicing)
instructions in the
literature accompanying
the appliance.
WARNING

3US
WARNING
This equipment has been tested and found to
comply with the limits for a Class B digital
device, pursuant to Part 15 of the FCC Rules.
These limits are designed to provide
reasonable protection against harmful
interference in a residential installation. This
equipment generates, uses, and can radiate
radio frequency energy and, if not installed
and used in accordance with the instructions,
may cause harmful interference to radio
communications. However, there is no
guarantee that interference will not occur in
a particular installation. If this equipment
does cause harmful interference to radio or
television reception, which can be
determined by turning the equipment off and
on,the user is encouraged to try to correct the
interference by one or more of the following
measures:
– Reorient or relocate the receiving antenna.
– Increase the separation between the
equipment and receiver.
– Connect the equipment into an outlet on a
circuit different from that to which the
receiver is connected.
– Consult the dealer or an experienced radio/
TV technician for help.
CAUTION
You are cautioned that any changes or
modification not expressly approved in this
manual could void your authority to operate
this equipment.
Note to CATV system installer:
This reminder is provided to call CATV
system installer’s attention to Article 820-40
of the NEC that provides guidelines for
proper grounding and, in particular, specifies
that the cable ground shall be connected to
the grounding system of the building, as
close to the point of cable entry as practical.
CAUTION
The use of optical instruments with this
product will increase eye hazard.
About this manual
The LBT-ZUX9 consists of:
–Unit HCD-ZUX9
– Speaker System
• Front speakers SS-ZUX9
• Surround speakers SS-ZUX9
“WALKMAN” and “WALKMAN” logo are
registered trademarks of Sony Corporation.
MICROVAULT is a trademark of Sony
Corporation.
MPEGLayer-3 audio codingtechnologyand
patents licensed from Fraunhofer IIS and
Thomson.

4US
Table of Contents
About this manual .......................3
Playable discs ..............................5
Playable/Recordable USB
devices....................................6
Guide to parts and controls..........7
Hooking up the system..............15
Positioning the speakers............17
Setting the clock ........................18
Playing an AUDIO CD/MP3
disc........................................19
Using play mode........................21
Recording from a disc onto a
USB device...........................24
Listening to music of a USB
device....................................27
Using play mode........................29
Listening to the radio.................31
Playing a tape ............................33
Recording onto a tape................34
Adjusting the sound...................36
Creating a party atmosphere......37
— X-TRANCE PRO
Singing along.............................42
Using the timer ..........................43
Changing the display.................44
Viewing information in the
display during CD and
USB function........................46
Hooking up the optional
components...........................47
Troubleshooting.........................49
Precautions.................................57
Specifications.............................59
Index..........................................61
Getting Started
Disc
USB Device
Tuner
Tape
Sound Adjustment
Other Operations
Additional Information

5US
Playable discs
1) MP3 (MPEG 1 Audio Layer 3) is a standard
format defined by ISO/MPEG which
compresses audio data. MP3 audio tracks
must be in MPEG 1 Audio Layer 3 format.
2) A logical format of files and folders on CD-
ROMs, defined by ISO (International
Organization for Standardization).
3) This is a recording method that enables
adding of data using the Track-At-Once
method. Conventional discs begin at a disc
control area called the Lead-in and end at an
area called Lead-out. A Multi Session disc is
a disc having multiple sessions, with each
segmentfromLead-intoLead-outregardedas
a single session.
• Data part of CD-Extras1)
• Data part of Mixed CDs2)
• CD-R/-RW discs that have not been
correctly finalized (processing to allow
play back by a normal CD player).
• CD-R/-RW discs recorded in Multi
Session that have not ended by “closing
the session”.
• A disc recorded in packet write format.
• Audio side of a DualDisc.
• A disc that has a non-standard shape
(e.g., heart, square, star).
• A disc that has the adhesive cellophane
tape or a sticker still left on it.
1)CD-Extra: This format records audio
(AUDIO CD data) on the tracks in session 1
and data on the tracks in session 2.
2)Mixed CD: This format records data on the
first track and audio (AUDIO CD data) on the
second and subsequent tracks of a session.
A DualDisc is a two sided disc product
which mates DVD recorded material on
one side with digital audio material on the
other side. However, since the audio
material side does not conform to the
Compact Disc (CD) standard, playback
on this product is not guaranteed.
In some cases, CD-Rs/-RWs cannot be
played back on this system due to the
recording quality or physical condition of
the disc, or the characteristics of the
recording device and authoring software.
The disc will not be played back if it has
not been correctly finalized. For more
information, see the operating
instructions of the recording device.
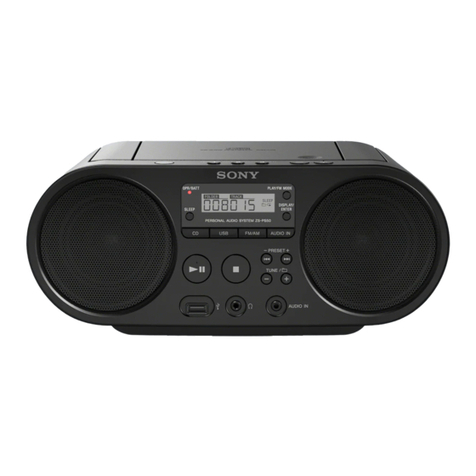
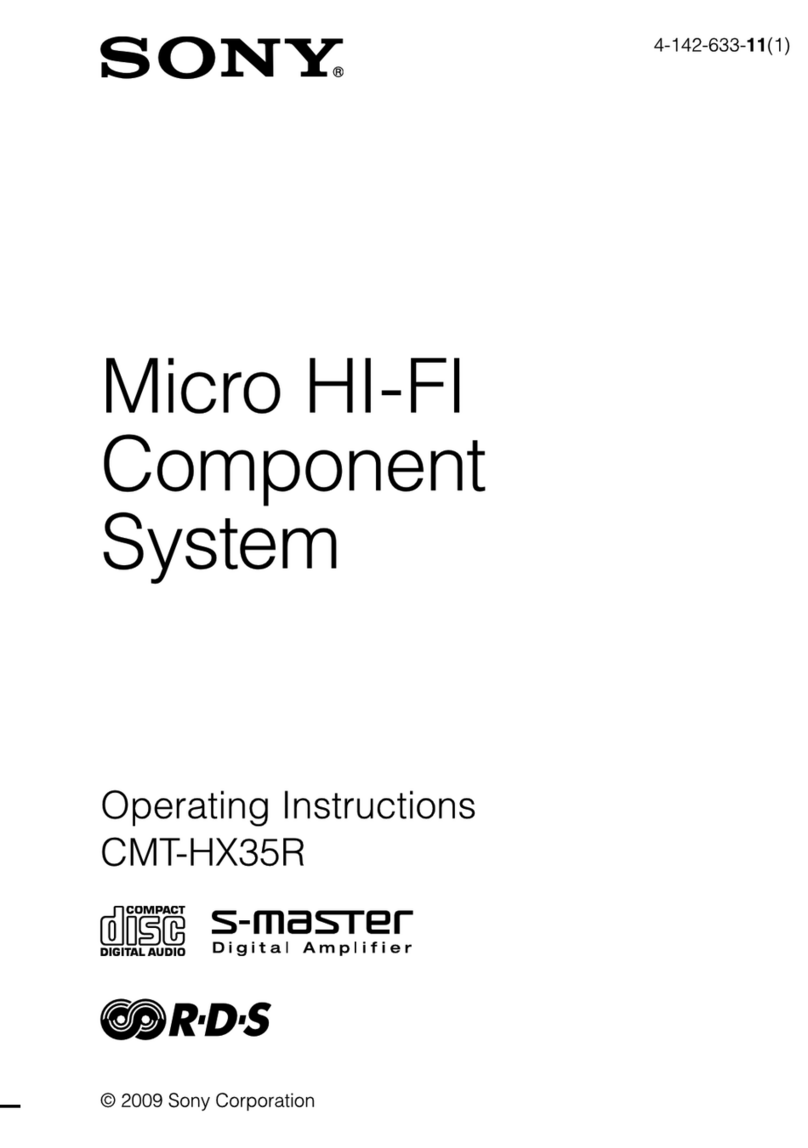
Format of discs Logo
• AUDIO CD
• CD-R/-RW in
AUDIO CD format
• CD-R/-RW in
DATA CD format,
containing MP3
audio tracks1) that
conforms to
ISO 96602) Level 1/
Level 2, Joliet (in
expansion format),
or Multi Session3)
Discs that cannot be played
back
Note on DualDiscs
Note on CD-R/-RW
6US
This product is designed to play back
discs that conform to the Compact Disc
(CD) standard. Recently, various music
discs encoded with copyright protection
technologiesaremarketedbysomerecord
companies. Please be aware that among
those discs, there are some that do not
conform to the CD standard and may not
be playable by this product.
When you play back Multi Session discs
with different formats for each session,
the format of the first session is
recognized as the disc type. Tracks in the
second and subsequent sessions are
played back if they are the same formats
as the first session.
Playable/Recordable
USB devices
You can use the following Sony USB
devices on this system.
Verified Sony digital music player
(as of April 2007)
Verified Sony IC Recorder
(as of April 2007)
Verified Sony USB storage media
(as of April 2007)
Notes
• Do not use USB devices other than these USB
devices. Operation of models not listed here is
not guaranteed.
• Operation may not always be ensured even
when using these USB devices.
• Some of these USB devices may not be
available for purchase in certain areas.
• See the operating instructions supplied with
the USB device for details on the operation
method.
• If you want to format the above USB devices,
be sure to use the models or formatter
software supplied with the USB device.
However, if the formatting process is
performed using other method, the recording
may not be properly done.
Music discs encoded with
copyright protection
technologies
Note on Multi Session disc
Product name Model name
WalkmanNWD-B103/B105/
B103F/B105F
Product name Model name
IC Recorder ICD-U50/U60/U70
Product name Model name
MICROVAULT USM256J/512J/1GJ/2GJ/
4GJ
USM512JX/1GJX/2GJX/
4GJX
USM256H/512H/1GH/
2GH/4GH

7US
Guide to parts and controls
This manual mainly explains operations using the buttons on the unit, but the same
operations can also be performed using the buttons on the remote having the same or
similar names.
Unit
–Front view
–Top view
12 34 657
wh
wf
ws
wg
ql
qk qh
wa
wd
w; qg
qf
qdqs
qaq;
98
qj
wj
wl
ef
wk
ed es
ea
e;
Continued
l

8US
1"/1 (on/standby) (pages 16, 17,
18, 25, 32, 44, 49, 55)
Press to turn the system on or off.
BFunction buttons:
CD(pages 17,19,21,24, 32, 34,
45)
TUNER/BAND (pages 31, 45)
TAPE A/B (pages 33, 45)
Press to select a function.
CMASTER VOLUME (pages 19,
27, 44, 49)
Turn to adjust the volume.
DOPERATION DIAL (pages 19,
28, 36, 40, 44)
Turn to select a track or folder.
Turn to select a setting.
EDisplay (pages 11, 44, 46, 56)
FIR Receptor (page 50)
GFunction buttons:
AUDIO (pages 38, 45, 48)
VIDEO (pages 38, 45, 48)
(pages 25, 27, 38, 45)
Press to select a function.
HDISPLAY (pages 45, 46)
Press to change the information on
the display.
IGROOVE (page 36)
Press to reinforce the bass.
JFLAT (page 36)
SAMBA (page 36)
REGGAE (page 36)
HIP HOP (page 36)
TECHNO (page 36)
Press to select a preset effect.
KSPEAKERS (page 42)
Press to select the speaker system.
LFRONT BEAM (Right) (page 45)
MCHORUS (pages 38, 50, 55)
AQUA (pages 38, 50, 55)
Press to select an effector mode.
NPower illuminator (page 44)
OMIC (jack) (pages 42, 49, 59)
Connect an optional microphone.
MIC LEVEL (pages 35, 42, 49)
Turn to adjust the microphone
volume.
PBOTTOM BEAM (Right)
(page 45)
QDisc tray (pages 17, 19, 51)
RBOTTOM BEAM (Left) (page 45)
S(USB) port (pages 24, 25,
27, 53, 59)
Connect an optional USB device
(Digitalmusic player or USB storage
media).
REC/ERASE (indicator)
(pages 25, 27)
Lightsupwhenrecording from a disc
onto the connected optional USB
device (Digital music player or USB
storage media).
Lights up when erasing MP3 audio
tracks from the connected optional
USB device (Digital music player or
USB storage media).
TPHONES (jack) (pages 39, 42,
49, 59)
Connect the headphones.
UFLANGER (pages 37, 50, 55)
DELAY (pages 37, 50, 55)
Press to select an effector mode.
VFRONT BEAM (Left) (page 45)
USB

9US
WEQ BAND/MEMORY (page 36)
Press to select a frequency band
when adjusting the graphic
equalizer.
XROCK (page 36)
POP (page 36)
JAZZ (page 36)
DANCE (page 36)
Press to select a preset effect.
USER EQ (page 36)
Press to select a user equalizer
setting.
YAMP MENU (page 44)
Press to change the spectrum
analyser display, adjust the
brightness of the display and built-in
beam or change the power
illuminator pattern.
ZBEAM MODE (page 45)
Press to change the lighting effect of
a beam.
wj B PUSH Z OPEN/CLOSE
(Deck B) (page 33)
Press to insert or eject a tape.
Deck B (pages 34, 44, 55)
wk A ZPUSH OPEN/CLOSE
(Deck A) (page 33)
Press to insert or eject a tape.
Deck A (pages 33, 55)
wl ENTER (pages 18, 19, 22, 25,
28, 31, 37, 44, 45, 55)
Press to enter the selection.
ERASE (page 25)
Press to erase MP3 audio tracks or
folders on the connected optional
USB device (Digital music player or
USB storage media).
RETURN (pages 19, 28)
Press to return to the parent folder.
e; X-ROUND ON/OFF (pages 38,
39)
Presstoturn on or offthe X-ROUND
function.
X-ROUND MODE (pages 38, 39)
Press to select an X-ROUND mode.
MAX/JUMP MODE (page 39)
Press to select the way of creating
“MAX” and “JUMP” effect.
X-ROUND JOG (page 39)
Turn to change the sound movement
or the speed of the sound movement.
JUMP PAD (page 39)
Press to switch the sound position to
the opposite direction instantly.
MAX PAD (page 39)
Press to enhance the sound.
ez DISC SKIP/EX-CHANGE
(pages 17, 19, 20, 22)
Press to select the next disc.
Press to exchange other discs during
playback.
ZOPEN/CLOSE (pages 17, 19,
51)
Press to load or eject a disc.
DISC 1 ~ 3 (pages 20, 22)
Press to select a disc.
Press to switch to the CD function
from the other functions.
Continued
l

10US
es CD- SYNC/REC 1 (page 24)
Press to record from a disc onto the
connected optional USB device
(Digitalmusic playeror USB storage
media).
Press to record a track from a disc
onto the connected optional USB
device (Digital music player or USB
storage media).
TAPE REC PAUSE/START
(page 34)
Press to record onto a tape.
CD-TAPE SYNC (page 34)
Press to record a disc onto a tape.
ed NX (play/pause)(pages 19, 21,
24, 27, 33, 51, 54)
Press to start or pause playback.
x(stop) (pages 19, 25, 27, 31,
33, 35, 51, 55)
Press to stop playback or recording.
./> (go forward/go
backward) (pages 18, 19, 22, 25,
27, 34, 43, 55)
Press to select a track.
TUNING +/– (pages 31, 32)
Press to tune in a radio station.
+/– (pages 19, 22, 25, 27, 34)
Press to select a folder.
m/M (rewind/fast forward)
(pages 19, 28, 33)
Press to find a point in a track or tape.
ef BEAT ON/OFF (page 41)
Press to turn on or off the rhythms of
the beat.
BEAT LEVEL (page 40)
Press to adjust the beat level.
BEAT SPEED (page 41)
Press to change the beat speed.
BEAT PATTERN (pages 41)
Press to select the rhythms of the
beat.
BPM CONTROL (page 41)
Press to input the tempo of the audio
source.
PAD A/PAD B (page 40)
Press to add percussion sound.
USB

11US
–Display
AIndicators for the disc tray (page 19).
“ ” lights up when the disc is
selected. “ ” lights up when there is
a disc on the disc tray.
B“MP3” lights up when an MP3 audio
track is recognized. “CD” lights up
when a disc is recognized.
CLights up when the USB function is
selected (page 27).
DLights up when an optional USB
device (Digital music player or USB
storage media) is recognized.
EIndicators for the tuner band
(page 31).
FLights up when the MP3 audio track
contains ID3 tag information.
GIndicators for the TUNER function
(page 31).
HIndicators for the BEAT BLEND
function (page 40).
IIndicators for the X-ROUND mode
(page 38).
JIndicators for the X-ROUND
function (page 38).
KIndicators for the TAPE function
(page 33).
“ ” lights up when there is a tape in
the deck.
LIndicators for the recording type
(page 34).
MDisplays the current status and
information (page 46).
NIndicators for the information type of
an MP3 audio track that displayed on
qd (page 46).
“ ” lights up when a track name is
displayed. “ ” lights up when an
artist name is displayed. “ ” lights
up when a folder name is displayed.
OLights up when the Sleep Timer is
activated (page 43).
PLights up when the Play Timer or
Recording Timer is set (page 43).
QIndicators for the speaker system
(page 42).
RIndicators for the selected play mode
(page 21).
SIndicators for the activated sound
effect (pages 36, 37).
qd qs
qf
q
a
q
;
qg
qj
qk
ql
23546 789
1
qh
Continued
l

12US
Remote
1"/1 (on/standby) (pages 16, 18,
49)
Press to turn the system on or off.
BCLOCK/TIMER SELECT
(page 44)
CLOCK/TIMER SET (pages 18,
43)
Press to set the clock and the timers.
CREPEAT/FM MODE (pages 23,
32, 54)
Press to change the Repeat Play
setting.
Press to select the FM monaural or
stereo reception.
DUSB (page 27)
Press to select the USB function.
CD (page 19)
Press to select the CD function.
TUNER/BAND (page 31)
Press to select the TUNER function.
Press to select FM or AM band.
FUNCTION (pages 19, 31, 45,
48)
Press to select a function.
E./> (go backward/go
forward) (pages 19, 22, 25, 27,
34, 43, 55)
Press to select a track.
Press to adjust the time when setting
the clock or timer.
+/– (tuning) (pages 31, 32)
Press to tune in a radio station.
m/M (rewind/fast forward)
(pages 19, 28, 33)
Press to find a point in a track or tape.
(play) (pages 19, 24, 33, 51,
54)
X(pause) (pages 19, 33)
Press to start or pause playback.
x(stop) (pages 19, 31, 33)
Press to stop playback or recording.
FENTER (pages 18, 25, 28, 31,
37, 43)
Press to enter the selection.
q;
qa
qs
qd
1
3
6
qf
qg
7
8
9
2
4
5

13US
GDISC SKIP (pages 17, 19, 20, 22)
Press to select the next disc.
H+/– (pages 19, 22, 25, 27, 34)
Press to select a folder.
IVOLUME+/–*(pages 19, 27, 44,
49)
Press to adjust the volume.
* TheVOLUME+ button hasa tactile dot.
Use the tactile dot as a reference when
operating the system.
JEQ (page 36)
Press to select a preset effect.
KCLEAR (page 23)
Press to delete a programmed step.
LPLAY MODE/TUNING MODE
(pages 21, 31, 32)
Press to select the play mode of CD
or USB function.
Press to select the tuning mode.
qd TUNER MEMORY (page 31)
Press to preset a radio station.
qf DISPLAY (pages 45, 46)
Press to change the information on
the display.
qg SLEEP (page 43)
Press to activate the Sleep Timer.
X-TRANCE PRO Remote
1"/1 (on/standby) (pages 16, 18,
49)
Press to turn the system on or off.
BX-ROUND ON/OFF (pages 38,
39)
Presstoturn on or offthe X-ROUND
function.
MAX PAD (page 39)
Press to enhance the sound.
JUMP PAD (page 39)
Press to switch the sound position to
the opposite direction instantly.
X-ROUND MODE (pages 38, 39)
Press to select an X-ROUND mode.
X-ROUND +/– (page 39)
Press to change the soundmovement
or the speed of the sound movement.
q;
1
4
6
qa
7
8
9
2
3
5
Continued
l

14US
CPAD A (page 40)
PAD B (page 40)
Press to add percussion sound.
DFRONT BUILT-IN BEAM
(page 45)
BOTTOM BUILT-IN BEAM
(page 45)
Press to change the lighting effect of
the beam.
E./> (go backward/go
forward) (pages 19, 55)
Press to select a track.
+/– (tuning) (page 31)
Press to tune in a radio station.
(play) (page 19)
X(pause) (pages 19, 33)
Press to start or pause playback.
x(stop) (pages 19, 31, 33)
Press to stop playback or recording.
FBEAT LEVEL (page 40)
Press to adjust the beat level.
BEAT PATTERN + (pages 41)
BEAT PATTERN – (pages 41)
Press to select the rhythms of the
beat.
GVOLUME +/–*(pages 19, 27, 44,
49)
Press to adjust the volume.
*The VOLUME + button has a tactile
dot. Use the tactile dot as a reference
when operating the system.
HBEAT ON/OFF (page 41)
Press to turn on or off the rhythms of
the beat.
BEAT SPEED + (page 41)
BEAT SPEED – (page 41)
Press to change the beat speed.
IGROOVE (page 36)
Press to reinforce the bass.
JSOUND EFFECT (page 38)
Press to select an effector mode.
KFUNCTION (pages 19, 31, 45,
48)
Press to select a function.

15US
Getting Started
Hooking up the system
AAntennas
Set up the AM loop antenna, then connect
it.
Note
Keep the antennas away from the speaker cords,
the power cord and the USB cable to avoid
picking up noise.
Getting Started
1
2
A
B
4
356
C
1To AM loop antenna
2To FM lead antenna
3To front speaker (right)
4To front speaker (left)
5To surround speaker (right)
6To surround speaker (left)
Extend the FM lead
antenna horizontally
AM loop antenna
Continued
l

16US
BSpeakers
The speaker connectors are color-coded
with their respective speaker terminals on
the unit.
Front speakers
Surround speakers
Tip
Connect the speaker cords to the terminals on
the front and surround speakers.
1)Front speakers only
2)Surround speakers only
Notes
• Be sure to use only the supplied speakers.
• Be sure to connect the speakers securely and
correctly. When connecting speaker cords,
insert the connector straight into the
terminals.
CPower
Connect the power cord to a wall outlet.
The demonstration appears in the display.
When you press "/1, the system turns on
and the demonstration automatically
ends.
If the supplied adaptor on the plug does
not fit your wall outlet, detach it from the
plug (only for models equipped with an
adaptor).
Note
If you do not use the remote for a long period of
time, remove the batteries to avoid possible
damage from battery leakage and corrosion.
Tip
With normal use, the batteries should last for
about six months. When the remote no longer
operates the system, replace both batteries with
new ones.
RL
FRONT
SPEAKER
ONLY FOR SS-ZUX9
White
RL
SURROUND
SPEAKER
ONLY FOR SS-ZUX9
Grey
Black (#)
Black (#)
Red (3)
Red1)/Grey2) (3
)
Inserting two R6 (size AA)
batteries into the remote
E
e
E
e

17US
Getting Started
Attach the supplied speaker pads at each
corner on the bottom of the speakers to
stabilize the speakers and to prevent them
from slipping.
Example
Front speakers
Positioning the
speakers
There are 2 ways to place front speakers
and the surround speakers.
To create a party environment, we
recommend that you place your speakers
as shown in example 1.
AFront speaker (left)
BFront speaker (right)
CSurround speaker (left)
DSurround speaker (right)
EUnit
Example 1:
Place the speakers at an equal distance
from your listening position as shown
below.
Example 2:
Place the surround speakers on the top of
the front speakers as shown below.
Attaching the speaker pads
When carrying the unit
Do the following procedure to protect
the disc mechanism.
Use the buttons on the unit for the
operation.
1Press"/1 to turn on the system.
2Press CD.
3Press ZOPEN/CLOSE to open
the disc tray and remove the
disc. If there are more than one
disc in the disc tray, press
DISC SKIP/EX-CHANGE to
remove the discs.
4PressZOPEN/CLOSEagainto
close the disc tray.
5Hold down CD and then press
"/1 until “STANDBY” appears
in the display. Then, “MECHA
LOCK” appears in the display.
6Release"/1 beforeyourelease
CD.
7Unplug the AC power cord.
CD
E
AB
Listener
45
C
AB
E
D
Listener

18US
Setting the clock
Use buttons on the remote for the
operation.
1Press "/1 to turn on the system.
2Press CLOCK/TIMER SET.
The hour indication flashes in the
display.
If “PLAY SET?” flashes in the
display, press .or >repeatedly
to select “CLOCK SET?”, then press
ENTER.
3Press .or >repeatedly to
set the hour.
4Press ENTER.
The minute indication flashes in the
display.
5Press .or >repeatedly to
set the minute.
6Press ENTER.
The clock starts functioning.
Note
The clock settings are canceled when you
disconnect the power cord or if a power failure
occurs.

19US
Disc
Playing an AUDIO CD/
MP3 disc
Example: When playing an AUDIO CD
1Press CD.
2Press ZOPEN/CLOSE.
3Load a disc with the label side
facing up on the disc tray.
To load additional discs, press
DISC SKIP/EX-CHANGE to rotate
the disc tray.
4Press ZOPEN/CLOSE to close
the disc tray.
Do not forcibly push the disc tray to
close it as this may cause a
malfunction.
5Press NX (or Non the
remote).
6Turn MASTER VOLUME
(or press VOLUME +/– on the
remote) to adjust the volume.
Other operations
Disc
Elapsed playing time
Disc playing indicator
When you play
back an 8 cm
disc such as a
CD single, place
it on the inner
circle of the tray
To Do this
Stop playback Press x.
Pause playback Press NX (or X on the
remote). To resume
playback,pressNX (or
X on the remote) again.
Select the next or
previous track Press . or >.
Select the next or
previous folder on
an MP3 disc
Press +/–.
Search for a track
on an MP3 disc by
itsfoldernameand
track name and
start playback the
track (TRACK
SEARCH)
1Turn OPERATION
DIAL to select the
folder you want, then
press ENTER.
2Turn OPERATION
DIAL to select the
track you want, then
press ENTER.
To return to the parent
folder, press RETURN.
Search for a
track on an
AUDIO CD by
its track number
and start playback
the track (TRACK
SEARCH)
Turn OPERATION
DIAL to select the track
you want, then press
ENTER.
Find a point in a
track* Hold down m or M
on the remote during
playback, then release it
at the point you want.
Continued
l

20US
* The elapsed playing time may not be
displayed correctly depending on the MP3
audio tracks.
Notes
• The following discs/situations can increase
the time it takes to start playback:
– a disc recorded with a complicated tree
structure.
– a disc recorded in Multi Session.
– a disc to which data can be added
(non-finalized disc).
– when the tracks in another folder have just
been played back.
• When the disc is loaded, the system reads all
the tracks on that disc. If there are many
folders or non-MP3audiotracksonthedisc,it
may take a longer time for playback to begin
or for the next MP3 audio track to start
playback.
• You are recommended not to save other types
of tracks or unnecessary folders on a disc that
has MP3 audio tracks.
• The system can only play back MP3 audio
tracks with the extension “.MP3”.
• Attemptingtoplaybacknon-MP3formatfiles
that have the extension “.MP3” may result in
noise or malfunction.
• A folder that does not include an MP3 audio
track is skipped.
• The system can recognize up to
– 256 folders (including the root folder).
– 511 MP3 audio tracks.
– 512 MP3 audio tracks and folders on a
single disc.
– 8 folder levels.
• Depending on the encoding/writing software,
recording device, or the recording media used
to record an MP3 audio track, you may
encounter problems such as cannot play back,
sound interruptions and noise.
Tip
When you press CD or one of the DISC 1 ~ 3
buttons to switch to CD function from TUNER
function, you may require a longer time to
access the disc. In the case, set the CD/USB
power manage function to “CD/USB POWER
ON” (page 32).
To Do this
Select a disc
when playback
is stopped
Press one of the
DISC 1 ~ 3 buttons or
DISC SKIP/
EX-CHANGE
(or DISC SKIP on the
remote).
Switch to CD
function from
anothersourceand
start playback
automatically
Press one of the
DISC 1 ~ 3 buttons
(Automatic Source
Selection).
Exchange other
discs while
playing
Press DISC SKIP/
EX-CHANGE.
Other manuals for LBT-ZUX9 - Mini Hifi Component
1
Table of contents
Other Sony Stereo System manuals

Sony
Sony MHC-EC599 User manual

Sony
Sony HCD-V8900 User manual

Sony
Sony HCD-GTZ4 User manual

Sony
Sony HCD-ZX70DVD User manual

Sony
Sony CMTBX1 - CMT BX1 Micro System User manual

Sony
Sony MHC-RV900D User manual

Sony
Sony SRS-X55 User guide

Sony
Sony CDP-X3000 User manual

Sony
Sony CMT-M80V User manual

Sony
Sony LBT-D550 User manual

Sony
Sony MEXBT3100 User manual

Sony
Sony HCD-EP305 User manual

Sony
Sony LBT-GPX77 User manual

Sony
Sony DHC-MD313 - System Rack User manual

Sony
Sony MHC-RG295 User manual

Sony
Sony HCD-ZX70DVD User manual

Sony
Sony SHAKE5 Use and maintenance manual

Sony
Sony GX20 User manual

Sony
Sony SRS-X55 User manual

Sony
Sony MHC-S90D User manual