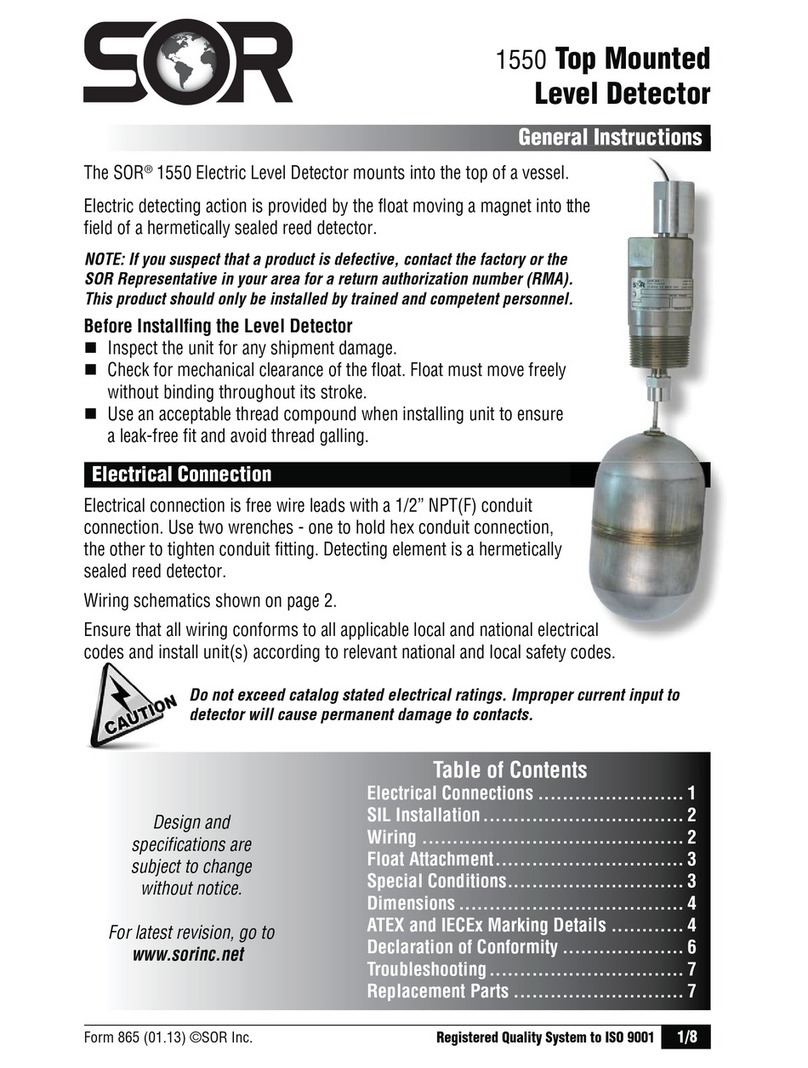
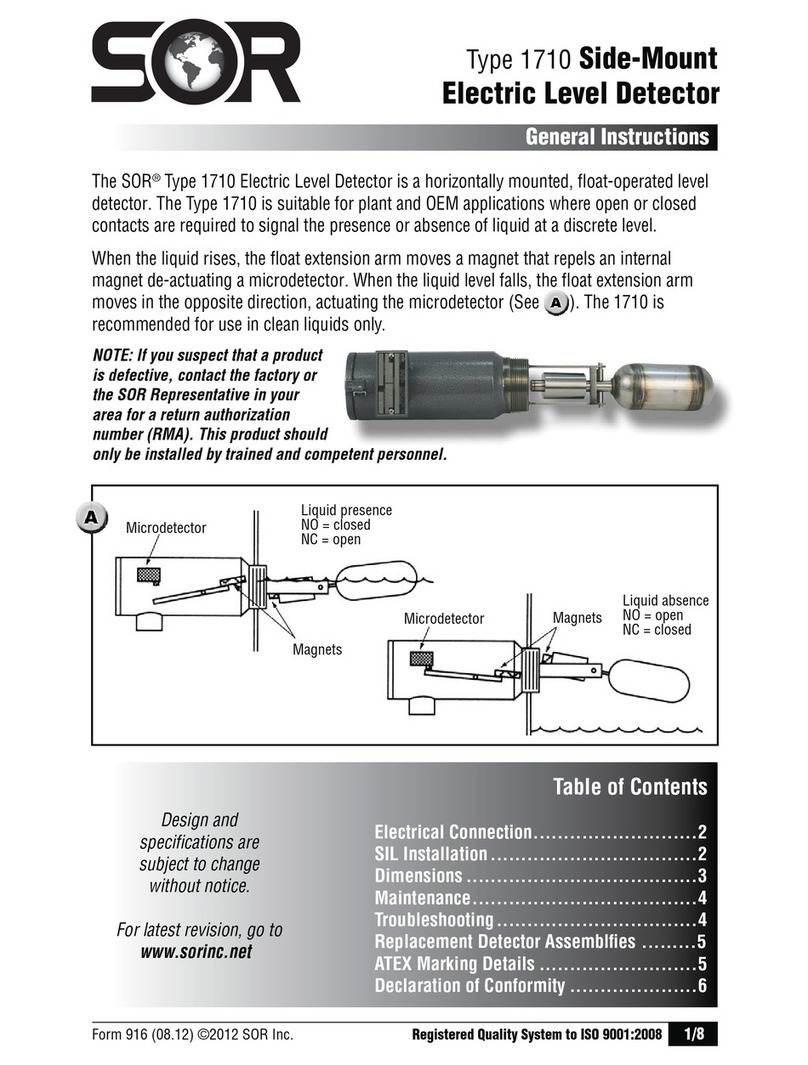
SOR 102 User manual

Form 420 (01.13) ©SOR Inc.
1/8
These instructions provide information for installation, electrical connection, process con-
nection and calibration of 102 Differential Pressure Detectors.
Process pressure is sensed by a piston assembly. The piston responds to differential
pressure and moves a lever connected to a torsionally stiff cross-shaft. One end of the
cross-shaft is connected to a lever that is biased by the range spring. The other end has a
lever that actuates (deactuates) an electrical detecting element.
102
Dfferental Pressure Detector
General Instructions
Registered Quality System to ISO 9001
Design and
specifications are
subject to change
without notice.
For latest revision, go to
www.sornc.net
Table of Contents
Installation.......................................2
SIL Installation ..................................2
Process Connection ............................2
Electrical Connection...........................2
Special Conditions..............................3
Calibration .......................................4
Dimensions ......................................5
ATEX General Information .....................6
Declaration of Conformity .....................7
Knurled cap over set
point adjustment
High side process
connection 1/4 NPT(F)
[1/2” NPT(F) optional]
Hermetically sealed
detecting element
capsule with 18 AWG
wire leads, 18” (45.7
cm) in length
1/2” NPT(M) electrical
Explosion Proof – AD Housing
ATEX Certified EEx d IIC - CL Accessory
Weathertight – W1 Housing
conduit connection
3/4” NPT (F) electrical conduit connection
Weathertight detecting element housing (terminal block under cover)
NOTE: If you suspect that a product is defective, contact the factory or the SOR
®
Representative
in your area for a return authorization number (RMA). This product should only be installed by
trained and competent personnel.
P
T(F)
o
na
l]
d
A
WG
5
.7
rical
under cover)

2/8
Form 420 (01.13) ©SOR Inc.
Installation
Use care during installation not to inadvertently move the electrical
detectng element or t’s housng. Movement of ether could dsturb the
relative positions of internal working parts and alter factory-set calibration or
render the device inoperative.
This product should be installed by trained and competent personnel only.
Ensure that all wiring conforms to all applicable local and national electrical codes and
install unit(s) according to relevant national and local safety codes.
Securely mount a pipe kit bracket or base plate as supplied to horizontal member of the
pipe stanchion, channel rack or a flat surface using suitable bolts. The 102 is not position
sensitive, and may be mounted in any position.
Process Connection
The high pressure side (marked Hi) and the low pressure side (marked Lo) have 1/4”
NPT(F) process connections (1/2” NPT(F) optional).
When the process could be considered dirty in terms of suspended particles,
it is recommended that 20-micron in-line lters be installed on the Hi and Lo
pressure ports.
Electrical Connection
Weathertight Models:
Interrupt the electrical power. Remove the top cover plate. The terminal block is standard,
except with B, BB, W or Y high-temperature detecting elements. The insulation is labeled
C - Common, NO - Normally Open, NC - Normally Closed and C2, NO2, NC2 when 2-SPDT
detecting elements are installed.
Explosion Proof Models:
Units in hazardous locations: prior to removal from service, make sure that the
work area is declassied. Failure to do so could result in severe personal injury
or substantial property damage.
The hermetically sealed detecting element capsule has 18” - 18 AWG wire leads color
coded and marked C - Common, NO - Normally Open, NC - Normally Closed, and G -
Ground (earth) when applicable. When 2-SPDT detecting elements are installed, additional
wires are marked C2, NO2 and NC2. (See schematic.)
Safety Integrity Level (SIL) Installation Requirements
The SOR pressure detectors have been evaluated as Type-A safety related hardware.
To meet the necessary installation requirements for the SIL system, the following
information must be utilized:
Proof Test Interval shall be one year.
Units may only be installed for use in Low Demand Mode.
Products have a HFT (Hardware Fault Tolerance) of 0, and were evaluated in a
1oo1 (one out of one) configuration. Form 1538 (03.12) ©2012 SOR Inc.

Form 420 (01.13) ©SOR Inc.
3/8
Special Conditions for Safe Use ATEX
Blue (C)
Black (NO)
Red (NC)
Green (GND)
SPDT
LO
HI
2 SPDT
Blue (C)
Black (NO)
Red (NC)
Yellow (C2)
Brown (NO2)
Orange (NC2)
Green (GND)
NO2
NO1
LO
HI
The terminal box to which the equipment is attached must, together with the detector,
ensure the requisite thread engagement for Apparatus Group IIC. AD Housing: ATEX
Approved junction box required.
The permanently attached cables are to be suitably terminated and protected from
impact.
When the detector is attached to an increased safety terminal box, the assembly must be
capable of withstanding the impact test specified in BS 5501: Part 1: 1997.
The sealing arrangements must maintain the minimum IP54 rating required by the
increased safety enclosure.
The detector must attach to the enclosure using an existing entry.
The apparatus may have a combined nameplate which carries multiple approvals
(Intrinsic Safety & Flameproof). The equipment should be marked as to which
protection method it is installed as, and shall not be changed or utilized in any
other manner than was originally marked by the end user.
To minimize the risk of electrostatic discharge, clean only with a damp cloth.
NOTE: These circuits are all part of the same IS circuit meeting the requirement of 30V max
and 1A max. You cannot connect a zener barrier to C/NO/NC circuit and another barrier to
C2/NO2/NC2 circuit unless the combination of the two barriers is intrinsically safe and is
less than 30V and 1A.
NOTE: For IS, there must be no connection to GND if the detector circuit is connected to a
shunt zener diode safety barrier.

4/8
Form 420 (01.13) ©SOR Inc.
Calibration
Coarse Calibration:
Device calibrated without reference to system (static) pressure (Lo side vented).
Test apparatus: Pressure gauge
Variable pressure source
Test light or ohmmeter
1. Remove the weathertight knurled cap.
2. Insert a 5/32 Allen hex wrench into Set Point adjustment screen.
3. Connect a test light or ohmmeter to C – Common and NO – Normally Open.
4. Increase the pressure to the desired Set Point on increasing pressure.
5. Turn the hex wrench clockwise to increase the Set Point and counterclockwise to
decrease the Set Point. Note the actuation/deactuation by test light or ohmmeter.
6. For the Set Point on Decreasing pressure, decrease the pressure to the desired Set
Point and repeat Step 5.
7. Remove the hex wrench and replace the weathertight cap.
Precise Calibration:
The device is calibrated with reference to system (static) pressure. Performance is
enhanced when calibration is accomplished under simulated system pressure profile or as
it is intended to be used in actual service.
Test apparatus: Differential pressure gauge
Variable pressure source
Block/bleed and equalizer valves
Test light or ohmmeter
1. Remove the weathertight knurled cap.
2. Insert a 5/32 Allen hex wrench into the Set Point adjustment.
3. Connect a test light or ohmmeter to C – Common and NO – Normally Open.
4. Increase the pressure equally on Hi and Lo sides to the desired system (static) operating
pressure (equalizer valve open).
5. To adjust Set Point on Increasing Differential Pressure: Close the equalizer valve and
bleed the Lo side until the desired pressure appears on indicator and the Set Point is
verified by a test light or ohmmeter. Turn the hex wrench clockwise to increase the Set
Point and counterclockwise to decrease the Set Point. Note actuation/deactuation by
test light or ohmmeter.
6. To adjust the Set Point on Decreasing Differential Pressure: Differential Pressure must be
at or above the Increasing Set Point. Slightly open the equalizer valve until desired
decreasing pressure appears on the indicator and the set point is verified by a test light
or ohmmeter. Perform Step 5 above as necessary.
7. Remove the Allen wrench and replace the weathertight cap.
Do not remove other covers or attempt to adjust other parts of the mechanism. All
have been precisely positioned at the factory and should not be moved in the eld.

Form 420 (01.13) ©SOR Inc.
5/8
Dimensions
Linear = mm/inches
Drawing 0090495
ISO-9001
14685 W 105TH ST LENEXA, KS 66215 U
S
913-888-2630
SORINC.COM
40.0
1.58 76.2
3.00
84.1
3.31
A
11.1
0.44
54.8
2.16
114.3
4.50
44.5
1.75
120.7
4.75
30.2
1.19
60.3
2.38
38.1
1.50
76.2
3.00
20.6
0.81 A
57.2
2.25
153.6
6.05
44.5
1.75
127.0
5.00
118.3
4.66
34.1
1.34
92.1
3.63
114.3 REF
4.50
2X PROCESS
CONNECTION
1/4 NPTF STD
1/2 NPTF OPT
HI - FAR SIDE
LO - NEAR SIDE
PRODUCT CERTIFICATION DRAWING
ALL DIMENSIONS ARE ±1/16 IN
UNLESS OTHERWISE SPECIFIED
MM
LINEAR = IN
DRAWN BY
K MITCHELL
CHECKED BY
M SMITH
ENGINEER APPROVA
L
S BOAL
DATE
07 JUN 201
THIS DRAWING IS THE EXCLUSIVE PROPERTY OF SOR.
NO USE WHATSOEVER OF THE INFORMATION CONTAINED
HEREON, NOR REPRODUCTION IN WHOLE OR PART MAY BE
MADE WITHOUT THE EXPRESS WRITTEN PERMISSION OF SOR.
TITLE
DIM DWG 102 AD, AS, JS
EO NUMBER: 5090
SCALE: 0.50
DO NOT SCALE PRINT
DRAWING NUMBER REV
0090495 5
SHEET 1 OF 1 DWG
S
B
LENGTH A
1/2 NPTF 35.8 SHOWN
1.41
1/2 NPTM 34.8
1.37
FACTORY SEALED LEADS
COLOR CODED AND MARKED
457.2
18.00 MINIMUM LENGTH
ELECTRICAL
CONNECTION
1/2 NPTM
SET POINT
ADJUSTMENT
LOCATED
UNDER CAP
CLEARANCE
FOR 7.9
0.31
MOUNTING
HARDWARE
W1 - Non-Hazardous Service (Weathertight)
AD - Hazardous Service (Weathertight)
(JS dimensions are the same as AD except
the required junction box is not shown because of the dimensional and design variances
between manufacturers of approved junction boxes.)
Linear = mm/inches
Drawing 0090496
Dimensions are for reference only. Contact the factory
for certified drawings for a particular model number.

6/8
Form 420 (01.13) ©SOR Inc.
General Information for ATEX-Certied Models
Piston-Spring
Designators
Adjustable Range
Increasing Differential
Pressure
Maximum
System
Pressure
Maximum
Differential
Pressure
psid (in. wdc) bar [mbar] psi bar psi bar
102 - 912 5 to 25 .35 to 1.7
3000 210 3000 210
102 - 903 8 to 40 .55 to 2.8
102 - 905 10 to 60 .70 to 4.0
102 - 603 20 to 100 1.4 to 7.0
102 - 403 40 to 200 3.0 to 14
102 - 405 50 to 300 3.5 to 21
102 - 305 100 to 500 7.0 to 35
102 - 105 500 to 2500 35 to 175
Designator AC Rating DC Rating
Volts Amps Volts Amps Volts Amps
Manufacturer’s
Registered Trademark
Thread Form
Information
Product Model
Identification
Serial Number (First Two
Numbers Indicate Year
of Manufacture)
ATEX Listing
Information
Drawing 8304205
AF & AG 24 11 24 0.5 24 5
EF & EG 24 5 - - - -
JF & JG 24 1 - - 24 1

Form 420 (01.13) ©SOR Inc.
7/8
Declaration of Conformity
For ATEX Certied Models
Form 1383 (08 .12) ©2012 SOR Inc. (Printed in USA)
Product
Manufacturer
Date of Issue
We declare that the above
products conform to
the following specifications
and directives
Carries the marking
Reference document
ATEX Notified Body
Person responsible
A Series 102 or 103 Differential Pressure Detector
SOR Inc.
14685 West 105
th
Street, Lenexa, Kansas 66215-2003
United States of America
July 16, 2012
ATEX Directive (94/9/EC) Equipment Intended for use in
Potentially Explosive Atmospheres
EN 60079-0:2009 EN 60079-1:2007
IEC 60079-0: 2011 EN 60079-11: 2012
II 2 G Ex d IIC T6 Gb (Tamb = -40°C to +65°C)
Ex d IIC T5 Gb (Tamb = -40°C to +80°C)
Ex ia IIC T5 Gb (-40°CTa +80°C)
Ex ia IIC T6 Gb (-40°CTa +65°C)
EC-Type Examination Certificates
Baseefa03ATEX0608X, Issued October 31, 2003
Baseefa11ATEX0173X, Issued March 28, 2012
Baseefa Ltd. (Notified Body No. 1180)
Rockhead Business Park, Staden Lane,
Buxton, Derbyshire SK17 9RZ
United Kingdom
Baseefa Customer Reference No. 1021
John J. Fortino (VP of Engineering)
John J. Fortino
14685 West 105th Street, Lenexa, KS 66215-2003
s53!s&!8
Engineered to Order with Off-the-Shelf Speed
EC Declaration
of Conformity

8/8
Form 420 (01.13) ©SOR Inc.
14685 West 105th Street, Lenexa, KS 66215
913-888-2630
800-676-6794 USA
Fax 913-888-0767
Registered Quality System to ISO 9001
Printed in USA www.sorinc.net
Table of contents
Other SOR Security Sensor manuals
Popular Security Sensor manuals by other brands
Honeywell
Honeywell Ex-Or MR1500P Installation and commissioning instructions
Protecta
Protecta AC350A User instruction manual
Pilz
Pilz PSEN ml b 1.1 operating manual
System Sensor
System Sensor B110LP Installation and maintenance instructions
Baumer
Baumer UNDK 30U6103 quick start guide

D-Link
D-Link MyDlink DCH-S150 Quick install guide
