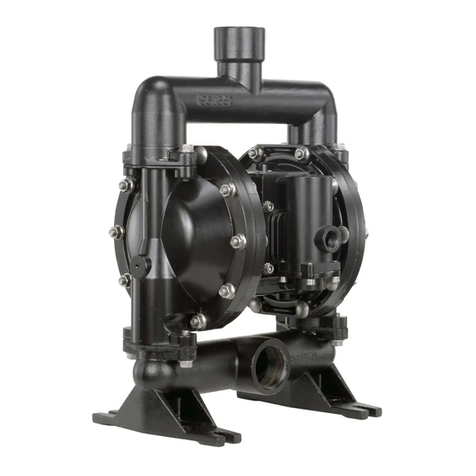
KITS05WMA 1/2” Air Operated Diaphragm Pump
Wall Mount Bracket Installation Instructions
WARNING!Usecauonwheninstallingthebracket,
pump,andassociatedparts.Userequiredsafety
equipment(goggles,gloves,etc.).Becertainthe
bracketandpumparesecurelyinstalledpriorto
operaon.
Requiredtools:
3/8”socketornutdriver
7/16”socketornutdriver
Step 1: Remove the 3/8” nuts on
the back of the pump body one
at a time (Figure 1). This is best
accomplished by loosening the
bolts on the front one at a time
(Figure 2); once each bolt is
loose, press it back into the hole
to push the nut out of the pump
body. Repeat for each nut.
Figure 1
Figure 2
Step 2: Press the coupler nuts
one at a time into the pump
body and tighten the 3/8” bolts
to secure them into place
(Figure 3). Torque them to 25
inch pounds.
NOTE! Install exhaust
components (muffler, etc.)
PRIOR to installing the bracket
on the pump.
Step 3: Attach the bracket to
the to the back of the pump
(Figure 4) using the four 3/8”
bolts provided with the kit. The
bolts thread into the coupler
nuts; insert the 1/4” split
washers as indicated between
the bolt and the bracket.
Tighten the 3/8” bolts to 25 inch
lbs.
Figure 3
Figure 4
NOTE: Bracket dimensional drawings on back.

