Page 10CT12F 960.064 Rev # 0
7. Re-insert tile into the ceiling grid.
8. If not previously done, run speaker wires or
conduit (as per local Building Code requirements)
and fasten as required.
9. Proceed to the “Installing the Loudspeaker” section
on these installation instructions for the selected
loudspeaker and bezel combination.
IF A PBB1.2S BACKBOX IS REQUIRED:
1. Follow the instructions above to mark, score and
cut the tile.
2. Locate the PBB1.2S Backbox. Identify conduit and
wire-pass holes. Remove compound knockouts as
required.
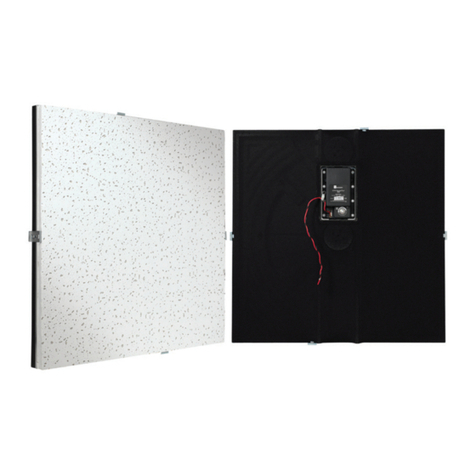
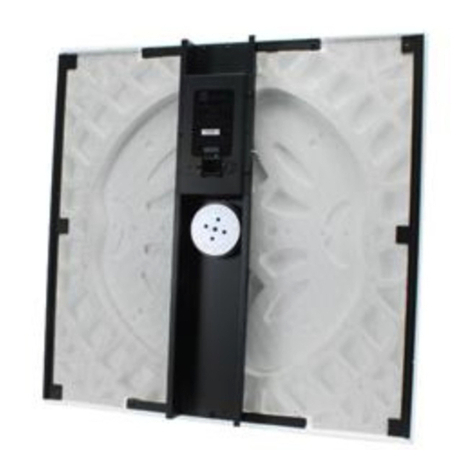
3. Bring the TBS-12S Support Bridge and insert the
serrated fasteners into the four holes. Mate the two
parts together by pressing the backbox against
the support bridge. (please see fig. 17)
4. Insert backbox/support bridge assembly into the
ceiling. NOTE: Proper orientation is with the legs
parallel to the 24" dimension of the ceiling grid.
5. Bring speaker wires or conduit (as per local
Building Code requirements) into the backbox.
Fasten and seal properly.
6. Position support bridge/backbox assembly to allow
the tile to be re-inserted.
7. Place the ceiling tile in the grid and align the
assembly to the opening.
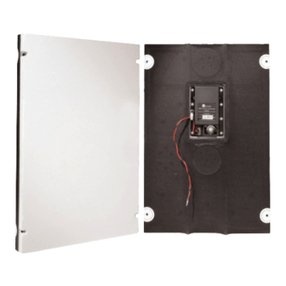
8. Fasten the assembly to the tile by bending the two
clips located at the flanges of the support bridge.
(please see fig. 18)
9. Proceed to the “Installing the Loudspeaker” section
on these installation instructions for the selected
loudspeaker and bezel combination.
CONCEALED SPLINE CEILING INSTAL-
LATION
NEW CONSTRUCTION
These instructions apply if you will be installing a
CT12FH/FHT with a FMB-F or a CSB-F Bezel on
concealed spline ceilings, prior to the construction of
the ceiling grid system.
(A TBS12S Support Bridge is not required for
these applications).
IF A PBB1.2S BACKBOX IS NOT REQUIRED (
VERIFYTHAT LOCAL CODES DO NOT
require a backbox):
Proceed to the “Installing the Loudspeaker”
section on these installation
instructions for the selected loudspeaker and
bezel combination
IF A PBB1.2S BACKBOX IS REQUIRED:
1. Locate where the loudspeaker will be placed.
2. Locate the PBB1.2S Backbox. Identify conduit and
wire-pass holes. Remove compound knockouts as
required.
3. Level and secure the assembly to the above
structure by the perforated tab located on top of
the backbox. (please see fig. 19)
4. Bring speaker wiring into the backbox and fasten
properly.
5. Proceed to the “Installing the Loudspeaker” section
on these installation instructions for the selected
loudspeaker and bezel combination.
fig.18
fig.17


