manuals.online logo
Brands
  1. Home
  2. •
  3. Brands
  4. •
  5. Sound Tube
  6. •
  7. Speakers
  8. •
  9. Sound Tube CM-EZ-II Configuration guide

Sound Tube CM-EZ-II Configuration guide

© 2004 SoundTube Entertainment, Inc. All rights reserved. REV 07.27.04
Warning
Do not spec or install speaker near support beam, ventilation
duct or other structure that may interfere with speaker function
or dispersion.
Warning
SoundTube speakers must be installed by a professional audio
installer/contractor. For safety and for optimum audio performance,
installer must follow all directions issued by SoundTube Entertainment.
1.435.647.9555
|
800.647.TUBE
|
www.soundtube.com
70.7 Volt Transformer Taps (dB) 100 Volt Transformer Taps (dB) 25 Volt Transformer Taps (dB)
20W=103, 10W=100, 5W=97, 2.5W=94, 1.25 W=91 20W=103, 10W=100, 5W=97, 2.5W=94 2.5W=94, 1.25W=91, .63W=88, .32 W=85, .16W=82
CM-EZ-II
Transformer Taps Settings
Install Instructions
Voice Coil 8 Ohm=106 dB
Box contents
1 Speaker
1 Flexible conduit clamp
1 Tile bridge (shipped separate)
CM-EZ-IICM-E
CM-E
Z-II
Z-II
CM-EZ-II
Snap cam
Grille bezel
Sheetrock/tile
Signal wires
Tap switch
20 W, 10 W, 5 W, 2.5 W, 1.25 W, voice coil/8 Ohm direc
t
Blind-mount
backcan
Safety cable stud
Flexible conduit clamp
Tile bridge
9.75" (248 mm)
1.435.647.9555
|
800.647.TUBE
|
www.soundtube.com
Drop Tile Ceiling Install Instructions
CM-EZ-II
CM-EZ-IICM-E
CM-E
Z-II
Z-II
4. Set tap to proper setting.
CM-EZ-8 is factory preset
in the 70.7 Volt mode in
the 20 Watt setting.
7. Thread tap & signal wires
thru flexible conduit clamp.
Connect wires with wire
nuts. See tap settings on
front page of this manual
for proper settings.
8. Push connections and
terminated tap wires
into backcan. Push
flexible conduit clamp
into backcan and tighten
clamp onto conduit.
2. Using supplied tile bridge,
mark 9 9/16" (243 mm) hole.
6. Set entire assembly
facing down on top of
ladder. Pull signal wire
down to speaker.
3. Cut hole in tile using key-
hole saw or Roto-Zip tool.
1. Remove ceiling tile.
5. Lay tile bridge & tile on
floor with tile facing up.
Set speaker unit in hole
and lift ceiling tile & tile
bridge as a unit until
speaker snaps into place.
9. Install assembly into
ceiling tile rails.
10. Done! To Uninstall Speaker
1. Remove grille and
locate brass release
pins (x4).
2. Using a screwdriver, push
release pin up to release
cam. Turn clockwise
until threads engage to
lock cam. Properly term-
inate signal wire in ceiling.
1.435.647.9555
|
800.647.TUBE
|
www.soundtube.com
Sheetrock Ceiling Install Instructions
CM-EZ-IICM-E
CM-E
Z-II
Z-II
CM-EZ-II
2. Using a screwdriver, push
release pin up to release
cam. Turn clockwise
until threads engage to
lock cam. Properly term-
inate signal wire in ceiling.
2. Cut hole in tile using key-
hole saw or Roto-Zip tool.
3. Set tap to proper setting.
CM-EZ-8 is factory preset
in the 70.7 Volt mode in
the 20 Watt setting.
4. Thread tap & signal wires
thru flexible conduit clamp.
Connect wires with wire
nuts. See tap settings on
front page of this manual
for proper settings.
5. Push connections and
terminated tap wires
into backcan. Push
flexible conduit clamp
into backcan and tighten
clamp onto conduit.
1. Using supplied template
or, tile bridge to mark
9 9/16" (243 mm) hole.
7. Done!6. Snap speaker into drywall
ceiling. If using optional
alignment ring, the snap
cams must clear the
alignment ring screw tabs.
To Uninstall Speaker
1. Remove grille and
locate brass release
pins (x4).
1.435.647.9555
|
800.647.TUBE
|
www.soundtube.com
Pre-construction Install Instructions
CM-EZ-II
CM-EZ-IICM-E
CM-E
Z-II
Z-II
2. Using a screwdriver, push
release pin up to release
cam. Turn clockwise
until threads engage to
lock cam. Properly term-
inate signal wire in ceiling.
3. Remove rubber feet from
cams, allowing room for
pre-construction bracket.
2. Complete finishing work. 4. Set tap to proper setting.
CM-EZ-8 is factory preset
in the 70.7 Volt mode in
the 20 Watt setting.
5. Thread tap & signal wires
thru flexible conduit clamp.
Connect wires with wire
nuts. See tap settings on
front page of this manual
for proper settings.
6. Push connections and
terminated tap wires
into backcan. Push
flexible conduit clamp
into backcan and tighten
clamp onto conduit.
1. Install pre-construction
bracket with lip facing
down. Use nails or screws
to attach to joists.
8. Done!7. Snap speaker into ceiling.
To Uninstall Speaker
1. Remove grille and
locate brass release
pins (x4).

Other Sound Tube Speakers manuals

Sound Tube IPD-SM-EZ Series Configuration guide

Sound Tube

Sound Tube IPD-SM-EZ Series Configuration guide

Sound Tube FPS20 Manual

Sound Tube

Sound Tube FPS20 Manual

Sound Tube SM-EZ Series Configuration guide
Sound Tube

Sound Tube SM-EZ Series Configuration guide

Sound Tube Outdoor/In-Ground Speaker XT610 User manual

Sound Tube

Sound Tube Outdoor/In-Ground Speaker XT610 User manual

Sound Tube LA808I-WH Configuration guide

Sound Tube

Sound Tube LA808I-WH Configuration guide

Sound Tube SM52-EZ-BK Configuration guide

Sound Tube

Sound Tube SM52-EZ-BK Configuration guide

Sound Tube LA808i Configuration guide
Sound Tube

Sound Tube LA808i Configuration guide

Sound Tube HP690i User manual

Sound Tube

Sound Tube HP690i User manual

Sound Tube IPD4-BGM Series Configuration guide
Sound Tube

Sound Tube IPD4-BGM Series Configuration guide

Sound Tube Sound-Focusing Speaker FP6030 User manual

Sound Tube

Sound Tube Sound-Focusing Speaker FP6030 User manual

Sound Tube CM800d Configuration guide

Sound Tube

Sound Tube CM800d Configuration guide
Sound Tube Secret Sound SS30 Configuration guide

Sound Tube

Sound Tube Secret Sound SS30 Configuration guide

Sound Tube IP-SM500i-II Configuration guide
Sound Tube

Sound Tube IP-SM500i-II Configuration guide

Sound Tube IPD-RS-EZ Series Configuration guide

Sound Tube

Sound Tube IPD-RS-EZ Series Configuration guide

Sound Tube SM31-EZ Configuration guide

Sound Tube

Sound Tube SM31-EZ Configuration guide

Sound Tube CM82-EZ User manual

Sound Tube

Sound Tube CM82-EZ User manual

Sound Tube IPD-XT850 Configuration guide

Sound Tube

Sound Tube IPD-XT850 Configuration guide

Sound Tube CM590i Configuration guide

Sound Tube

Sound Tube CM590i Configuration guide

Sound Tube IPD-SM52-EZ Configuration guide

Sound Tube

Sound Tube IPD-SM52-EZ Configuration guide

Sound Tube SM890i User manual

Sound Tube

Sound Tube SM890i User manual

Sound Tube IPD-RS62-EZ Configuration guide

Sound Tube

Sound Tube IPD-RS62-EZ Configuration guide

Sound Tube CM62-EZ User manual

Sound Tube

Sound Tube CM62-EZ User manual

Sound Tube CM-EZ-II User manual

Sound Tube

Sound Tube CM-EZ-II User manual

Sound Tube SM590i Configuration guide

Sound Tube

Sound Tube SM590i Configuration guide

Popular Speakers manuals by other brands

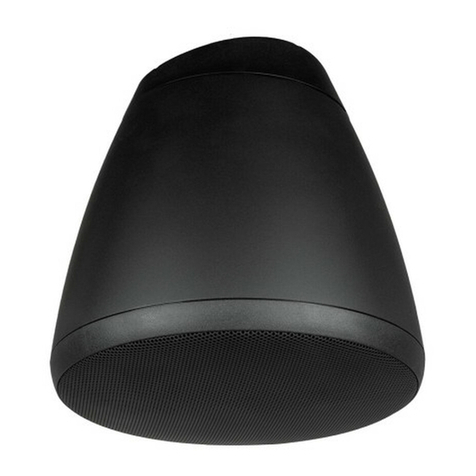
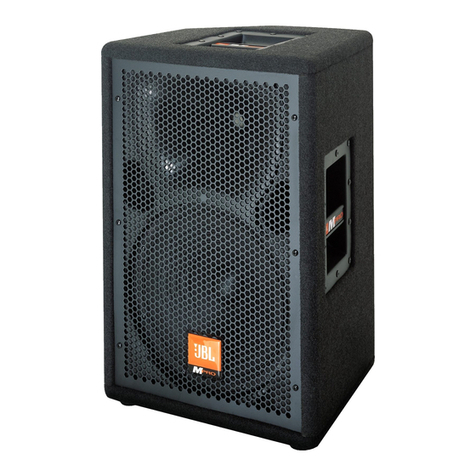
JBL MPro MP212 Technical manual

JBL

JBL MPro MP212 Technical manual

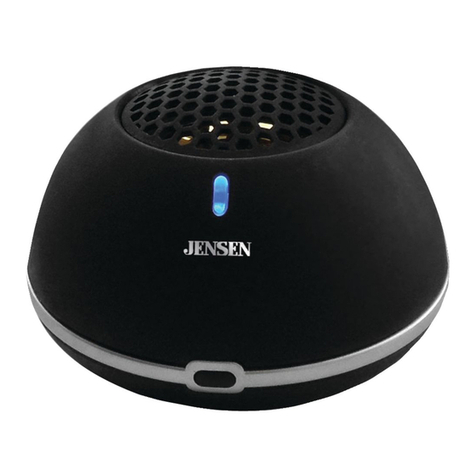
Jensen SMPS-620 user manual

Jensen

Jensen SMPS-620 user manual

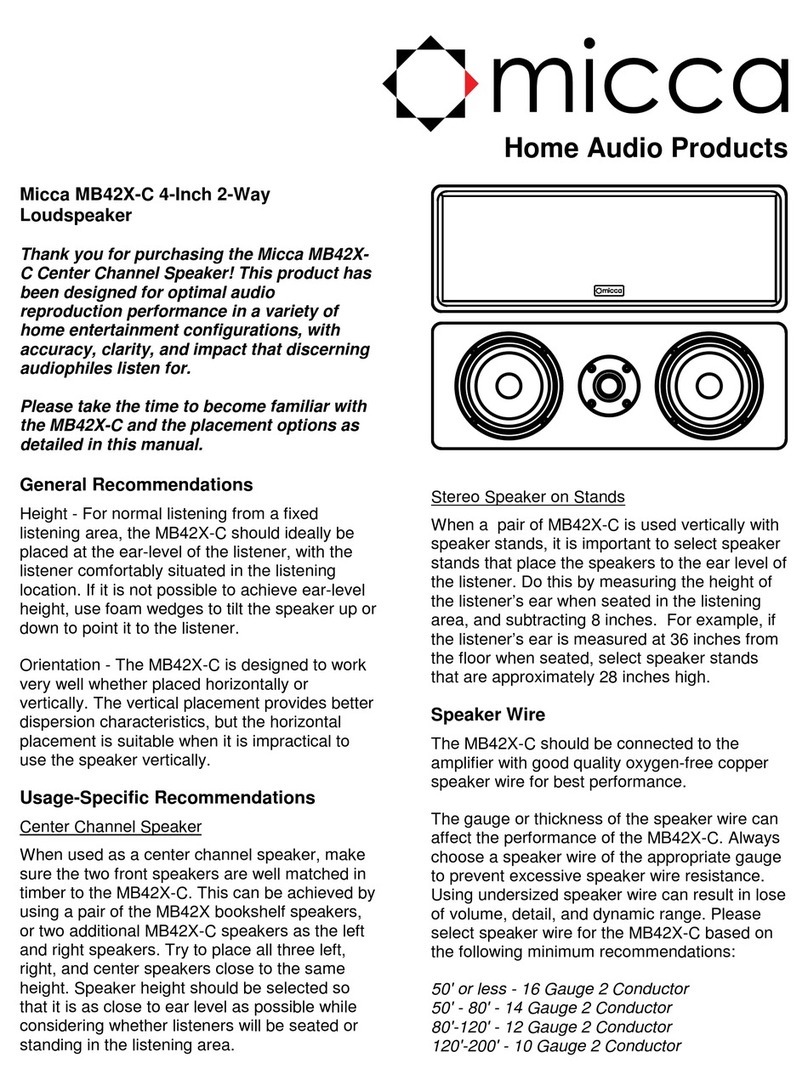
Micca MB42X-C quick guide

Micca

Micca MB42X-C quick guide

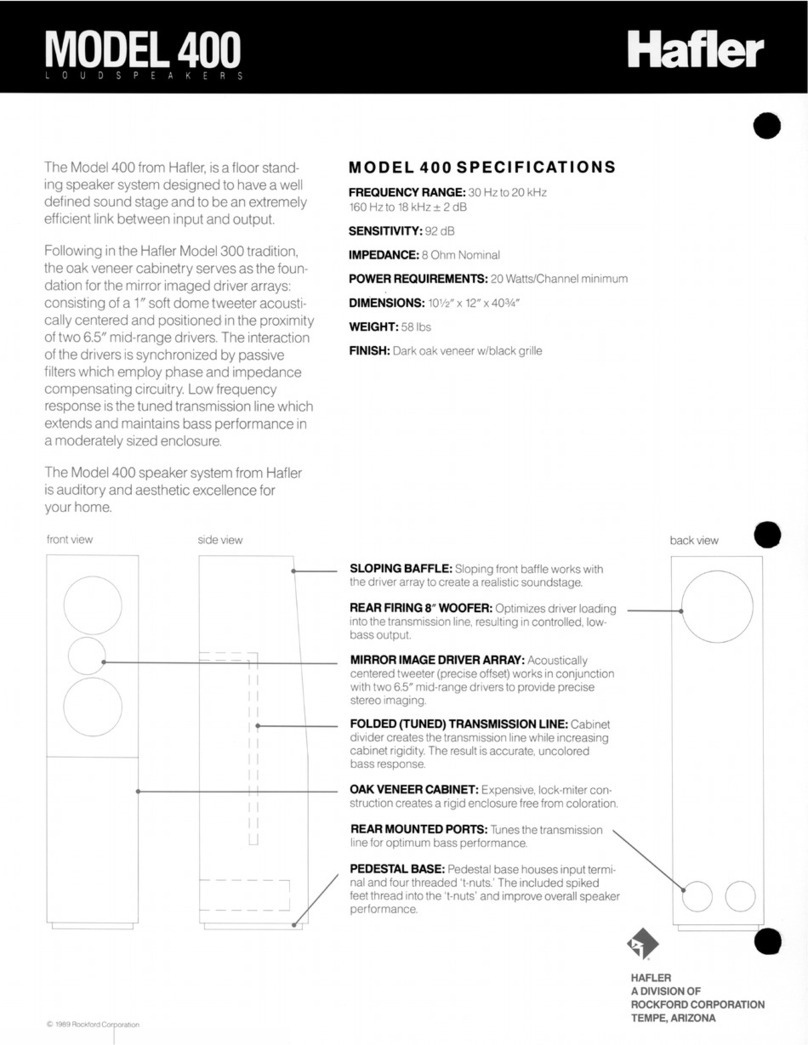
Hafler 400 Specifications

Hafler

Hafler 400 Specifications

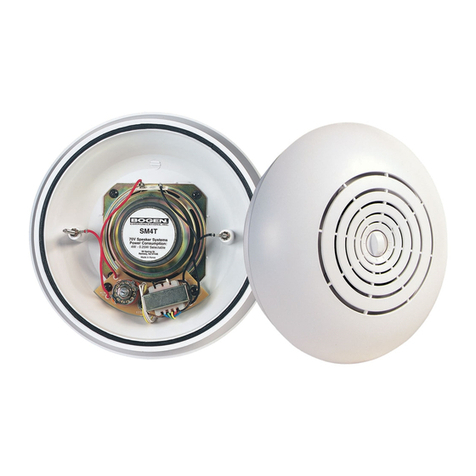
Bogen SM1EZ Technical specifications

Bogen

Bogen SM1EZ Technical specifications

ELAC Carina BS243.4 operating instructions

ELAC

ELAC Carina BS243.4 operating instructions

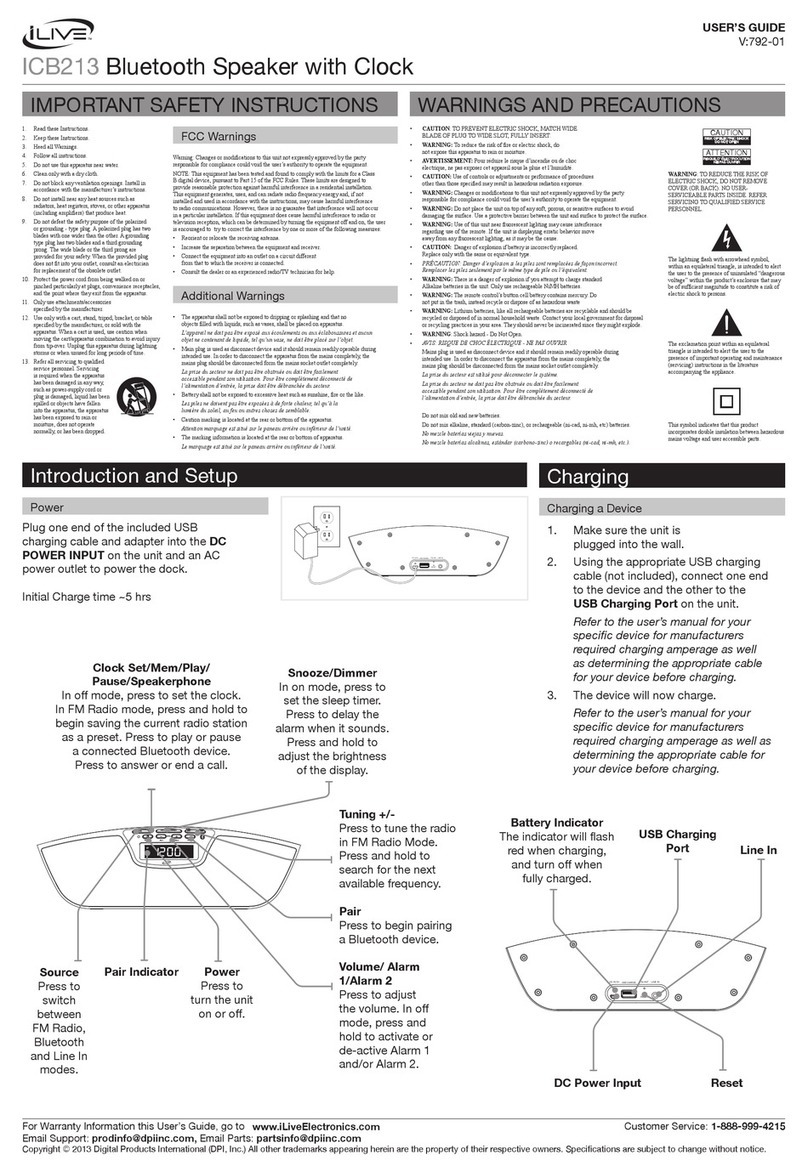
iLive ICB213 user guide

iLive

iLive ICB213 user guide

Altec Lansing MINI LIFEJACKET quick start guide

Altec Lansing

Altec Lansing MINI LIFEJACKET quick start guide

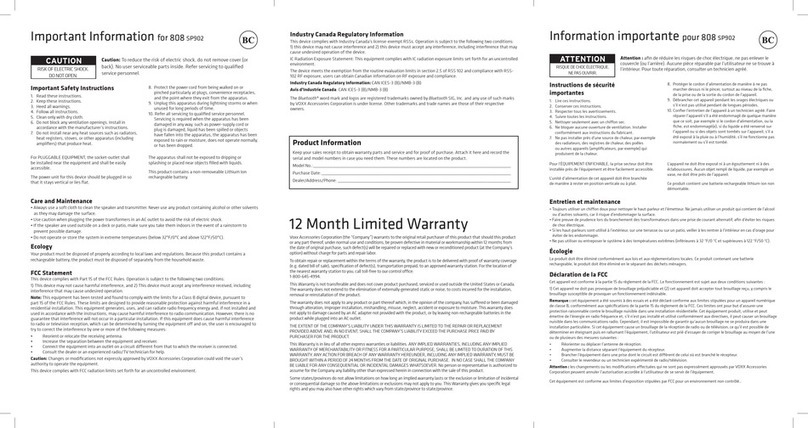
Voxx Accessories 808 SP902 Important information

Voxx Accessories

Voxx Accessories 808 SP902 Important information

MIVI Moonstone user manual

MIVI

MIVI Moonstone user manual

OWI 800 Series Features

OWI

OWI 800 Series Features

Kenwood K-ES01 instruction manual

Kenwood

Kenwood K-ES01 instruction manual

LD CONTRACTOR Series user manual

LD

LD CONTRACTOR Series user manual

ION Wave Rider Max quick start guide

ION

ION Wave Rider Max quick start guide

Wisdom Sage ICS7a owner's manual

Wisdom

Wisdom Sage ICS7a owner's manual

iKEY-AUDIO M Series manual

iKEY-AUDIO

iKEY-AUDIO M Series manual

Bogen CSD2X2 user guide

Bogen

Bogen CSD2X2 user guide

Clarion JM-4000 manual

Clarion

Clarion JM-4000 manual

manuals.online logo
manuals.online logoBrands
  • About & Mission
  • Contact us
  • Privacy Policy
  • Terms and Conditions

Copyright 2025 Manuals.Online. All Rights Reserved.