manuals.online logo
Brands
  1. Home
  2. •
  3. Brands
  4. •
  5. Sound Tube
  6. •
  7. Speakers
  8. •
  9. Sound Tube CM800d Configuration guide

Sound Tube CM800d Configuration guide

CMi Series
If not painting
If painting
Seismic restraint anchor tab
Euroblock connector Conduit cover plate
Strain relief (not included)
may be used with conduit cover plate.
Tile bridge
Euroblock jack
Baffle
Grille and bezel
Styrofoam installation aid/paint mask
Speed Wing™ mounting arms
Cover plate clamping screw
Box contents
CM800d, CM890d, and CM1001d-
1 Speaker
1 Euroblock connector
1 Grille and bezel
1 Styrofoam installation aid/paint mask
1 Conduit cover plate
1 Tile bridge
1 Suspension cable
Install Instructions For:
CM800d, CM890d and CM1001d speakers
Do not spec or install speaker near support beam, ventilation duct or
other structure that may interfere with speaker function or dispersion.
Warning Warning
SoundTube speakers must be installed by a professional audio installer/contractor. For safety and for
optimum audio performance, installer must follow all directions issued by SoundTube Entertainment.
© 2008 SoundTube Entertainment, Inc. All rights reserved. PN INS-CMd Rev09.15.08
1.435.647.9555
|800.647.TUBE |
www.soundtube.com
Signal wire
Min
6.4 mm (0.25 in)
Max
42.9 mm (1.69 in)
Ceiling thickness tolerances
Grille and bezel
seismic restraint
Suspension cable
Carabiner
SpeedClamp™
Secure anchor point
CMi Series
2. Keep Styrofoam
installation aid/paint
mask attached to speaker
until speaker installation
is complete.
If not painting
If painting
1. Unpack speaker & set
aside grille assembly.
3. Use included tile bridge
to mark cutout in tile.
4. Use Rotozip or other tool
to cut hole. Hole diameter
325.1 mm (12.80 in)
11. Select the tap position
by adjusting rotary switch
to desired high impedance
value or voice coil bypass
mode. Switch is preset to
maximum tap setting in
70.7 V mode.
12. Attach grille & bezel
seismic restraint to baffle
with provided screw .
5. Insert speaker into
mounting hole on ground
with installation aid in
place. Tighten both bolts
located on the baffle face to
actuate the mounting wings.
Firmly secure both sides –
do not over-tighten. Replace
assembled tile and speaker
into tile grid.
6. For added support attach
eyelet end of suspension cable
to the rear of speaker using
the carabiner. Attach the other
end of support cable to secure
structure using speedclamp. If
required, attach the seismic
restraint system to the
sheet-metal tab on the side
of speaker (seismic restraint
not included).
7. Thread signal wire through
conduit cover plate. Connect
signal wire to 4-pin Euroblock
plug. Tighten unused terminal
screws. Use inside positive
and negative inputs for either
voice coil or distributed
systems. For daisy chaining,
use outside positive and
negative terminals. Euroblock
must be plugged in for dasiy
chain to function.
8. Insert the Euroblock plug
into the Euroblock jack on
side panel of speaker and
replace conduit cover plate.
For UL-compliant installations
strain relief (not supplied)
may be inserted into hole
in conduit cover plate.
1.435.647.9555
|800.647.TUBE |
www.soundtube.com
Droptile Ceiling Install Instructions For:
CM800d, CM801d, CM890d and CM1001d speakers
13. Attach grille – position the
grille over the baffle and allow
magnets to attract grille into
place. Be sure grille is properly
centered over baffle.
9. If you are not painting the
ceiling, remove & discard the
paint mask.
10. If you are painting the
ceiling after the speaker is
installed, leave the paint mask
in place until paint is dry.
CMi Series
If not painting
If painting
12. Attach grille & bezel
seismic restraint to baffle
with provided screw.
1.435.647.9555
|800.647.TUBE |
www.soundtube.com
1. Unpack speaker & set
aside grille assembly.
2. Keep Styrofoam
installation aid/paint mask
attached to speaker until
speaker installation is
complete.
3. Use included tile bridge
to mark cutout in sheetrock.
4. Use Rotozip or other tool
to cut hole. Hole diameter
325.1 mm (12.80 in)
11. Select the tap position
by adjusting rotary switch
to desired high impedance
value or voice coil bypass
mode. Switch is preset to
maximum tap setting in
70.7 V mode.
13. Attach grille – position the
grille over the baffle and allow
magnets to attract grille into
place. Be sure grille is properly
centered over baffle.
9. If you are not painting the
ceiling, remove & discard the
paint mask.
10. If you are painting the
ceiling after the speaker is
installed, leave the paint mask
in place until paint is dry.
Sheetrock Ceiling Install Instructions For:
CM800d, CM890d and CM1001d speakers
8. Insert speaker into
mounting hole with install-
ation aid in place. Tighten
both bolts located on the
baffle face to actuate the
mounting wings. Firmly
secure both sides – do not
over-tighten.
7. If seismic restraint is
required, attach the
suspension cabel to sheet-
metal tab on the side speaker.
5. Thread signal wire through
conduit cover plate. Connect
signal wire to 4-pin Euroblock
plug. Tighten unused terminal
screws. Use inside positive
and negative inputs for either
voice coil or distributed
systems. For daisy chaining,
use outside positive and
negative terminals. Euroblock
must be plugged in for dasiy
chain to function.
6. Insert the Euroblock plug
into the Euroblock jack on
side panel of speaker and
replace conduit cover plate.
For UL-compliant installations
strain relief (not supplied)
may be inserted into hole
in conduit cover plate.
CM
CM
i Series
i Series
Pre-Construction Bracket Instructions For:
CM800d, CM890d and CM1001d speakers
1. Nail or screw bracket to
joists. Secure cover plate
and conduit away from hole
in bracket.
2. Complete Finish work.
7. Insert speaker into
mounting hole with install-
ation aid in place. Tighten
both bolts located on the
baffle face to actuate the
mounting wings. Firmly
secure both sides – do not
over-tighten.
8. If not painting
If not painting
the ceiling,
remove & discard the paint
mask.
9. If
If
painting
painting
the ceiling after
the speaker is installed, leave
the paint mask in place until
paint is dry.
10. Select the tap position
by adjusting rotary switch
to desired high impedance
value or voice coil bypass
mode. Switch is preset to
maximum tap setting in
70.7 V mode.
12. Attach grille – position the
grille over the baffle and allow
magnets to attract grille into
place. Be sure grille is properly
centered over baffle.
11. Attach grille & bezel
seismic restraint to baffle
with provided screw.
4. Thread signal wire through
conduit cover plate. Connect
signal wire to 4-pin Euro-
block plug. Tighten unused
terminal screws. Use inside
positive and negative inputs
for either voice coil or dis-
tributed systems. For daisy
chaining, use outside positive
and negative terminals.
Euroblock must be plugged in
for dasiy chain to function.
1.435.647.9555
|800.647.TUBE |
www.soundtube.com
3. Use Rotozip or other tool
to cut hole.
6. If seismic restraint is
required, attach the
suspension cabel to sheet-
metal tab on the side speaker.
5. Insert the Euroblock plug
into the Euroblock jack on
side panel of speaker and
replace conduit cover plate.
For UL-compliant installations
strain relief (not supplied)
may be inserted into hole
in condit cover plate.

This manual suits for next models

2

Other Sound Tube Speakers manuals

Sound Tube RS42-EZ-WH Configuration guide

Sound Tube

Sound Tube RS42-EZ-WH Configuration guide

Sound Tube CM82-EZ User manual

Sound Tube

Sound Tube CM82-EZ User manual
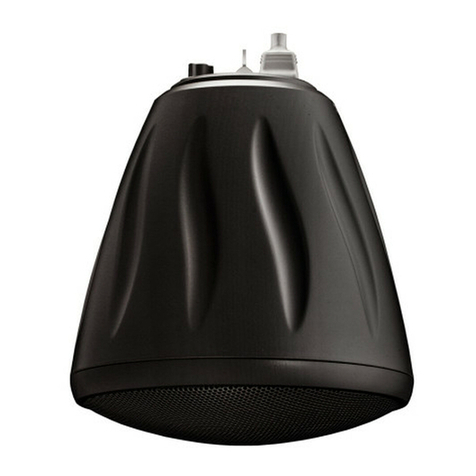
Sound Tube RSi Series Configuration guide

Sound Tube

Sound Tube RSi Series Configuration guide

Sound Tube CM1001d Manual

Sound Tube

Sound Tube CM1001d Manual

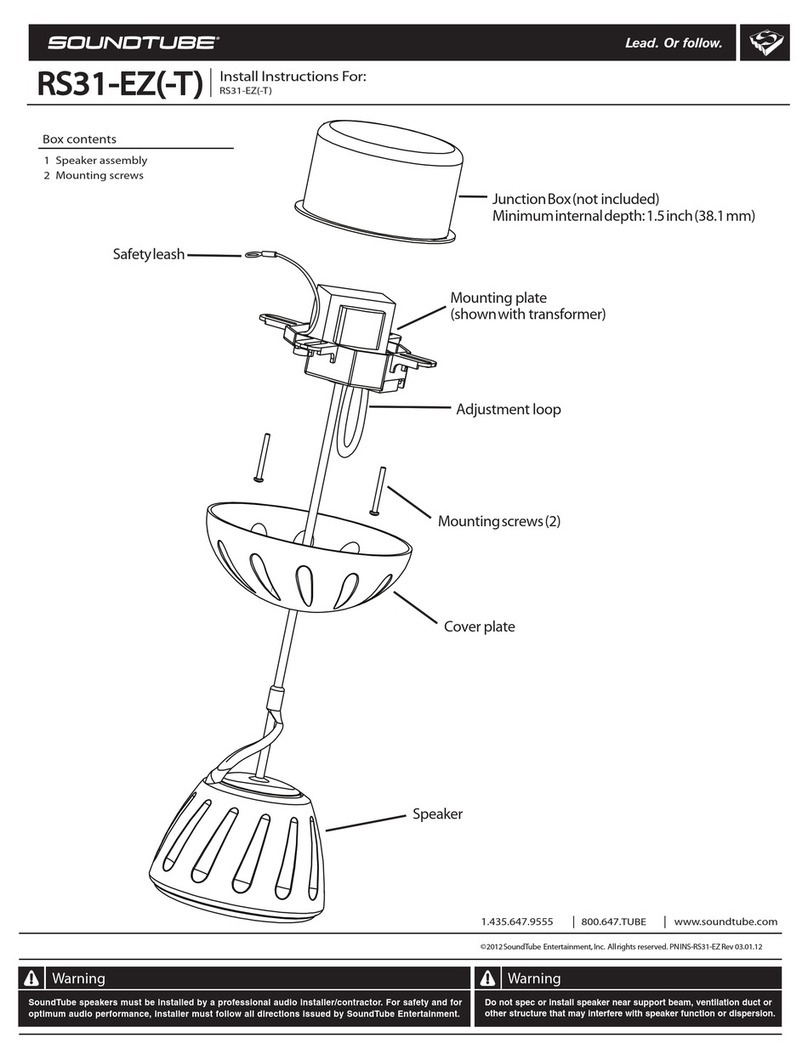
Sound Tube RS31-EZ-T Configuration guide

Sound Tube

Sound Tube RS31-EZ-T Configuration guide

Sound Tube HP890i User manual

Sound Tube

Sound Tube HP890i User manual
Sound Tube IPD-RS-EZ Series Configuration guide

Sound Tube

Sound Tube IPD-RS-EZ Series Configuration guide

Sound Tube SM500i Manual

Sound Tube

Sound Tube SM500i Manual

Sound Tube RS400i Manual

Sound Tube

Sound Tube RS400i Manual

Sound Tube SM890i User manual

Sound Tube

Sound Tube SM890i User manual

Sound Tube IPD4-BGM Series Configuration guide
Sound Tube

Sound Tube IPD4-BGM Series Configuration guide

Sound Tube RS31-EZ Configuration guide

Sound Tube

Sound Tube RS31-EZ Configuration guide

Sound Tube IPD-CM52-BGM Configuration guide
Sound Tube

Sound Tube IPD-CM52-BGM Configuration guide

Sound Tube RS500i Manual

Sound Tube

Sound Tube RS500i Manual

Sound Tube CM62-EZ User manual

Sound Tube

Sound Tube CM62-EZ User manual

Sound Tube XT Series Configuration guide

Sound Tube

Sound Tube XT Series Configuration guide

Sound Tube IW500B Manual

Sound Tube

Sound Tube IW500B Manual

Sound Tube CM590i Manual

Sound Tube

Sound Tube CM590i Manual
Sound Tube Outdoor/In-Ground Speaker XT610 User manual
Sound Tube

Sound Tube Outdoor/In-Ground Speaker XT610 User manual

Sound Tube Outdoor/In-Ground Speaker XT850 User manual

Sound Tube

Sound Tube Outdoor/In-Ground Speaker XT850 User manual

Sound Tube DS31-EZ Configuration guide

Sound Tube

Sound Tube DS31-EZ Configuration guide

Sound Tube XT550 Configuration guide

Sound Tube

Sound Tube XT550 Configuration guide

Sound Tube HP82-EZ-WH Configuration guide

Sound Tube

Sound Tube HP82-EZ-WH Configuration guide

Sound Tube RS1201i-SuperT Configuration guide

Sound Tube

Sound Tube RS1201i-SuperT Configuration guide

Popular Speakers manuals by other brands

Ilumnia Vocalis MKII user manual

Ilumnia

Ilumnia Vocalis MKII user manual

Pyle PBMKRG155 user manual

Pyle

Pyle PBMKRG155 user manual

thomann the box PA302 A user manual

thomann

thomann the box PA302 A user manual

Wharfedale Pro Delta Series Operating manual and user guide

Wharfedale Pro

Wharfedale Pro Delta Series Operating manual and user guide

Peavey DTH 4115f Specifications

Peavey

Peavey DTH 4115f Specifications

Sylvania SP332 user manual

Sylvania

Sylvania SP332 user manual

Margaritaville MVASSMS1 instruction manual
Margaritaville

Margaritaville MVASSMS1 instruction manual

Martin Audio Blackline H3+ Technical specifications
Martin Audio

Martin Audio Blackline H3+ Technical specifications

Altec Lansing 3124 Specification sheet

Altec Lansing

Altec Lansing 3124 Specification sheet

Blaupunkt IC 170 Marine Dual Cone installation instructions

Blaupunkt

Blaupunkt IC 170 Marine Dual Cone installation instructions

Zu Audio Defi nition Mk2 user guide

Zu Audio

Zu Audio Defi nition Mk2 user guide
EDIFIER X230 user manual

EDIFIER

EDIFIER X230 user manual

JBL HP6B Setup guide

JBL

JBL HP6B Setup guide

Celestion Green Label Series BL15-400X Specifications

Celestion

Celestion Green Label Series BL15-400X Specifications

Heco AURORA 1000 Owners manual and warranty document

Heco

Heco AURORA 1000 Owners manual and warranty document

Tevion SP-2730M user manual

Tevion

Tevion SP-2730M user manual

OEM Architech PS-525 install guide

OEM

OEM Architech PS-525 install guide

Peavey MDJ-1150 Features

Peavey

Peavey MDJ-1150 Features

manuals.online logo
manuals.online logoBrands
  • About & Mission
  • Contact us
  • Privacy Policy
  • Terms and Conditions

Copyright 2025 Manuals.Online. All Rights Reserved.