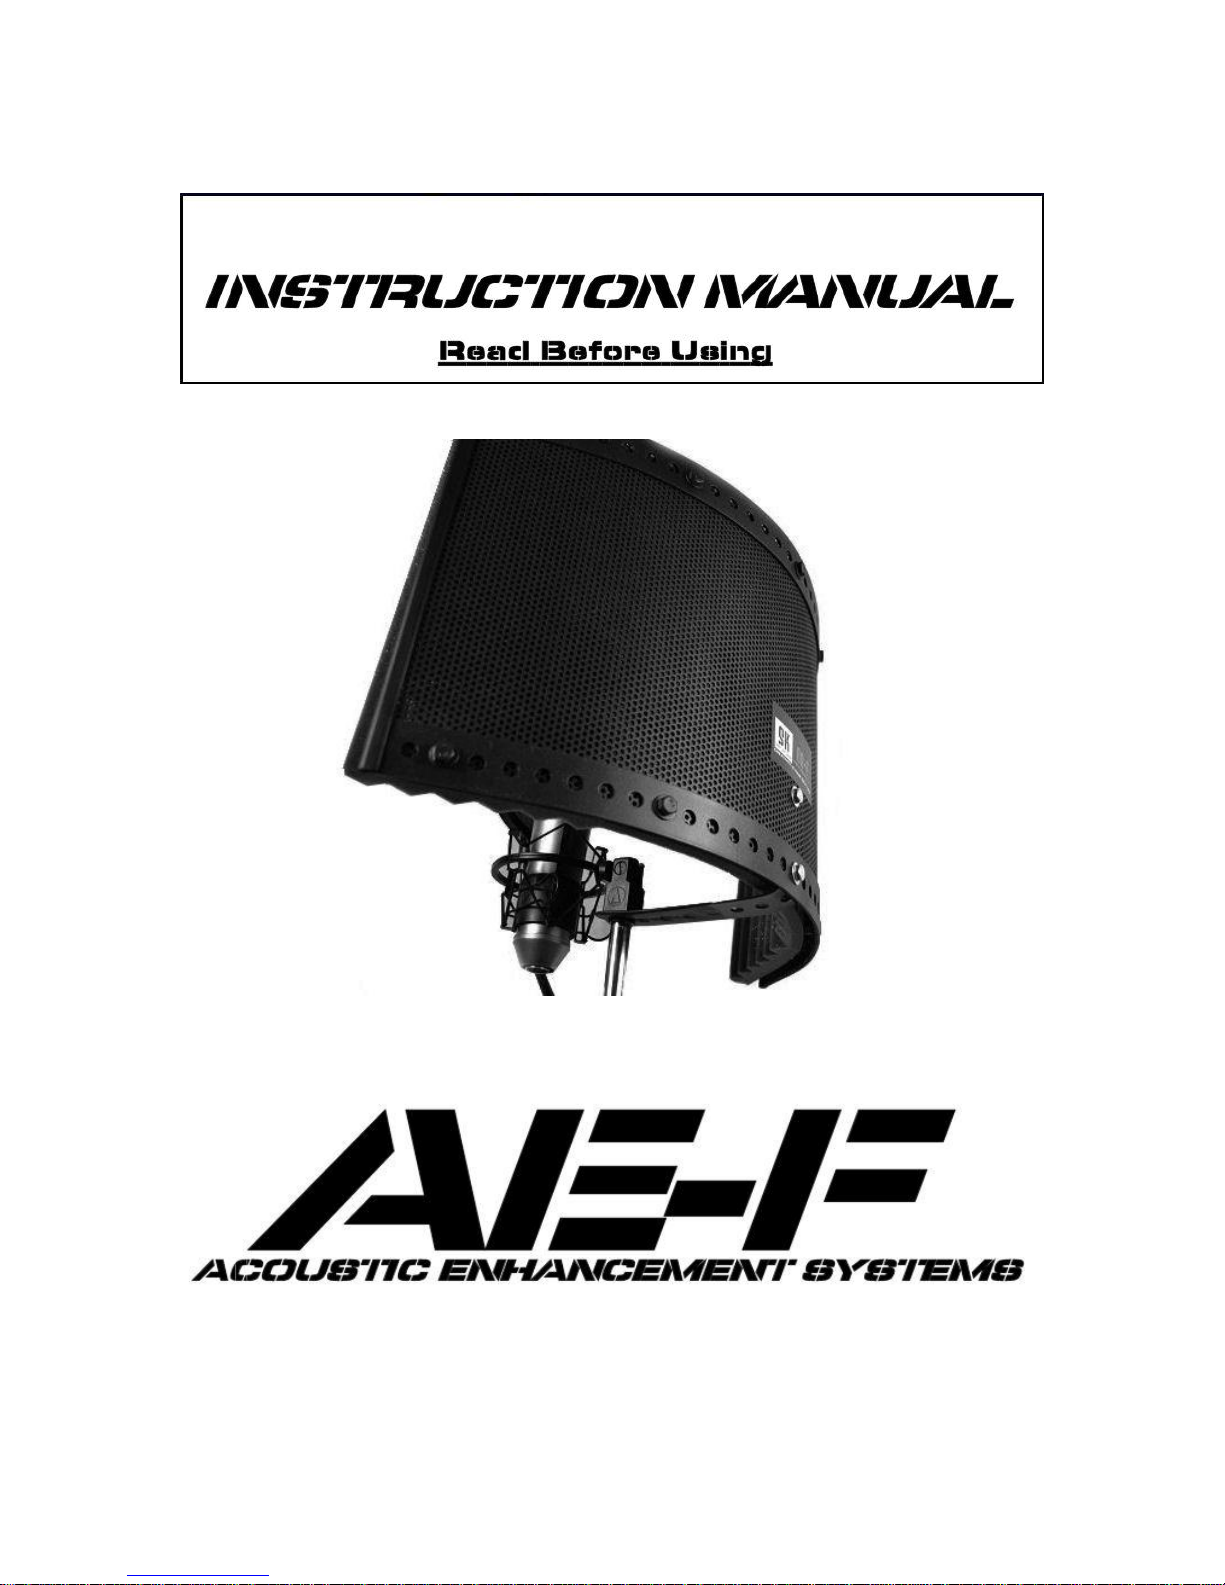
Soundkitz AE-F User manual

Dear Soundkitz Customer,
We’d like to thank you for purchasing our product. We are proud to know that
our equipment will be assisting you in your future recordings. The quality of our
equipment and your satisfaction is our top priority. If you have any questions or
need additional assistance with setting up your AE-F please feel free to contact
We look forward to assisting your musical needs in the future as we develop
further products to perfect the art of recording.
Enjoy your new Soundkitz Audio Equipment!
Sincerely,
- SK ACOUSTICS, LLC.-

GENERAL INFORMATION
Handling Your Filter:
-Never hold or grasp your AE-F by the acoustic foam. When handling your AE-F always use the units
mounting bracket or protected side ends when making adjustments or basic handling of the unit.
-Do not place heavy objects or equipment on top of your AE-F as this will result in damage to the frame of
your filter.
-Always be sure to check and ensure that your microphone stand is level or weighted down properly to
ensure that your microphone stand will not topple when mounting additional equipment or accessories.
How To Adjust Your Unit:
-The AE-F features a shock absorbing mounting system. If a force is applied to the unit such as from being
“bumped”, the unit will absorb the force and wobble back into original state. This system can allow for your
mount to be bent and flexed as necessary. If you’re recording on uneven ground or find your AE-F off center
you can adjust the position of the unit by holding the side ends of the AE-F and gently flexing the mount into
the desired level position. It is recommended that the AE-F be installed first before adjusting and leveling the
position of the unit.
Taking Care of Your Filter:
-Your AE-F is treated with a rubberized coating to protect your unit from general wear and tear. This coating
can best be cleaned by lightly applying a damp cloth over the rear surface of the unit.
-Your AE-F is designed to allow sound to pass from the front through the rear of the unit. This means that air
is traveling through these passages and overtime dust may accumulate. To prevent internal contamination
to your filter it is sealed on all sides. However, general maintenance of cleaning the rear grill and the
acoustic foam can keep your unit functioning to top standards. A vacuum cleaner hose can be used to clean
the front and rear of the unit as well as products like “keyboard air cleaner” that can blast away dust and
debris.
-When storing your AE-F when not in use, it is best to keep unit in a cool dry place. It is suggested that a
cover or bag be placed over the unit to keep contamination from dust and debris from entering the filter
ports.
Warranty Information:
All Soundkitz items are covered for the period of 1-Year from the date of purchase under general repair or
replacement upon inspection of the unit. Original proof of purchase is required for all warranty services
(shipping fees may apply).
For all warranty services and info please contact us at:
Servicedept@soundkitz.com by visiting our or website at www.Soundkitz.com
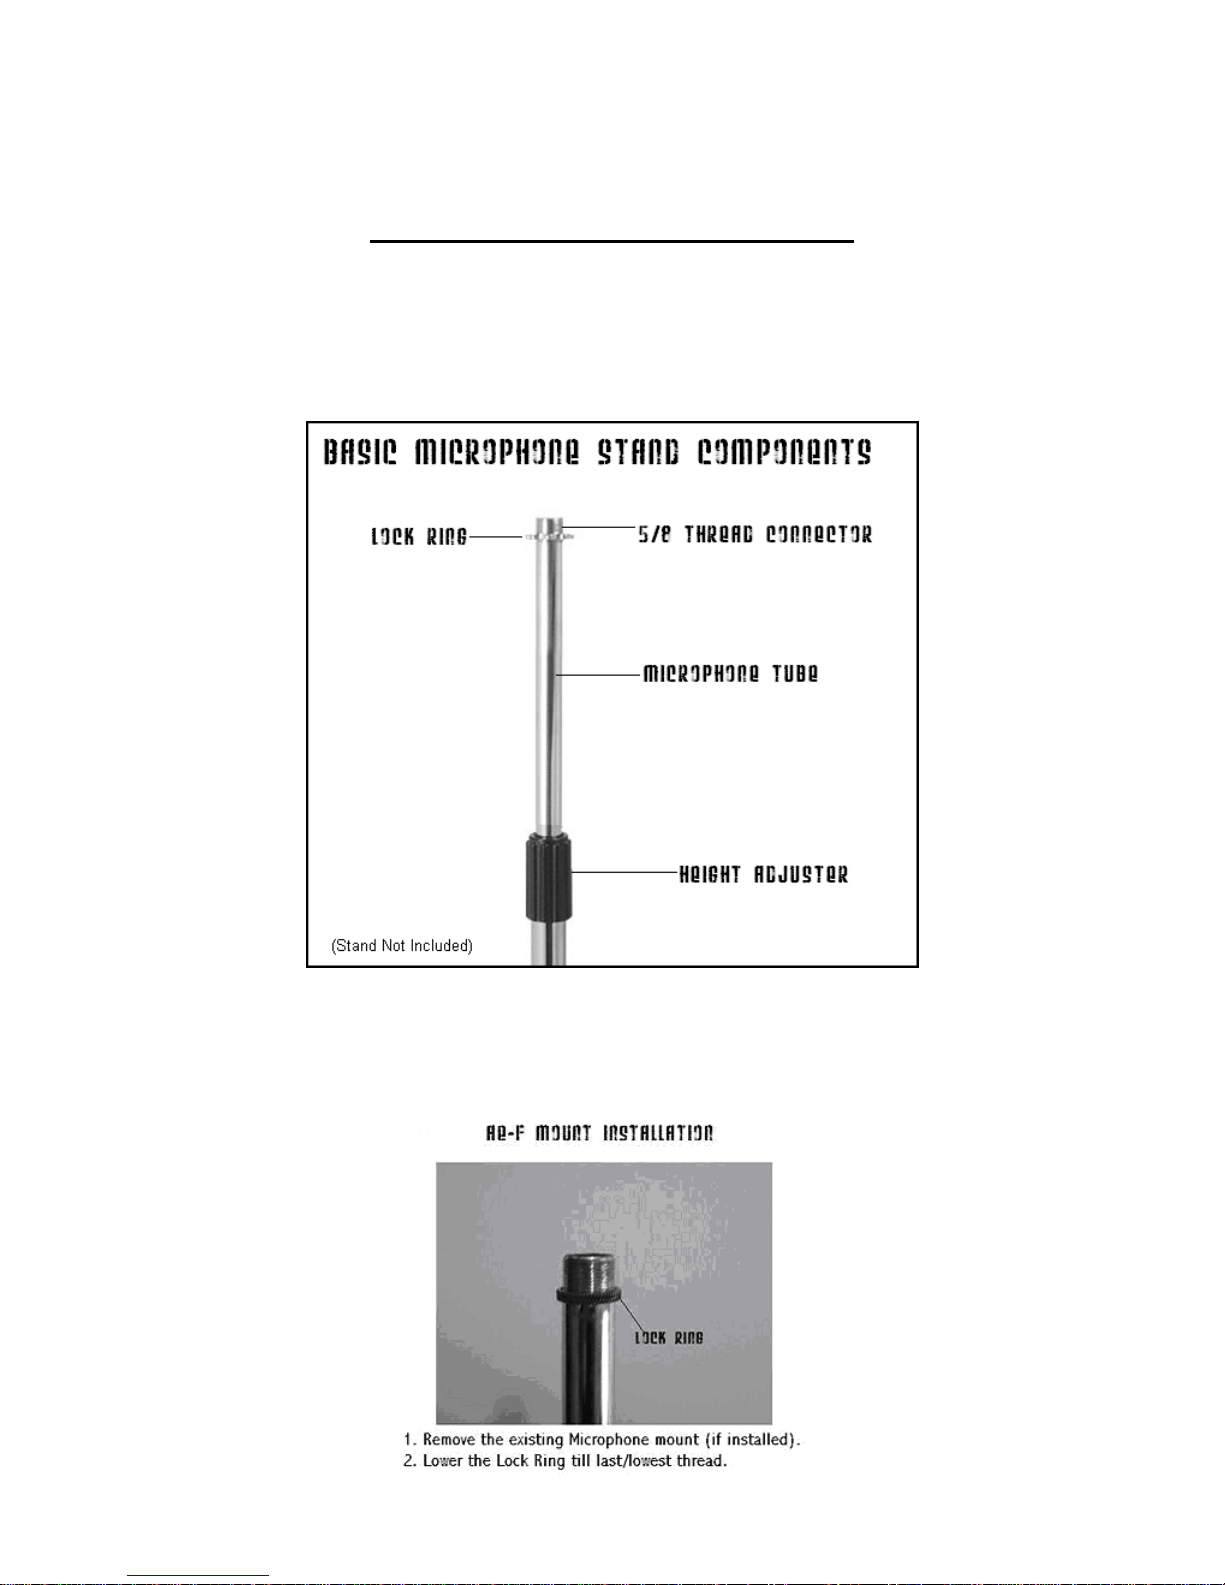
INSTALLATION INSTRUCTIONS
NOTE: Before mounting your AE-F please be sure your stand is securely placed on a flat level surface or
weighted down to avoid topple over. It is ideal to test fit your microphone mount to ensure you have
adequate clearance to install your microphone. Please be sure to check that your mount/microphone is not
touching the surface of your filter’s acoustic foam. This contact may result in damage to the acoustic foam
on your unit.
1. Before mounting the AE-F to your microphone stand please remove the microphone mount (if installed),
and lower the “Stop Ring” which should be located on the top of your microphone stand to the lowest
available thread.

2. The AE-F can be installed with or without the stability washer but, we recommend them to protect your
stand and your AE-F’s mount. Please slip the “1” stability washer overtop the “Stop Ring” and ensure it sits
flush.
3. Locate the 5/8 sized hole on the AE-F Mount (largest hole) and slide over the tip your microphone stand
so that it sits firmly on top of the stability washer.
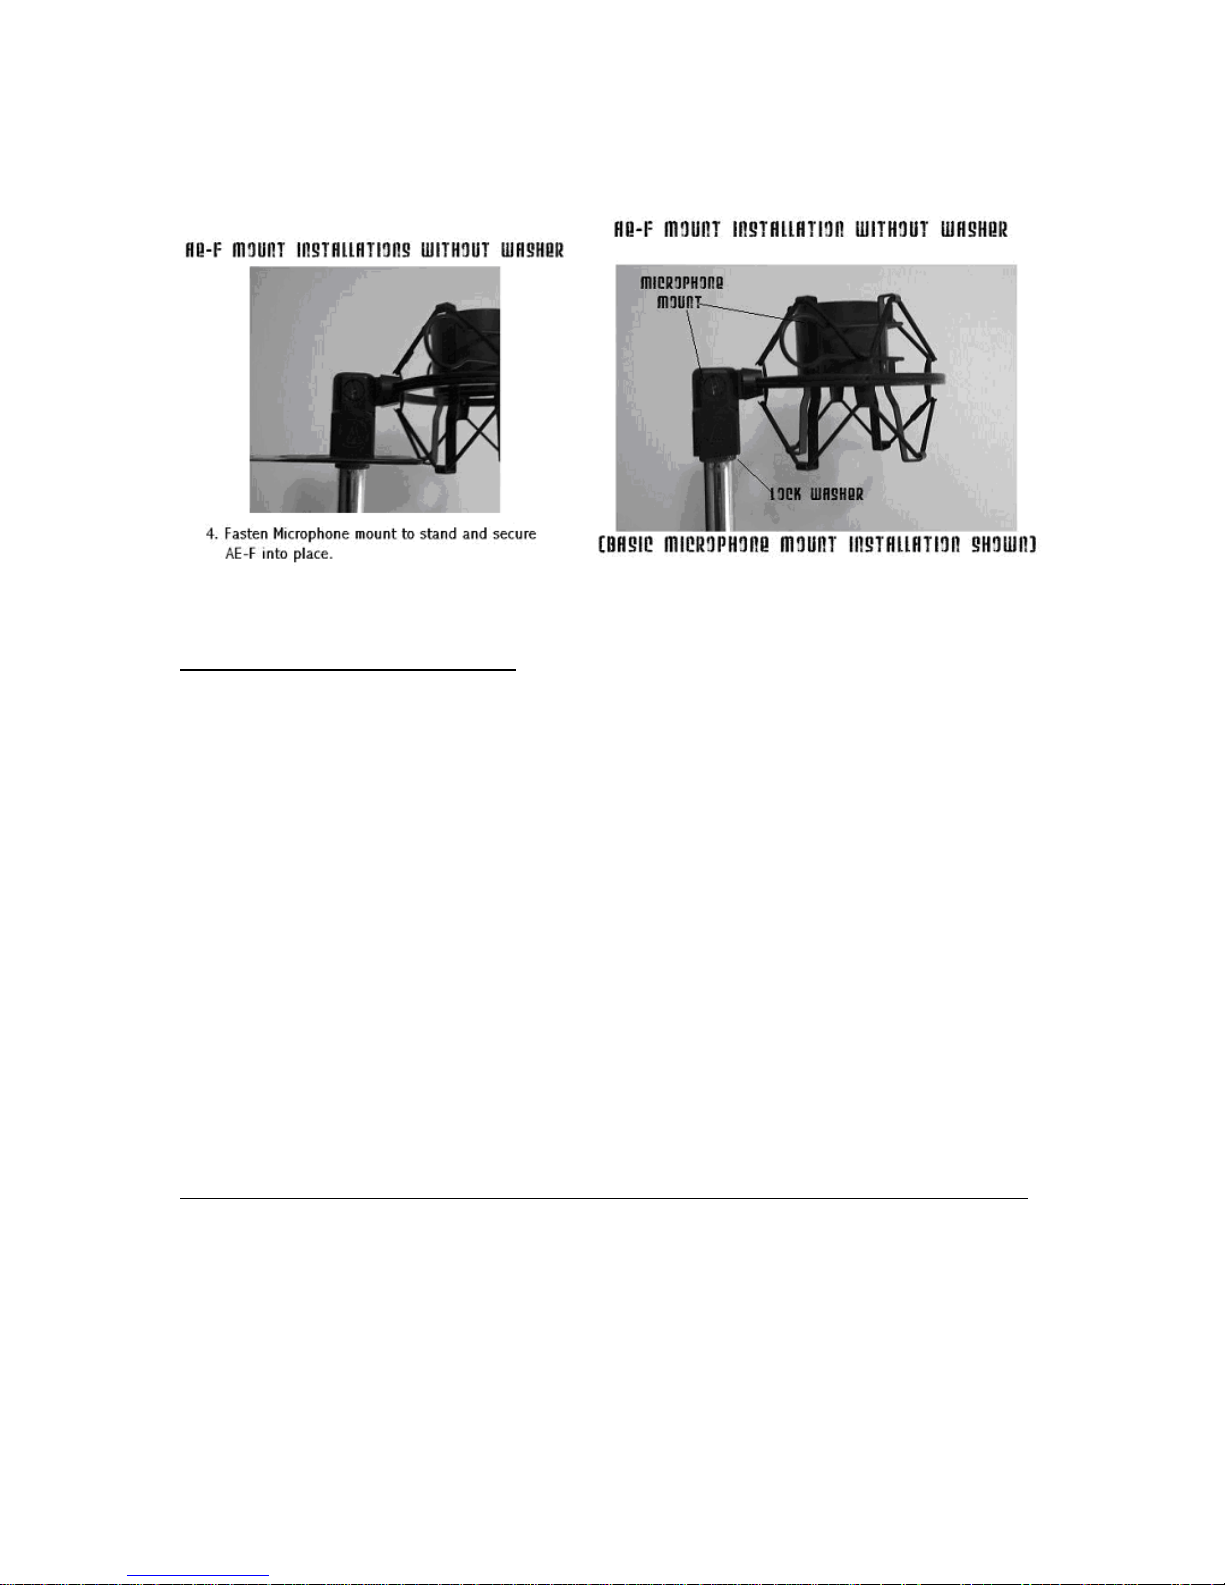
4. While Holding the AE-F in place screw your microphone mount into the threaded portion of your
microphone stand to secure the AE-F in place.
This step can also be accomplished by loosening the “microphone stand” and spinning the
“microphone tube”itself into the microphone mount.
5. Congratulations you have successfully installed your AE-F!
Mounting, Micing and Accessories:
The SoundKitz AE-F features a universal mounting system. The AE-F’s mount is designed to adapt to most
products that are threaded to fit 5/8” attachments.
The purpose of the AE-F’s versatility is to allow the unit to be adapted into most recording scenarios.
Although the AE-F offers a great improvement when properly installed the overall results and recording
improvements depend greatly on properly setting up your microphone.
The stock (largest hole) mounting position is factory set at the basic microphone recording distance from the
filter. If you are utilizing a microphone that is positioned outside filters functional range once installed, your
AE-F can be positioned to adjust the difference with aftermarket microphone accessories.
The recommended range from the filter to the microphone should be set between 3”-8” inches for
ideal results. Microphone positioning and results will vary depending on your intended recording use, gear,
and location.
The AE-F features 2 sets of adjustment holes. The largest 5/8” hole for standard installations and the
smaller 3/8th”holes for more finely tuned adjustments.
To utilize the AE-F’s smaller inner holes a 3/8” Male to 5/8” Female adjusting adapter can be used.
NOTE: If you intend to use your AE-F in the table top mounting position (filter turned upside down with the
microphone hanging) a 5/8-27 microphone flange or bolt and washer are recommended to secure your
mount/microphone into place
The following products have been tested and approved for use with this system:
-SK AUDIO Full Sweep Adapter
-On Stage MA100 3/8-Inch Male to 5/8-Inch Female
-AKG KM216 5/8"-Female to 3/8"-Male Adapter
-On Stage MA200 5/8-Inch Male to 3/8-Inch Female Screw Adapter (for 5/8 mounts)
-On Stage QK2B Microphone Clip Quick Release
-On Stage MY500 Stereo Microphone Bar
-Shure A26X

Recording Use and Trouble Shooting Tips:
-When setting up your desired recording area we recommend testing your AE-F in various room
locations to find the ideal placement that provides the best recording conditions for you.
-While the AE-F’s are designed to assist in rooms with little to no acoustic treatments, quiet and
well isolated areas can provide additional boosts in recorded audio quality while using an AE-F.
-If you are recording in an area where exterior noises may be present we recommend placing the
rear of your filter towards the direction of undesired noise.
-The mounting design of the SK AE-F is made to accept a multitude of aftermarket components.
There are many recording accessories to which an AE-F can be adapted. If you are having
difficulty installing a microphone brand that utilizes a non standard style mounting arrangement,
the use of an aftermarket adapter may improve the mounting process.
-If you are mounting your AE-F using aftermarket accessories such as a microphone boom,
hanging boom arm, swivel mount, etc. We highly recommend to check that your stand is secure
and balanced to avoid topple over. If you find your stand to be off balance, we recommend
weighting down your stand to ensure that your microphone recording arrangement is safe,
secure, and stable.
-If you are having difficulty installing your AE-F with the provided “stability washer” try removing
this washer and then installing your AE-F. Some brands of microphone stands offer less
threading space. The AE-F’s mount is a “drop in” style that places between your stand’s “lock
ring” and the “microphone’s mount”. The AE-F’s mounting system may take up additional thread
spacing. Removing the stability washer may result in allowing more mounting thread to be
available on your stand for desired installation.
-The SK AE-F is an acoustic audio recording component that contains acoustic foam. When
storing or transporting your filter be sure to take proper care of your filter’s foam by not resting or
leaving the filter’s foam in contact with objects that may cause foam impressions, tears, and rips,
or damage may occur to your AE-F’s acoustic foam.
-Be sure to visit our website at www.Soundkitz.com for additional tips and product updates!
SK Audio Equipment LLC. /A.E. Engineering LLC. 2013

SK ADAPTER INSTALLATION
1. Lower your microphone stand’s lock ring to the lowest available thread.
2. Locate the 5/8 to 3/8 attachment located on the bottom of your adapter and unscrew it.

3. Screw the 5/8 to 3/8 attachment onto the top threaded portion of your microphone stand.
4. Once your 5/8 to 3/8 base adapter is seated re-adjust your lock ring if necessary.
NOTE: If you are using the revised version of the SK Adapter that features 2 stabilizing washers.
Please place the bottom stability washer on tip of the 3/8 threaded adapter.
5. Select the desired 3/8 positioning hole for your microphone and place your AE-F’s
mount on top of the base adapter.
NOTE: If you are using the revised SK Adapter the AE-F will be placed on top of the lower
Stabilizing washer for added support.
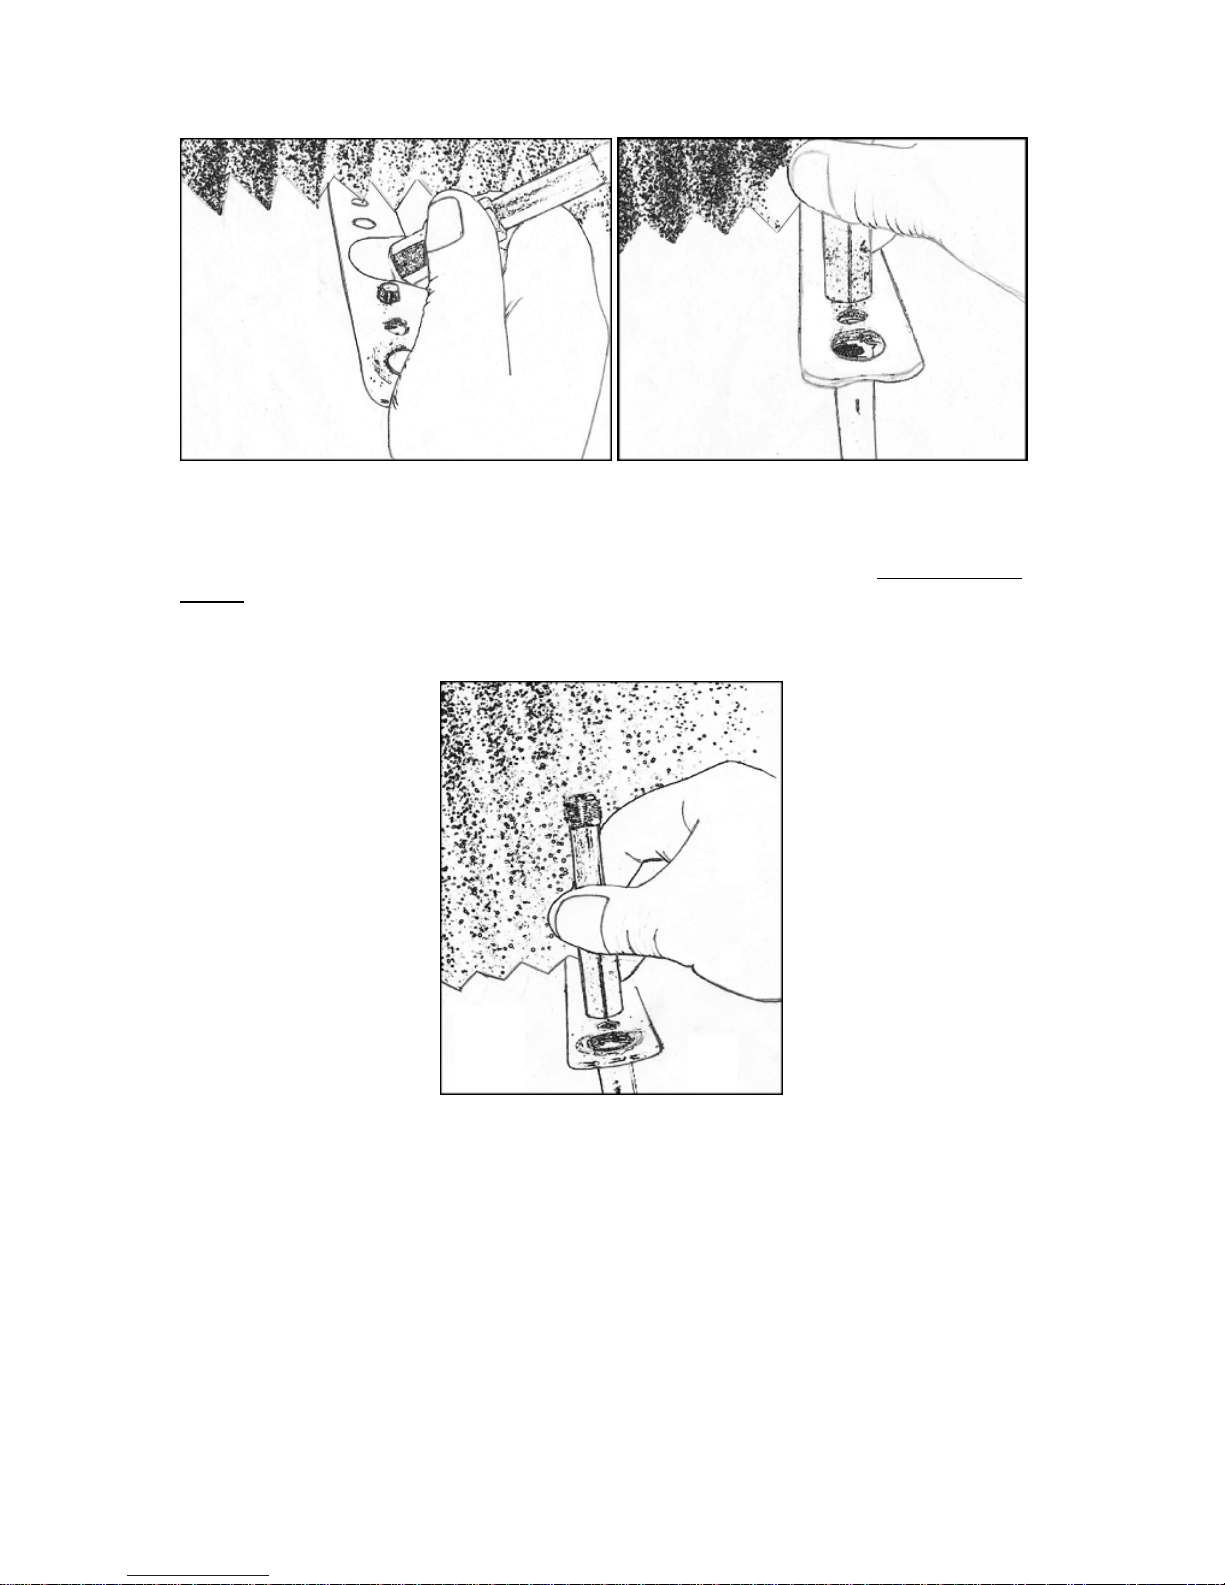
6. While firmly holding your AE-F screw in the top portion of your SK AE-F adapter into the
exposed tip of 3/8 threaded adapter.
NOTE: If you are using the revised version of the SK Adapter please place the upper stabilizing
washer on top of the exposed tip of the 3/8 threaded adapter so it is resting on top of the AE-F’s
mount before completing step 6.
7. Be sure to check that your SK Adapter is tight and secure before mounting your
microphone or positioning your AE-F in any mounting position.
8. Congratulations! You have successfully installed your SK AE-F Adapter!

Recording Use and Trouble Shooting Tips:
- The SK Adapter can be pre-mounted to the AE-F so that the unit can be installed as a complete
recording assembly. By installing your microphone mount to the SK Adapter first, and then
connecting the Adapter to AE-F Mount, you are able to place the complete pre-setup assembly
on top of your microphone stand or boom by simply screwing the complete unit into your stand.
- The SK Adapter can also allow the AE-F to be used in the Table Top Position by turning the
filter upright and installing your SK Adapter and microphone.
- Always be sure to check and ensure that your SK Adapter is tight, secure, and free from wobble
before mounting and after mounting the Adapter or a microphone to the filter.
- Like all of our products the SK Adapter is also a universal component. The base adapter is
acceptable to 5/8 threaded (standard fitment) aftermarket adapters, swivels, and booms.
-If you are mounting your AE-F using aftermarket accessories such as a microphone boom,
hanging boom arm, swivel mount, etc. We highly recommend to check that your stand is secure
and balanced to avoid topple over. If you find your stand to be off balance, we recommend
weighting down your stand to ensure that your microphone recording arrangement is safe,
secure, and stable.
-Be sure to visit our website at www.Soundkitz.com for additional tips and product updates!
SK Audio Equipment LLC. /A.E. Engineering LLC. 2013

Table of contents


