Spaceman 6450 User manual
SPACEMAN FROZEN
BEVERAGE MACHINE
TRAINING
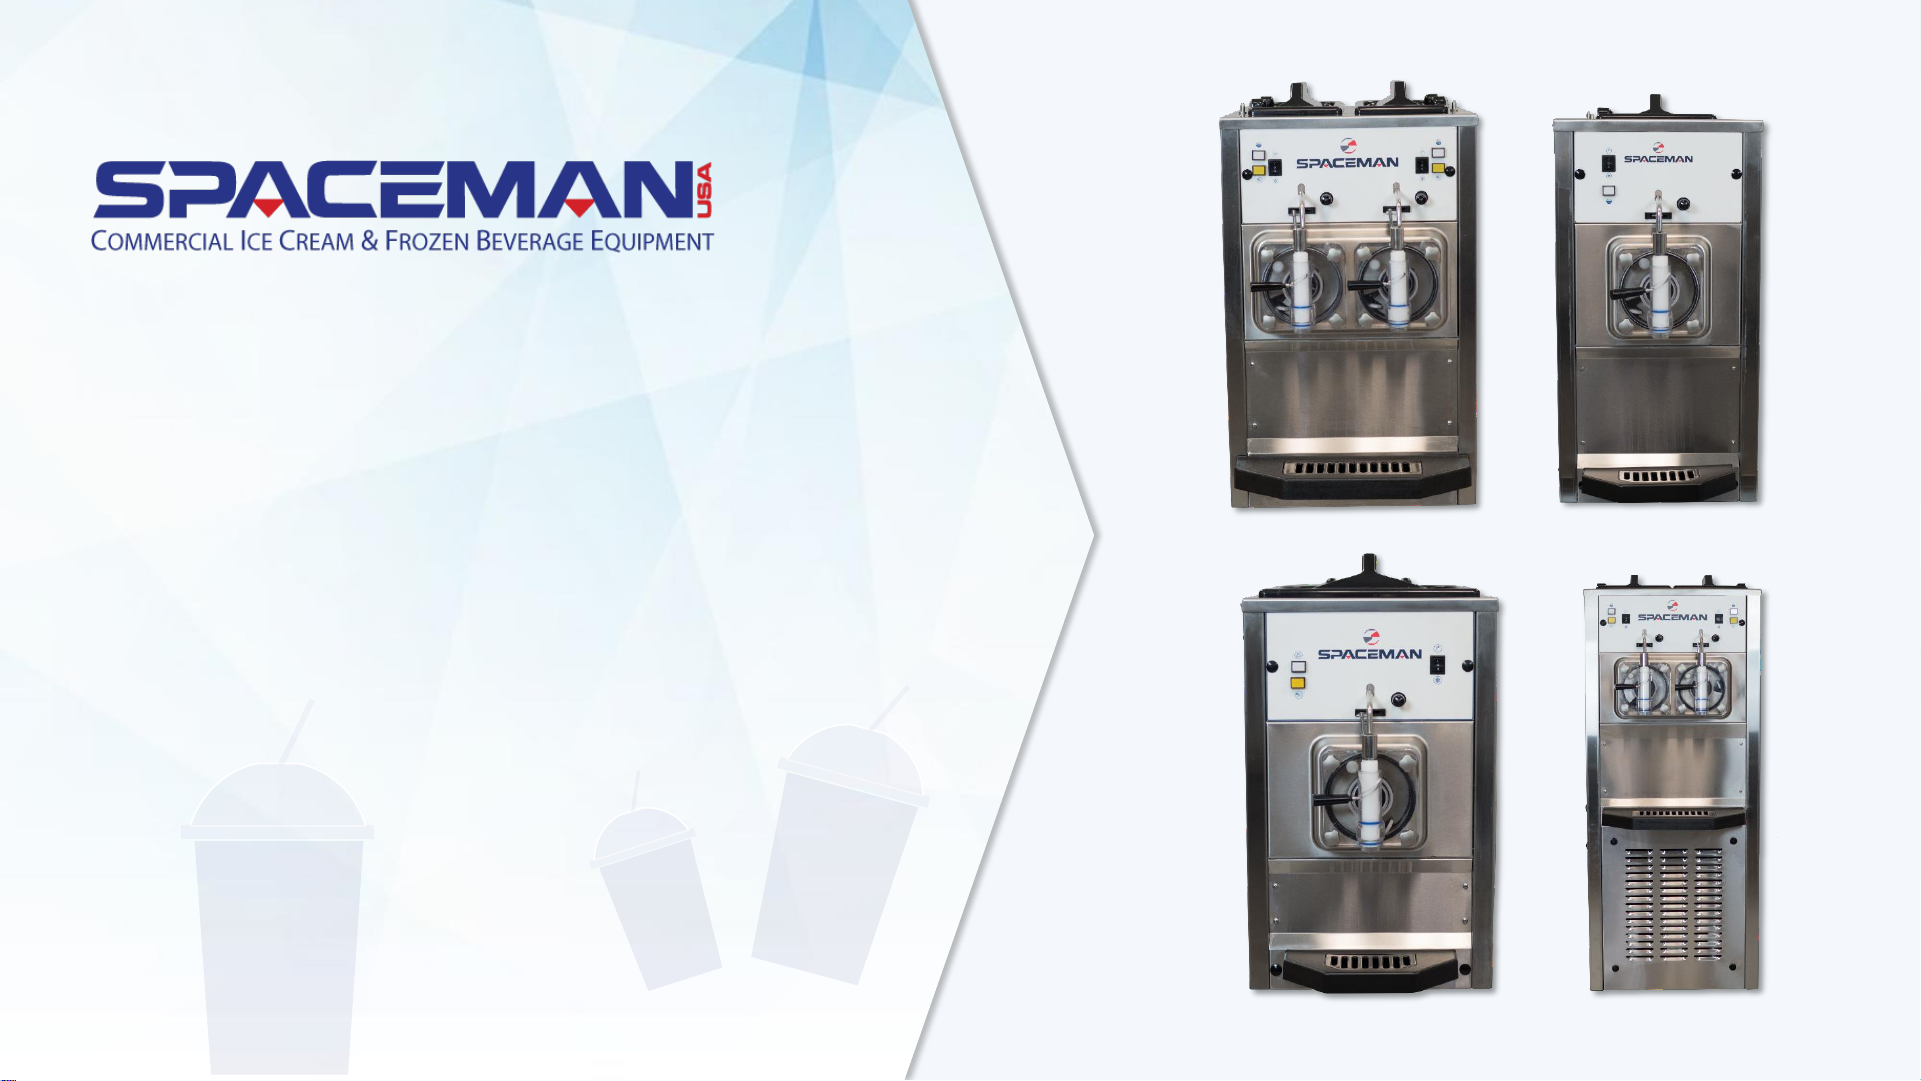
*use this training guide for Spaceman USA models:
6450, 6455H, 6490H, 6650, 6690H, 6695H, 6795H
Spaceman USA Frozen Beverage Training
rev042219
NOTES AND FUNCTIONS OF YOUR MACHINE
The machine you have purchased is a non carbonated frozen beverage
machine. It is capable of producing a variety of frozen beverage
products. All Spaceman USA Frozen Beverage machines are capable to
freeze alcoholic beverages.
Product is poured into the hopper (product should be below 41°F)
where it is kept until flowing into the freezing cylinder via the air tube.
On the front of the machine is an analog rocker switch that controls
the function of the machine (off, wash, and cooling). Your machine
may also include a lighted standby button and low mix light.
Inside the freezing cylinder, the beater mixes the product while freezing
to produce the final frozen beverage product.
Most Spaceman beverage machines (except for 6450 and 6650) include
refrigerated hoppers and a standby mode.
Spaceman USA Frozen Beverage Training
rev042219
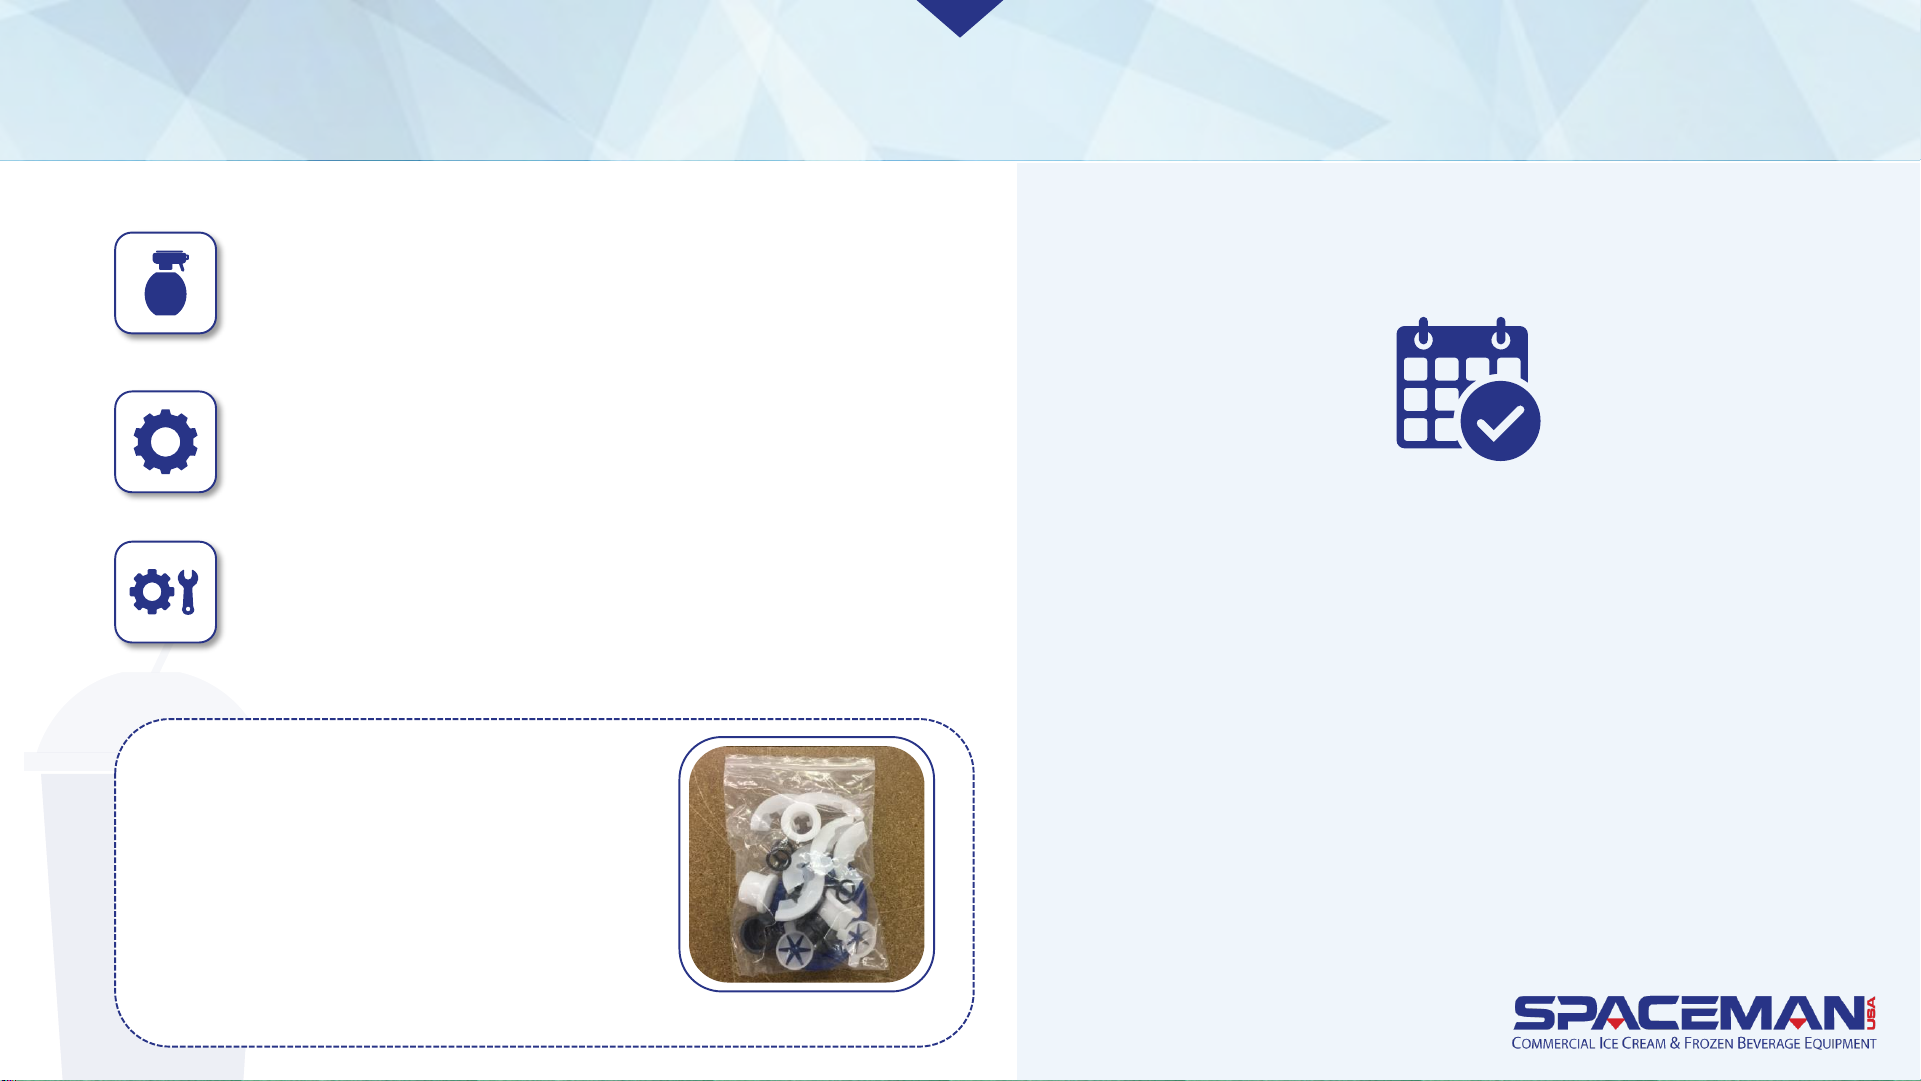
ROUTINE MAINTENANCE OPERATIONS
Clean and Lubricate Daily
Replace Wearable Parts Every
1 to 3 months*
Internal Cleaning Quarterly**
* Based on machine usage and cleaning
intervals; a Tune-Up Kit is available with
all wearable parts (O-rings, gaskets, etc.)
except scraper blades
** Based on cleanliness of location
and proximity to powder-based
machines
For optimal machine performance and
many years of efficiency and reliability
from your machine, Spaceman USA
recommends cleaning and sanitizing the
machine and its parts daily. The machine
comes equipped with a brush kit
specifically designed to efficiently and
properly clean the machine.
Tune-Up Kit
Spaceman USA Frozen Beverage Training
rev042219
IMPORTANT:
Cleaning and sanitizing
schedules are governed by state
or local regulatory agencies and
MUST be followed accordingly.
Routine maintenance MUST be
performed a minimum of once
every 3 days.
CAUTIONS:
Do NOT run the machine without properly lubricating
required parts.
Do NOT clean the machine with abrasive or toxic chemicals
and cleaners. Doing so may cause damage to the stainless
steel material.
ONLY use Spaceman-USA-included cleaning brushes and lubrication.
NEVER use metal objects to clean or operate the machine.
ALWAYS replace wearable parts a minimum of every 3 months.
ALWAYS prime machine prior to operating.
ALWAYS inspect parts for excess wear and damage.
ROUTINE MAINTENANCE OPERATIONS
Spaceman USA Frozen Beverage Training
rev042219
DRAIN PRODUCT
NOTE CAUTION
To expedite draining, turn off
machine 30 minutes prior to
soften product. To expedite
process, keep a bucket
nearby to temporarily store
removed parts.
NEVER use warm water
when rinsing the machine
to prevent damage.
Spaceman USA Frozen Beverage Training
rev042219
This manual suits for next models
6
Table of contents
Other Spaceman Kitchen Appliance manuals


