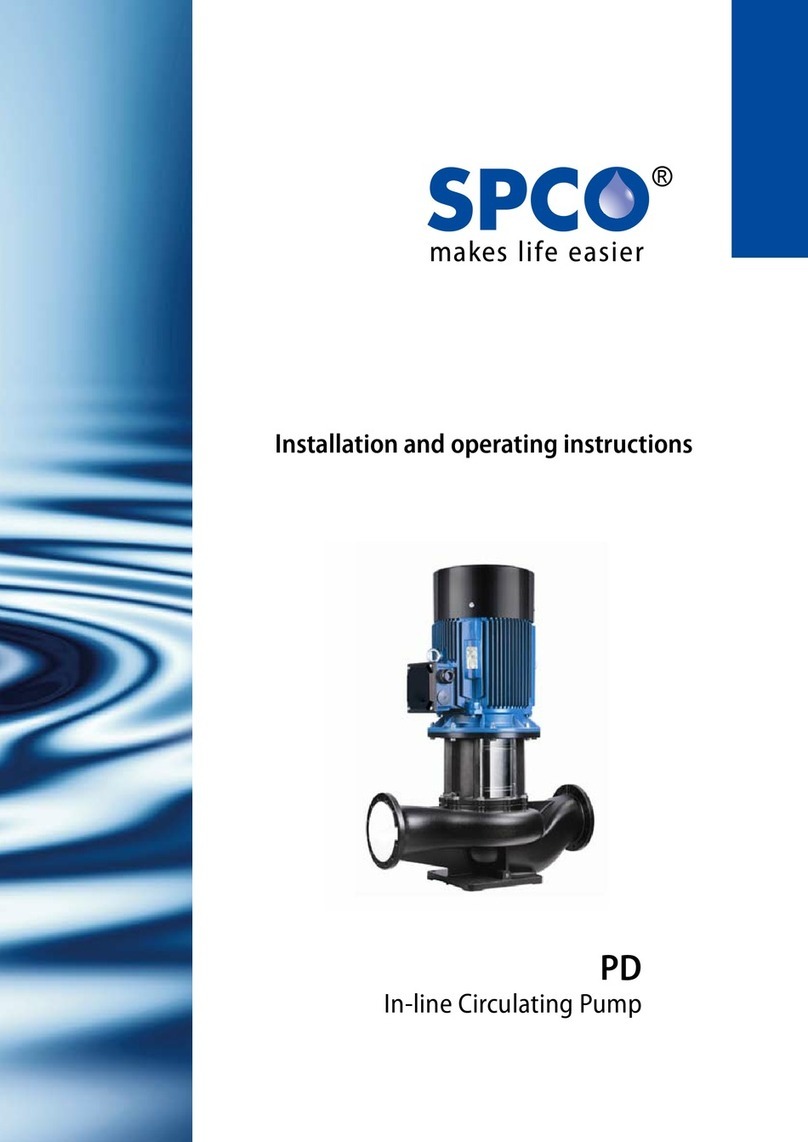
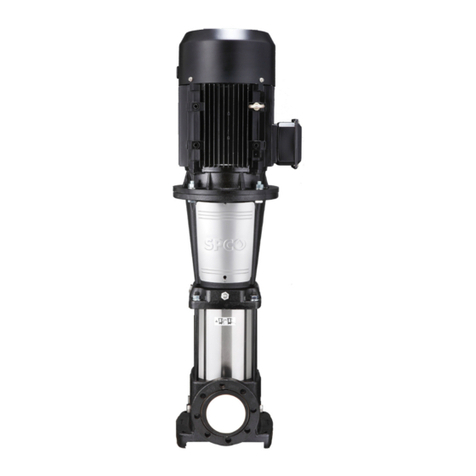
SPCO ND Installation instructions

ND
End suction Pumps
Installation and operation instructions
®

Approvals
EU Declaration of conformity
According to the Low Voltage Directive 2006/95/EC
and the Machinery Directive 2006/42/EC
and Electromagnetic Directive 2004/108/EC.
For the following equipment:
Product: Pump
Trademark: End-suction Pumps and closed coupled pumps
Type Designation: ND, CC
Manufacture’s Name: Swiss Pump Company AG
Manufacture’s Address: Moosweg 36, CH-3645,
Thun-Gwatt -Switzerland
is here with confirmed to comply with the requirements set out in the Council Directive ErP 2009/125/EC.
And the Machinery Directive 2006/42/EC and Electromagnetic Directive 2004/108/EC.
For the evaluation of the compliance with this Directives, the following standards are applied:
EN 809:1998 +A1:2009/ AC:2010
EN 733
Responsible for making this declaration is the:
Manufacture Authorized representative established within the EU
Authorized representative established within the EU (if applicable):
Company Name: Swiss Pump Company AG
Company Address: Moosweg 36, CH-3645,
Thun-Gwatt -Switzerland
Person responsible for making this declaration
Name, Surname: Michael Bähler
Position/Title: production Manager
(Place) (Date) (Company stamp and legal signature)
Switzerland 14/Jan/2019

3®
General Data
Introduction page 4
Structure drawing 5
Assembly and disassembly 6
Installation 6
Troubleshooting 8

General Data
4
1.Brief Description
Pumps of the same model have different performance levels basing on different diameter after
impeller trimming. Overall the whole series, there are only four sizes of shaft and five of bearing
housing. As long as their bearing housings are of the same size, different pumps can interchange
chief parts such as shaft, shaft sleeve, shaft seal, impeller nut, etc.
Design
Performance and dimensions referring to BS EN733/ DIN24255
Structure
Horizontal, Axial End-Suction, Single-Stage, Single-Suction, Volute Casing, Back
pull-out, Centrifugal Pump
Flange
DIN2501 (ISO7005.2 / GB/T17241.6 PN1.6) standard, ANSI B16.5 Class150lb optional
Rotation
Clockwise viewing from the drive side
Material
Casing
Cast Iron standard, Ductile Iron, Stainless Steel optional
Impeller
Bronze standard, Cast Iron, Stainless Steel optional
Shaft
ASTM420 standard, ASTM304, ASTM316, ASTM1045 optional
Shaft Seal
Mechanical Seal standard (Carbon-Ceramic/Viton standard, Caron-Sic/Viton
optional) , Gland Packing optional
Operating Range
Flow Rate (Q)
2-1100m3/h
Head (H)
2-150m
Speed
1450 or 2900 rpm (50Hz)
1750 or 3500 rpm (60Hz)
Temperature
-10℃to 105℃
Working Pressure
10 Bar standard, 16 Bar on request
ND pump complies fully to the European Standard BS EN733 / DIN24255 of performance and
dimensions. They are used for pumping clean water or liquids similar to water, achieving
wide application in plants, mines, city water supplies, air-conditioning coolers, firefighting
system and irrigation.
ND pump is also very easy to be installed and maintained. Back pull-out design, driven through
flexible coupling, so that pump casing and motor can remain in position while other spare parts are
removed.
Introduction

5®
Model Form For example,
Structure Drawing
Main Parts Gland Packing
No.
Part Name
1
Volute Casing
2
Impeller Nut
3
Wear Ring
4
Impeller
5
Casing Cover
6
Shaft Spacer
7
Mechanical Seal
8
Seal Cover
9
Slinger
10
Bearing Housing
11
Shaft
12
Bearing
13
Bearing Cover
14
Support Foot
15
Packing Sleeve
16
Seal Cage
17
Gland Packing
18
Gland Cover
Structure drawing

General Data
6
Assembly and disassembly
2. Assembly and Disassembly
Ensure no parts are missing or defective before assembly, wipe every part clean then start.
1). Tighten the bolts, screws and other fasteners to each relevant assembly parts.
2) .Lay O rings, gaskets, felted wool or other sub-seals in each relevant assembly parts.
3) .Place wearing ring and gaskets into casing cover.
4) .Mount ball bearings to shaft, and joint shaft and bearing housing together, close bearing cover
with bolts then put slinger onto shaft.
5). Depress stationary seal ring into mechanical seal cover, put seal cover、mechanical seal、shaft
sleeve one by one onto shaft.
6). Fasten casing cover onto bearing housing by fastening bolts, place key into shaft, set impeller on
key, put lock washer and impeller nut onto shaft against impeller and tighten them.
7). Fix all the assembly parts where mentioned above into volute casing, tighten all the bolts and
screws for volute casing, casing cover and mechanical seal.
3. Installation
Correct way of pump installation makes great sense of stable performance and long service life. All
the procedure of mounting and adjusting should be carried out carefully. For outline and dimension,
see the outline picture and dimension table.
Mounting and adjusting
1). Remove all the dust and dirt on base plate then place it onto ground foundation.
2). Check foundation level by level meter, iron wedge or steel shims can be used for adjustment.
3). Pour concrete into baseplate and foundation bolts holes.
4). Check foundation bolts to see if it is loose or not after concretion, and then tighten the bolts,
check level again.
5). Clean the mounting surfaces of baseplate、pump foot and motor foot, and fix pump and motor
onto baseplate.
6). Make sure the clearance between couplings is left from 2-4mm. The centerline of pump should
be in alignment with that of motor, axial and radial tolerance is 0.2mm. Shims are available for
alignment.
4. Starting, Checking, Stopping, Running and Maintenance
4.1. Starting
1).Check that the direction of the motor rotation corresponds to the direction arrow on the pump
casing before joint pump and motor together. Ensure that the pump is running freely without seizure
or friction.
2).Turn down discharge valve.
3).Fill the pump with liquid or priming with a vacuum pump.
4).Switch on power, gradually turn up discharge valve after pump operation runs normally to
achieve the target performance.
Caution: 3 minutes is the Max. continuous working time for a pump to operate with closed
discharge valve.
Installation

7®
4.2 Checking
1). Check direction of pump rotation, which should be clockwise viewing from the drive side.
2). Check alignment of the couplings both of pump and motor before using. Over-tolerance will
damage flexible elements in a short time, and also cause over standard vibration as well as noise.
3). Check leakage of gland packing and tightness of gland cover; make them adequate to the job. If
it is fitted with mechanical seal, make sure that the pump is operating with water inside; otherwise
the dynamic and stationary rings would be worn out in dry operation
4). Check oil level, which should be kept in the specified range by oil gauge If it is grease, make
sure that the bearings are filled with grease.
4.3 Stopping
1). Turn down discharge valve gradually, switch off the power.
2). Drain away water left inside the pump to avoid frost crack while the temperature is blew 0℃.
3). To keep a pump out of use for a long time, disassemble it into spare parts, store them in an
appropriate place after lubrication.
4.4 Running and Maintenance
1). Readings by the meters are very important in starting and running. Care must be taken to heating,
leakage, vibration and noise. Abnormal cases should be handled immediately on discovery.
2). Bearings are not allowed to work at the temperature 40℃higher than the temperature around,
and the Max. temperature is 80℃.
3). In normal cases, a steady drip from the gland should be in a small amount, at about 60 drops per
minutes while almost non-leakage from mechanical seal.
4). Lubrication should be 4# Calcium Base Grease or SAE20W Oil. Pumps working at 2900 rpm
should be replenished with new oil or grease every period of 2500 working hours, 1450 rpm ones
should be replenished every 5000 working hours. Ball bearings should be dismantled and replaced
by the new ones every 10000 working hours, and also oil cup should be thoroughly cleaned out and
filled with fresh lubrication.

General Data
8
Troubleshooting
5.Troubleshooting
Defects
Causes
Solutions
Pump not primed, both the
hands of vacuum gauge and
manometer switches
violently
Not enough water filled in the pump
Air leakage in the pipe or meters
Filled with water again
Fix the leakage
Pump not primed and high
degree vacuum indicated on
the vacuum gauge
Foot valve not open or clogged
Suction resistance too high or suction
lift too high
Check or replace the foot valve
Clean or replace the inlet pipe
Reduce the suction lift
No water discharged while
outlet pressure is pointed
by the manometer
Wrong direction of rotation
Impeller clogged
Check or shorten the pipe
Check the motor rotation
Remove the pipe joint and clean
the impeller
Lower capacity than
specified value
Pump clogged
Wear ring worn out
Clean pump and pipes
Replace the wear ring
Too much power consumed
by pump
Packing too tight
Stuffing box too hot
Impeller worn out
Too large flow that the pump is
working in.
Loosen gland packing
Replace impeller
Turn down discharge valve to
reduce flow
Abnormal noise inside the
pump
Pump not primed
Flow too large
Resistance too high in the inlet pipe
Suction lift too high
Air leakage into the inlet pipe
Liquid temperature too high
Turn down discharge valve
Reduce flow
Fix leakage
Lower liquid temperature
Bearings over-heart
Short of lubricant or lubricant too dirty
Pump shaft not in alignment to that of
the motor
Bearing worn out
Filled with clean oil or grease
Align coupling centerline
Replace bearing
Vibration
Pump shaft not in alignment to that of
the motor
Align coupling center line


Swiss Pump Company AG
Moosweg 36
CH - 3645 Thun - Gwatt
Switzerland
Tel. +41 33 223 11 00
Fax +41 33 223 11 22
mail@swisspump.com
www.swisspump.com
Table of contents
Other SPCO Water Pump manuals
Popular Water Pump manuals by other brands
Comet
Comet MTP LW-K 250 Assembly, operation and maintenance instructions
Ambit
Ambit PIB-PCA Setup guide
SUN RUN
SUN RUN SPAT operating instructions

BUSCH
BUSCH LM 0100 A instruction manual

KSB
KSB Rio-Eco N Series Installation & operating manual

SHURflo
SHURflo 316 Operating Instructions, Performance, Specifications and Parts Manual
Hozelock Cyprio
Hozelock Cyprio 3537 manual
Videotec
Videotec WASPT instruction manual

Briggs & Stratton
Briggs & Stratton BIANCO PUMPZ 2 Series instruction manual
Kodiak
Kodiak PWP1H instruction manual
EPS
EPS MULTIBOOST 350L Simplicity Slimline Fixed Speed... Operation and maintenance manual

IWAKI WALCHEM
IWAKI WALCHEM MFH Series instruction manual
