Spectrum Industries Flex Insight XMS User manual

0110657R5 Page 1 of 11
Important
Before using this product:
• Read this manual
• Comply with all safety and operating instructions
• Ensure all parts and correct quantities are included
Any parts damaged during shipment must be reported
within 15 days of receipt. To report information regard-
ing missing parts or damage, to purchase parts or
accessories, or if you have any questions, please
contact us.
Thank you for purchasing Spectrum products!
Spectrum Industries, Inc
925 First Avenue, Chippewa Falls, WI 54729 USA
800 235 1262
715 723 6750
www.spectrumfurniture.com
Owner’s Manual
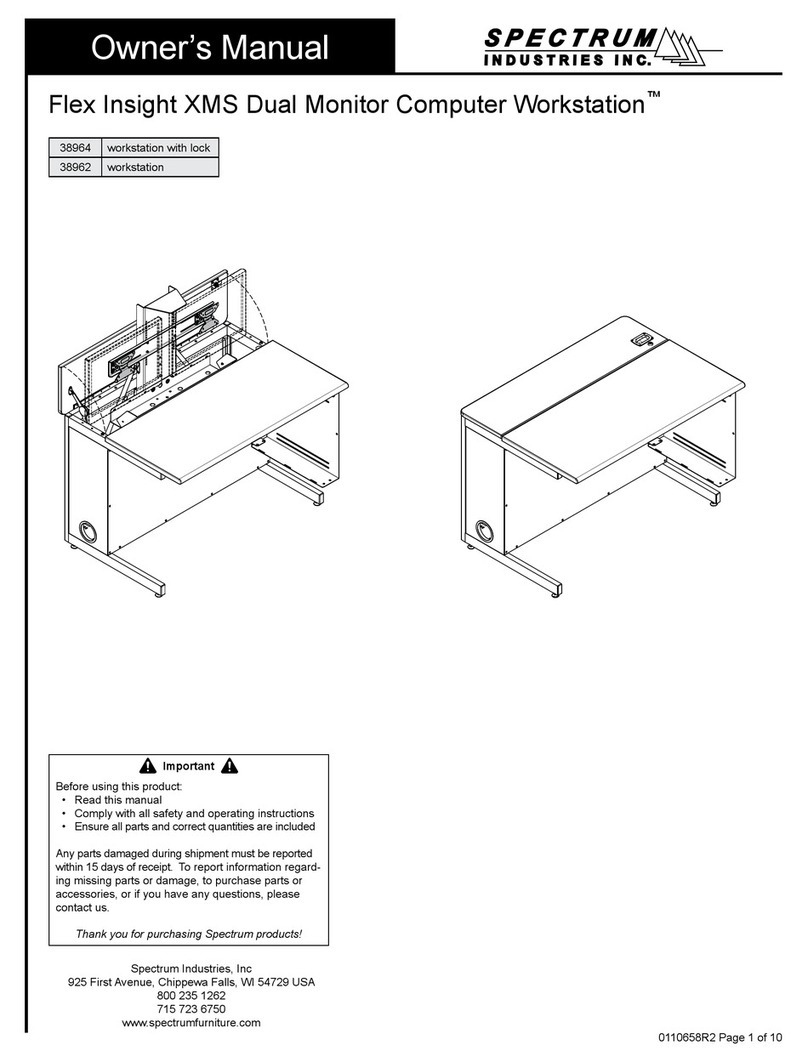
38961 36”W Flex Insight XMS workstation
38963 36”W Flex Insight XMS workstation (w/ lock)
38966 72”W Flex Insight XMS double workstation
38967 72”W Flex Insight XMS double workstation (w/ locks)
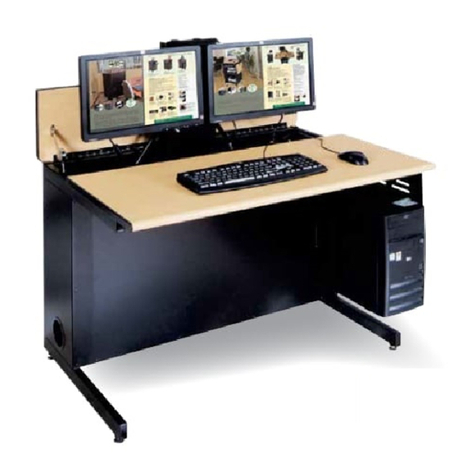
Flex Insight XMS Large Monitor Workstions
36” Flex Insight XMS
workstation
72” Flex Insight XMS
double workstation

0110657R5 Page 2 of 11
Safety
Hardware Package Contents
• Read this owners manual before assembling or operating this desk.
• Keep ngers and hands away from the edges of monitor compartment lid and
clear of the lift mechanism when raising or lowering to prevent pinching.
• Do not sit or allow students to sit on top of desk or monitor compartment lid.
• Do not exceed the maximum monitor weight rating of 32 lbs.
Tools Required
Phillips & at head
screwdrivers
4mm hex wrench
(included)
(1) 025039
4mm hex wrench
(1) 025069
glide wrench
(4) 025068
5/16-18 glides
unit-to-unit bracket
(1) 0107574
(4) 052605
1/4-20 x 15mm JC bolts
glide wrench
(included)
0102376 11” zip ties
(10) w/ single desks
(15) w/ double desks
0111920 VESA mount bracket
(1) w/ single desks
(2) w/ double desks
0107683 10-24 x 1/2” SHCS
(4) w/ single desks
(8) w/ double desks

2. Installing glides
1. Carefully lift one side of the desk and place a short wooden 4x4 or 2x4 block
(or equivalent support) under the leg. This may require two people. Figure 2.
2. Thread the two glides into the leg, tighten securely, and remove block.
3. Repeat this procedure on the other side of the desk.
4. The glides can be adjusted with the included glide wrench to level the desk if
necessary.
leg
glide
wooden
block
1. Unlock monitor column
0110657R5 Page 3 of 11
Assembly / Setup
Note: Every Flex Insight desk ships with one or two carriage bolts with wing
nuts locked in a keyhole slot under the bottom of the keyboard tray. These
fasteners prevent monitor column movement during shipping, and will need
to be removed to get the monitor column to function. A picture of the bolt
and wing nut is shown here from the back side of the desk. To remove,
unscrew the wing nut by hand, and slip the bolt out of the keyhole slot. The
fasteners should be retained for reuse if you will be transporting the desk in
the future.
If you transport the desk (in a trailer or truck) it is recommended to replace
the carriage bolt and wing nut. To replace, start the wing nut on the end
of the bolt and push the monitor column down into the lowered position.
Wiggle the head of the bolt into the slot from the large side of the keyhole.
Let the monitor column rise slightly to put tension on the wing nut. Tighten
down until monitor column does not move and is secure. Carriage Bolt
Keyhole Slot
Wing Nut
Monitor Column
Figure 2
glide wrench
(included)
Tools
Required
Figure 1

3. Installing monitor
Monitor or all-in-one monitor should not exceed
the maximum dimensions shown in Figure 3A.
0110657R5 Page 4 of 11
Maximum monitor /
All-in-one monitor
size
Attach the Apple VESA mount adapter to the iMac®
1. Attach the “Apple VESA mount adapter” to your iMac®using the
instructions provided with the Apple adapter. Figure 3B.
back of iMac®
screws not included
Figure 3C
Spectrum VESA
mount bracket
Attach VESA mount bracket to the iMac®
1. Using the 4 screws provided with the Apple mount or iMac®, attach the Spectrum
VESA mount bracket to the Apple VESA mount adapter . Figure 3C.
2. Tighten screws securely.
Figure 3B
Apple VESA mount adapter
(not included with desk)
back of iMac®
Figure 3A
Tools Required
Note: To install a pre-2013 iMac®in this desk,
customers must purchase the “Apple VESA mount
adapter” for 24” or 27” iMac’s®. This adapter is
available from Apple and is not included.
Spectrum VESA
mount bracket
included with desk
(formerly 38969)
“Apple VESA mount adapter”
(not included with desk)
Contact your Apple dealer for
specic Apple part number
iMac®(installation option #1)
4mm hex wrench
(included)
Phillips screwdriver
To install a pre-2013 iMac®, an Apple VESA
mount adapter must be purchased from Apple.
This mount is included with 2013 iMac’s®

0110657R5 Page 5 of 11
Attach the VESA bracket to the all-in-one monitor
1. Lift the monitor column all the way up.
2. Position your monitor with the monitor column and align the VESA bracket mounting holes with the monitor
column holes. The top edge of the monitor should be positioned directly under, but not touching, the lift bracket.
3. Attach the VESA bracket / monitor to the monitor column with (4) 10-24 x 1/2” screws as shown in Figure 3E.
The monitor should be fully-supported while installing fasteners.
4. Tighten screws securely.
Attach monitor (iMac®or all-in-one monitor) to the Flex Insight XMS Desk
monitor
column
attached
VESA bracket
Figure 3E
front of iMac®
10-24 x 1/2” SHCS
(4 req’d)
1. Attach the Spectrum VESA mount bracket to your all-in-one moni-
tor using (4) 4mm screws and instructions provided with the monitor.
Figure 3D.
2. Tighten screws securely.
4mm screws
(not included)
Spectrum
VESA mount
bracket
Figure 3D
back of all-in-one
monitor
position the top edge of the iMac®
or all-in-one monitor directly under,
but not touching the lift bracket
All-in-one monitor (installation option #2)
lift bracket
Spectrum VESA
mount bracket
included with desk
(formerly 38969)

4. Cord Management
1. With the back panel removed, connect the necessary monitor, keyboard, and mouse cords above the
worksurface. Figure 4A.
2. Position the keyboard as shown approximately 6” from the front edge of the worksurface with the mouse on the
opposite side as shown. This will provide enough slack in the cords during normal use and provide for left and
right mouse locations.
3. Use the tray slots to secure excess cord.
4. The wire loom keeps power and Ethernet cords together and routes them while the monitor is being raised and
lowered. Using a at head screwdriver, pry open each loom clip to release the wire loom. Figure 4B & 4C.
0110657R5 Page 6 of 11
Figure 4CFigure 4B
Figure 4A
iMac®or all-in-one
monitor
storage tray
wire loom &
clip
use slots to weave and
secure excess cord
at head
screwdriver
Tools
Required

5. With the loom removed, feed the monitor or all-in-one computer power cord through the
sliced opening of the loom to the bottom of the desk as shown. Figure 4D.
6. Re-attach the loom with the clips while providing enough slack in the loom to allow the
monitor column to fully extend and retract.
7. Secure the CPU / Ethernet cords to the bottom of the wiring tray with a zip tie if necessary.
8. Use additional zip ties to secure other cords as needed.
0110657R5 Page 7 of 11
iMac®or all-in-one
monitor
lift column
use tray slots to
weave and secure
excess cord
loom clip
wiring tray
power strip
(not included)
120VAC
power cord(s)
Figure 4D

0110657R5 Page 8 of 11
5. Connecting Desks Together
1. Desks of equal height can be connected together with the included unit-to-unit bracket. Figure 5.
2. Align desks next to each other in their nal location and raise monitor compartment lids.
3. Attach desks together with a unit-to-unit bracket and (4) 1/4-20 x 15mm JC bolts. Tighten bolts securely.
4. Disconnect brackets to move/relocate desks.
unit-to-unit bracket 1/4-20 x 15mm JC bolts
top view
Figure 5
4mm hex wrench
(included)
Tools
Required

Maintenance
0110657R5 Page 9 of 11
After approximately 300 cycles of opening and closing, the friction dampener on the
worksurface lid should be retightened to 13 in-lbs using a torque wrench with a 4mm
hex driver. If a torque wrench is unavailable, tighten the friction damper with a 4mm
hex wrench 1/8 turn at a time and test. The correct adjustment is when the lid slows
down between 2-4” from closure. Figure 7.
Operation
lift bracket
monitor
compartment lid
For computer use:
Open the monitor compartment lid. Raise the monitor by pulling up
on the lift bracket until fully extended. Take out the keyboard and
mouse and set on the worksurface. Figure 6A.
Figure 6A
monitor
compartment lid
For classroom (worksurface) use:
Place the keyboard and mouse in the compartment tray under the
monitor. Lower the monitor by pushing down on the lift bracket until
the column is fully retracted, then close the monitor compartment lid.
Figure 6B.
Note: Lockable desks can be locked at this point for security.
Figure 6B
4mm hex wrench
friction
dampener
Figure 7
4mm hex wrench
(included)
Tools
Required

Options
0110657R5 Page 10 of 11
“Apple VESA mount adapter”
(not included with desk)
Apple product #MD179ZM/A
Contact your Apple dealer for
specic Apple part number
Monitor counterbalance kit
(for lighter monitors)
kit includes (2) 2.5 lb weights
38965
1” bell glide riser kit
raises worksurface height from
29” to 30” (set of 4)
98513
Nominal weight of iMac® or
all-in-one monitor
Typical unit Counterbalance
14-17 lbs use 4 weights (requires 2 kits)
17-20 lbs use 3 weights (requires 2 kits)
20-24 lbs iMac® 24* use 2 weights
24-27 lbs use 1 weight
27-32 lbs iMac® 27* not required
* iMac® weights as of 10 / 2011
Spectrum VESA
mount bracket
(included with desk-
formerly 38969)
To install a pre-2013 iMac®into the desk, an Apple
VESA mount adapter must be purchased from
Apple. This mount is included with 2013 iMac’s®.
Other manuals for Flex Insight XMS
1
Table of contents
Other Spectrum Industries Desktop manuals

Spectrum Industries
Spectrum Industries 95044 User manual

Spectrum Industries
Spectrum Industries Evolution TIC 38941 User manual

Spectrum Industries
Spectrum Industries Flex Insight XMS User manual

Spectrum Industries
Spectrum Industries Pivot Premier Workstation Series User manual

Spectrum Industries
Spectrum Industries 38964 User manual


